The production of modern furniture is a rather complicated process. Of course, there are craftsmen who can even make things out of a dismantled pallet. But the kitchen set is not a stool or a folding table, and it will be difficult for a simple person to collect a handsome set, similar to the one that he looked in a shop, at an exhibition or with his acquaintance. We offer you a more accessible method, although it also requires some skills. For example, you will need the ability to make accurate measurements, draw unpretentious drawings, use basic carpentry tools. In our work we will use the following materials - chipboard, MDF and fiberboard, with which even a novice master can cope.
How to make a kitchen yourself?
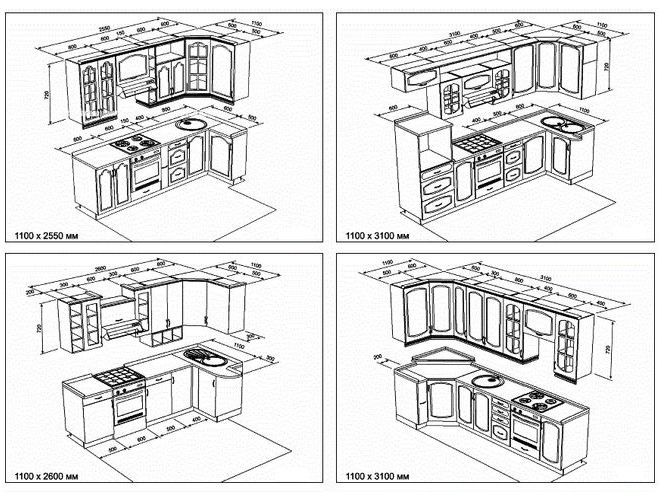
- First you need to draw an approximate drawing and find out how the communications are going in your kitchen, where the wiring is, will not interfere with the installation of furniture heating batteries and the windowsill. You can use many ready-made drawings, which are full on the Internet. Very convenient are corner sets, one of which we will make in our example.
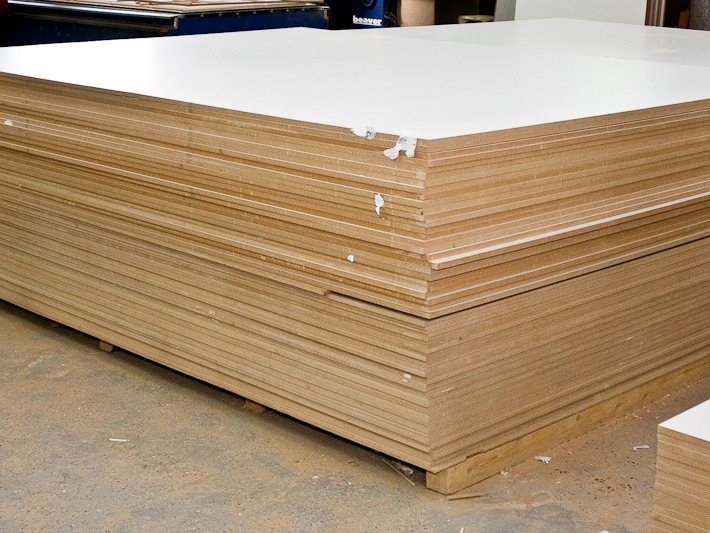
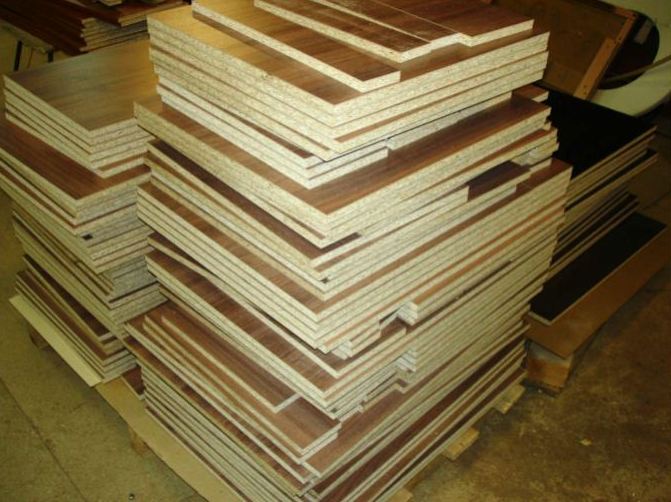
- The sidewall of the cabinet or cabinet can be made of MDF (thickness 16 mm), the sides of the boxes will be laminated with fiberboard (5 mm), the bottom and the rear wall are well assembled from inexpensive plywood. The worktop should be strong and resistant to moisture, the most accessible material is treated with protective chipboard, the thickness of which should be within 3.2 cm. It will be difficult to cope with the doors of the amateur, you can order them at a furniture factory or in a shop.
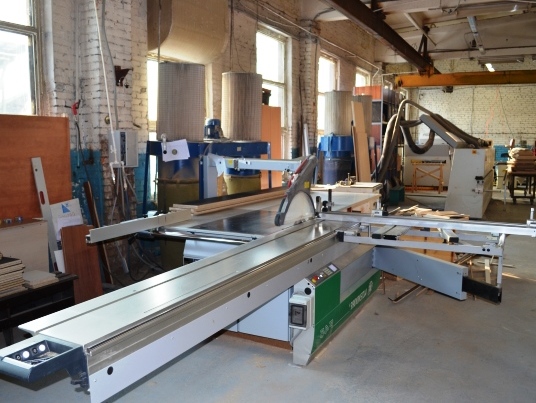
- Companies that deal with the cutting of construction materials, now a lot. It is better to entrust a delicate and time-consuming occupation to professionals who will be able not only to cut the blanks, but also to make all the technological holes, decorate the edges, glue the edge. You will only need to install the kitchen with your own hands from precisely fitted blanks. The main thing is to draw a competent drawing, so that at home you do not have to customize the material that was improperly cut by your fault.
- All the blanks are brought home, it is desirable that everywhere there is a numbering. It will greatly facilitate the assembly, otherwise you will get a cunning designer in the style of Lego, which will be extremely difficult to bring to mind.
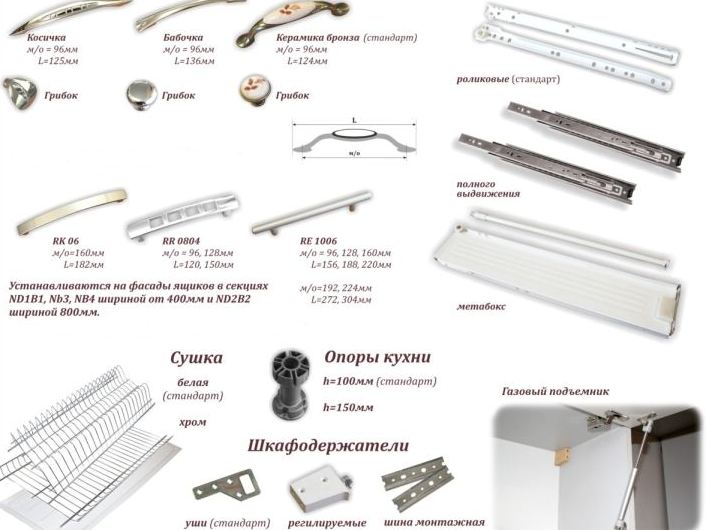
- Shock absorbers, curtains, chrome-plated drying, and other things are selected according to your taste and color in the shops. This has its own benefit - you buy a quality product, and not the one, often cheap products that are supplied in ready-made kits.
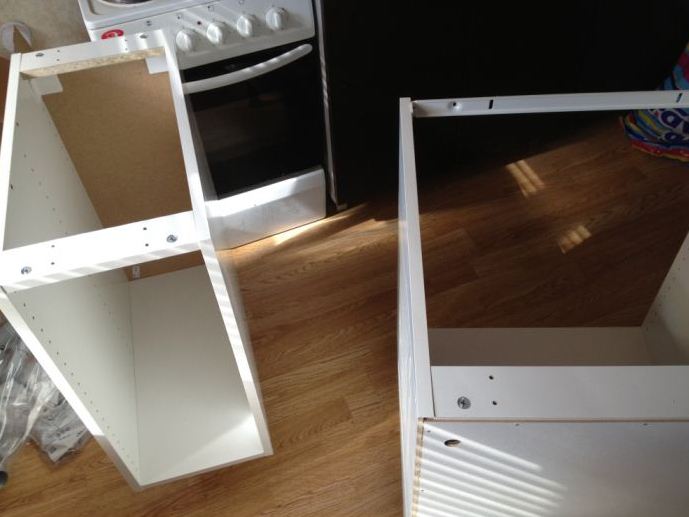
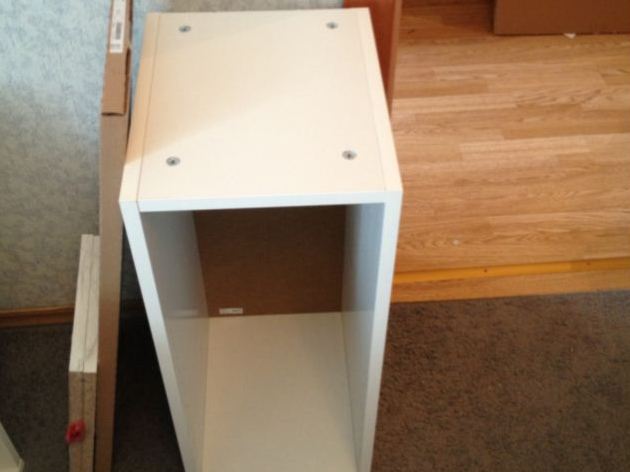
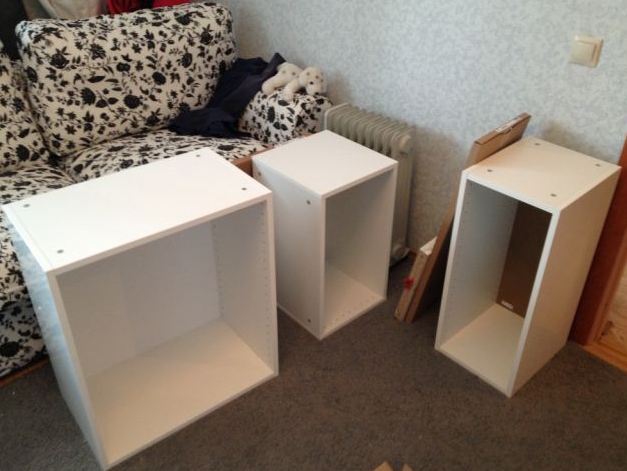
- We gather the cases of our lockers and pedestals.
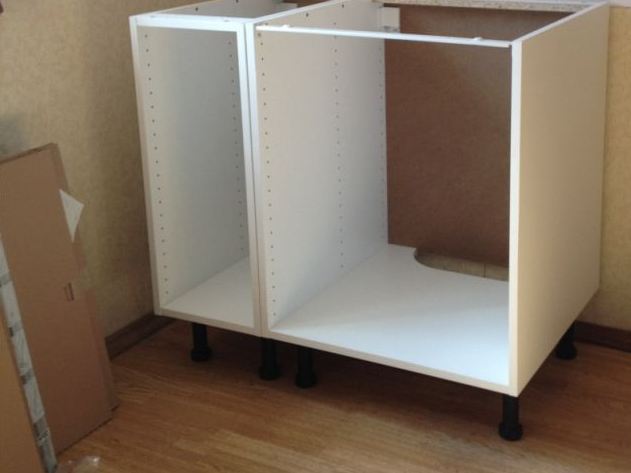
- We fasten the legs and expose the shells in place.
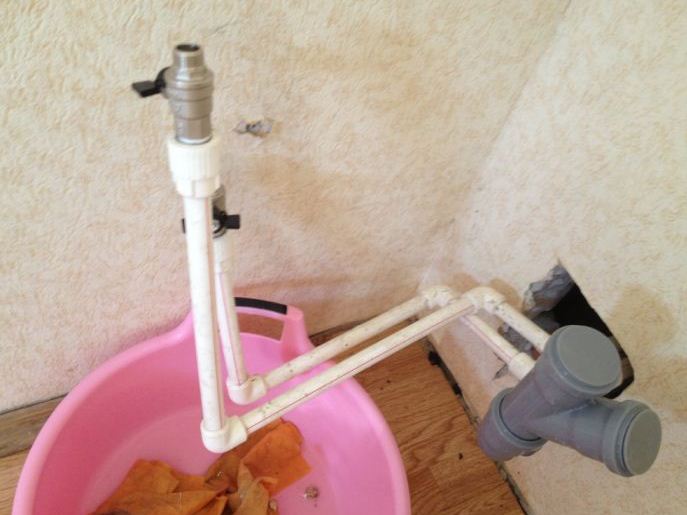
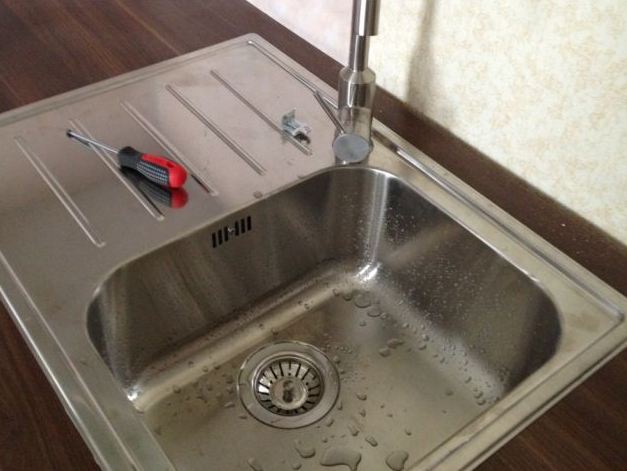
- We are engaged in draining and running water. We change cranes and pipes for new products, we install quality plastic sewerage.
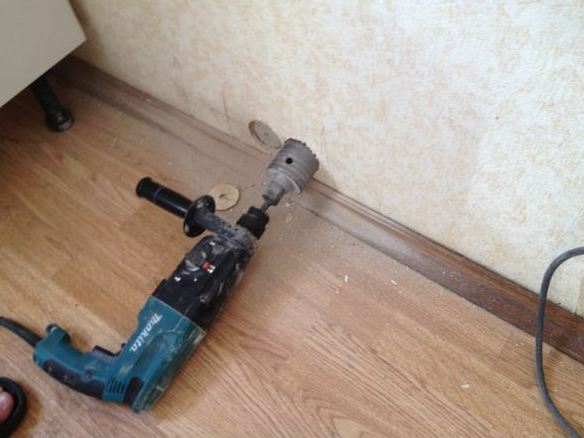
- If necessary, we immediately install additional sockets for drying, drawing or electric stoves. Some of them are in an uncomfortable place, so it is better to do this work now, when furniture does not interfere.
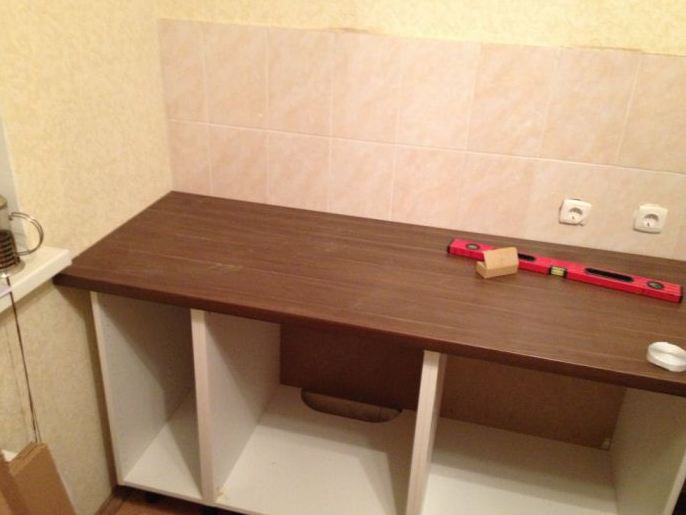
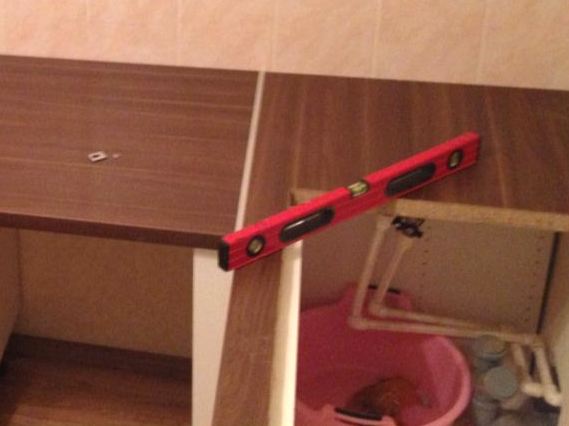
- After the preparatory work is done, and the bottom is set exactly, we put the countertop.
- We work in our house, so we try to do everything in a good way, the kitchen, assembled with our own hands, consists of several parts, so we put everything strictly on one level.
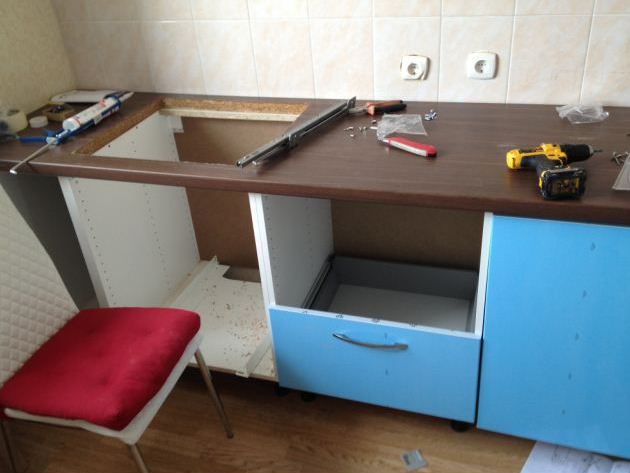
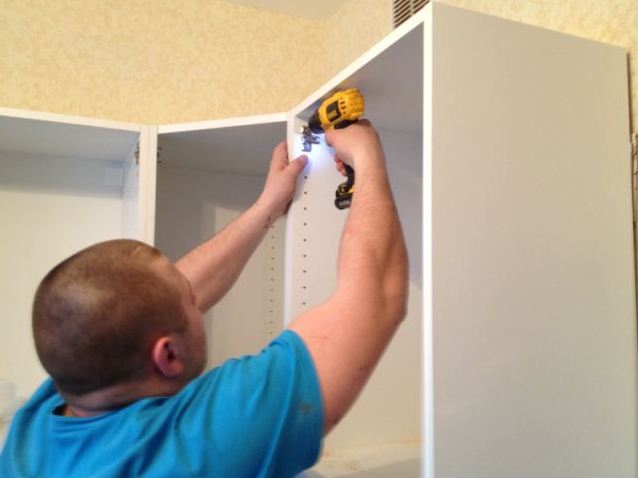
- We fix the guides in the cases and you can deal with drawers and facades.
- We collect the boxes and fasten the handles to them.
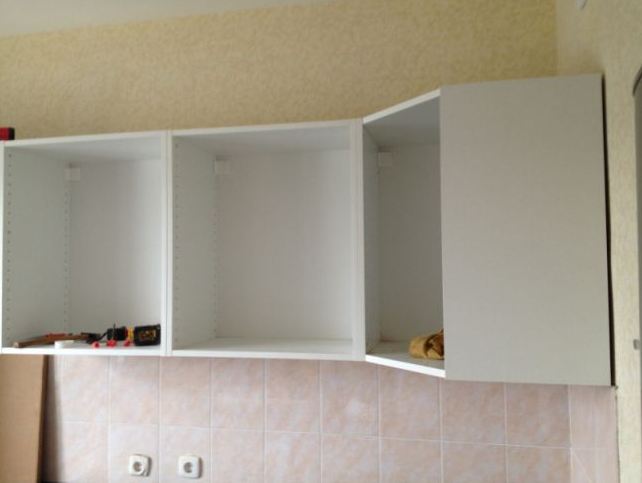
- The lower part is ready for us, the turn to the upper mounted pedestals has come.
- The upper part consists of several identical or slightly different in size rectangular structures, problems with them usually do not arise.
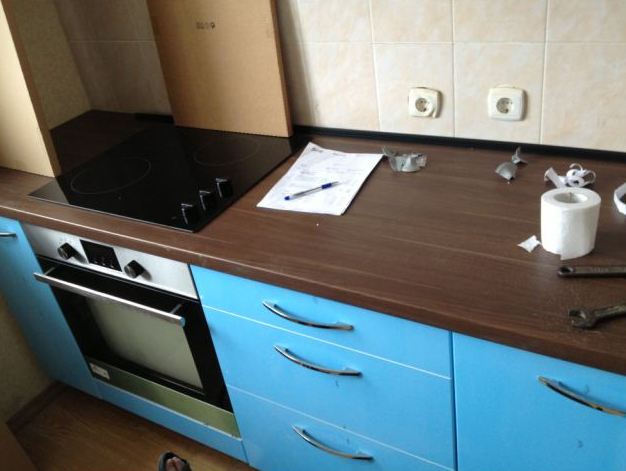
- Install the built-in technique, if the calculations were correct, then it will easily fit into place.
- Modern kitchen, even assembled with their own hands, can not do without washing. We put it in its place, we connect the cranes.
- We mount the upper pedestals on the wall.
- We fasten the hinges.
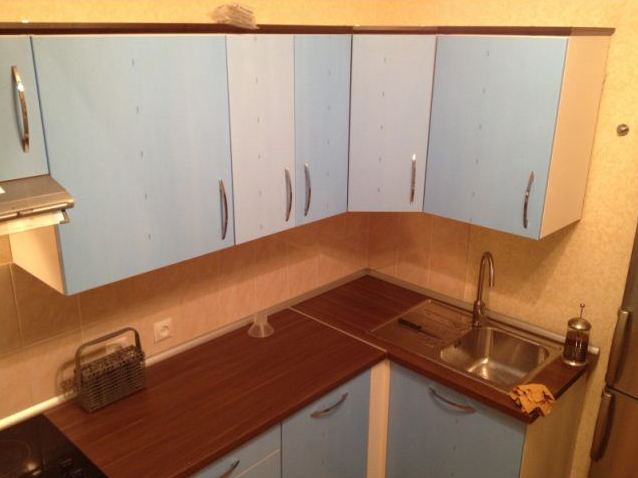
- We install the doors to the top of our headset and the hood. The work is done.
We hope that our master class on how to assemble the kitchen by yourself, will be useful to you. Even the most complex projects can be implemented at home, when there is a huge desire and a little skill.