Victory Day is one of the greatest holidays in our history and the task of modern parents is to instill in children an understanding of its significance and respect for the veterans who gave us this holiday.
Crafts for the Victory Day, made by own hands, will not only help your child develop imagination, accuracy and diligence, but also give you the opportunity to tell the crumb again about the importance of this solemn day.
Children's crafts by May 9 can be very diverse: they can be appliqués for the Victory Day, voluminous figurines of cardboard, plasticine or salted dough, quilling crafts by May 9 - it all depends only on your imagination.
In the children's handicrafts to the Victory Day, the traditional symbols of this holiday are often used: red stars, St. George ribbons, bouquets of flowers, military equipment, figures or silhouettes of soldiers. You can use any of these elements, as well as their combinations. Below you are offered two master classes of children's crafts by May 9, which you can easily do with your child.
Crafts for May 9
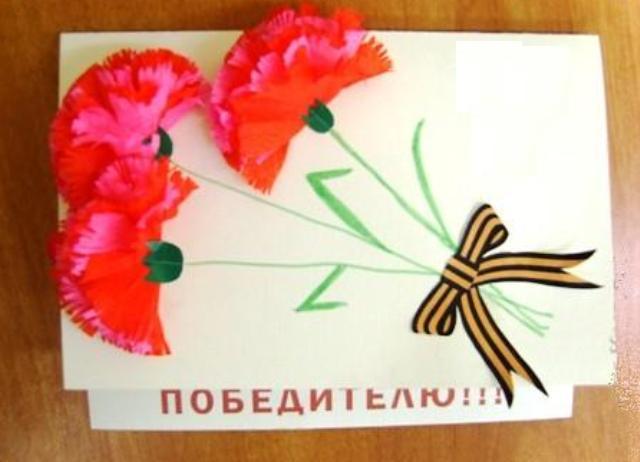
Postcard with carnations
To create such a postcard you will need:
- thick paper or cardboard (for the substrate);
- markers or pencils;
- corrugated paper (kraft paper);
- paper glue (PVA);
- scissors.
Progress:
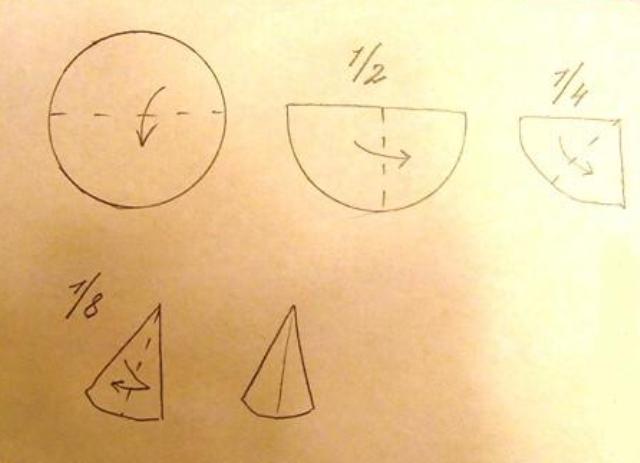
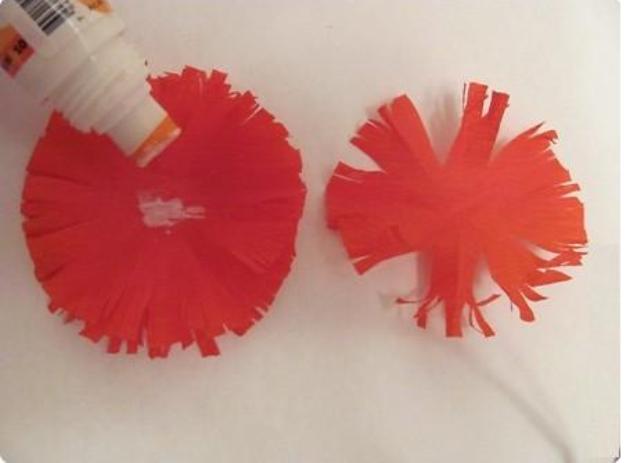
- Cut from the red kraft paper circles of the diameter you need (depending on what size of the carnation you want to make) and fold them, as shown in the picture (up to 1/8 of the part).
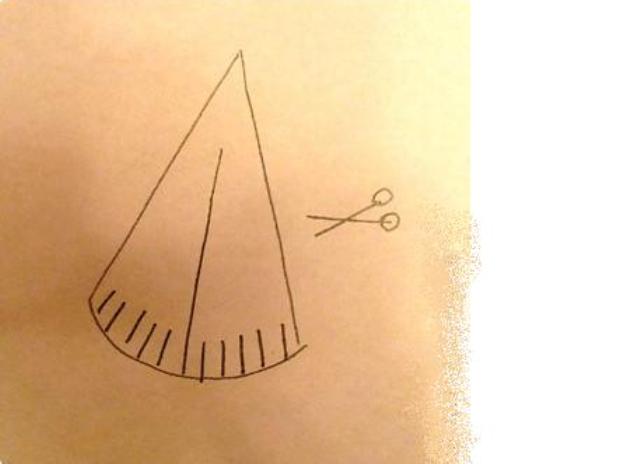
- On the outer edge towards the center are made multiple small incisions, and along the central line from the edge to the center is a deeper cut.
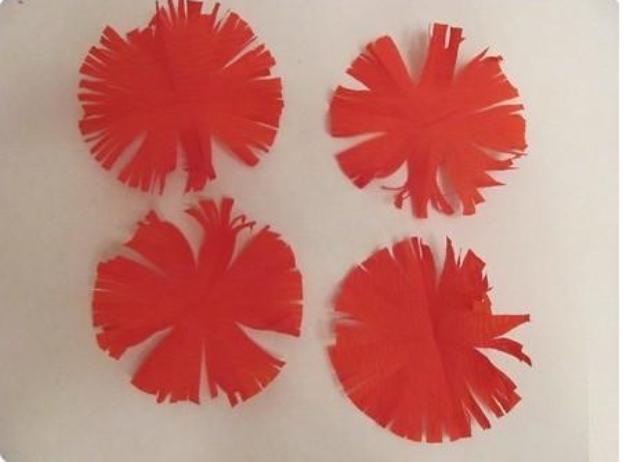
- We carefully unfold the threaded part, not spreading the petals of the future carnation.
- In the center of each circle-flower drip a bit of glue. Keep in mind that too much glue does not drip onto the flower, as in this case the flower will lose its lightness and look sloppy.
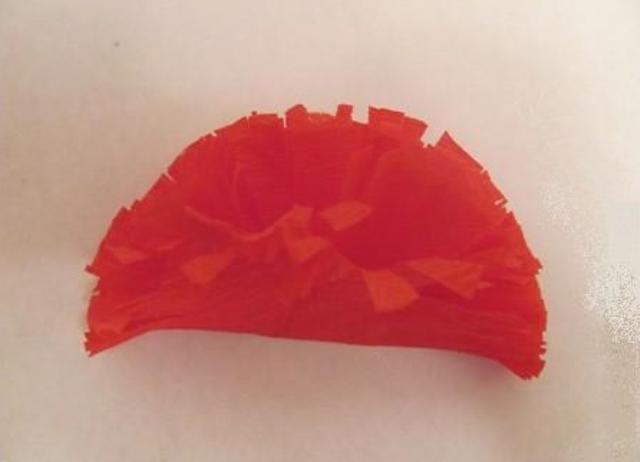
- We put each detail-circle in half, pressing, that it was better kept.
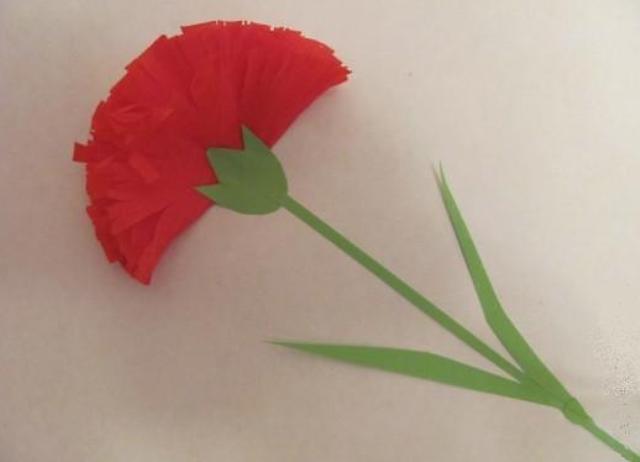
- Cut out the green tea from the green paper, squeeze the flower and fasten with glue, leave to dry.
- Dry the dried flowers to the base of the postcard. Stems and leaves of flowers can be drawn with a pencil or felt-tip pens. The base of the resulting bouquet can be painted by pasting on a postcard a bow from the St. George ribbon.
| | | |
| | | |
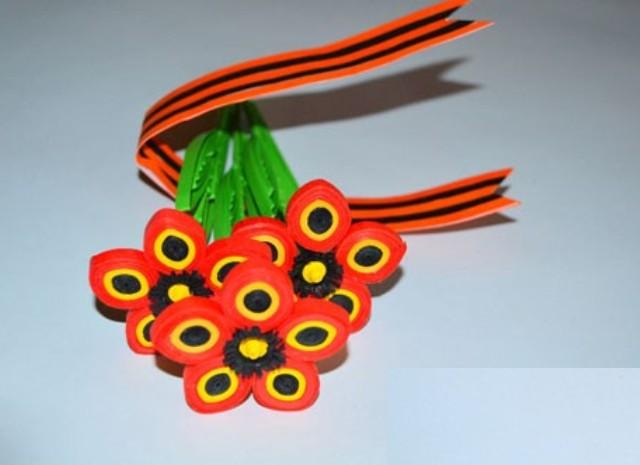
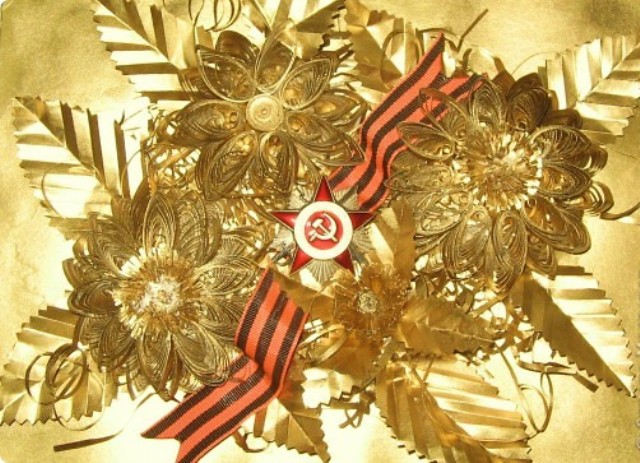
Bouquet of flowers (quilling)
What do you need:
- bamboo skewers;
- paper from the set for quilling (color 5mm and black 10mm);
- paper glue (PVA);
- toothpicks;
- a knife for paper;
- sheet of white paper for office equipment (A4).
Progress:
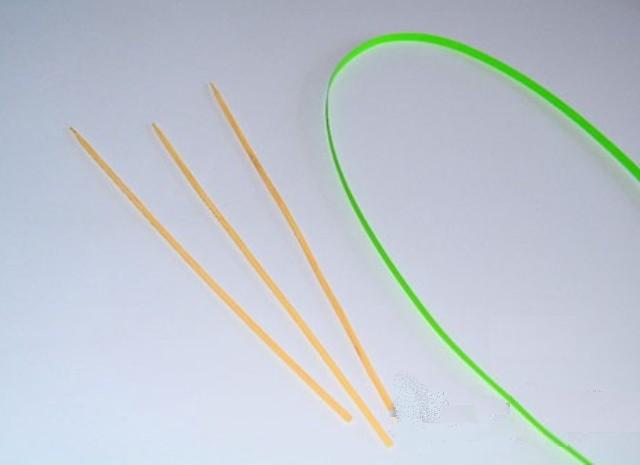
- We take three wooden skewers of the same size and length and green paper from the set for quilling.
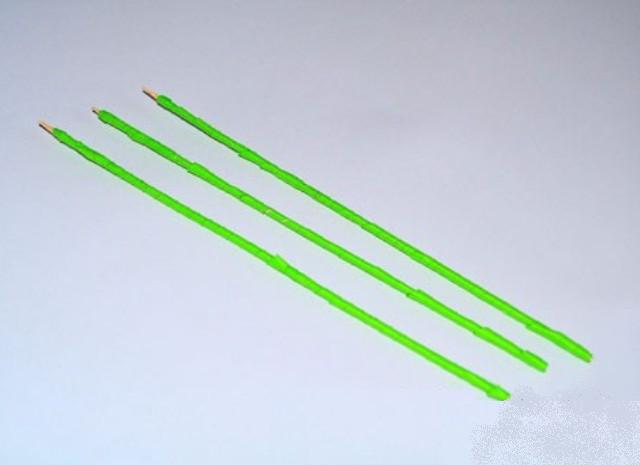
- Lubricate the paper strips with glue and wind it on the skewers, leaving the tip free (not sealed).
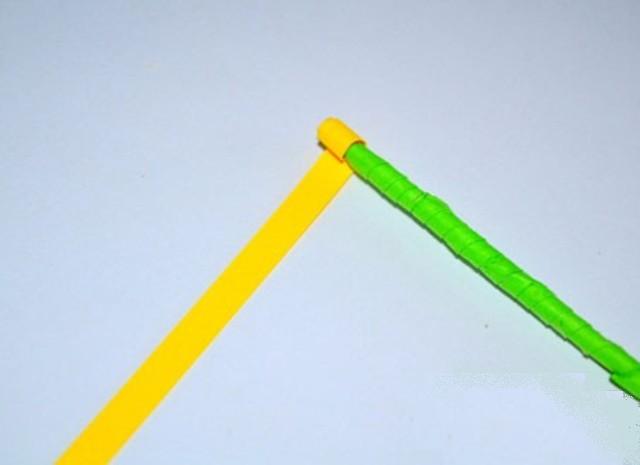
- The free edge of the skewers is split with a knife in half and we set the edge of the yellow ribbon from the set. This item children should not perform independently, without the help of adults, since working with a knife is unsafe for them.
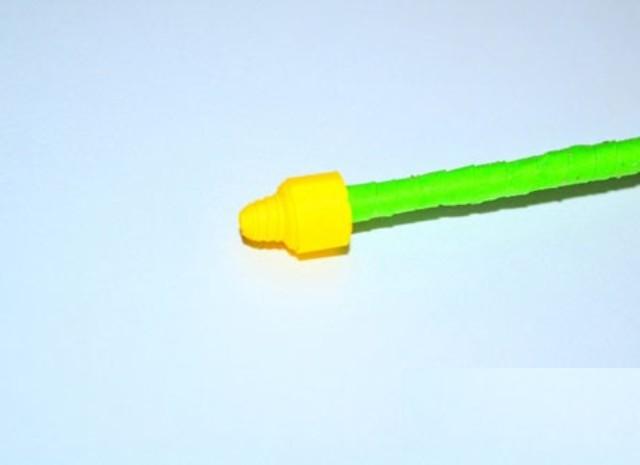
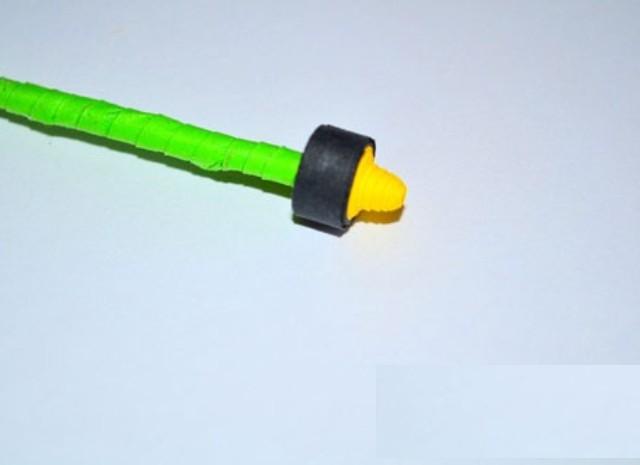
- From the point of the skewer we begin to wind the paper spiral, closer to the edge of the green paper forms a dense paper ring. The edge of the yellow tape is greased with glue and fixed.
- Similarly, with a ringlet, we wind on top of a yellow, black paper (5mm). We fix the edge of the tape with glue.
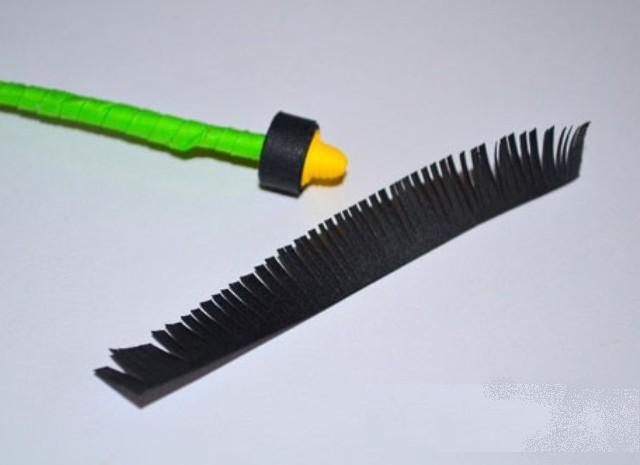
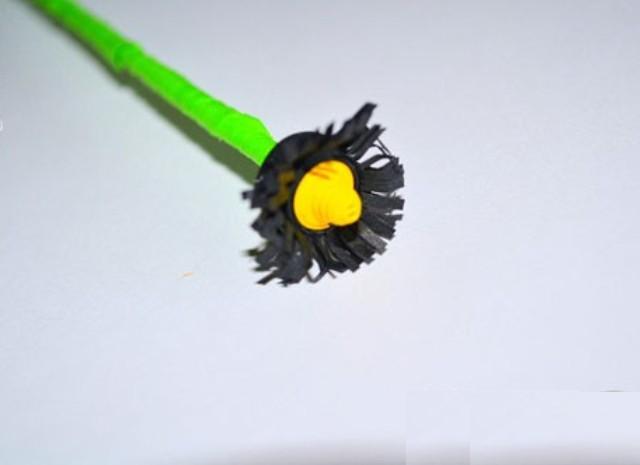
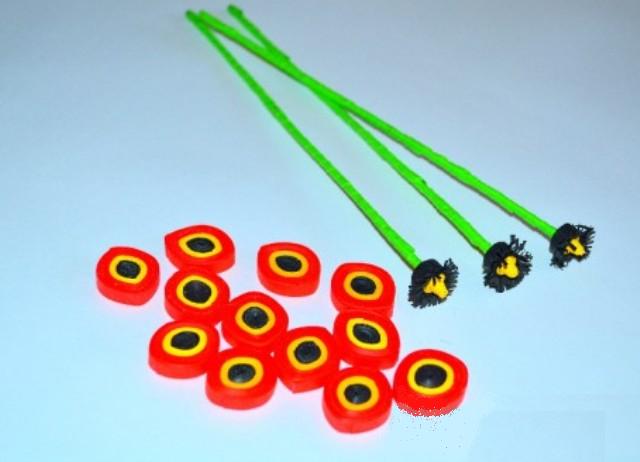
- Cut off a piece of wide black paper (10mm) and cut its edge, making a fringe.
- We glue the tape with the notches over the narrow black paper, straighten the fringe. The stems and cores of flowers are ready.
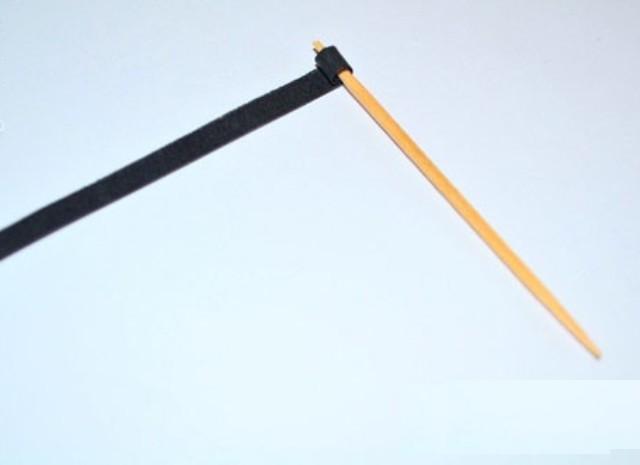
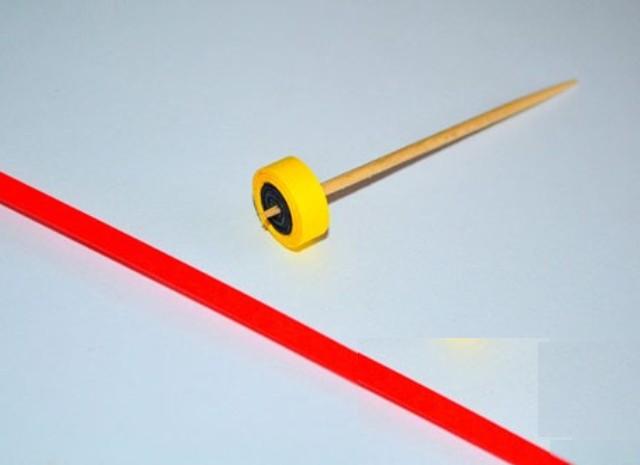
- We proceed to create petals. Split the edge of the toothpick with a knife, hold it in a narrow black paper.
- We wind the paper on the toothpick with a "ring", fix the edge with a drop of glue.
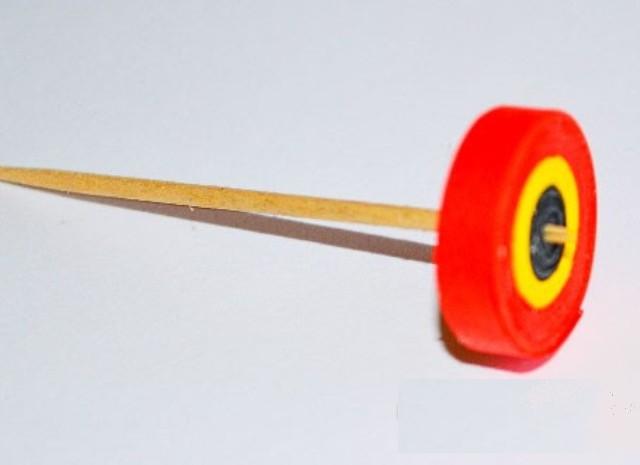
- On top of the black we wind the rings with yellow tape, fix it with glue.
- We reel the last red stripes. They will need three pieces for each petal. The edge of the tape is fixed with glue.
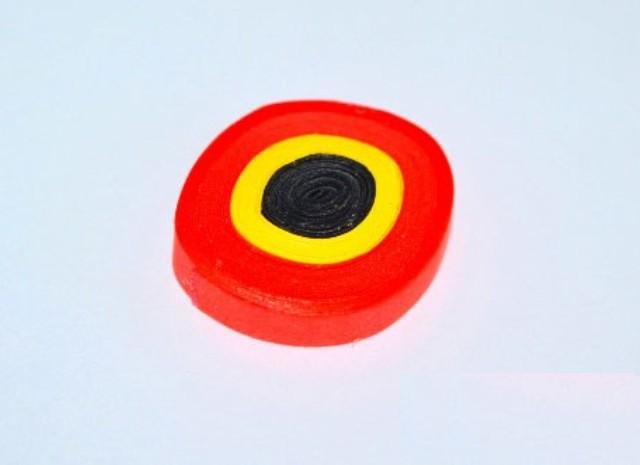
- The dried petal should be carefully removed from the toothpick and pressed with fingers, forming "eyes".
- The basic details for creating tulips are ready.
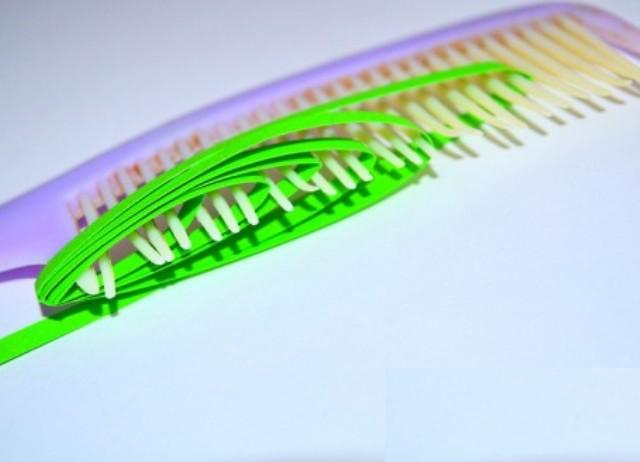
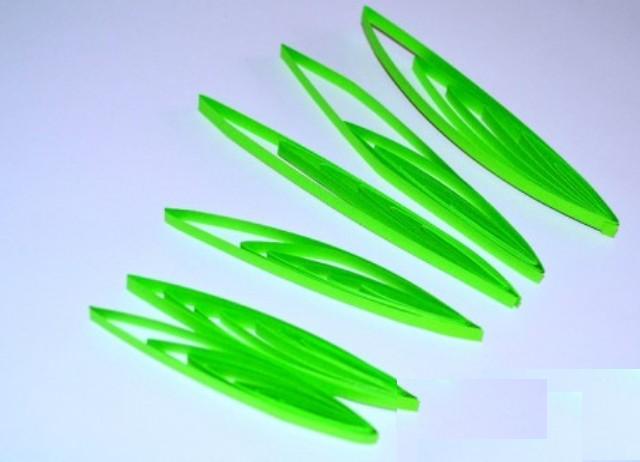
- To make the leaves, several times start a green strip between the teeth of a flat comb (scallop). Each leaf will require one green strip from the quilling set.
- So six leaves are made - three large, and three smaller ones.
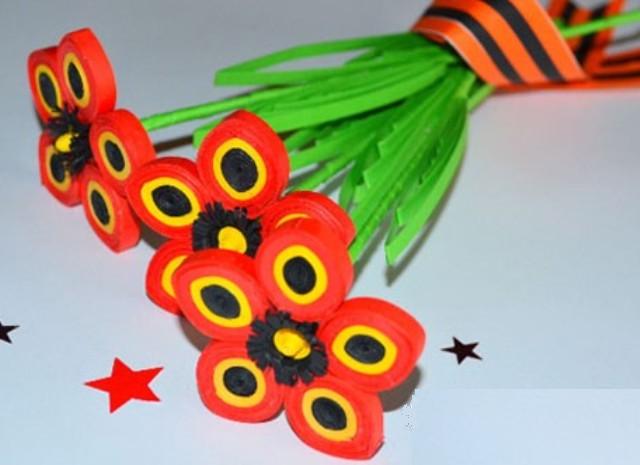
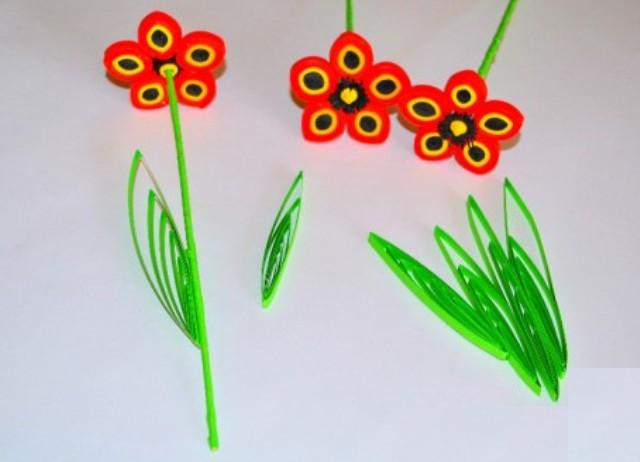
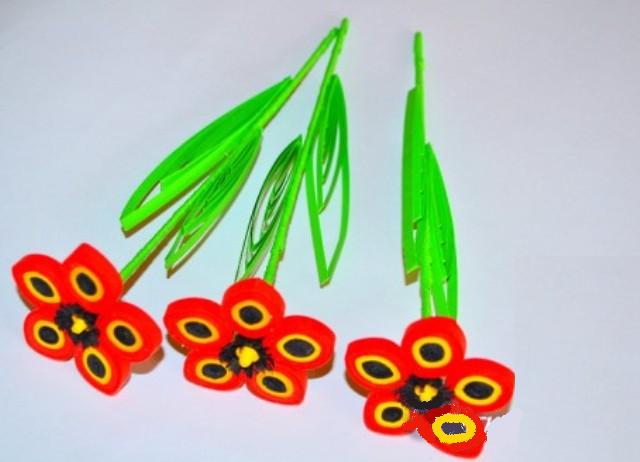
- All parts of the tulip are glued together. A small leaf is best placed on the stalk just above the large one.
- Tulips for a bouquet are ready. Let's start creating the ribbon.
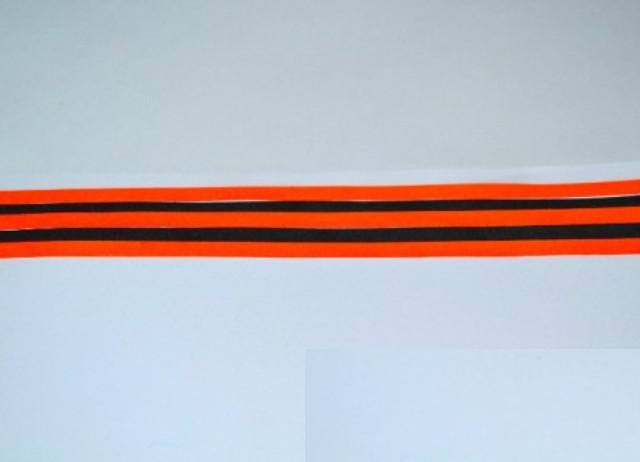
- For the tape, we need a white sheet, six orange and four black paper tapes.
- Orange and black stripes are glued, alternating with each other, to a white sheet.
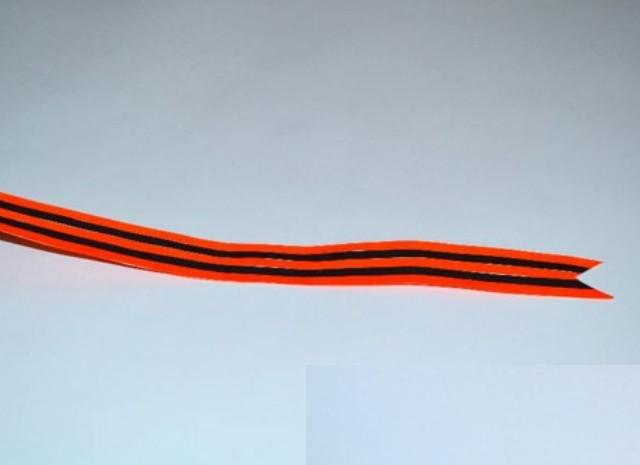
- Cut the ribbon. On its edges we cut out the ends with a triangle.
- We tie the finished bouquet with the ribbon.
| | | |
| | | |
| | | |
| | | |
| | | |
| | | |
| | | |
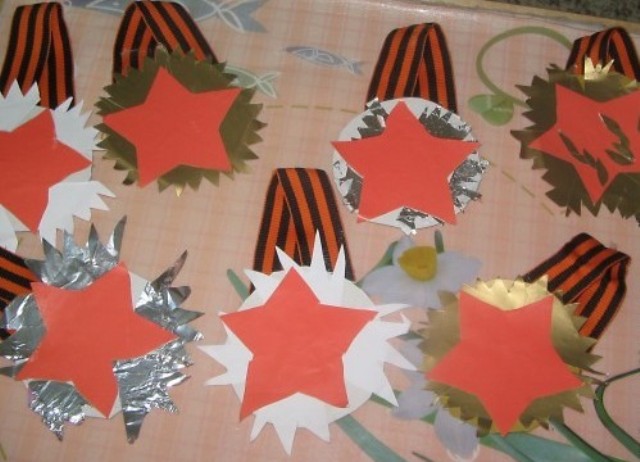
In the gallery you can get acquainted with examples of other children's crafts for the Victory Day.
| | |
| | |