A classic European hat - the cylinder is back to life. He can make your image rigorous and succinct, and can also become an element of a fun and fantastic carnival costume.
To your attention we present several master classes, as it is easy and quick to make a hat of a cylinder with your own hands.
How to make a hat cylinder from a cardboard?
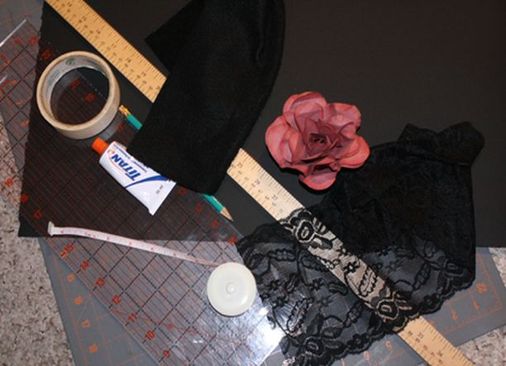
We need:
- black cardboard;
- black fleece;
- Scotch;
- Super glue;
- pencil;
- scissors;
- varnish;
- brush;
- decorating to your taste.
Progress:
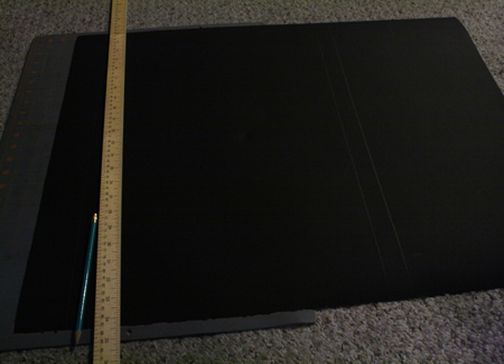
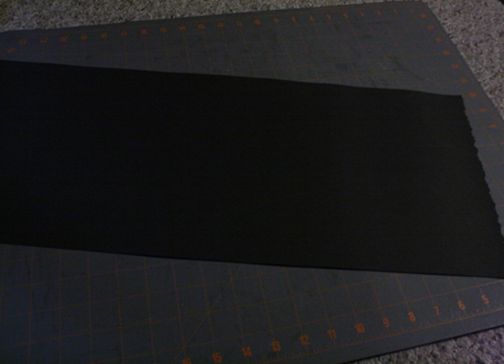
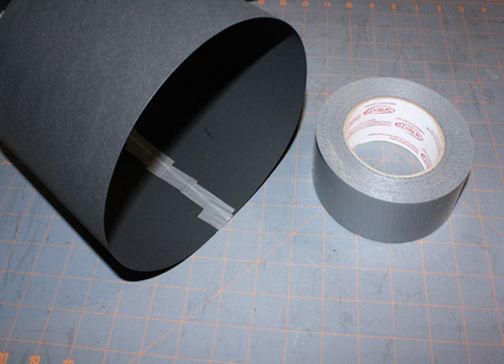
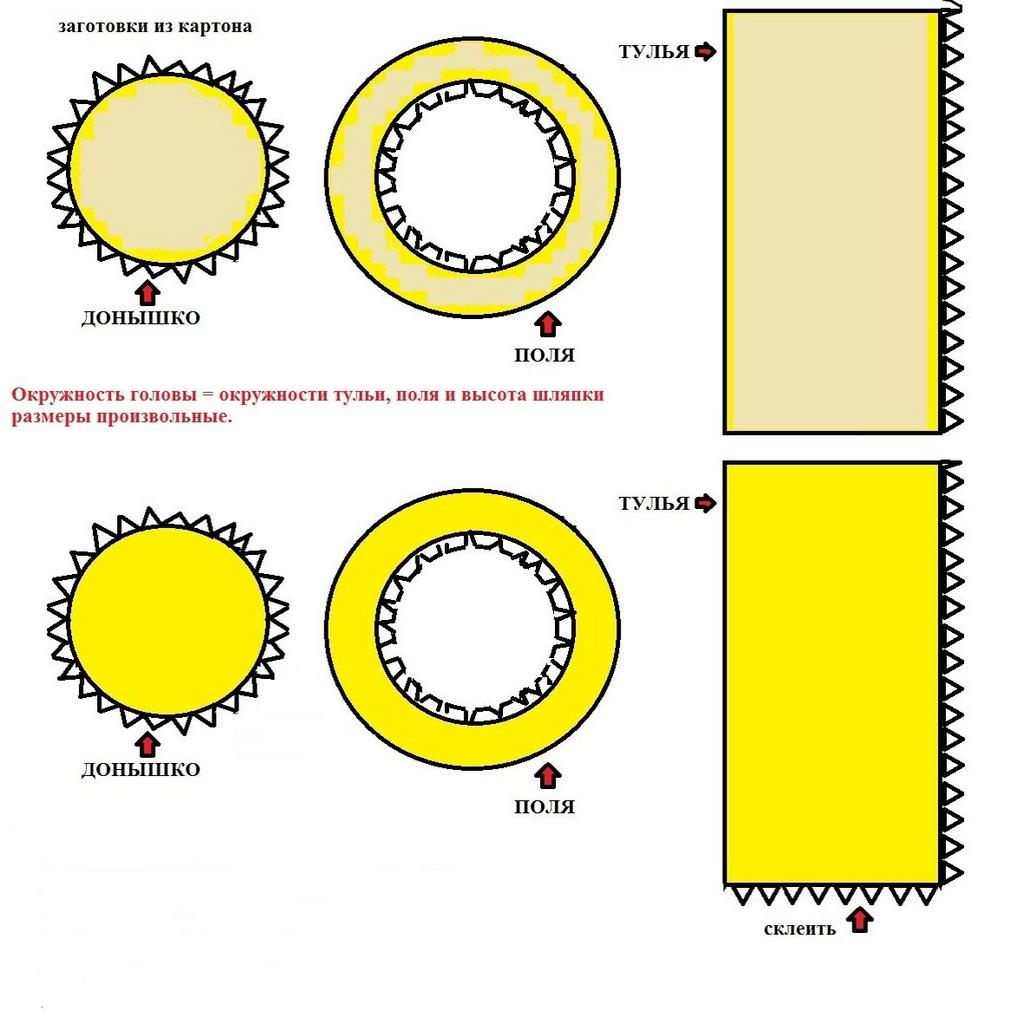
- From the black cardboard we cut out a rectangle, the length of which is equal to the circumference of your head plus a few centimeters to the joints, and the width to the height of the desired cylinder. Using adhesive tape, glue the rectangle to the width, forming a cylinder.
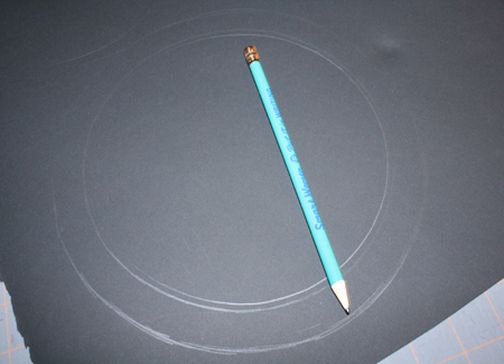
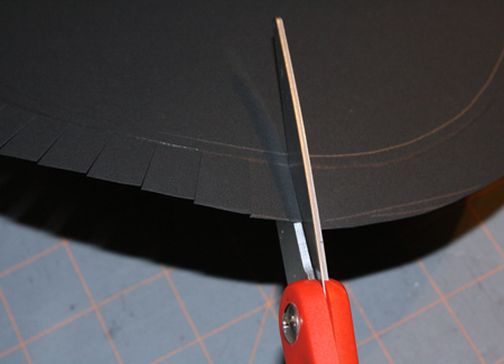
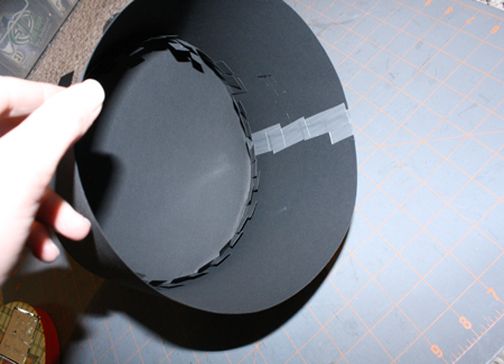
- On black cardboard draw a circle of the same circle as the finished cylinder. This will be the bottom of the hat. Stepping back a couple of centimeters from the finished circle from the outside, draw the second circle, which is necessary for us to attach the bottom to the cylinder. Cut out a large circle and make small incisions from the outer edge to the small circle line. We bend the "fringe" on the back side.
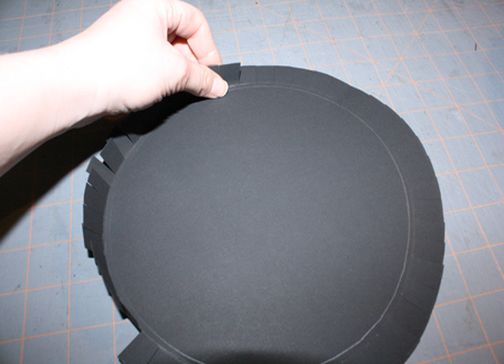
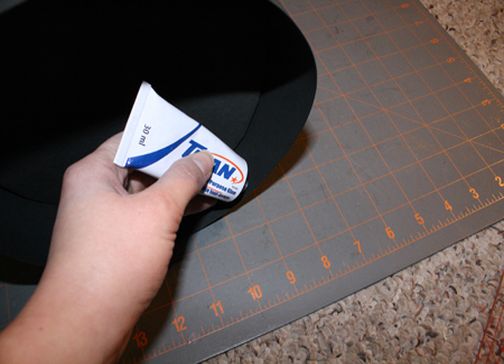
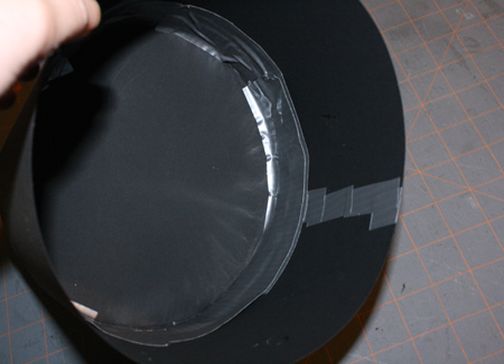
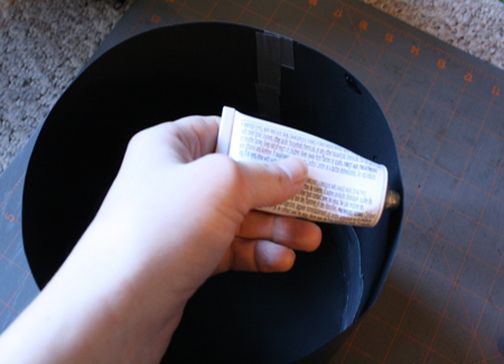
- On one edge of the cylinder we apply super glue from the inside and glue the bottom of the hat to it. For reliability, also pasted with adhesive tape. We leave to dry.
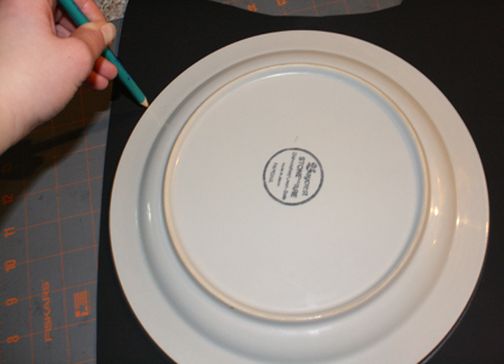
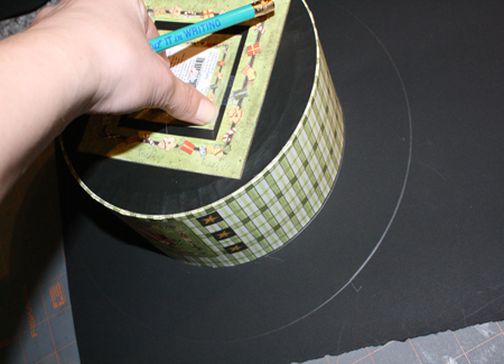
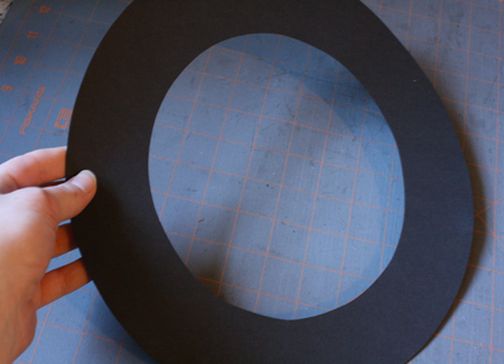
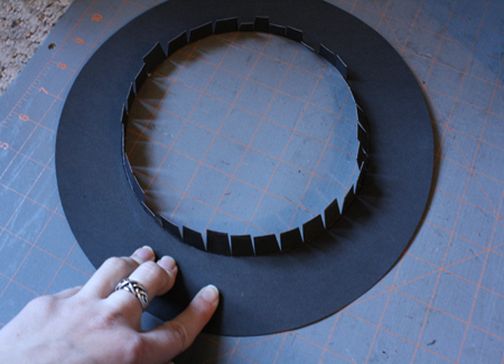
- On a black cardboard draw a circle of this size, what you want to make fields for the hat. Then, in the center of the circle, draw a circle that is equal to the bottom of the hat. Cut out a large circle, and then a small one. The cylinder must fully enter the resulting ring.
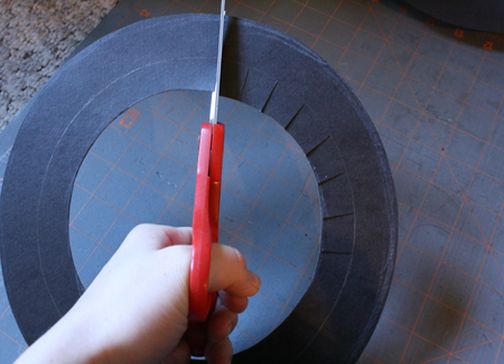
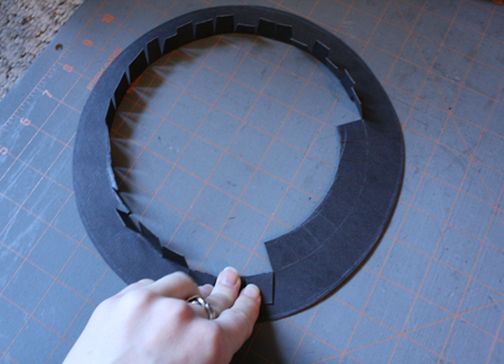
- On black cardboard draw a circle, equal to the bottom of the hat. Then draw one arbitrary circle inside the first one and one around it, stepping back from the edge of the first circle of 2 cm. Cut first a large circle, and then the smallest one. Further, as before, we make small notches on the inner circle. Bend the notches on the inside, spread the glue around the glue and glue together with the previously prepared ring so that the notches stick out in the center. These are the fields of our hat.
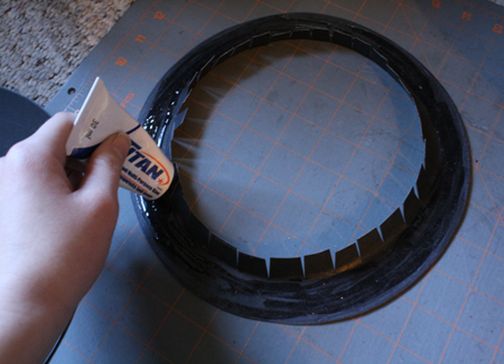
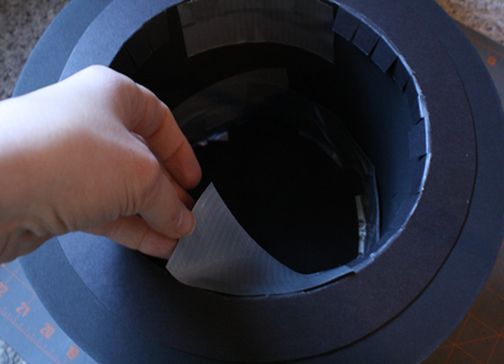
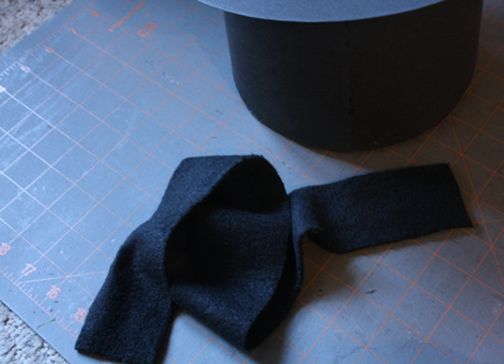
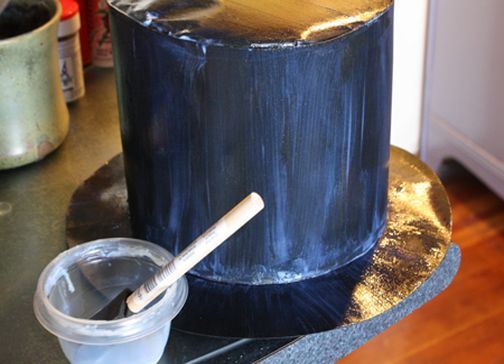
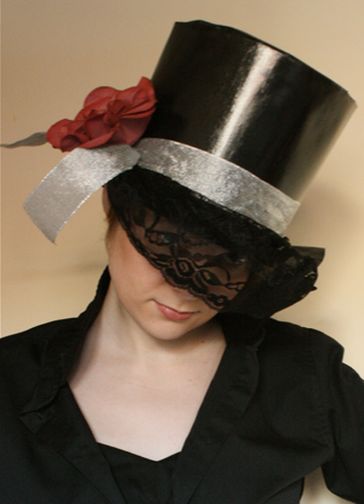
- Again, take the cylinder and apply glue on the free inner edge, then glue it together with the margins and additionally glue it with adhesive tape. Inside the hat we glue a strip of black fleece, we open the hat with varnish and decorate it to our taste.
How to sew a hat a cylinder?
We need:
- cardboard;
- fabric of the desired color;
- adhesive PVA and super glue;
- threads, scissors.
Progress:
- To start, to sew a hat a cylinder with your own hands, you need to make a pattern. Draw a rectangle on the cardboard, the length of which is equal to the circumference of the head, and the width to the desired height of the cylinder. As in the previous master class, draw two circles, for the bottom and the fields of the hat. We cut out the blanks from cardboard (crown, bottom and fields) and from the fabric (crown, bottom and 2 blanks of the fields).
- Preparing the fields from the fabric we sew from the wrong side, turn it over our face, iron it with an iron and insert a frame made of cardboard. The cardboard frame of the crown is glued together, forming a cylinder, and pasted with a cloth. Also glue the bottom of the fabric, and wrap the allowances inside the cylinder.
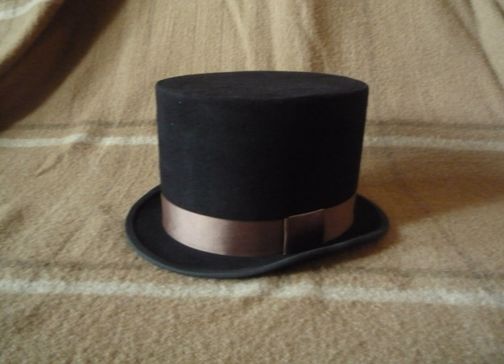
- We glue all parts of the hat: with the crown with the bottom, and then with the margins. We include fantasy and decorate the hat of the cylinder to your taste.
You can make other unusual hats with your own hands.