Today I will tell you how to make a birthday card in the quilling technique .
Such a postcard is an excellent gift for a holiday, because it was made by the hands specifically for the birthday person.
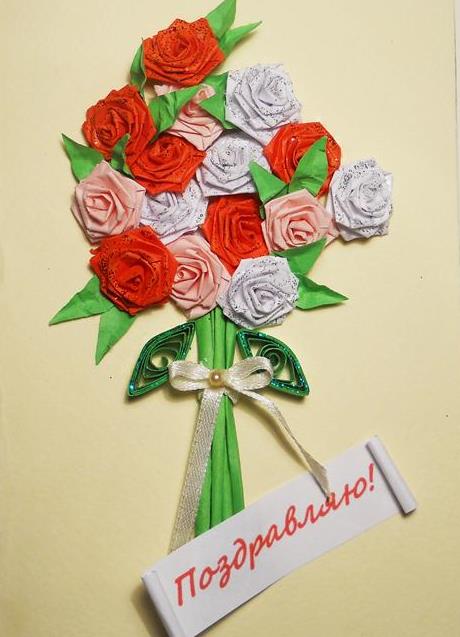
Quilling postcard - bouquet of roses
So, how to make a postcard in the quilling technique?
We need:
- colored strips for quilling (5 mm);
- cardboard base for a postcard;
- scissors;
- PVA glue.
For decoration:
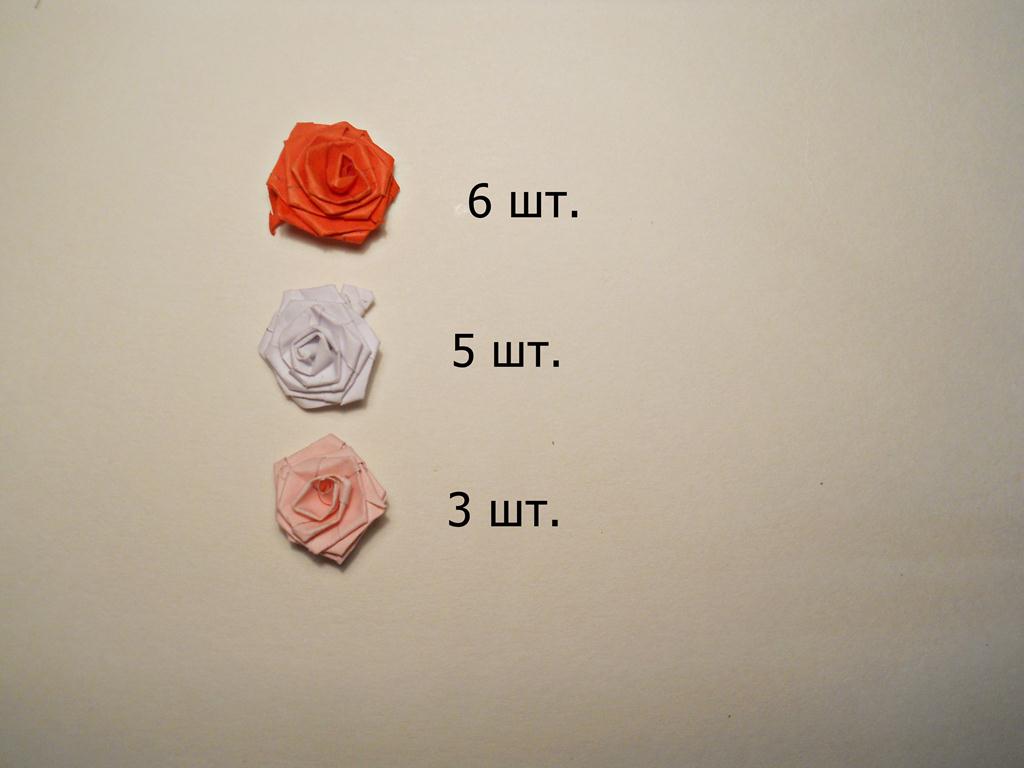
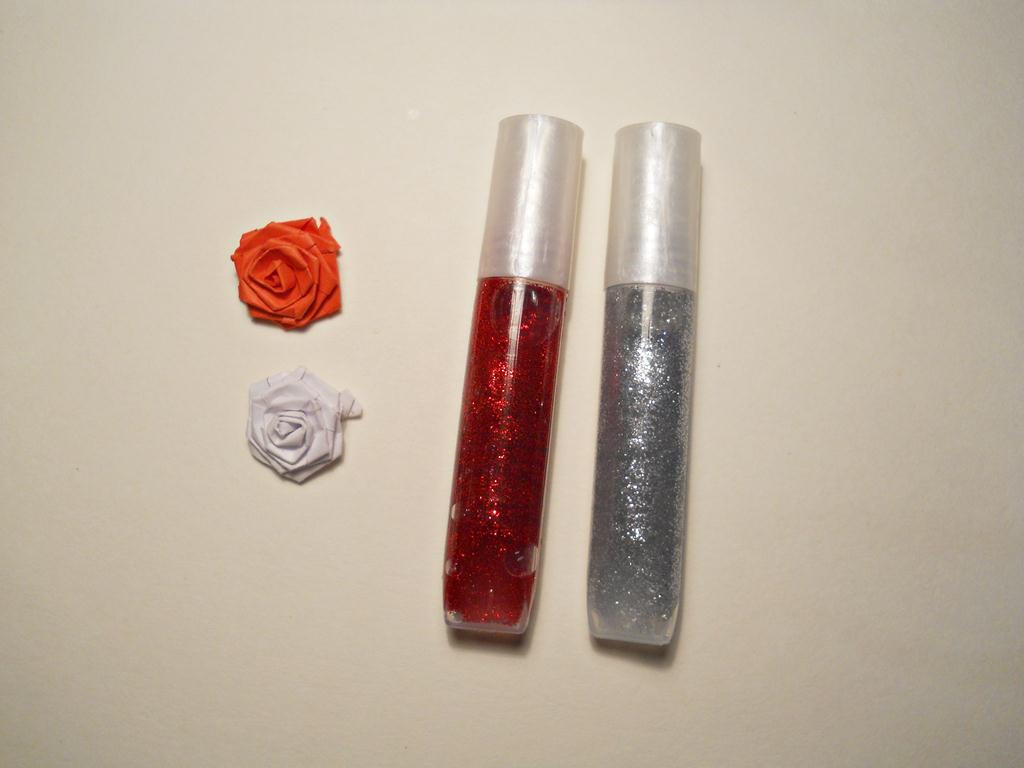
Make roses from quilling paper white, pink and red colors:
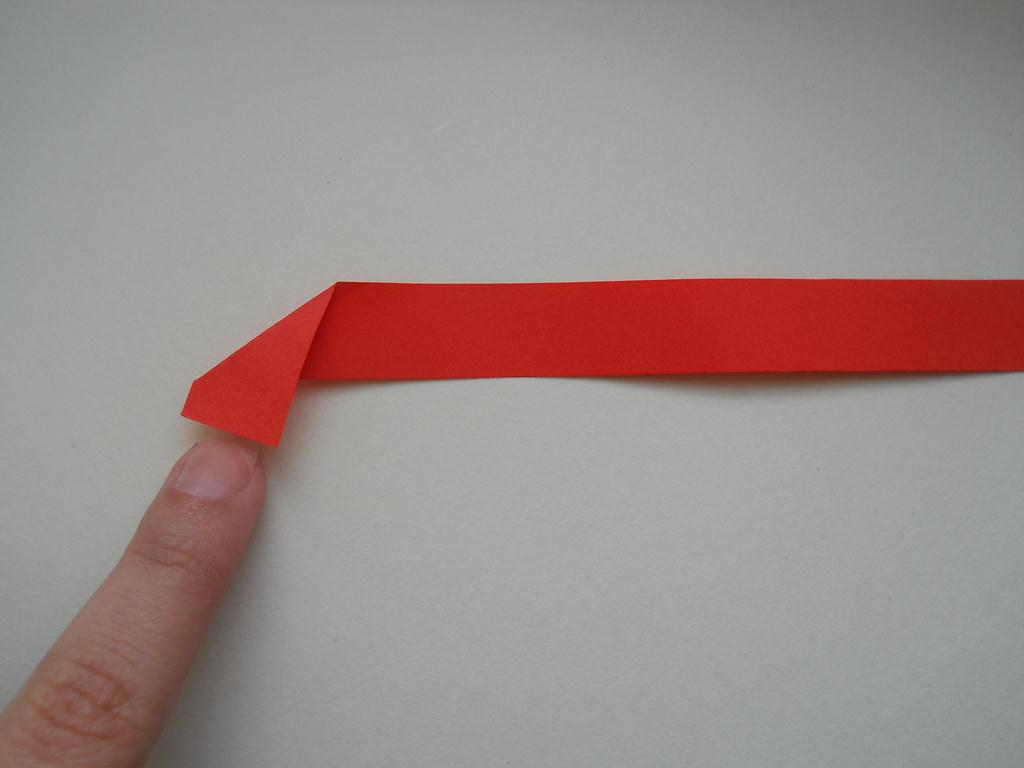
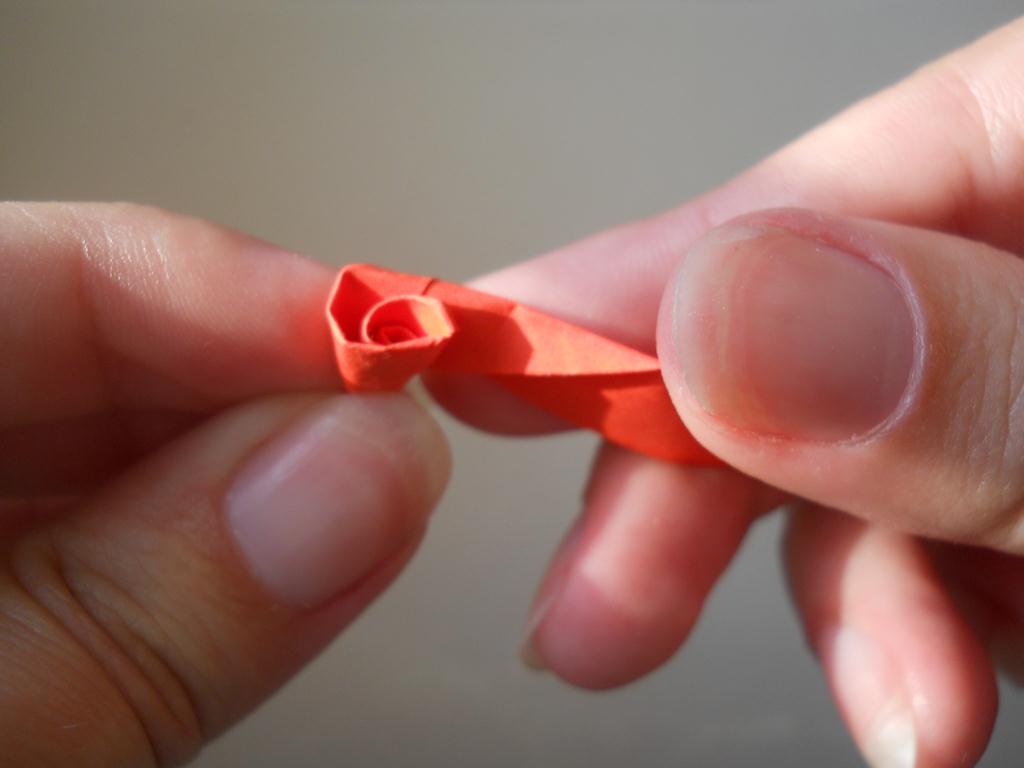
- We take a strip of paper. The longer the strip, the more magnificent the rose. We make the first bend.
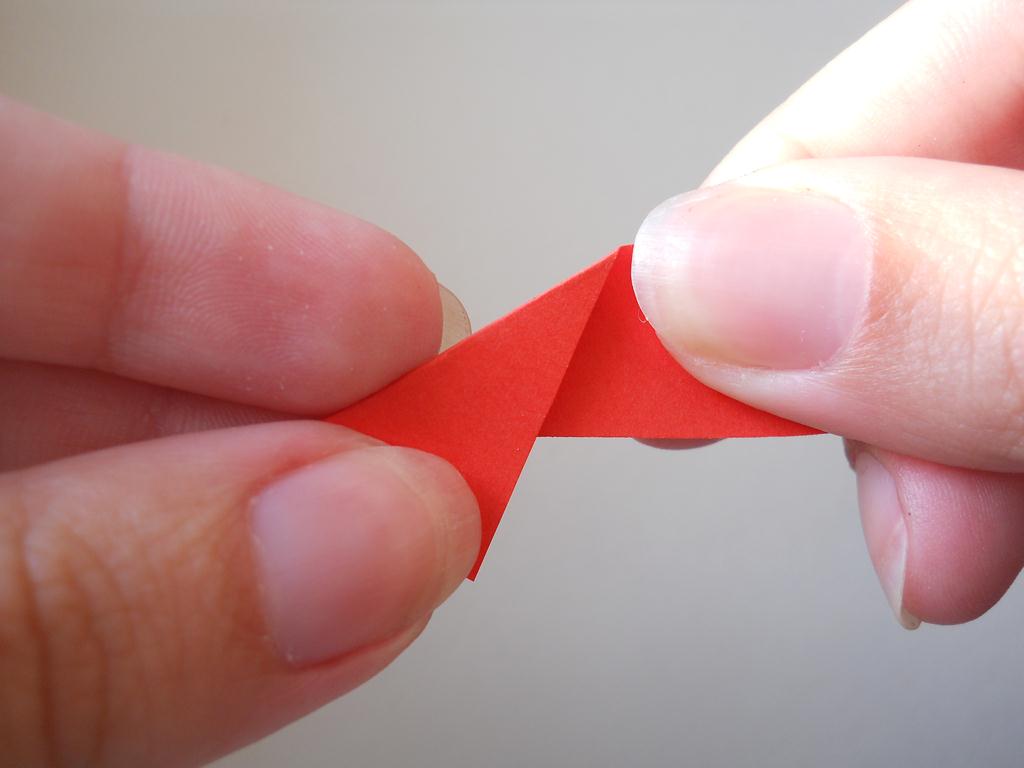
- Then we make a bend in the opposite direction.
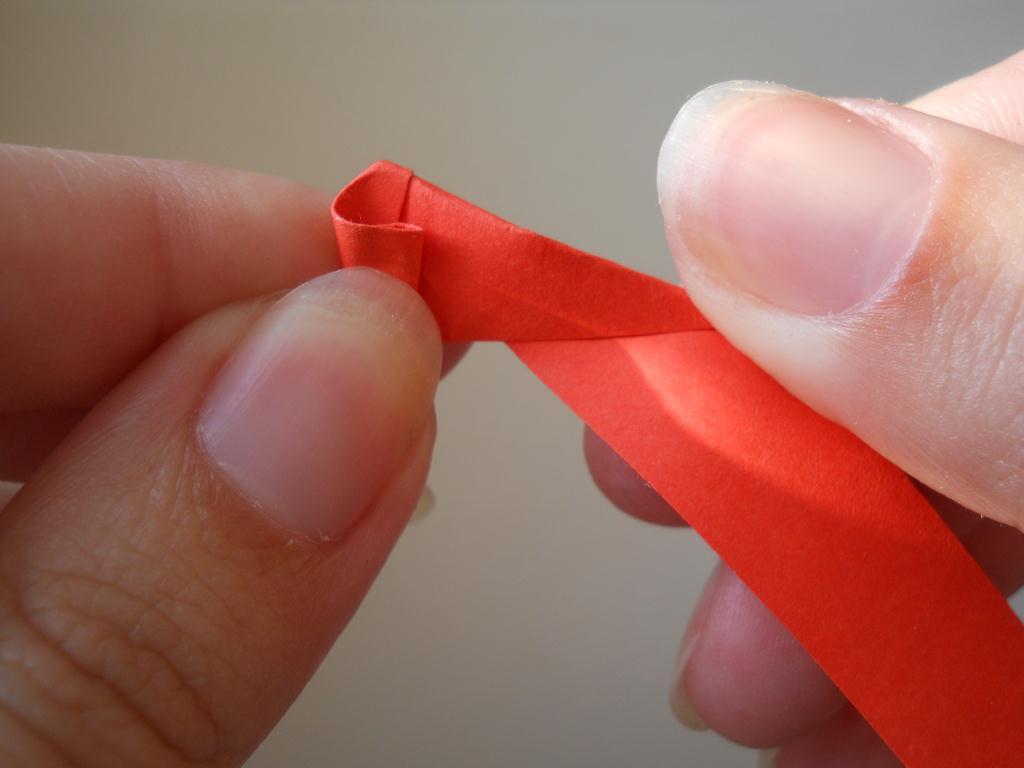
- We twist the strip, we get the middle of the flower and the leg.
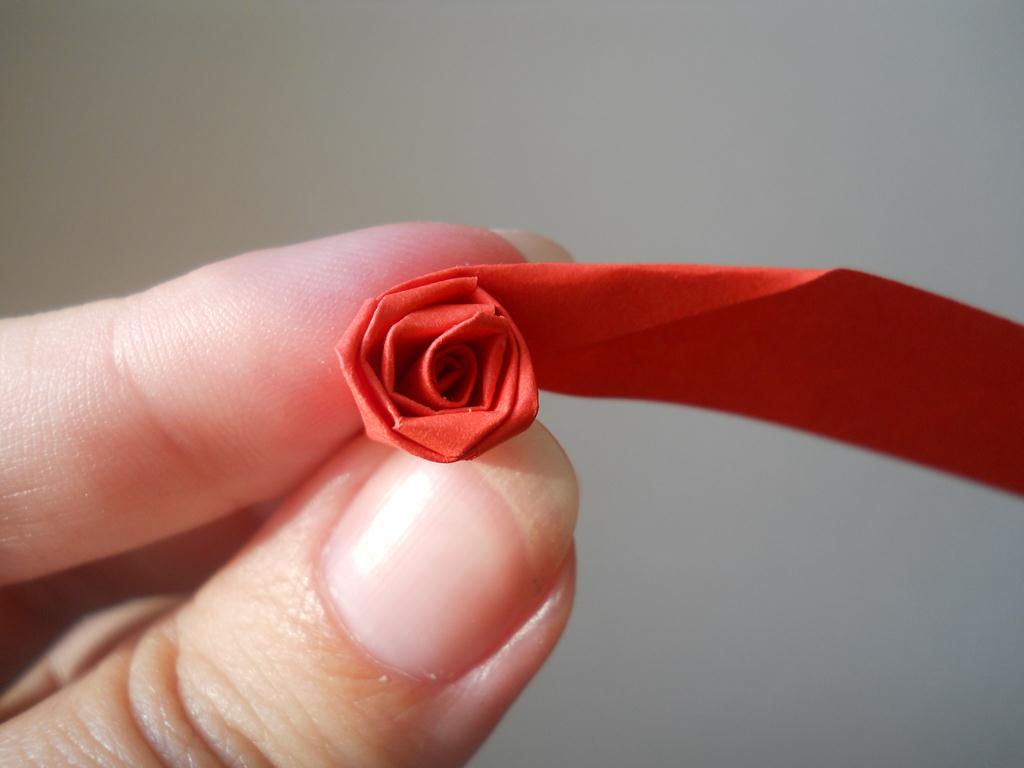
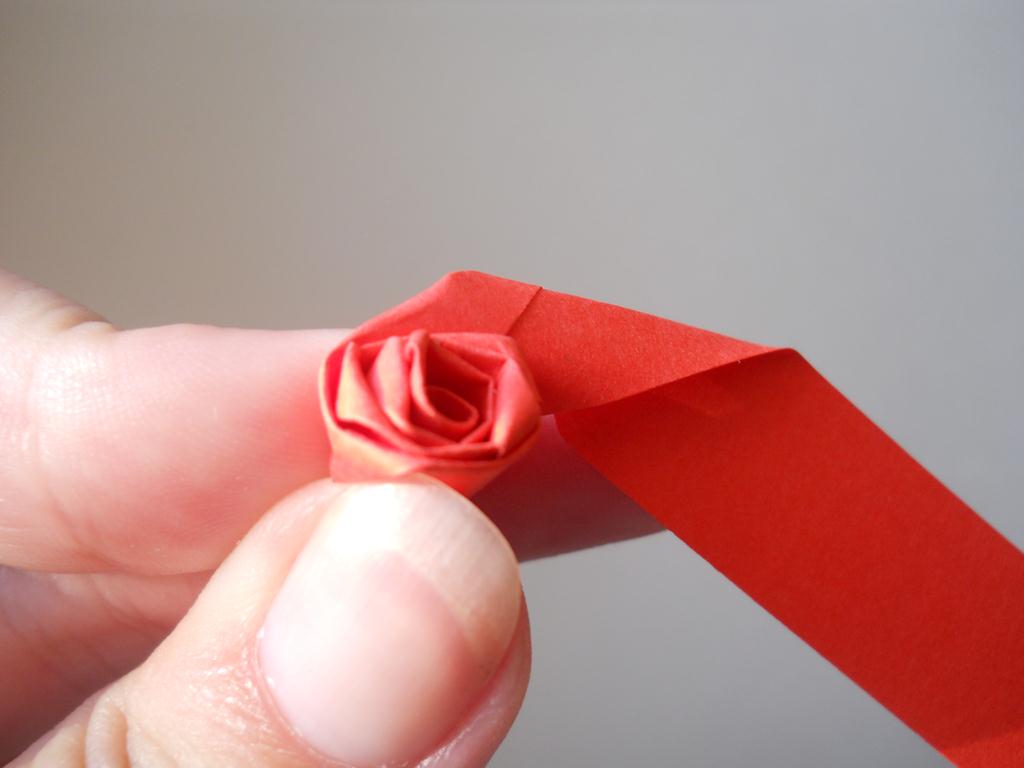
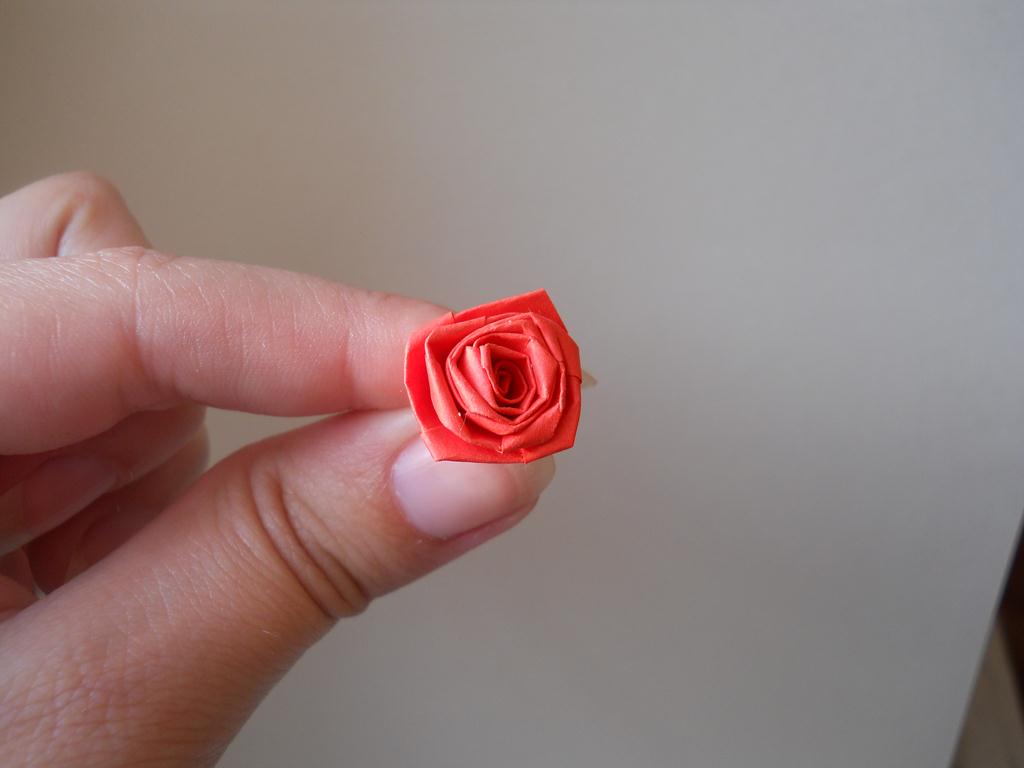
- Then we bend the strip from ourselves and scroll. So we do constantly. Bent from themselves - they scrolled, from themselves - they scrolled.
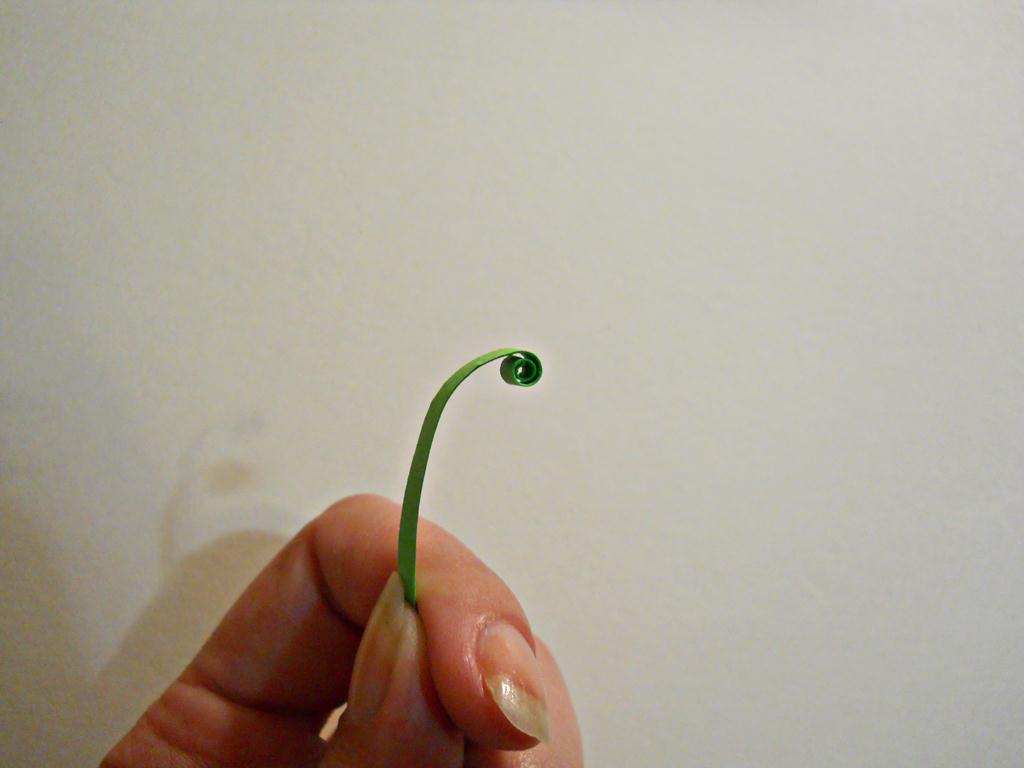
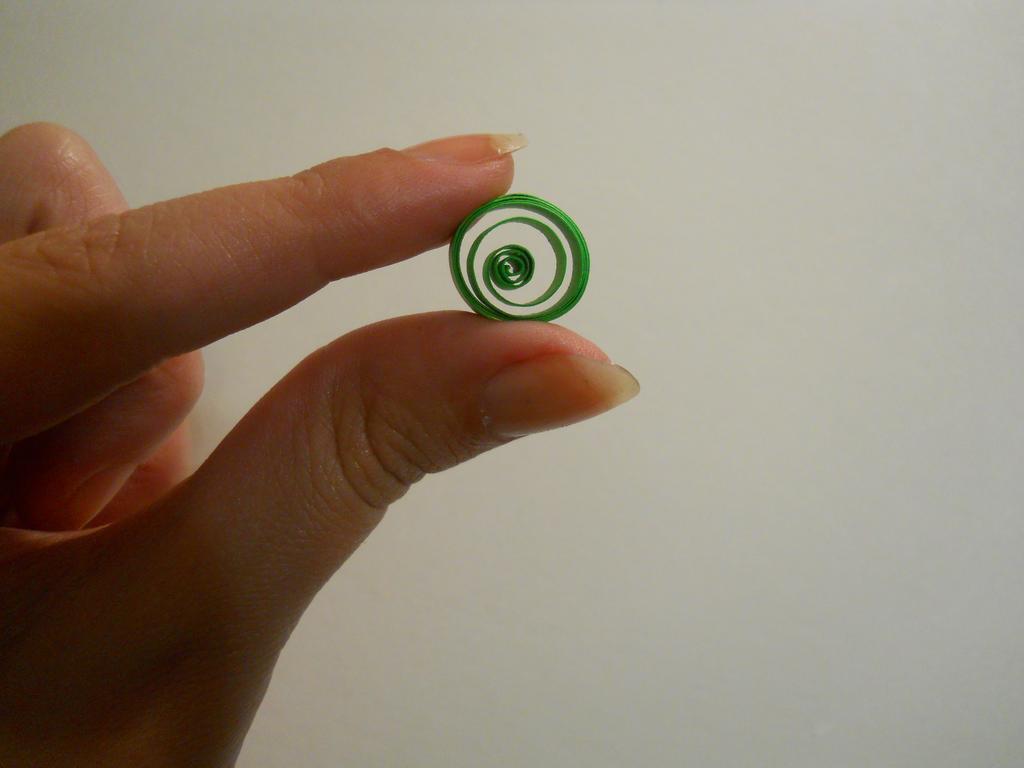
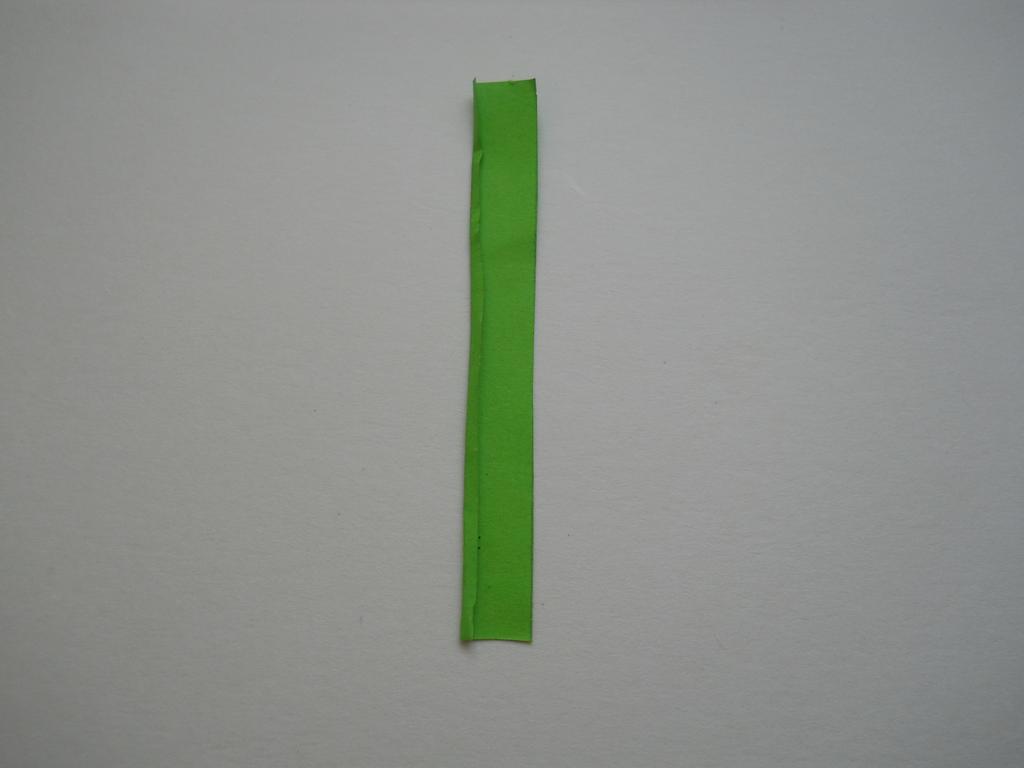
- Now let's make green paper for our quilling postcards.
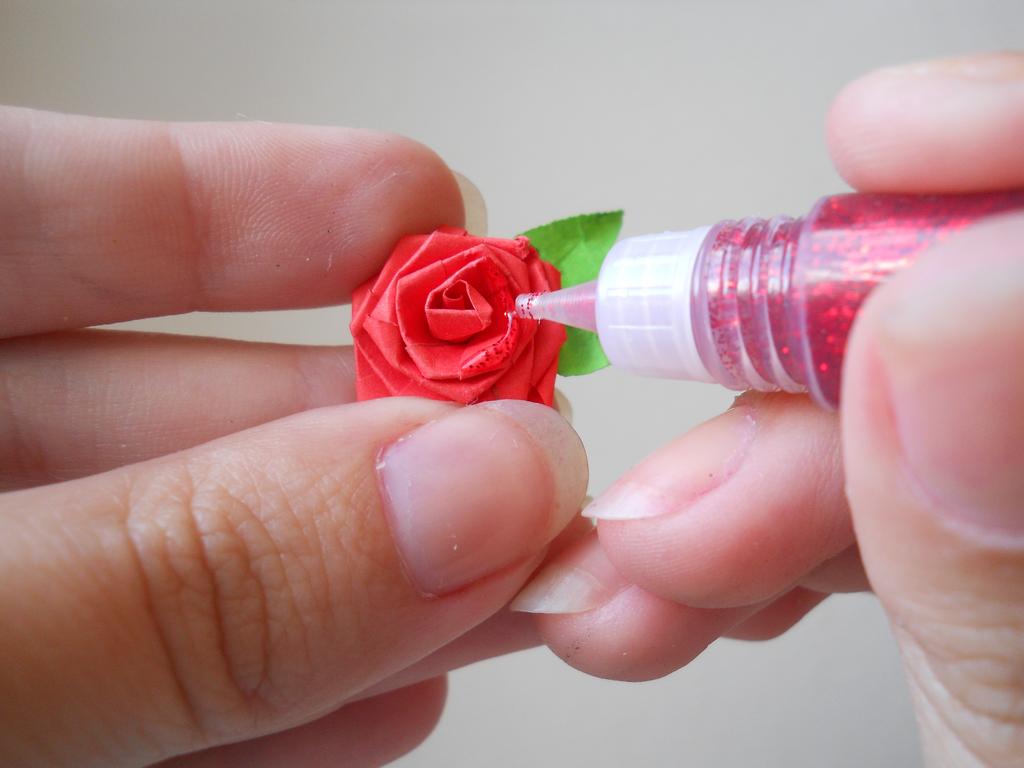
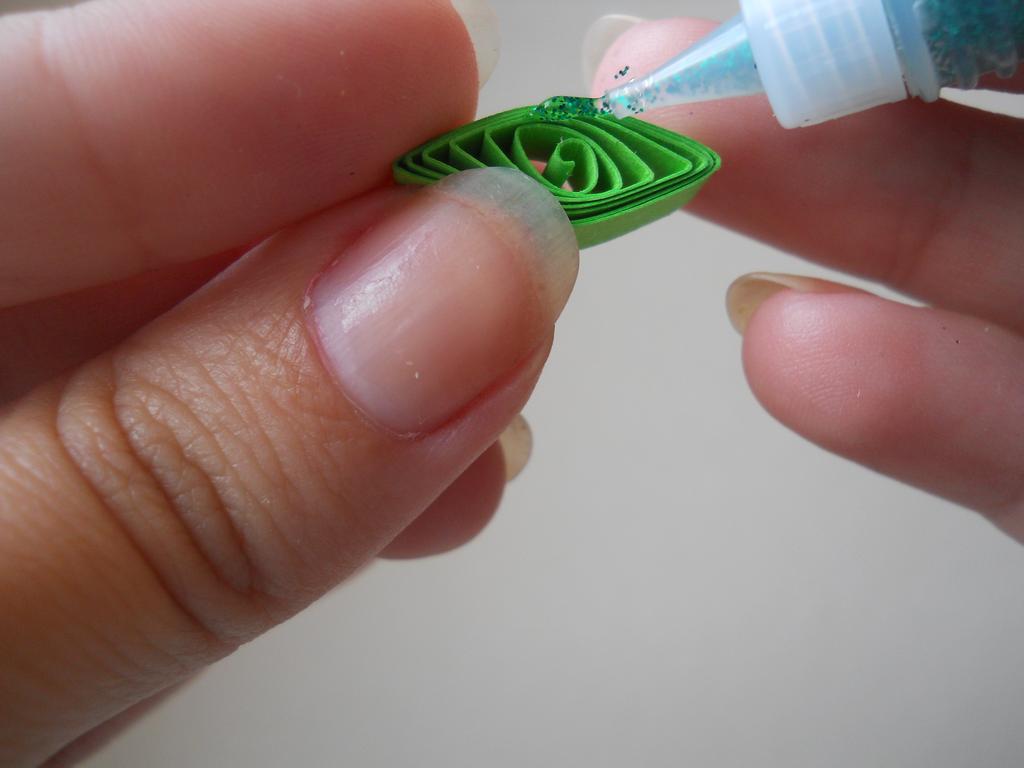
- Now we decorate the roses and leaves with gel-gloss. Apply gel-shine on red and white roses (pink leaves empty for contrast) And also on the leaves. For red roses, we use red gel-shine, for white roses - silver, for leaves - green.
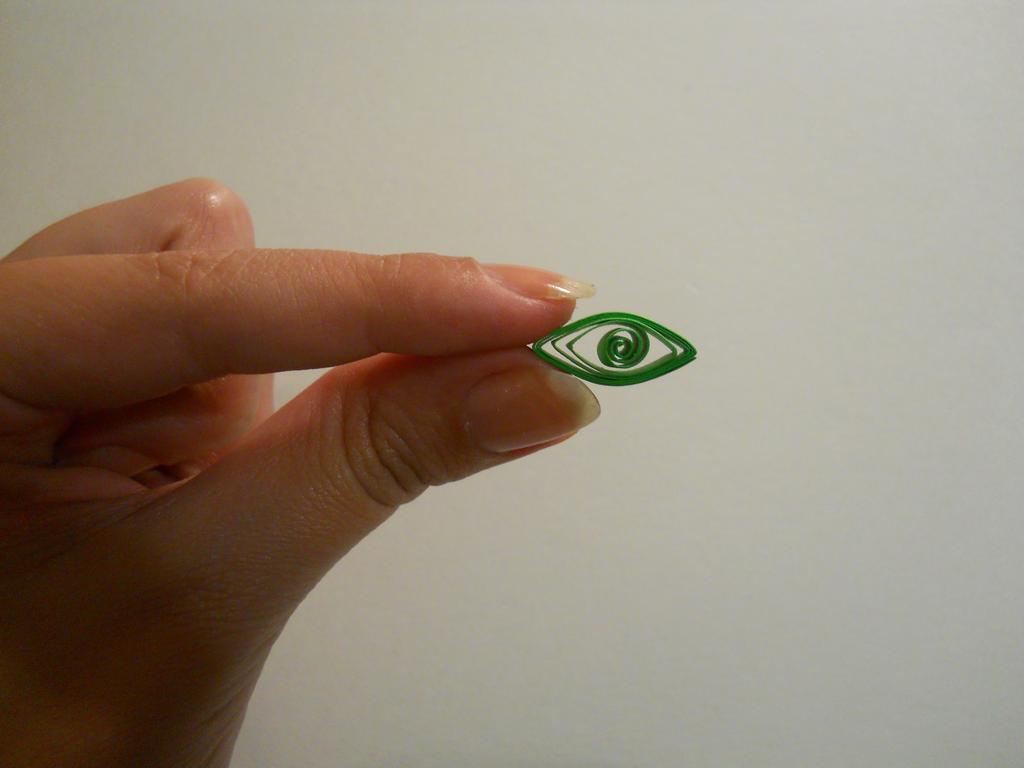
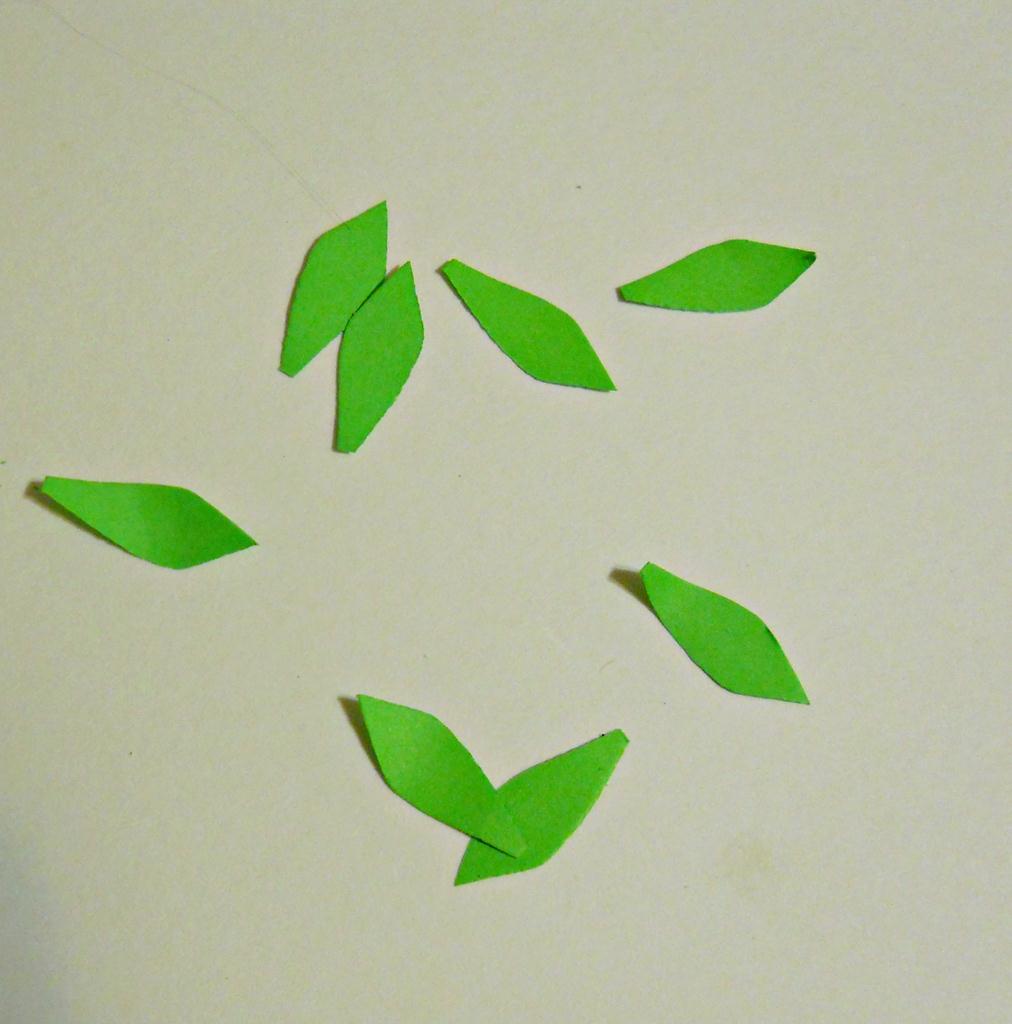
- Let's make the leaves for roses. Cut out the green paper from the leaves.
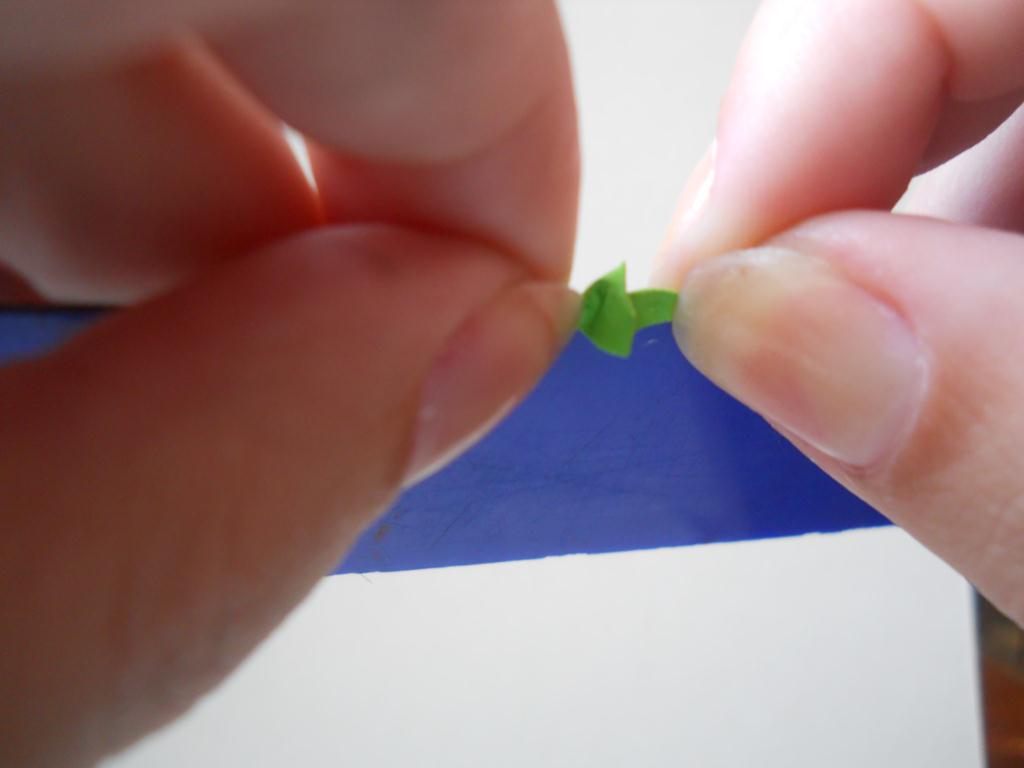
- Fold in half and use the ruler to create an accordion.
- We paste the leaves on the roses.
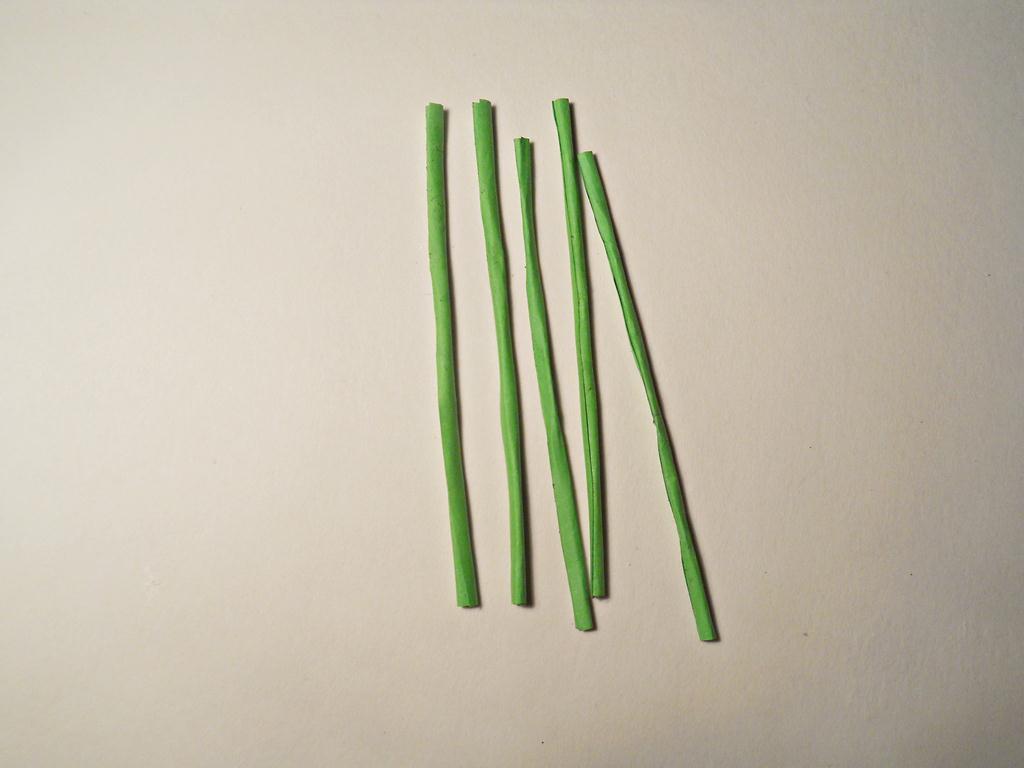
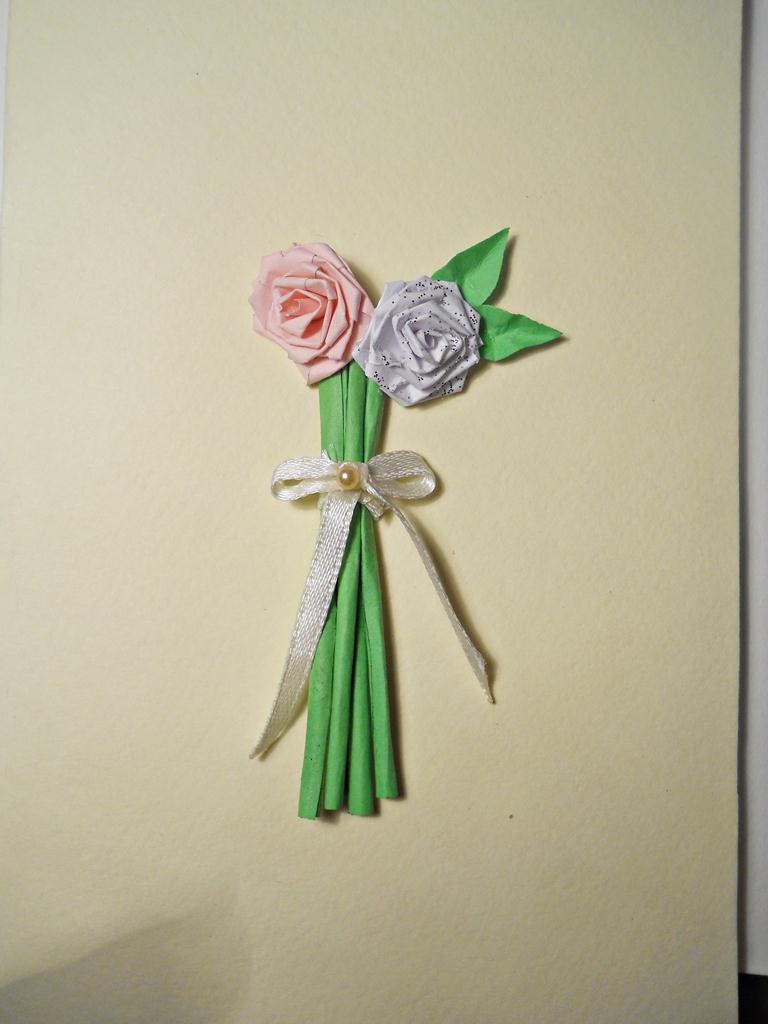
- Also from green paper we twist the "legs" for our roses.
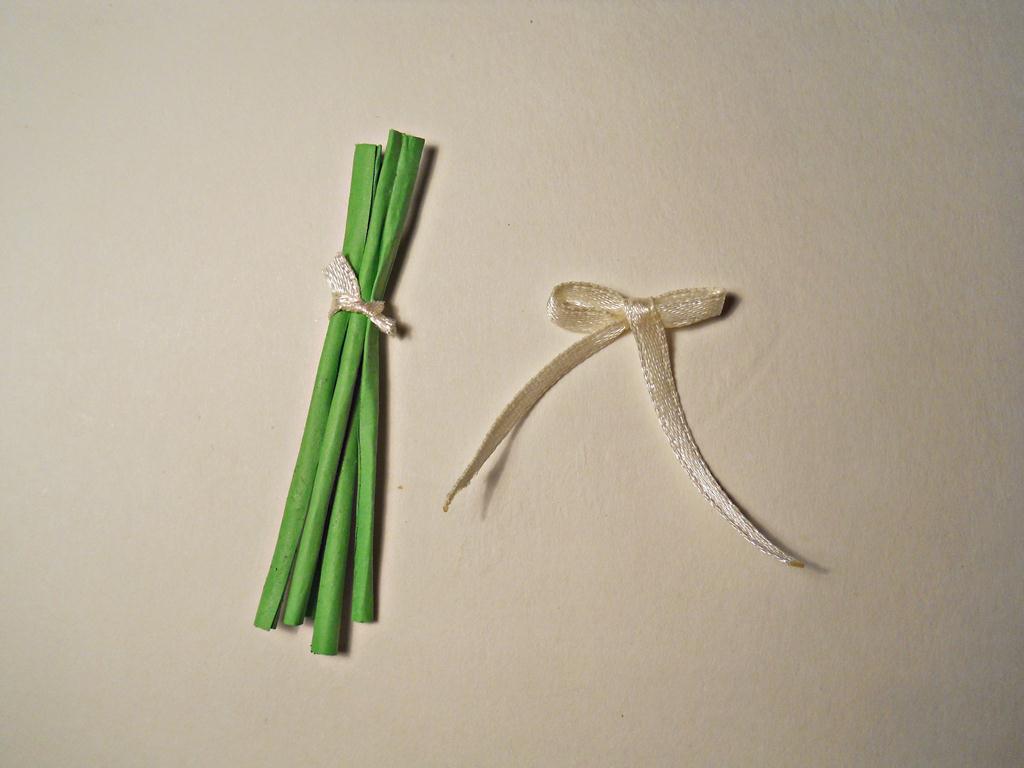
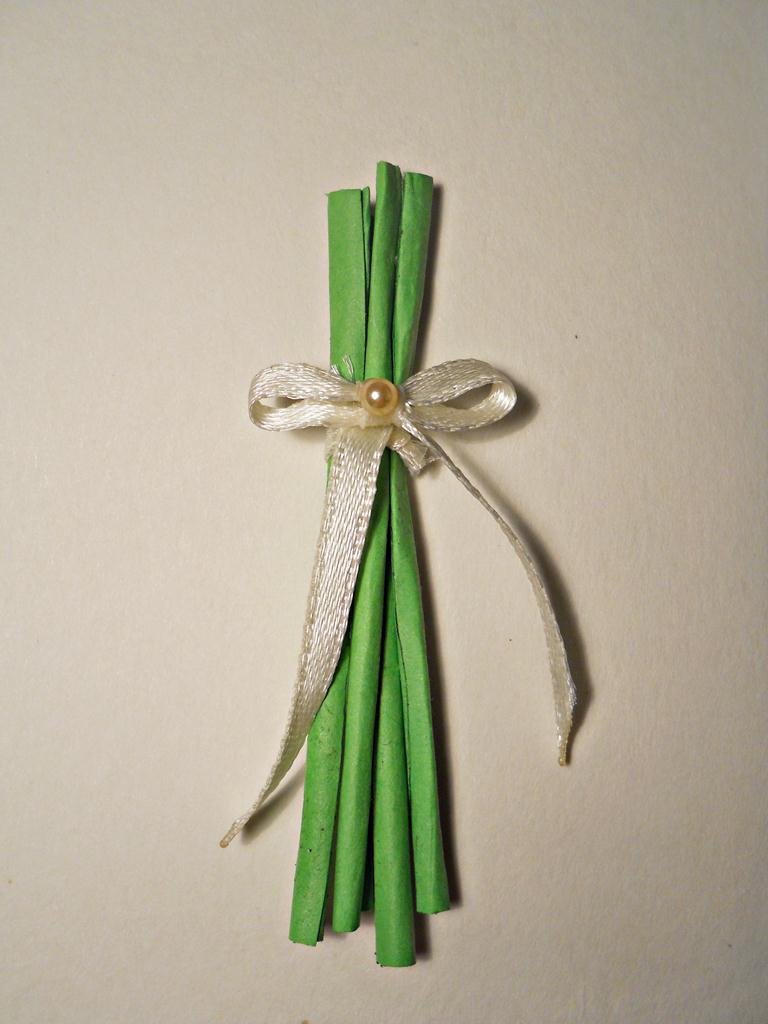
- Immediately connect the "legs" with a ribbon. From the ribbon of the same color we make a bow.
- We decorate with a bead.
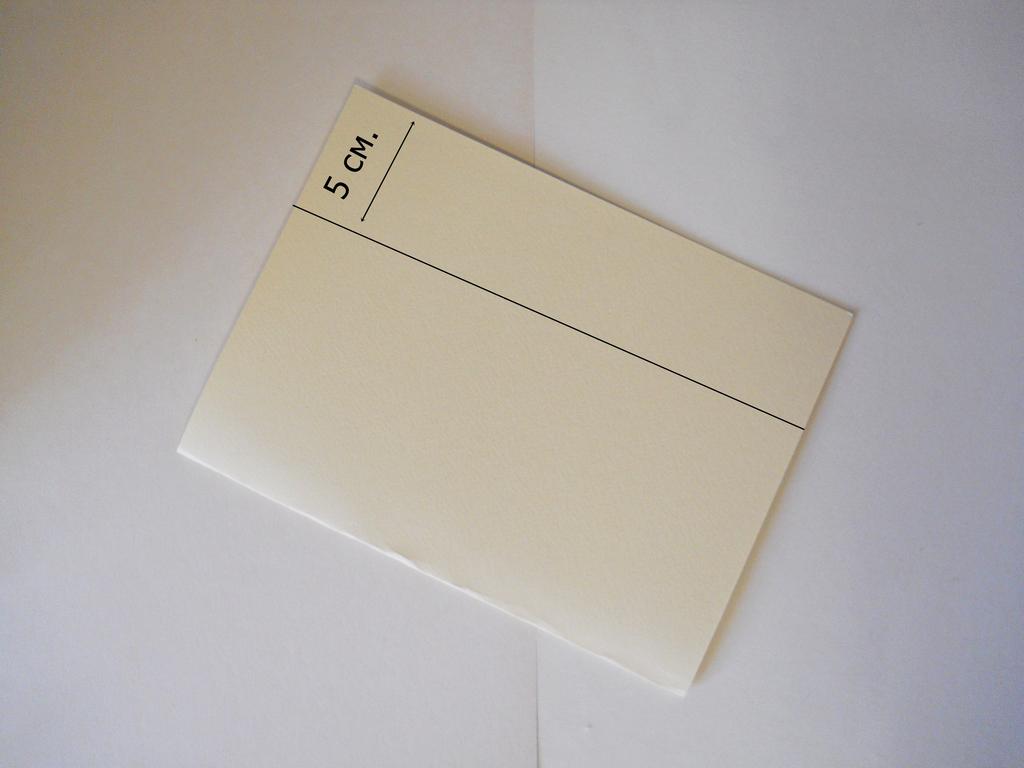
It's time to make the card itself (the basis).
We fold a sheet of cardboard in half and from the free end measure 5 cm. Cut. Done.
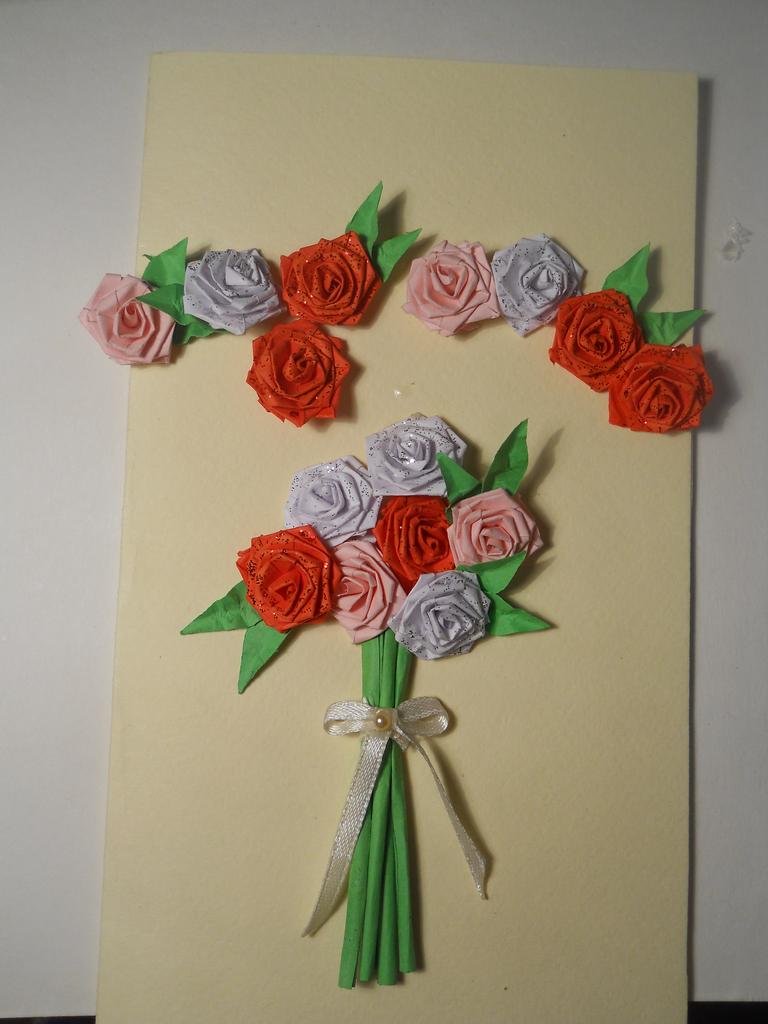
The matter is left for small. On the cardboard basis we glue the "legs" of roses already with a bow and bead. And we begin to glue roses from the bottom.
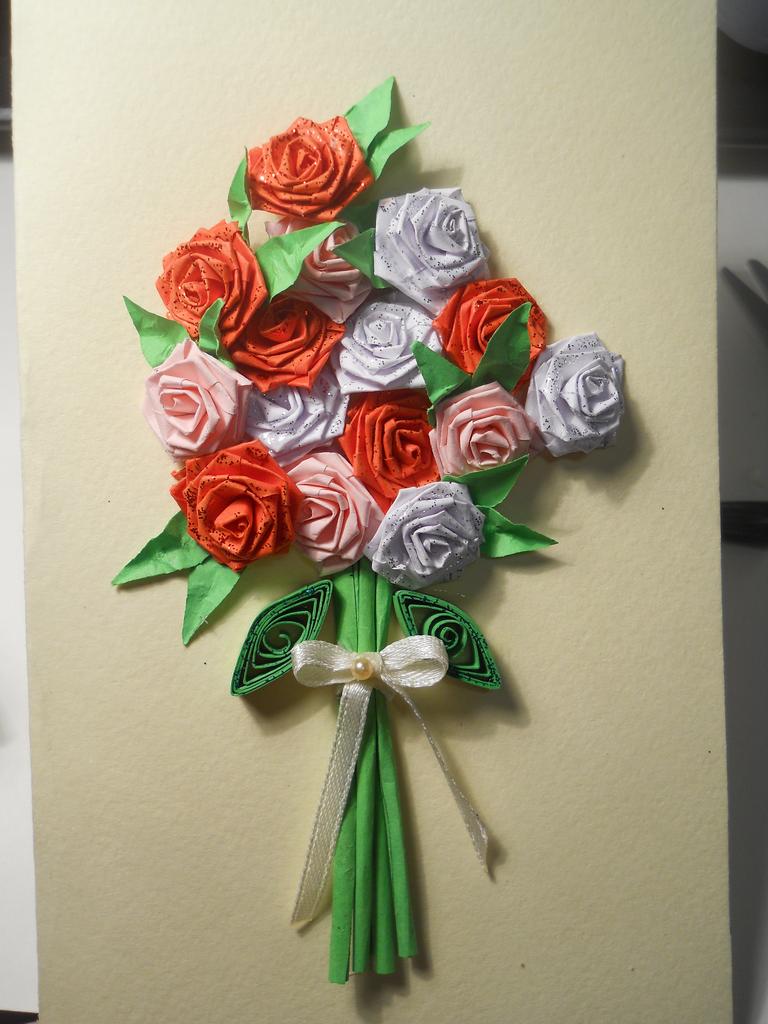
When the bouquet is formed, glue our quilling leaves.
That's all! Our birthday card in the quilling technique is ready.
Subscribe to receive the best articles on Facebook
I already like Close