One of the most popular types of needlework nowadays is embroidery with satin ribbons. Most often, all kinds of flowers are objects of such works. Make them simple, but the embroidery from ribbons look very exquisite. In order to create beautiful and original products in this technique, it is enough to own only a few types of stitches. Let's consider the following small master classes on how to learn how to embroider ribbons with simple florets.
Master-class "Embroider with lilac ribbons"
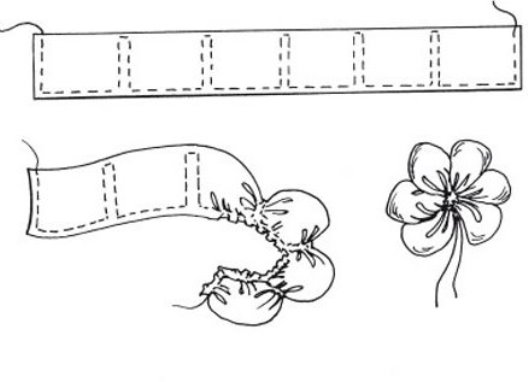
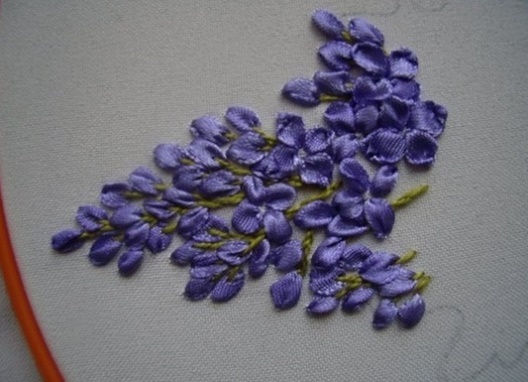
One of the easiest ways to embroider a lilac flower with ribbons is presented in the diagram. Let's figure out how to apply it in practice.
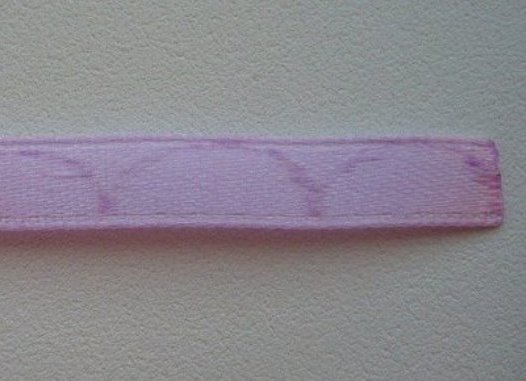
- First, on a small piece of a narrow satin ribbon, draw a semicircular arc with a pencil. Their number determines how many petals the flower will have. For lilacs, they need to be made, respectively, four.
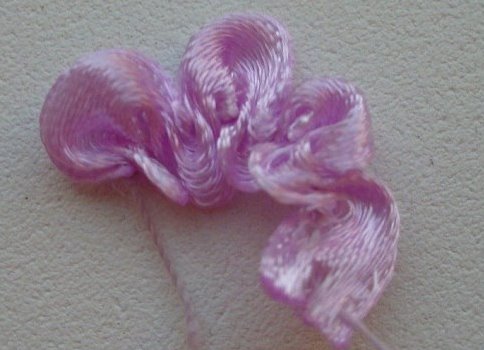
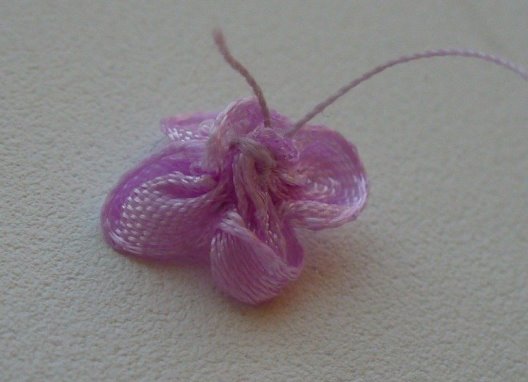
- Then, along this line, straight on the tape, thread the seam "forward with a needle" of the required length and pull the thread.
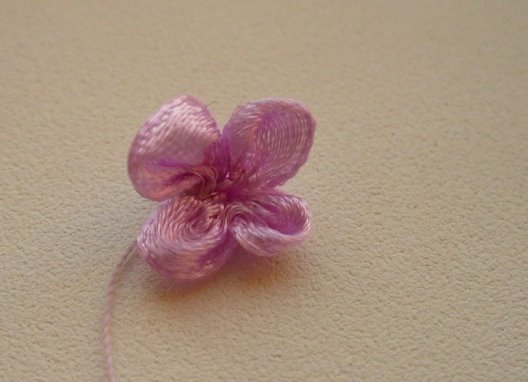
- You will have a small flower of four petals.
- Fix the thread on the back of the flower without breaking it, then sew to the fabric at the desired place of embroidery.
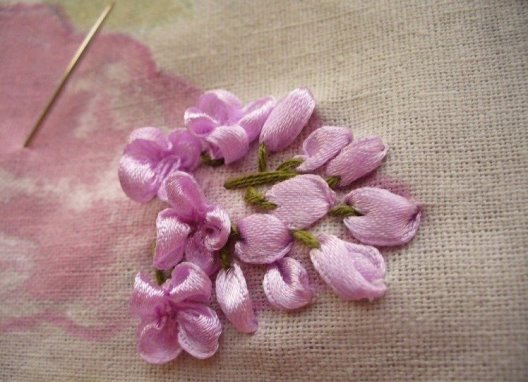
- Large leaves on our embroidery are found only occasionally, to emphasize the splendor of a bush or twigs of lilac. The main weight is made of leaves, made with ordinary stitches in the form of a loop. It is easy to carry out by hooking the tip of the loop from the tape for several warp threads. This method is suitable if you are embroidering on a canvas with a large weave of threads.
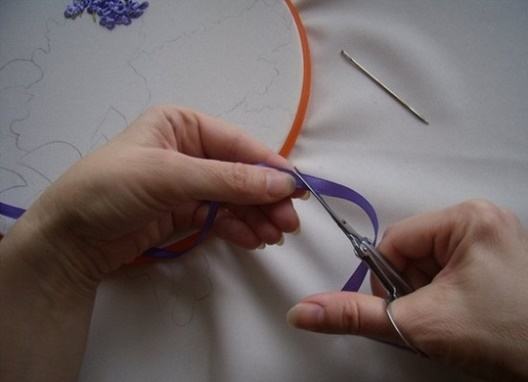
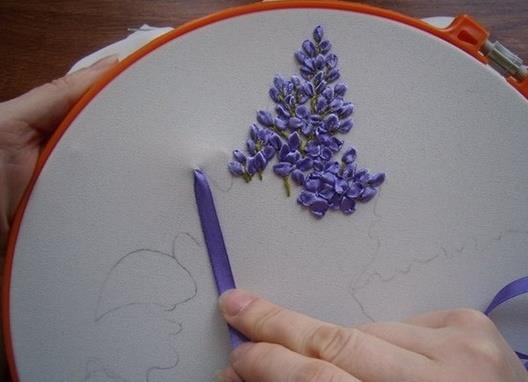
- And now consider another master class that tells about the embroidery of lilacs with so-called lush stitches. For each of them you need a tape with a width of 0.5 cm. Select the needle with a wide enough eyelet so that the tape can easily pass through it.
- On the previously printed on the fabric pattern, embroider a lot of small stitches, imitating a dense branch of lilac. In this case, the tape can not be cut, performing each stitch as when sewing with conventional threads.
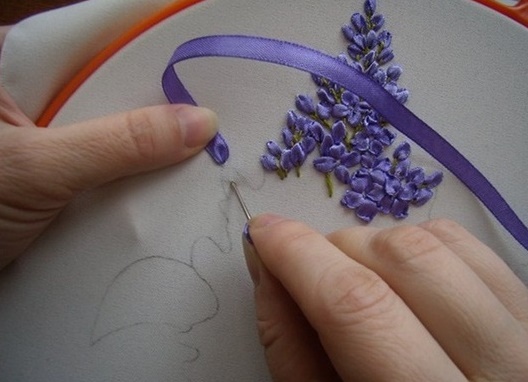
- In order to perform a magnificent stitch, you need to insert the needle from the top down, stretching the tape a distance equal to the length of the flower (about 1 cm), and then withdraw the needle to the wrong side and return back.
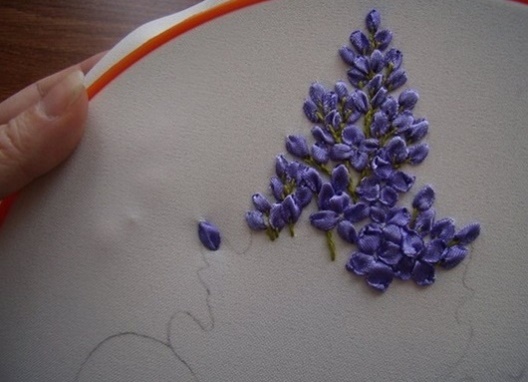
- On the front side of the embroidery you will get a peculiar loop of two parts that begin and end at one point. And since usually the satin ribbon has one side shiny and the other is matte, this creates an interesting shadow effect on the embroidered colors. You can make the middle of the loop more or less closed, at your discretion and, of course, focusing on the general idea of embroidery.
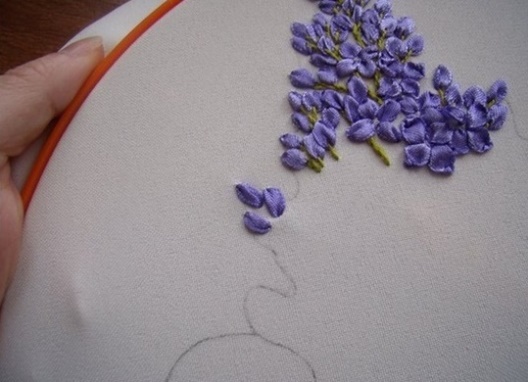
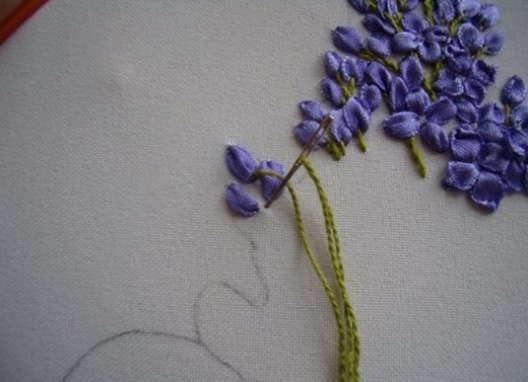
- After all the petals are embroidered, complement the work with green stems. In the lilac, the stems are small, so it is better to perform them with ordinary threads (mulina or iris). For larger colors, you can use green ribbons of different shades.
For these elements, use a stem suture.
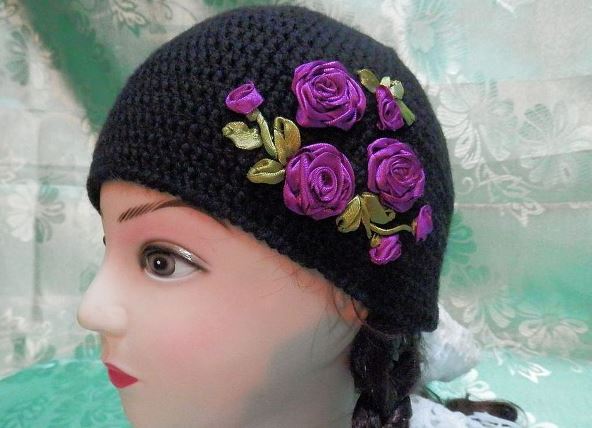
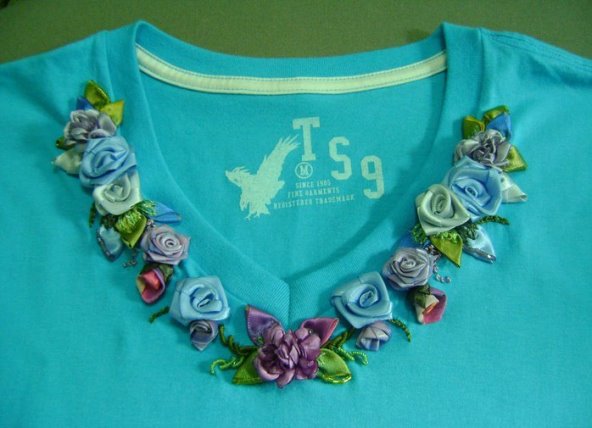
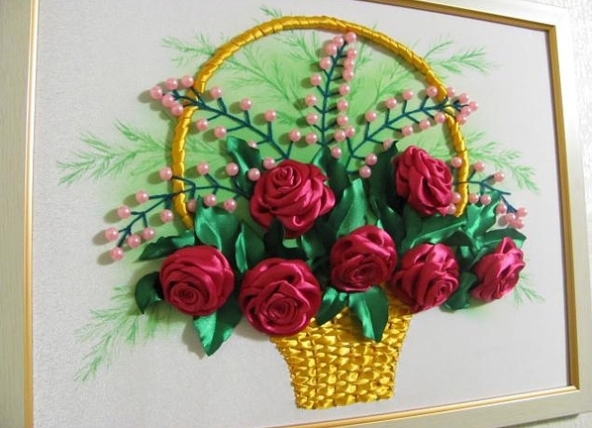
As practice shows, many kinds of flowers can be embroidered with ribbons: cornflowers, asters, chrysanthemums, tulips , orchids and even sakura. Roses are embroidered a little differently, but this is as simple as the above scheme of embroidering lilac ribbons.
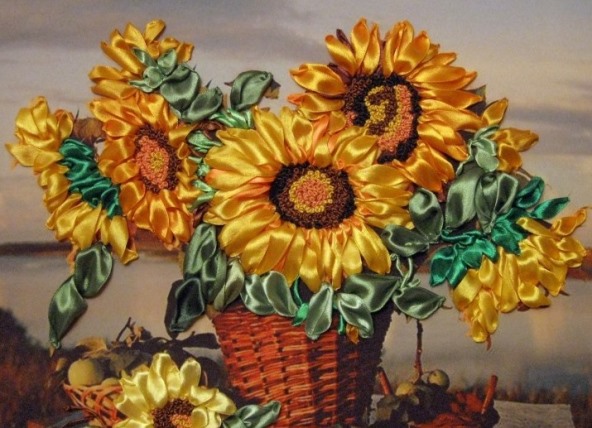
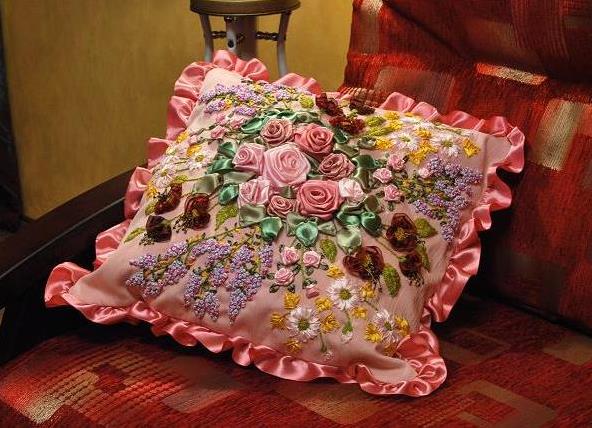
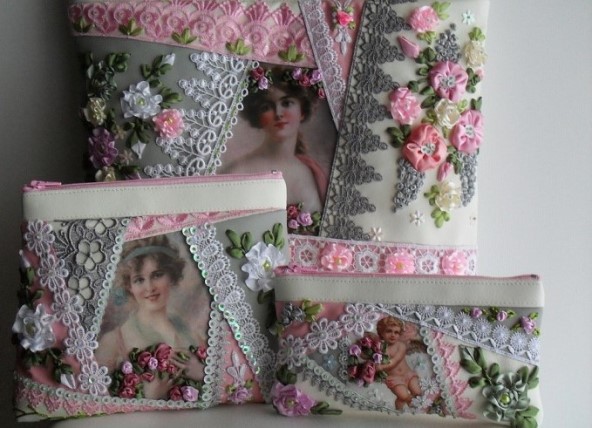
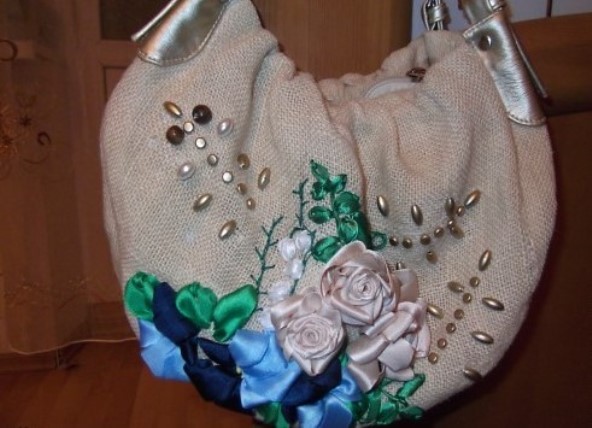
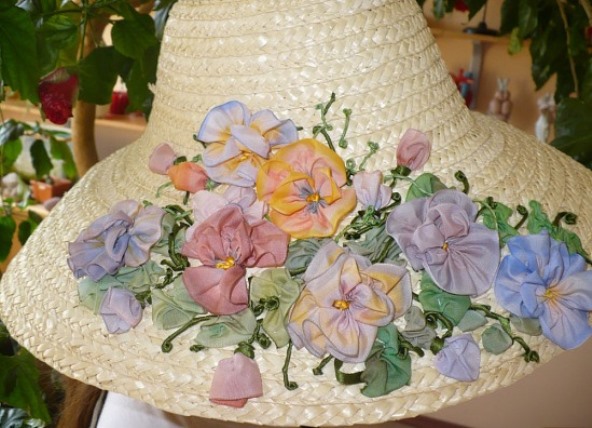
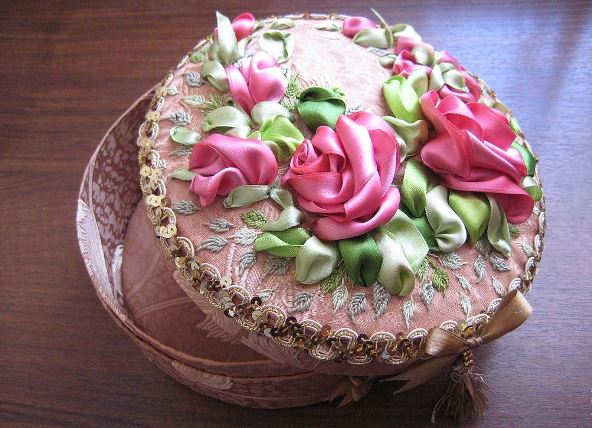
As an example, below is a gallery of products decorated with embroideries. These are pillows, bags, clothes and much more. You can embroider ribbons with anything, because any handmade product looks very stylish and fashionable. And the pictures embroidered with satin ribbons are the most popular variety of this needlework.
| | | |
| | | |
| | | |