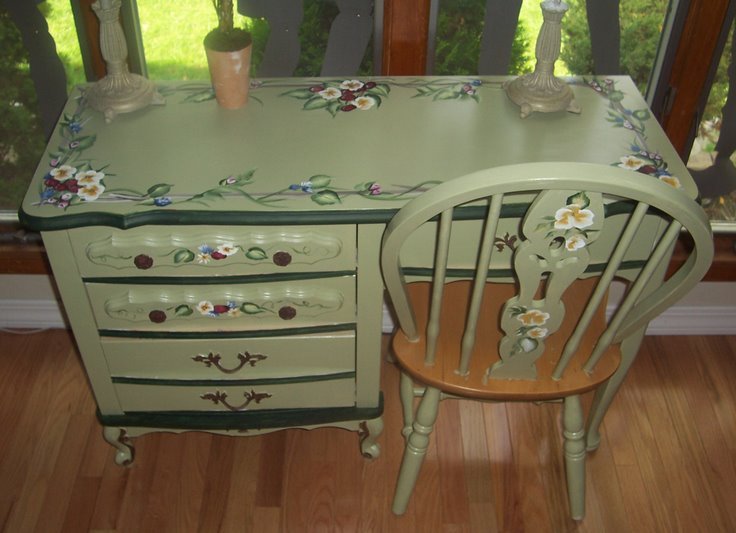
After major repairs , people in the apartment have a lot of unnecessary furniture, which does not fit into the new design of the room. Lazy it is thrown away or resold, and skillful hostesses give her a new life, using simple ways of decorating furniture. Updated products often become a highlight of the interior, adding personality to it.
How to decorate the old furniture with your own hands?
If you want to decorate old furniture yourself, it is advisable to begin training on unnecessary boards, door handles and compact boxes. After that you can start working with full furniture.
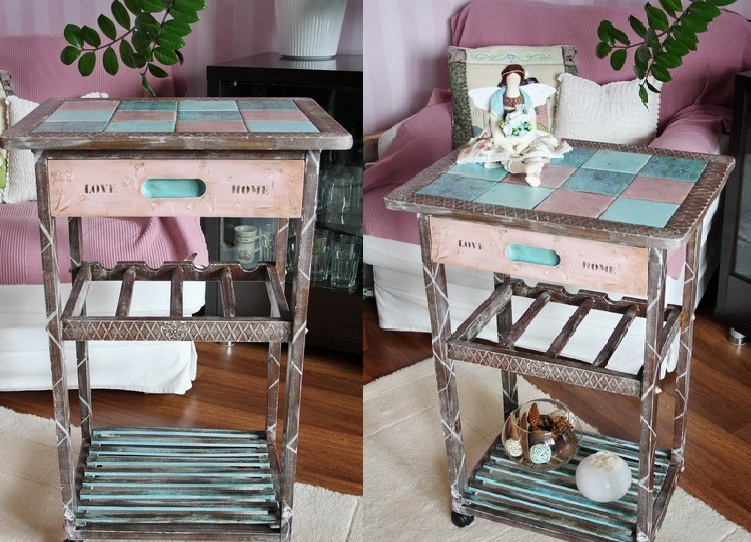
For example, consider the decoupage of the bookcase with an unusual countertop, which will organically look in the kitchen or in the hallway. In your case, it can be a chair or a small coffee table . The work will be performed in several stages:
- Preparation . Using sandpaper, sand the wood surface. On our table top there is a tile, which also needs to be treated with a sandpaper soaked in water. When the roughing works are finished, wipe the shelf with a damp cloth, and degrease the ceramic with a glass cleaner.
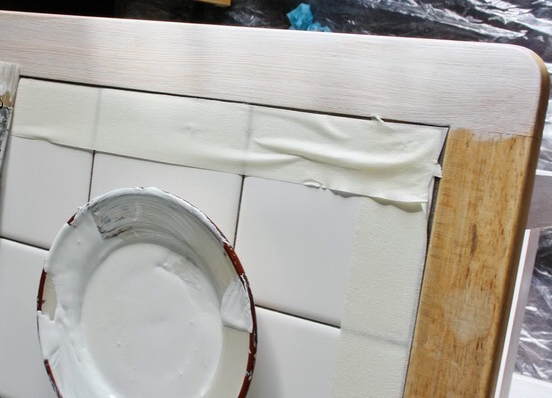
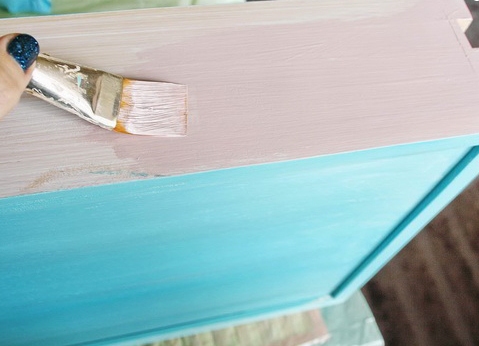
- Primer . Mix the acrylic primer with a water based varnish in a 1: 1 ratio. Apply the mixture with a flat brush. So cover the whole product except the place where the box is inserted. Tile paint so that dark seams are visible.
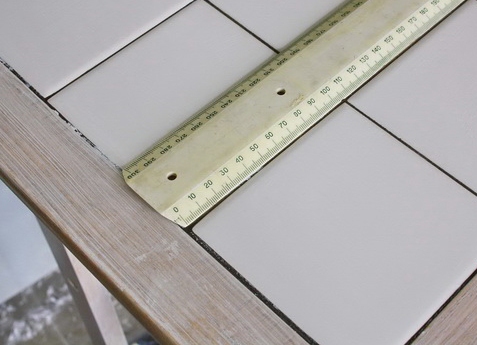
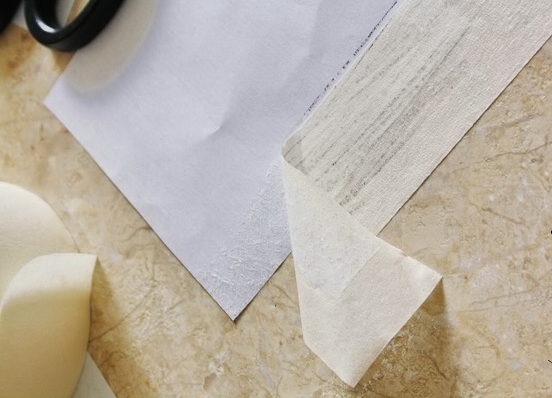
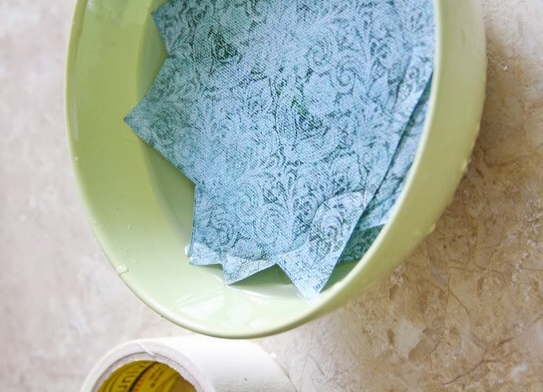
- We work with drawings . Take the decoupage cards and cut them according to the area of the ceramic tiles. Flip the squares and thin out their edges, using a paint tape. Then soak the thin paper in warm water for a few minutes.
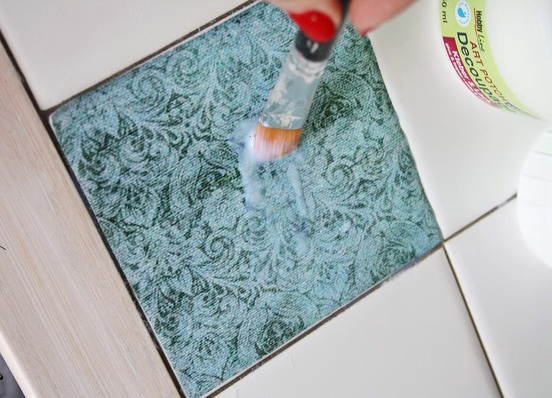
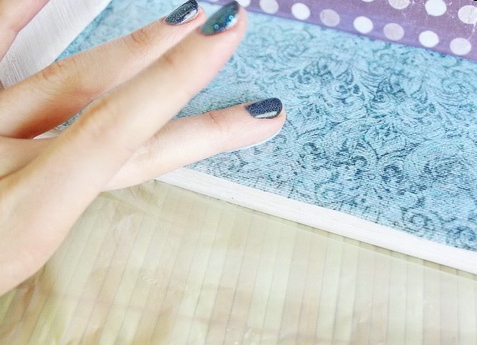
- Adhesive card . Dry wet motifs with a napkin. Apply glue to the surface of the tile with a brush for decoupage and glue the square. Apply one more layer of glue on top. Gently smooth the motif. Leave the dried up squares.
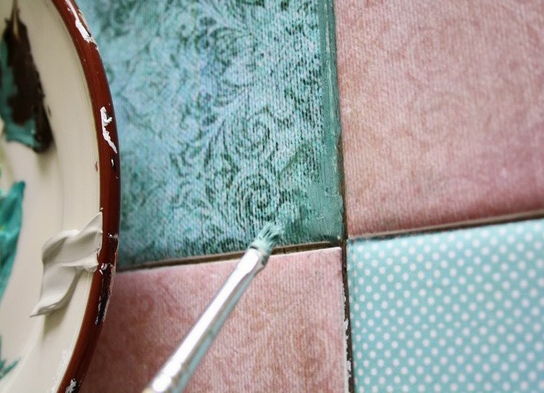
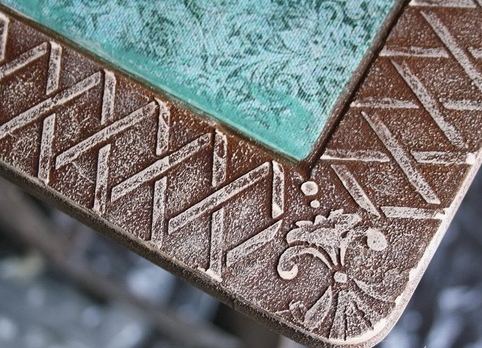
- Toning . To give the furniture a vintage appearance, you need to darken the edges of the tiles a little. In our example, you can use shades of turquoise, umber, warm gray and dirty pink.
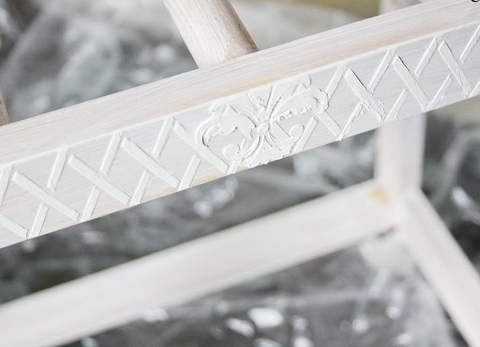
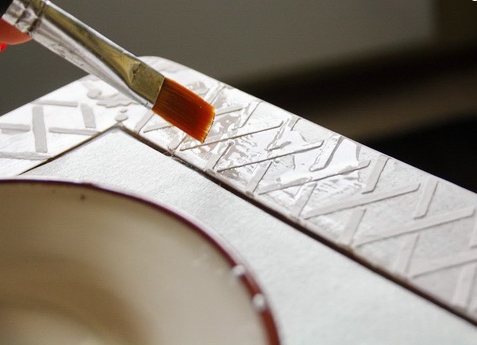
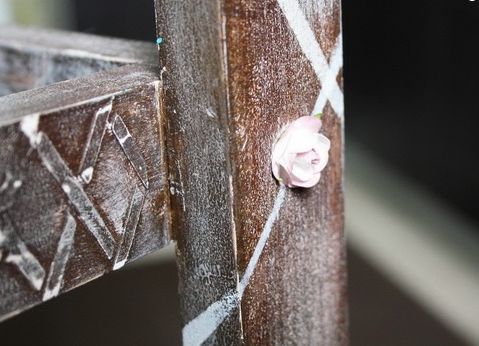
- We study the edges of the countertop . Using a palette knife, a stencil and a texture paste, we apply a light motif in the form of rhombuses. After that, apply a one-step craquelure with a flat brush. Do it chaotically and unevenly. Work on joints and corners.
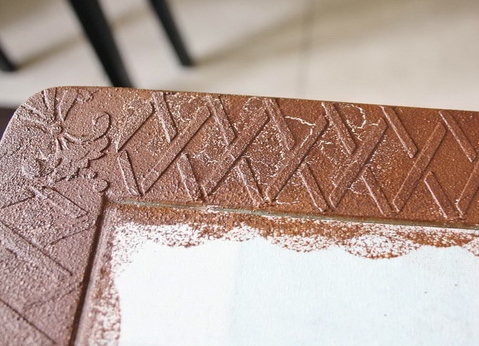
- Aging . Take a sponge and acrylic paint in a light brown color. Type the paint on the sponge and start "chpokat" on the tree with quick movements. You can apply the paint to different places and immediately dry it with a hairdryer. After drying, sand all surfaces with a coarse sandpaper.
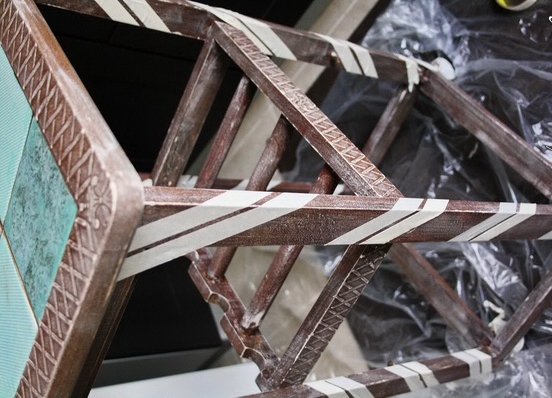
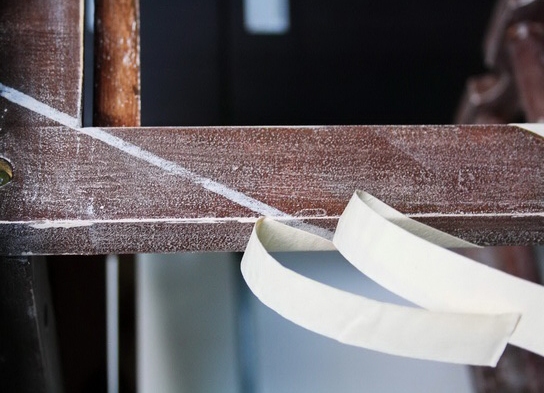
- Dry brush method . Wrap the tape in two rows of legs. Then use a stencil brush to go through the gap between the scotch tape. Remove the ribbon and enjoy the resulting pattern.
- We decorate the box . The inside of the box can be painted with colored motifs. The bottom can be painted with a turquoise color, and the sides with a gray-pink paint.
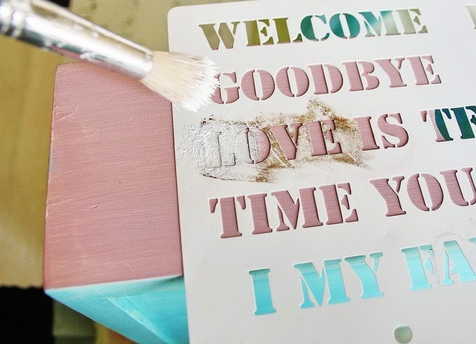
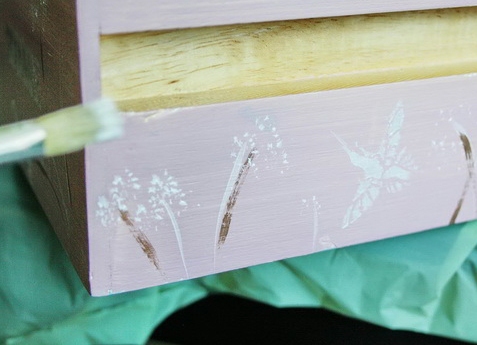
- Final touches . To decorate the front, use a stencil with letters or draw abstract flowers. If desired, you can add additional decorative elements, such as artificial buds. Walk on the surface of the box with a large sandpaper.
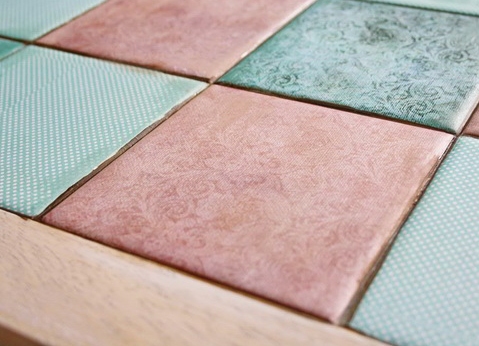
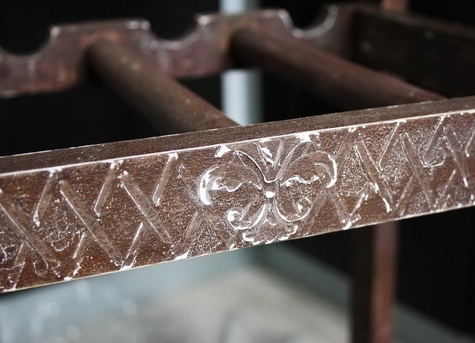
As a result, you will get a unique shelf in the style of the shebbie-chic.
Interesting ideas
For decorating old furniture you can use not only paint, but also other improvised means. It can be stucco molding, stencils, beads and even a clothesline. The table top can be decorated with a spectacular mosaic or tile, and the chair can be painted in an unusually bright color. Some needlewomen even knit their covers on chairs and chairs, as a result of which the furniture looks homely and warmly at home.