Progress does not stand still and in the construction shops there are always new items for the decoration of walls in the bathroom and toilet . The constant demand for ceramic tiles . This material has repeatedly proved its practicality, wear resistance and decorative qualities. In this article, we'll look at how to properly tile the bathroom with your own hands.
We lay the tiles ourselves
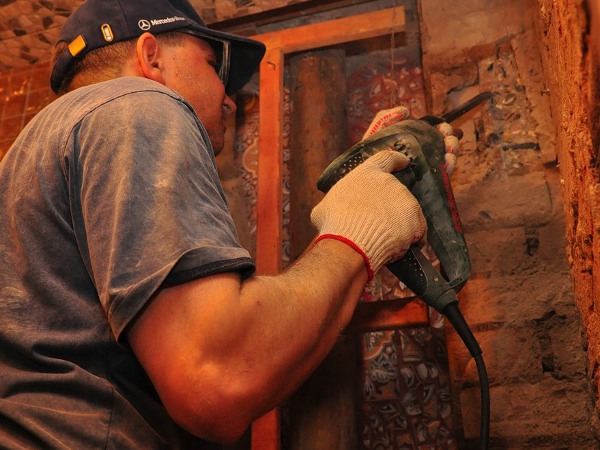
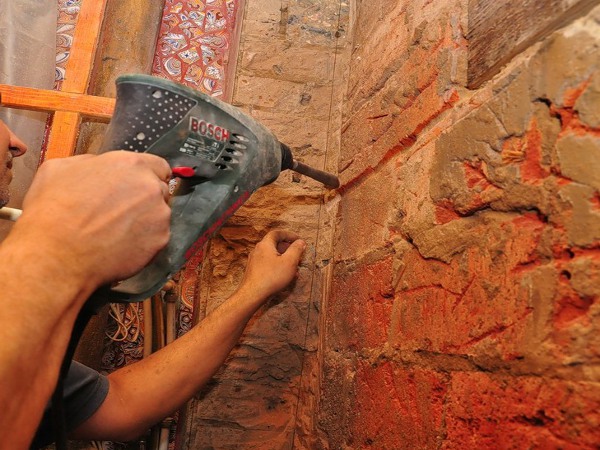
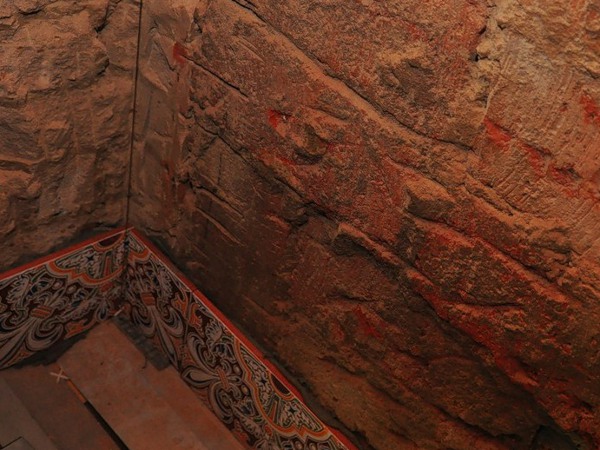
- Before laying ceramic tiles, level the walls and remove the protruding parts. To do this, you can use a grinder, a puncher and even a hammer.
- As a rule, the greatest difficulties bring beams and ceilings.
- At the same time, you can trim all the sticking bricks. The surface should be as flat as possible.
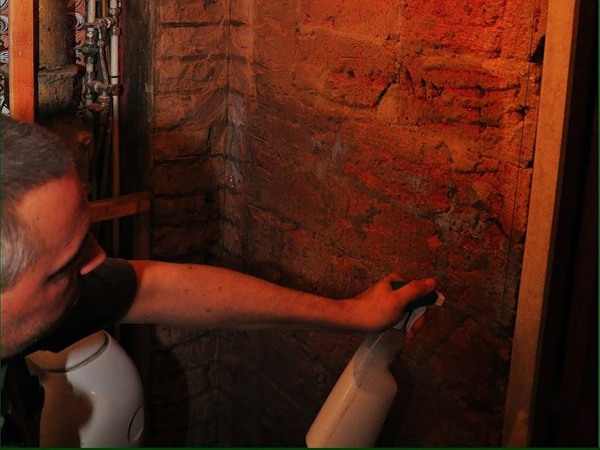
- After all the projecting parts and unevennesses were worn with a hammer, a primer coat can be applied from the spray gun.
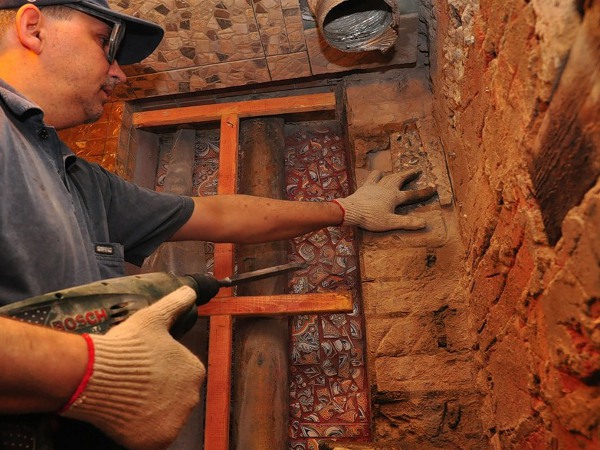
- The surest way to evenly lay a layer of tile - use a plumb line. The load on the thread often helps with becoming even more convenient and reliable in operation than the laser level.
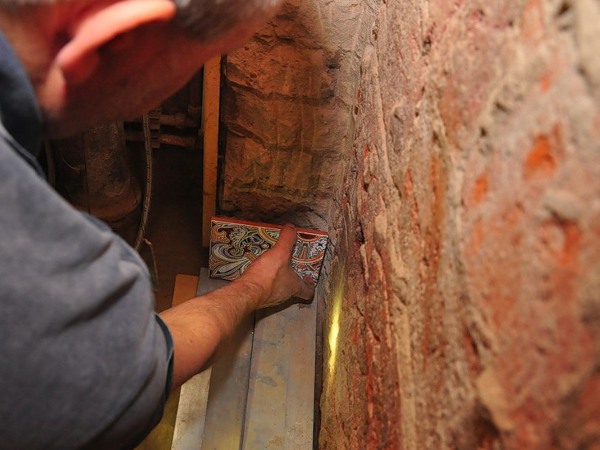
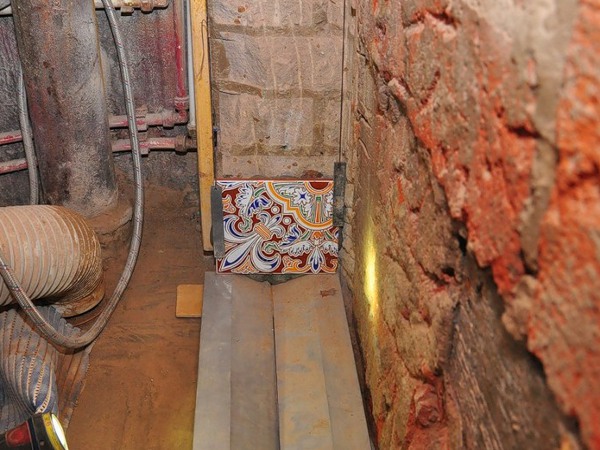
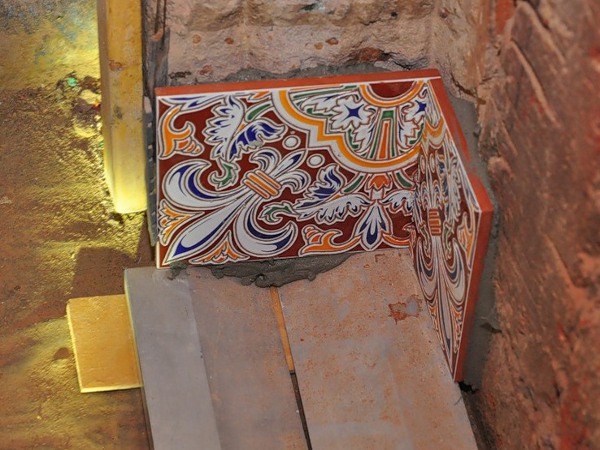
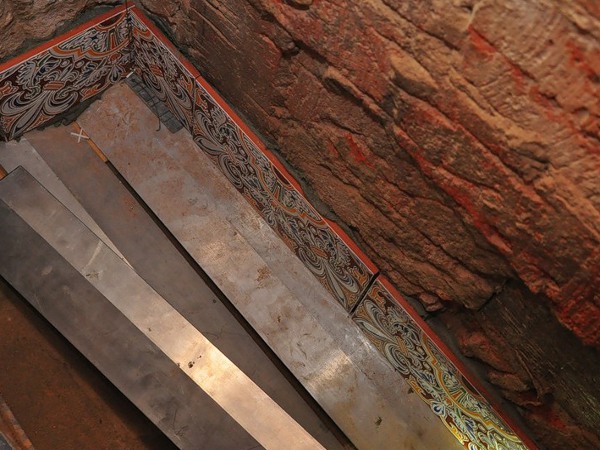
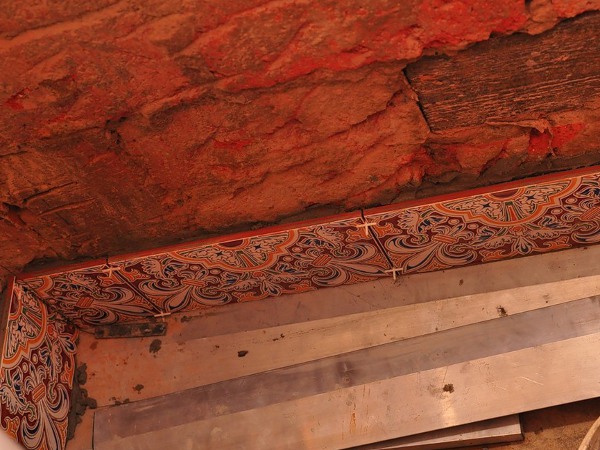
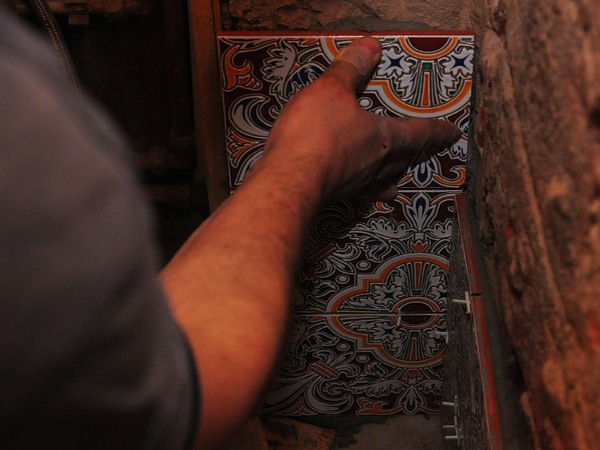
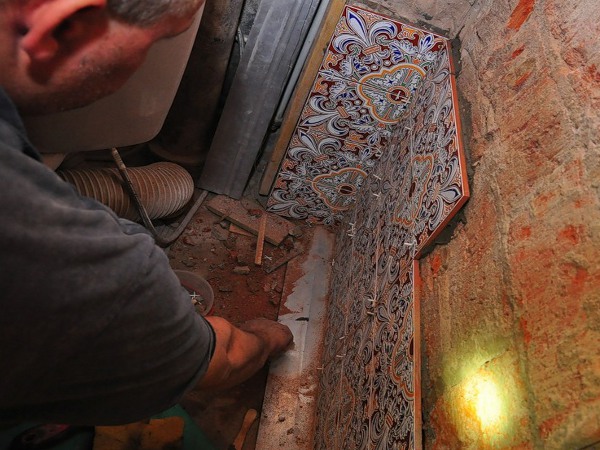
- In this photo it is clearly seen that the angle is cut in such a way that the wall is level with the cabinet.
- On two plumb lines we will lay out the first control series.
- Before laying the first layer of tiles in the bathroom, measure the necessary length along two plumb bows.
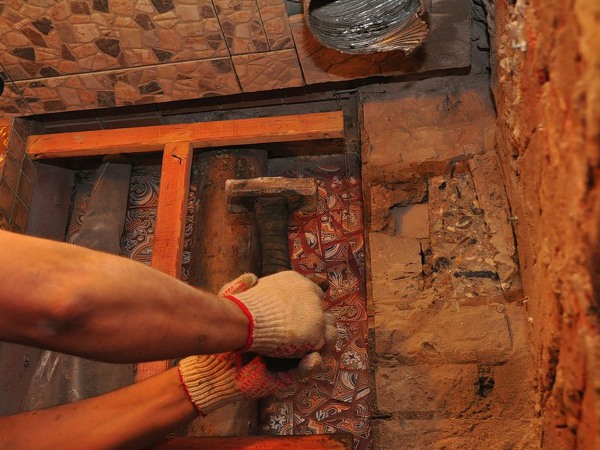
- Under the tile on the floor should put the level. It will simultaneously serve as a support for the first row.
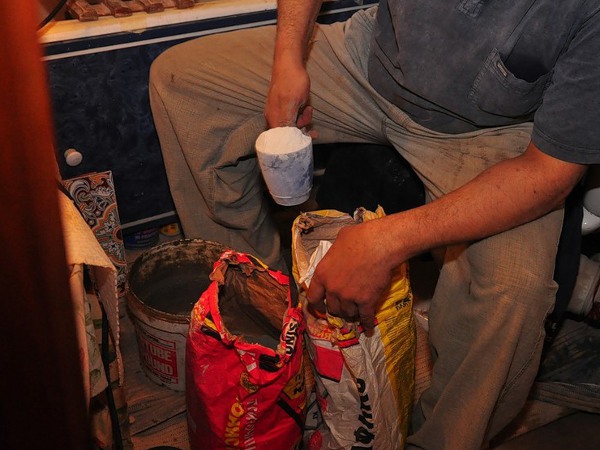
- We interfere with the adhesive composition. It is important to remember at what temperature the tile is laid, as this directly affects the strength of the composition. Most firms do not recommend working at temperatures below 5 ° C.
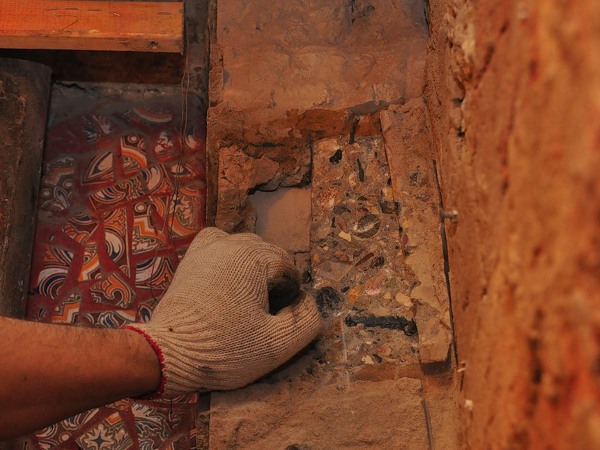
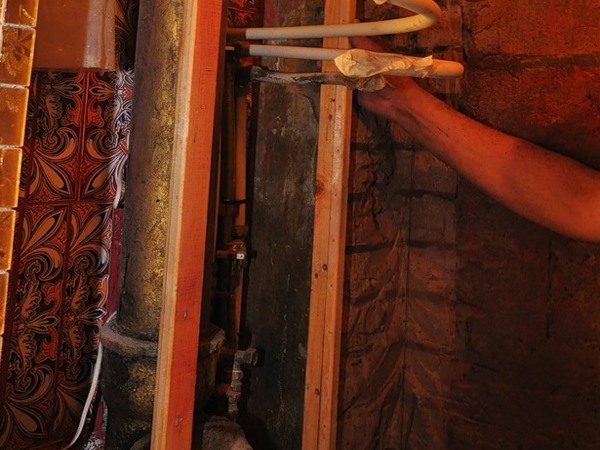
- Preliminary it is necessary to do all necessary wells for wires if on a wall the lamp will hang. For there is a special nozzle for a perforator in the form of a spoon.
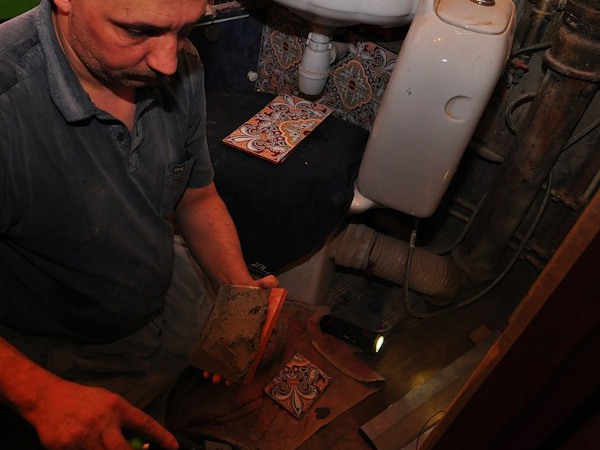
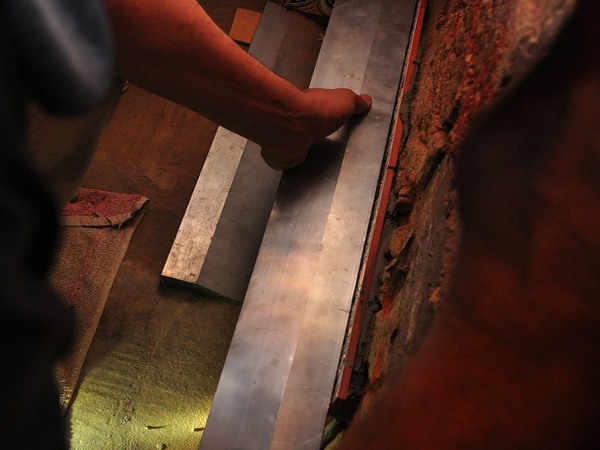
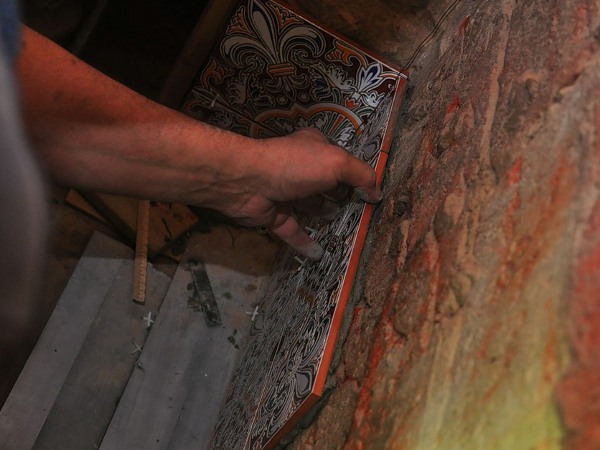
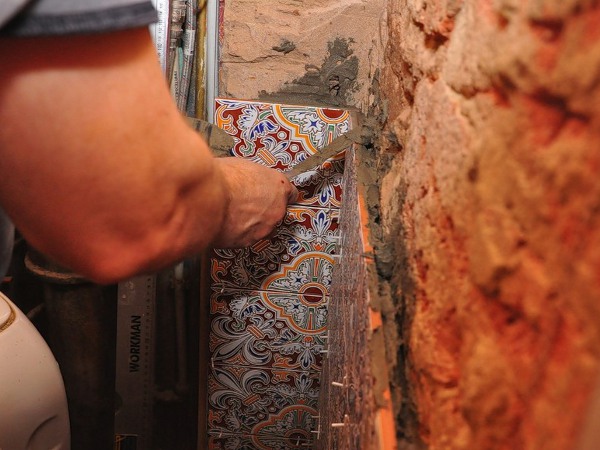
- First we cut the tile and apply a layer of glue on top. There are a lot of disagreements about where to start putting tiles. In our case, it will move from the corner.
- At once everything is controlled with the help of plumb lines.
- The second part of the tile is next. After the first parts are installed, be sure to check the operation of the ruler level and rule.
- Next comes the first row along the wall.
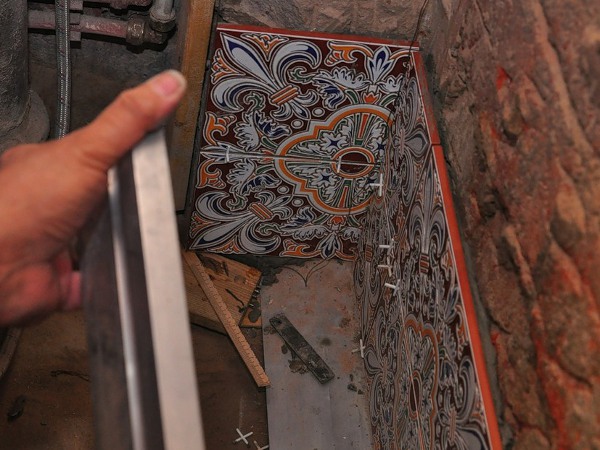
- Using the rule, we again control the accuracy of the styling.
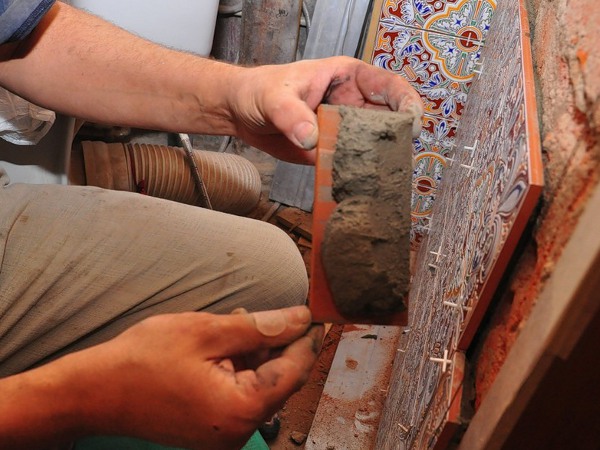
- Only glue is used in the work. As we put ceramic tiles directly on the wall, it will take a lot.
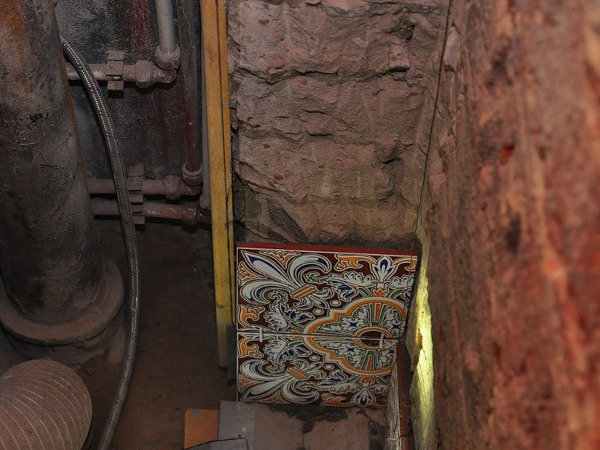
- The first row should be as flat as possible, since it will serve as an indicator for the rest of the masonry.
- The second row also begins to stack from the corner.
- Each next level on the first row. To do this, you can tighten the rule a little with the tile or move it gently with a screwdriver.
- When the tile is completely laid in its place, you can install crosses.
- In the process of work, it is quite possible to slightly shave off the chipped bricks and other irregularities.
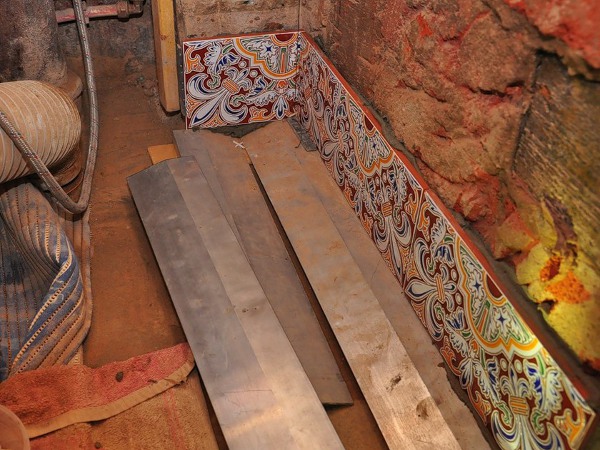
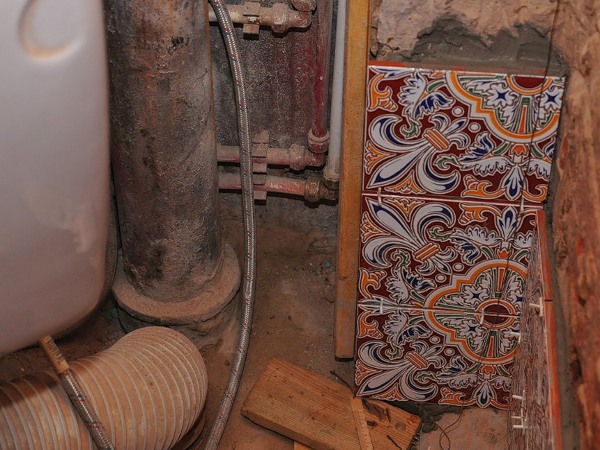
- The photo clearly shows that the adhesive layer is quite impressive.
- Near the door the tile will have to be cut in two parts so that the pattern is observed.
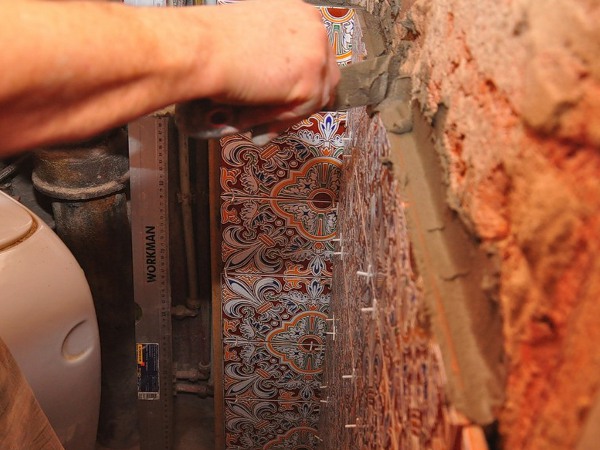
- Since we put tiles on the wall, we will be on a thick layer of glue, to make six to seven rows at a time. It is no longer recommended: the tile can swim and the wall will turn out to be a curve.
- Here it is clear that the glue literally has to be pushed inside and taped to distribute it.
- Gently clean the remains and on this until the work is stopped. After the first layers have dried, you can continue.
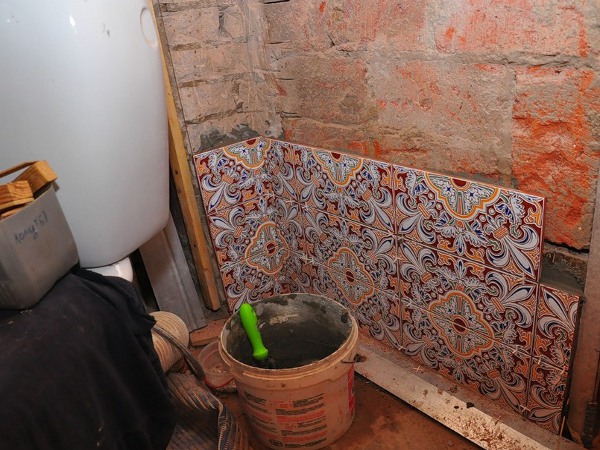
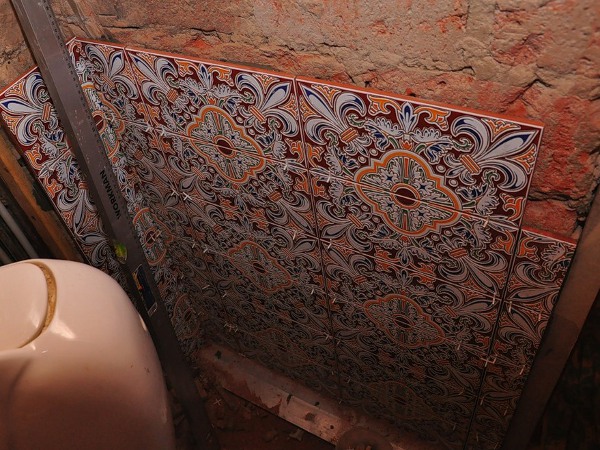
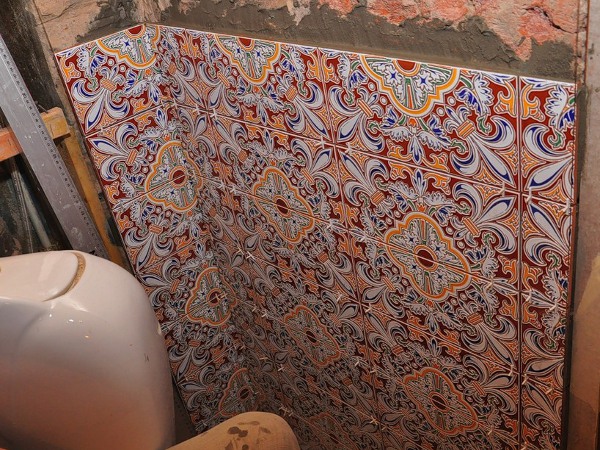
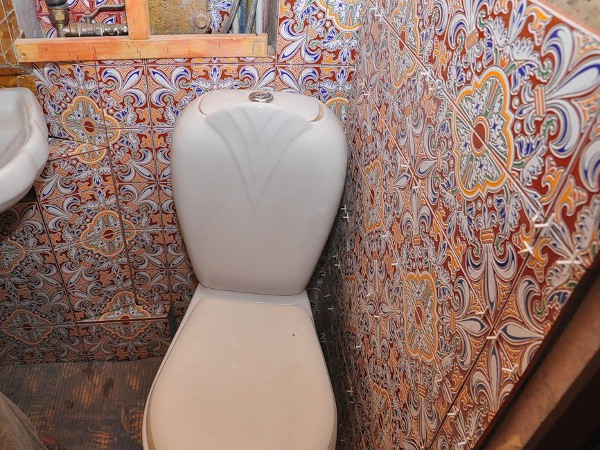
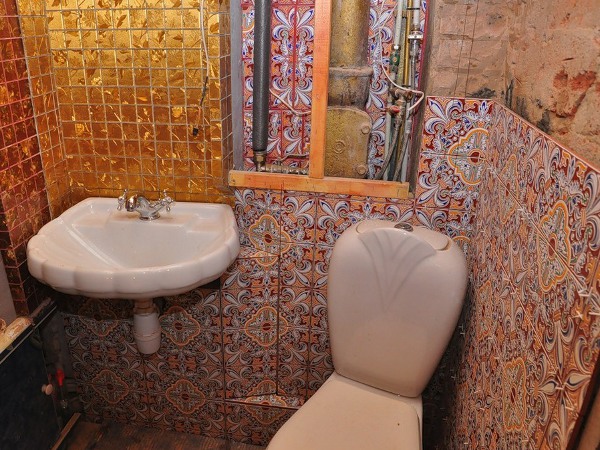
- That's such beauty is obtained almost in one evening. If you strictly follow all the advice on how to properly lay the tile, you can work on your own.
Since we will put the tiles in the bathroom without a preliminary layer of plaster, the work goes much faster. Almost immediately the wall is transformed.