In the middle of the twentieth century, Coco Chanel came up with a handbag that has not been out of fashion for many decades. It is slightly transformed, but the main details remain unchanged and this cute accessory is always easy to recognize.
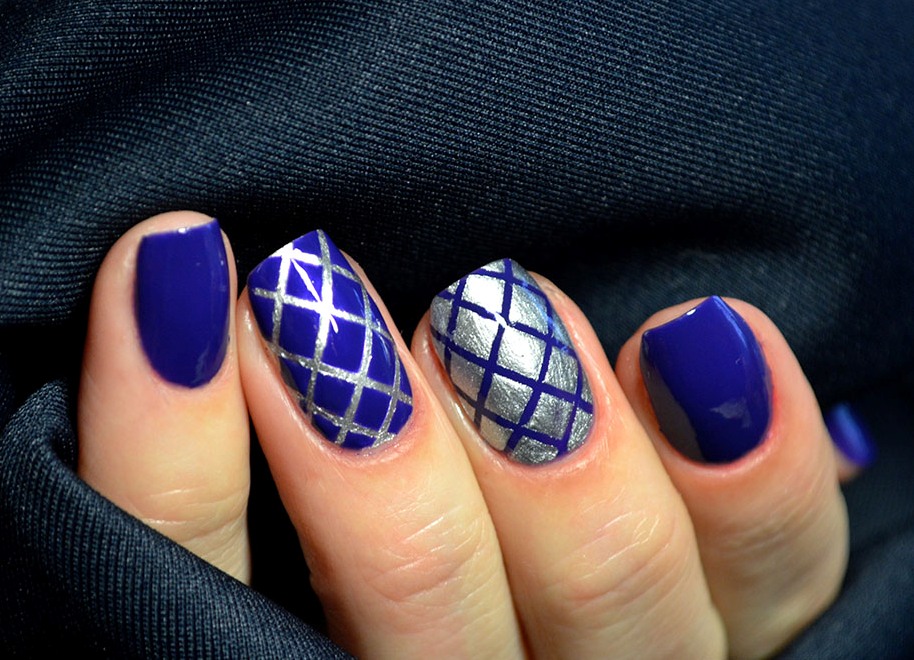
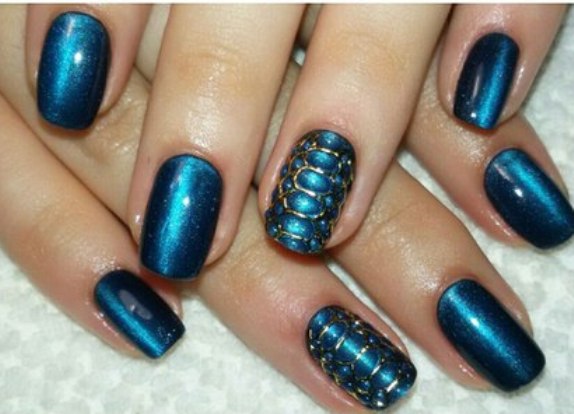
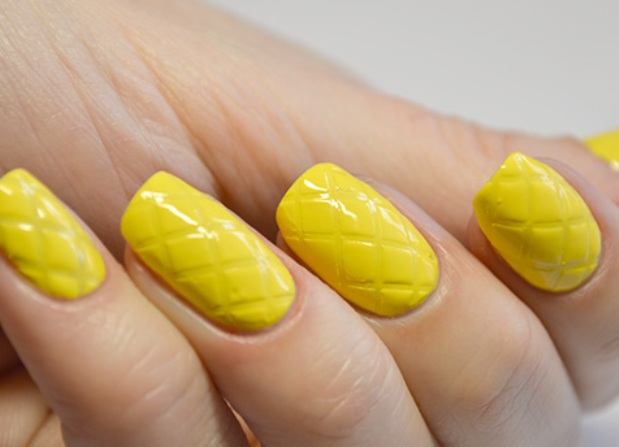
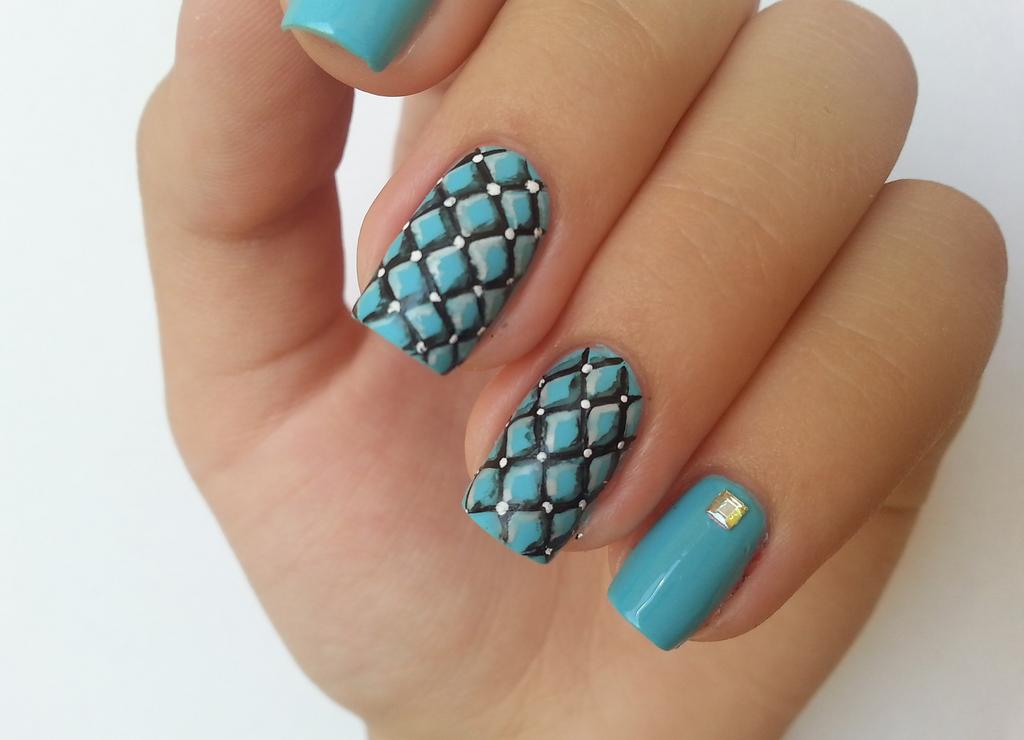
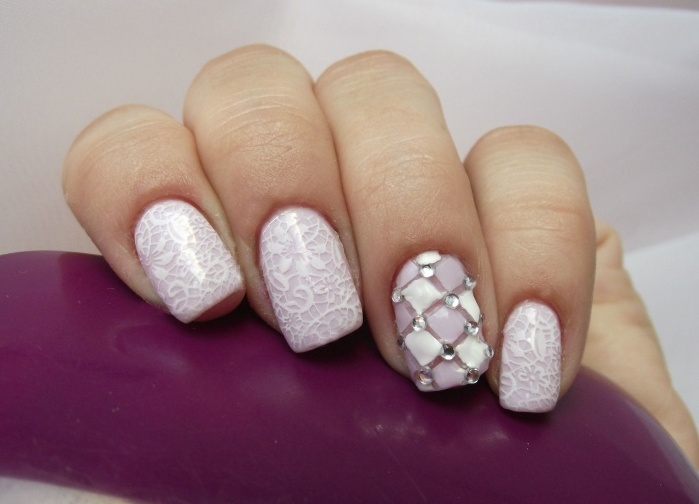
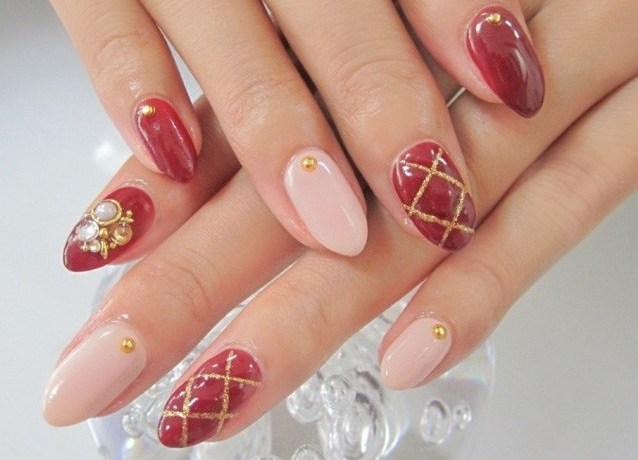
Quilted manicure - a kind of addition for fashionistas in the style of Chanel . It is not complicated in performance, but it looks very impressive. This trend of the season, as well as quilted clothes, the fashion for which again returned.
How to create a quilted manicure?
There are different ways to perform a quilted nail design, but if you want to make a manicure, giving it a volume, then you will definitely need gel varnishes or gels. But to create a picture you can use ordinary varnishes. Mandatory procedure in both cases - a neat manicure, because only on well-groomed nails the pattern will look beautiful.
We use varnishes
After processing the nails on them, you must apply a base top and allow it to dry. Next, cover the nails with a layer of varnish and also wait for the solidification. Then a thin brush is drawn along the diagonal of the line in one direction, and after a time, allowing the varnish to freeze in the other, keeping the same distance.
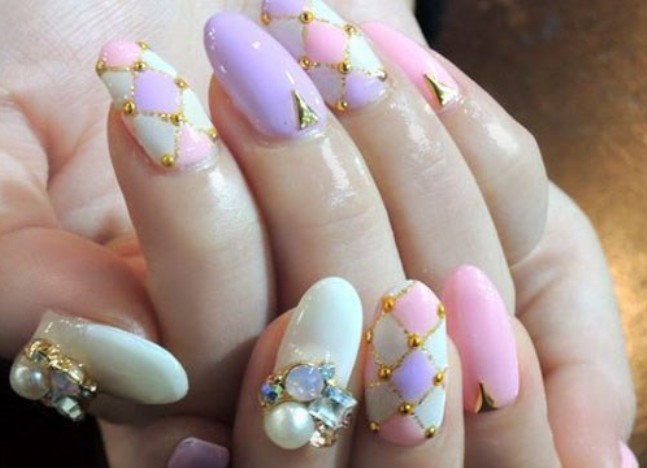
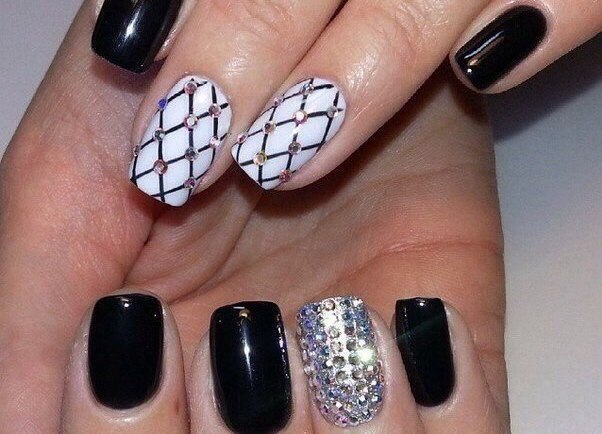
As a result, a pattern is formed in the form of rhombuses. And that quilted nails looked exquisite, in places where the lines intersect it is worth placing small crystals or beads.
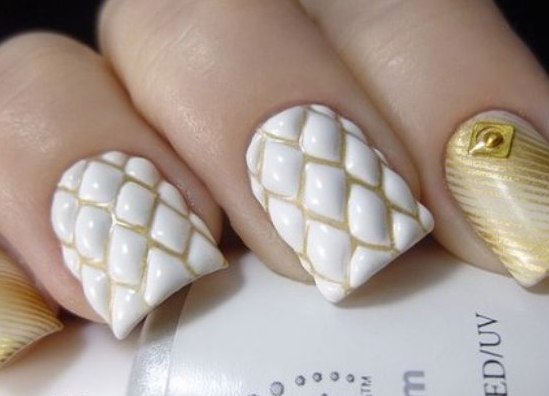
3D drawing
To create a volume suitable for gel-varnishes, which will fully simulate the stitch. Quilted manicure with gel-varnish begins with the application of a layer of coating, for example, a gentle shade and dried with a lamp.
Then a layer of the main color (dark or contrast) is created and on it, before the drying, lines are drawn that will create the necessary pattern.
After drying, in order to give the nails volume, complement the quilted manicure gel with lacquer, filling them with diamonds. Here everything depends on the desire, because the amount of the gel will be regulated by the amount of the picture. And, of course, it's important to dry thoroughly so as not to disturb the design.
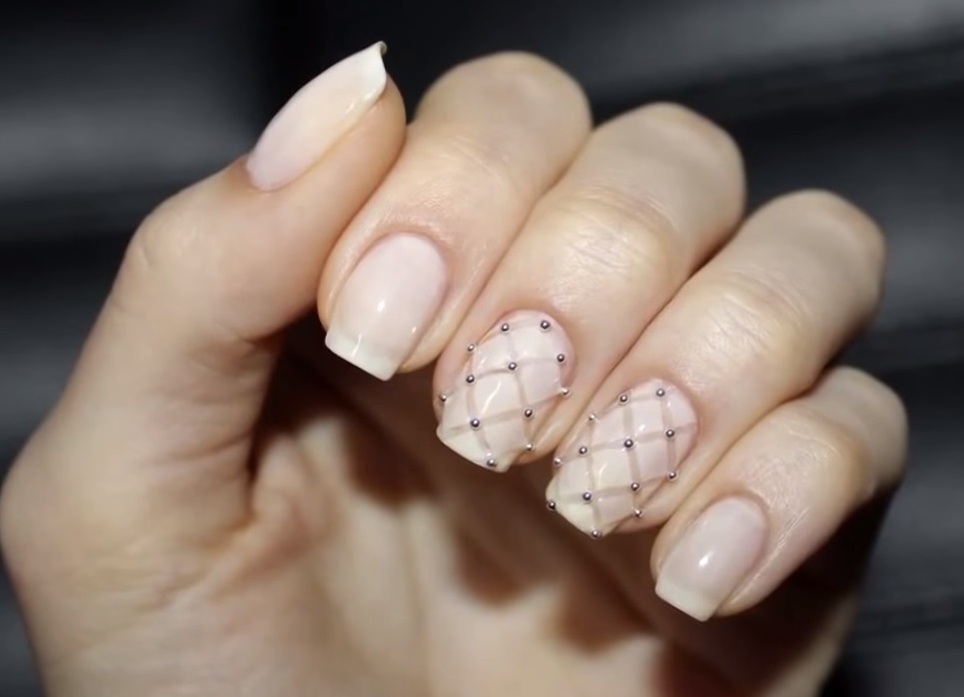
Using the tape
You can also create a similar pattern using a sticky tape. It also needs to be applied in the form of diamonds on the base layer of the chosen varnish, without cutting off the ends, then cover with the other, the primary color. After slightly drying the top layer, the tape is carefully removed. The result is a two-color pattern, and the grooves perfectly simulate the stitch. The resulting pattern can also be decorated with rhinestones and beads.
| | | |
| | | |
| | | |