Make a doorway with an arch and abandon the door completely solve many. Firstly, it is sometimes a good technique for visual expansion of space, and arch arches are used for decoration of balconies or for re-planning. The easiest way to build an arch vault with a metal frame and a sheet of drywall. Working with them is relatively easy and there will not be any restrictions in the further processing. Below we will consider the simplest version of how you can make interior arches from gypsum cardboard with your own hand, and make sure of a simple installation.
The construction of arches from plasterboard with their own hands
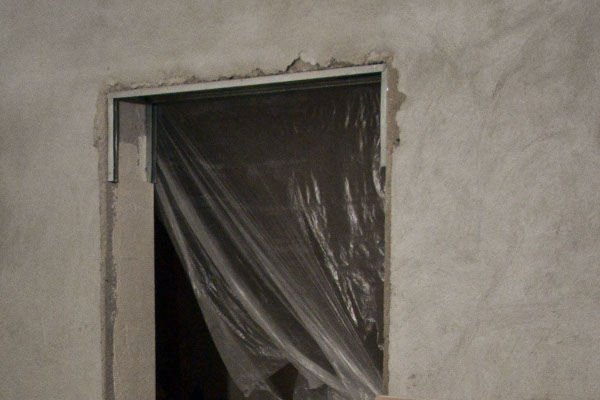
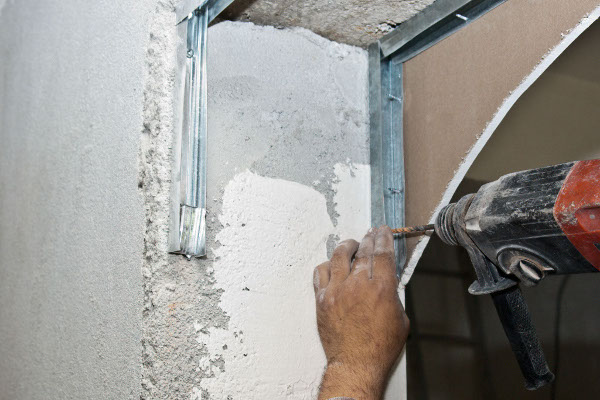
- For the beginning we are determined with the installation site and with the help of the profile we strengthen the opening. As for the base, then usually use either wood or metal profile.
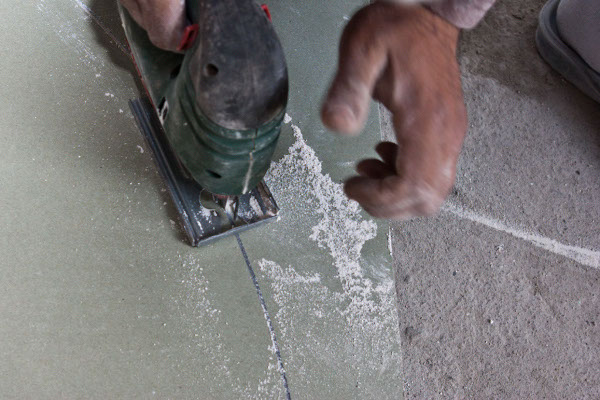
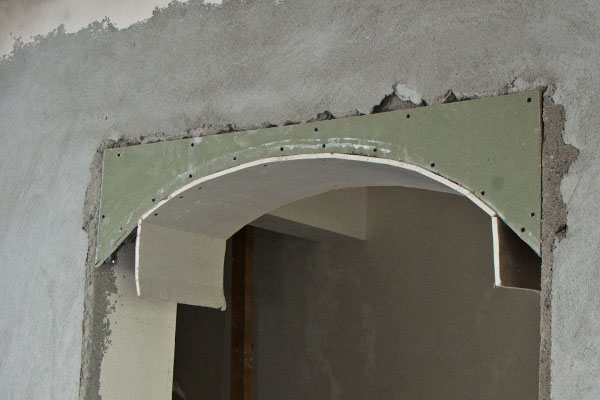
- On the sheet of drywall we draw an arch arc. Using a jigsaw or a hand saw with small denticles, we cut out everything along the contour. It is important to properly secure the sheet itself, as this will necessarily affect the quality of the cut line.
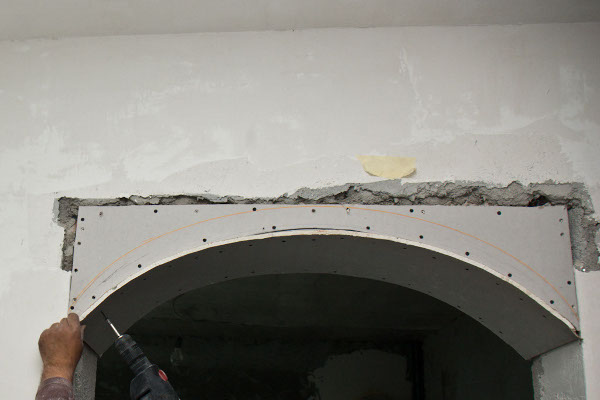
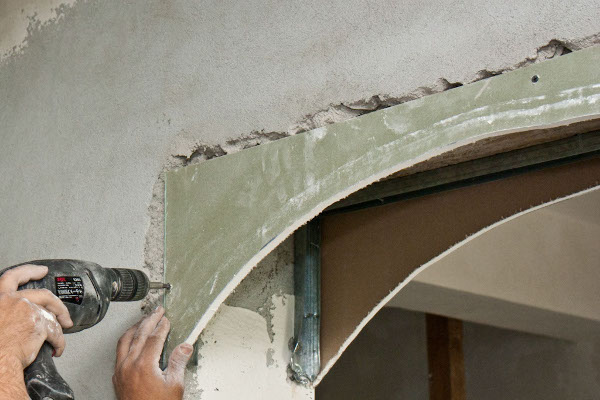
- It's time to do the installation of the workpiece for the gypsum board arch. We fix the workpiece to the metal profile. In this case it is important to give yourself a little field to think about. Namely, leave the upper part of the arch wider, so that you can slightly change the very shape of the arch if desired. To this end, and fix the workpiece for the first time better on the sides for one or two screws.
- So, everything suits you and you can start fixing the structure. Before you make an arch of gypsum cardboard, at the stage of buying the material, be sure to consult with a specialist, because the width of the shurpa directly depends on the thickness of the wall of the drywall sheet.
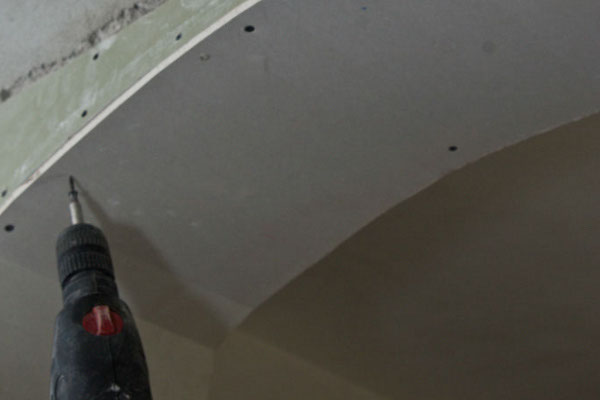
- In parallel, we fix the profile itself with the help of dowels.
- We fix the second part of the arch in the same way.
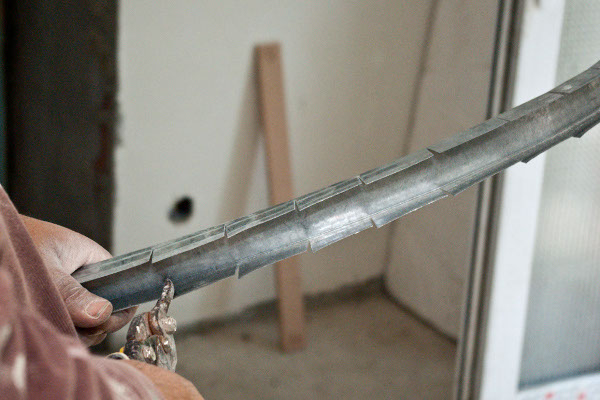
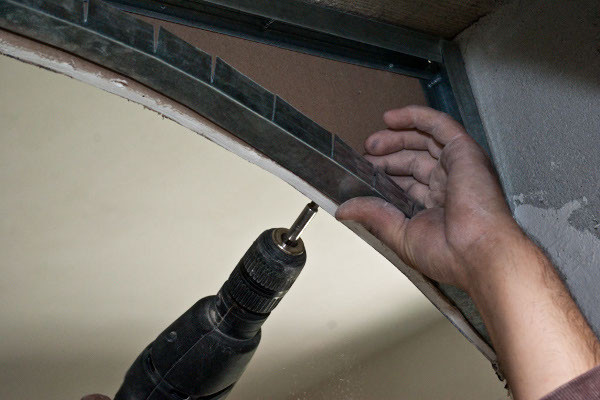
- It's time to make the reinforcement of the gypsum board. From the section cut, cut out a piece of the desired length, equal to the length of the arc. Further we use scissors for metal in such cuts.
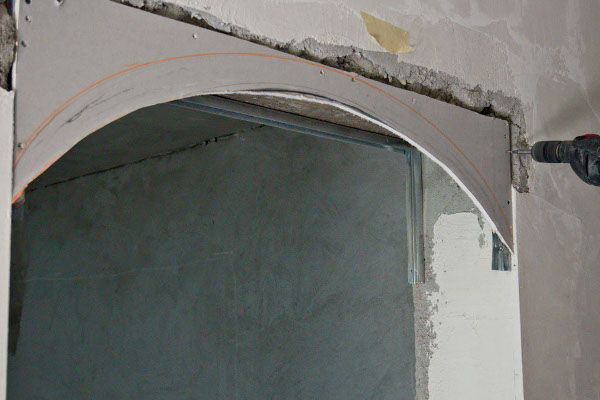
- Apply the workpiece to the inside of the arch vault and bend according to the arch cutout. So, first we fix the first edge of the metal profile. Next, gradually begin to bend the workpiece in the desired direction and in the same way fix the screws step by step.
- The frame is ready and consider the question of how to make the plating of the interior arches of plasterboard.
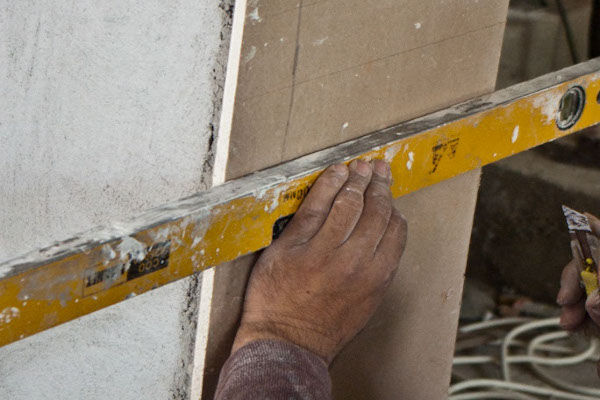
- We measure the width of the opening and the length of the part. Measurements should be as accurate as possible.
- Next, we take one piece and approximately every 10 cm we make cuts, but only to the outer layer, so that the plate remains intact.
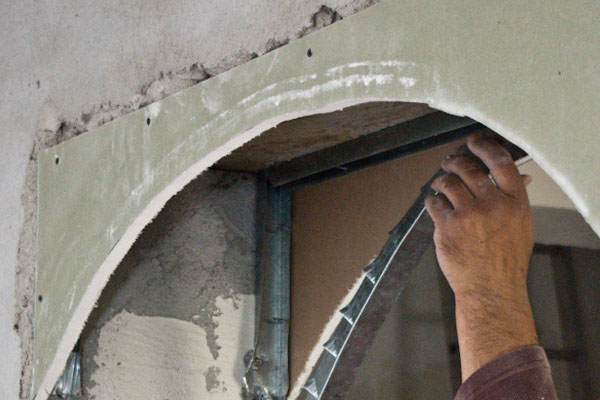
- And now carefully apply the workpiece and just lightly press it to make the desired shape.
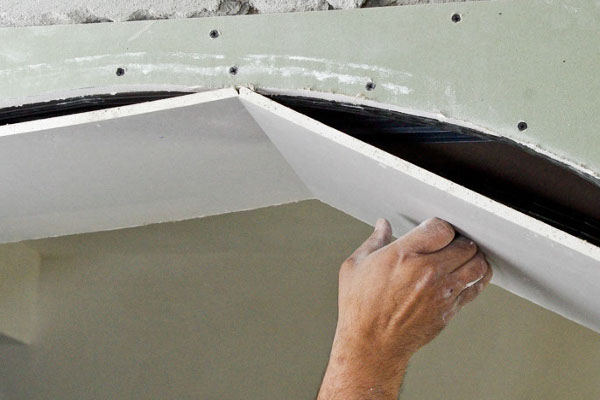
- We will fasten the skin to the second part of the metal curved frame inside.
- There is another option, as you can bend the skin. If the arch of the arch itself is low enough, the part from the plasterboard can be tried to wet and bend already during installation.
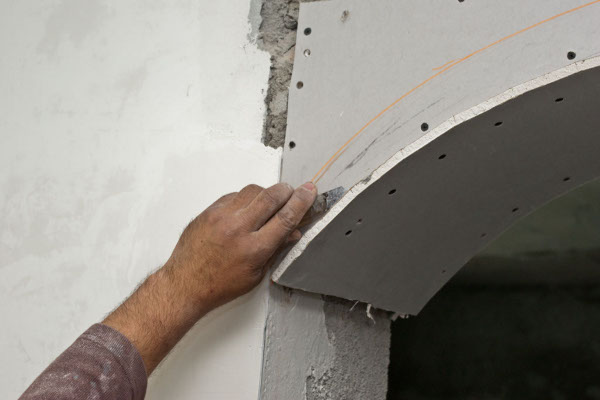
- It remains to make the alignment of the arch of gypsum board, since it will not work to mount a completely perfect level arch. To do this, carefully cut the projecting parts of the skin with a knife and achieve the maximum flat surface. In the future, you will only have to walk through the leveling mixture to get a smooth surface before applying the finish layer of decorative plaster.
| | |
| | |
It is important to remember that even gypsum board - the material is not eternal, if the premises will have high humidity. To this end, it is better to find a moisture-resistant material in advance, this refers to conditions with increased temperature - it makes sense to find a drywall that is resistant to high temperatures.