Ceramic tiles are today the most popular finishing material. It can have a wide variety of textures, colors, sizes and shapes. Use the tile more often to decorate the walls in the kitchen or bathroom. As practice shows, you can put a tile on the wall with your own hands or invite a master for this work. Layout tiles can be horizontal, vertical or diagonal - as you like.
How to put ceramic tiles on a wall?
If you decide to do it yourself, first you need to prepare a room for work: take out all the furniture, cut off the water. If the work will occur in the toilet or bathroom, then you need to dismantle the plumbing. And, if you do not plan to change it, then you must remove the wash basin or toilet bowl with care, so as not to damage them.
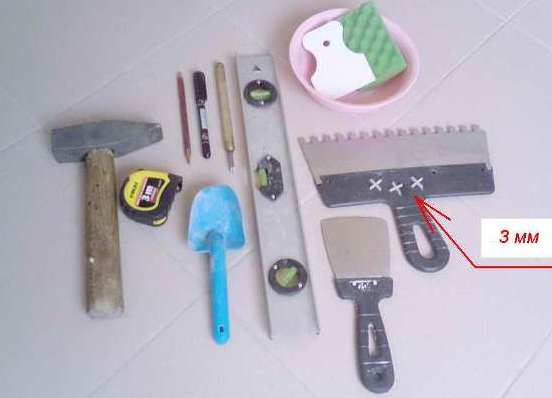
- For work you will need such tools and materials:
- tiles in the required quantity;
- glue;
- grout;
- plastic frogs;
- guide profiles;
- self-tapping screws;
- a hammer;
- roulette;
- level;
- tiler or Bulgarian;
- a drill with attachments and drills;
- spatulas - wide toothed and small rubber.
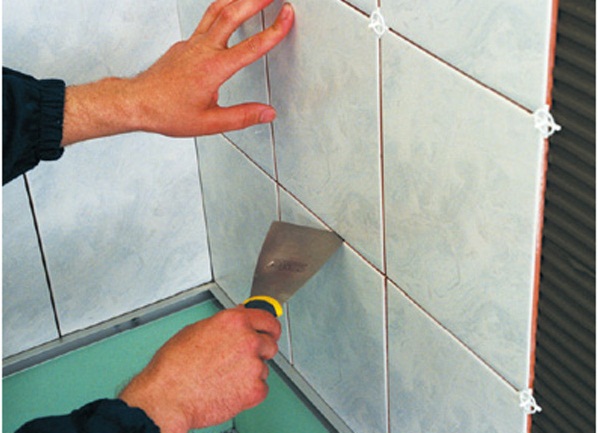
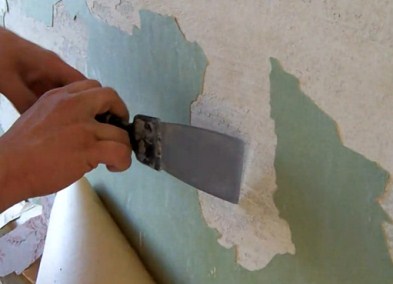
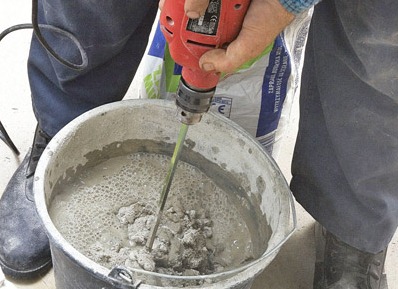
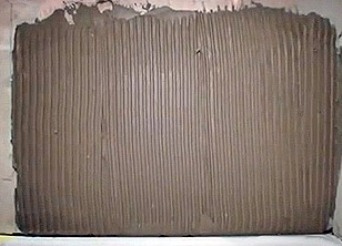
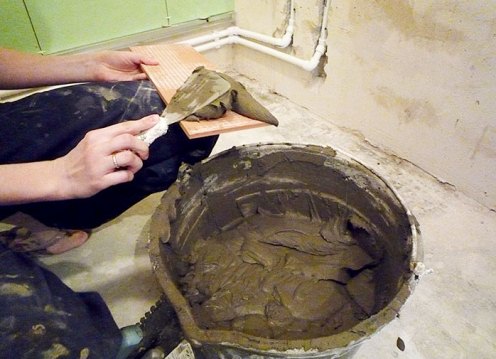
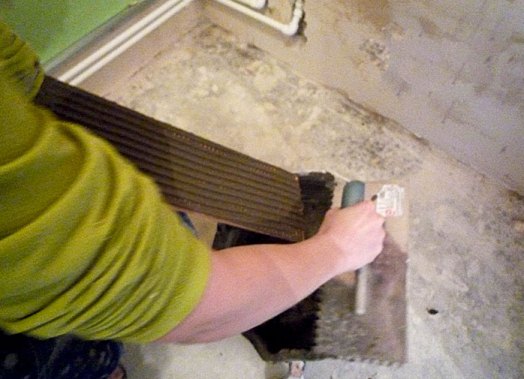
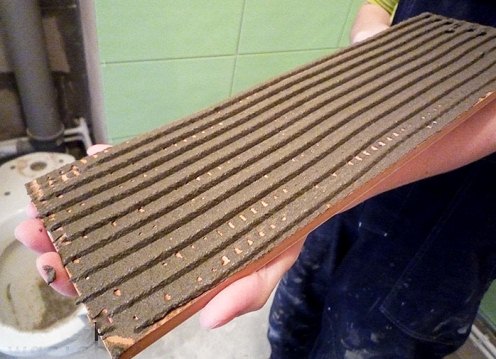
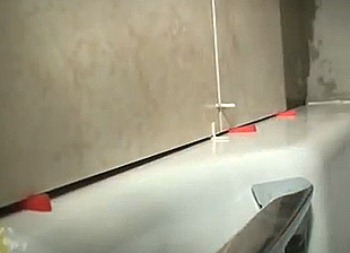
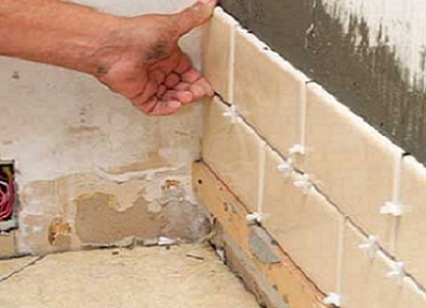
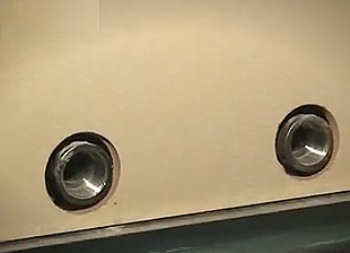
We begin work with the preparation of the surface of the walls. The old tile, if it was on the walls, must be removed using a perforator. You should also do the old paint. Now the walls need to be plastered. After drying the putty, surfaces must be covered with a primer and allowed to dry thoroughly. Only after this, the walls will be ready for the tiling. Prepare the glue: dilute the dry mixture with water in the required proportion and mix thoroughly with a construction mixer. Often novice builders are interested: where do you start to put the tiles on the wall? In order to lay the first row of tiles, it is necessary to measure from the floor 2-3 widths of the tile and to draw a strictly horizontal line along the level. A guide is attached along this line. That's it, and you need to spread the first row of tiles. On a small area of the wall surface with a notched trowel we apply a thin layer of glue. On the wrong side of the tile we put the glue and the notched trowel evenly distribute it on the entire surface of the tile. We fix the tile to the corner of the wall, tap it lightly or press it tightly, and immediately remove the adhesive that has come out, not letting it freeze. Between the tiles we insert the plastic frogs. Similarly, we glue the subsequent elements of the tile, not forgetting to fasten the crossings. And we should remember that the tiles fit only from the bottom up. If the work is carried out in the reverse order, the pasted tiles can "swim" under the weight of the elements above. The smoothness of laying each new row of tiles should be checked with a level. As a rule, at the corner of the wall you should put a piece of tile of the necessary size. For this, the tile must be cut using a tile cutter. Holes for a socket, switch or pipes can be cut out by a bulgarian. Tiled adhesive dries for about a day. Then you can remove the profile, which was attached to the first row of tiles: it already holds firmly and does not crawl down. Also removed and the cross. It remains to grout the tile joints. To do this, use a special powder, suitable for the color of your tile. It should be diluted with water to the consistency of sour cream and carefully cover all seams with a trowel rubber spatula. Then the tile should be wiped with a damp sponge. As you can see, the way of tiling on the wall - the work is not particularly difficult. It is necessary to make careful marking, as well as to observe the technology of works.