Sometimes in the old interior items you can breathe a second life, and then they will appear in a completely new, winning light. Thus, you can save a fair amount of money and make the situation in the room stylish and original. Consider how you can upgrade old furniture at home.
How to update the color of furniture - step by step instruction
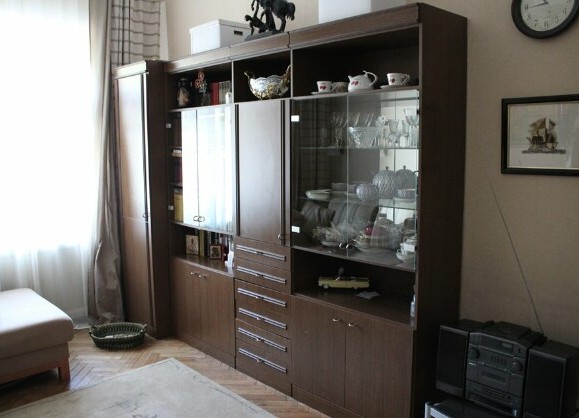
First, we will study how it is possible to make a modern interior from the old wall of the Soviet model. That's what we had originally.
- So, let's get to work. The first thing to do is to disassemble the wall. To do this, remove all fasteners and accessories.
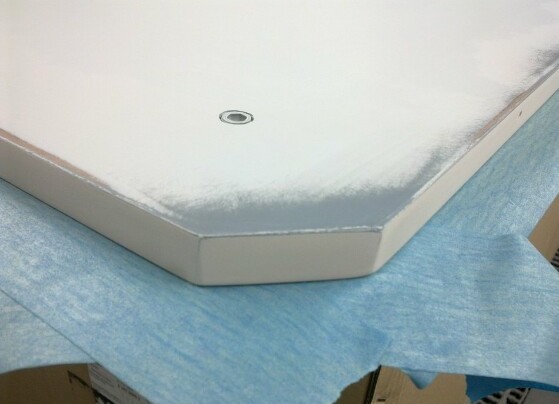
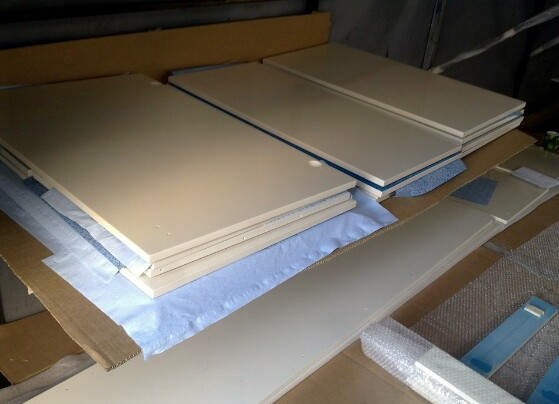
- The next stage is the removal of chips, scratches , cracks and irregularities, that is, all external defects that will necessarily be present on old furniture. To do this, you need to use special materials - soils and pastes. They should be applied, let them dry and then go to polishing. As a result, the surface should be absolutely flat.
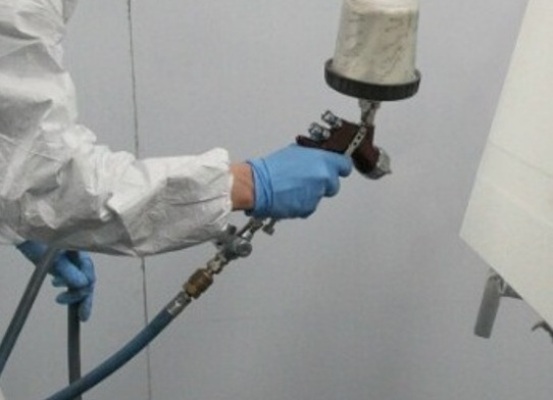
- We proceed to painting the details. To do this, we use a special gun, so that the paint is applied evenly and thinly.
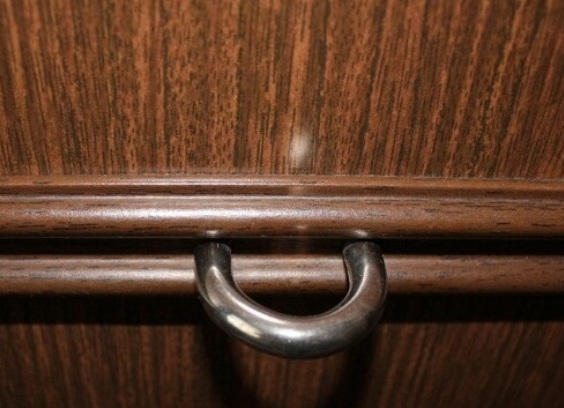
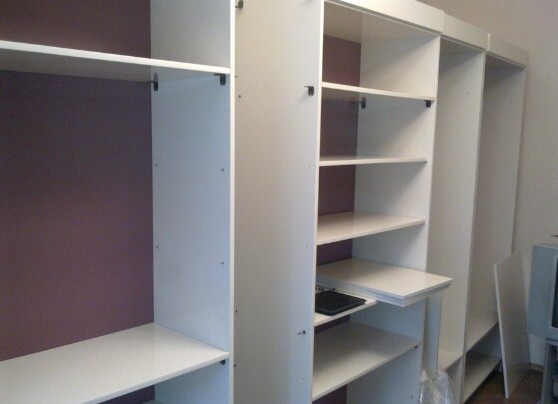
- The final stage is installation. After the paint dries, you can proceed with the assembly of the wall. In this case, it is better to replace the old hardware and fittings with new ones.
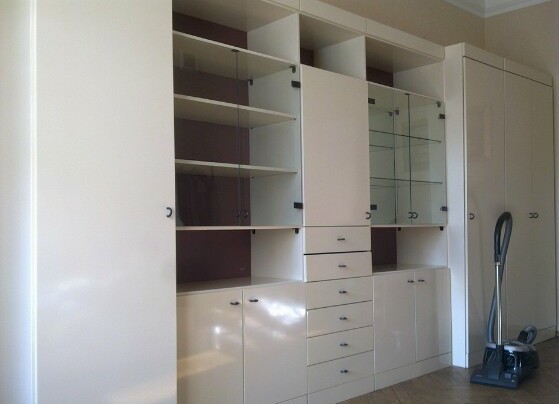
- That's what can happen, after you update the furniture from the chipboard.
Little advice: there will be a lot of details, so to understand where and what to put, they can be numbered and drawn up the appropriate scheme. After that, we proceed to the restoration process.
That's what should turn out in the end.
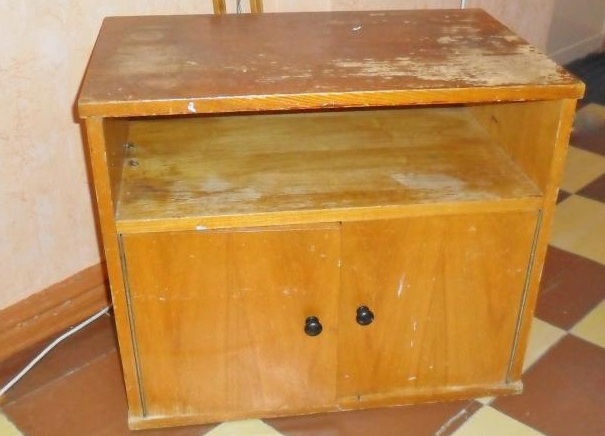
How to update wooden furniture - master class
- Removes polishing with a grinder. That's what should happen.
- Next, proceed to the putty. To do this, we take the putty, intended for processing the tree. With it, we rub all the defects and let the product dry out.
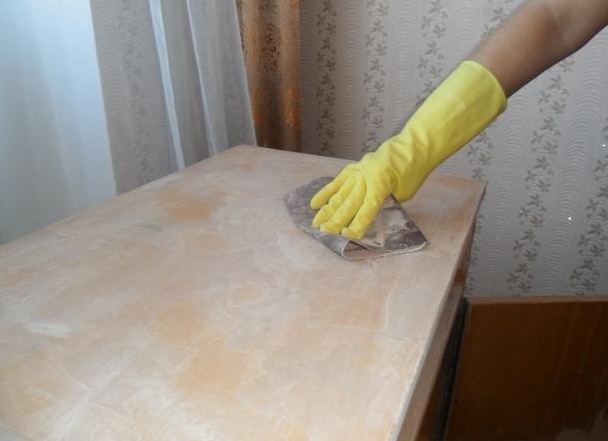
- The next stage is the final leveling of the surfaces. Do this with sandpaper, not forgetting the mask on your face and glasses.
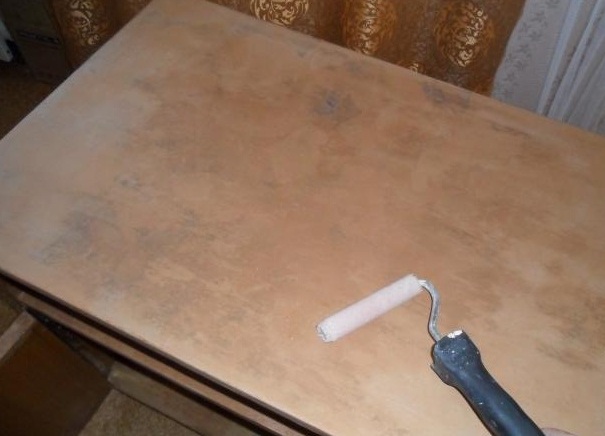
- After all the surfaces have been treated with sandpaper, you can proceed to the primer. To do this, you need to take an acrylic primer, which is applied with a roller. An important point - the furniture before it must be absolutely dry. After applying the primer, we again allow all materials to dry out. It takes a day.
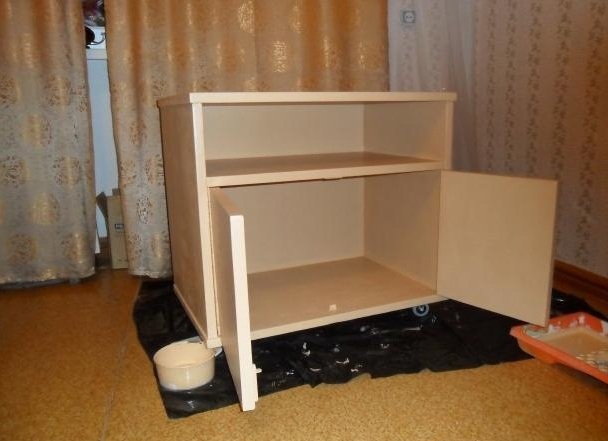
- The key stage is painting. To do this, we use a roller and brush to paint the corners and all hard-to-reach places. It is best to choose the acrylic paint. To paint it is necessary in 2 stages, a break between which - a day.
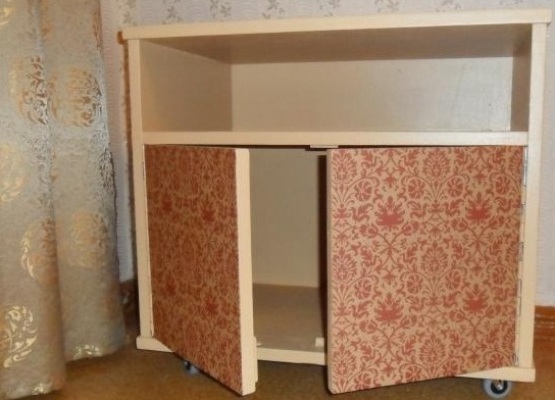
- We decorate the doors. For this, you can use wallpaper or other thick paper, for example, gift bags. Cut out the right size rectangles, glue PVA and dry it.
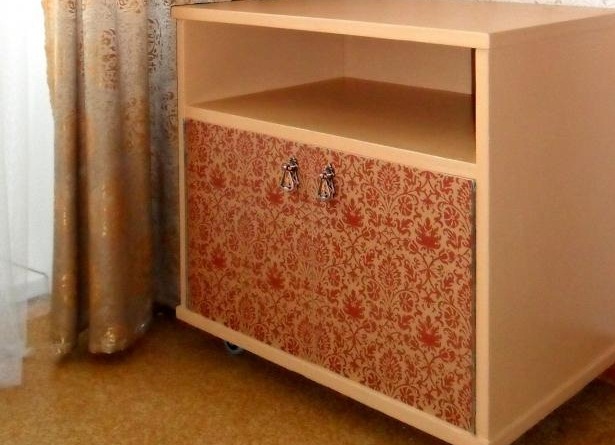
- Next, you need to open the entire cabinet twice with acrylic lacquer, designed for wood. The final touch is the attachment of new pens. That's what a wonderful nightstand came out in the end.
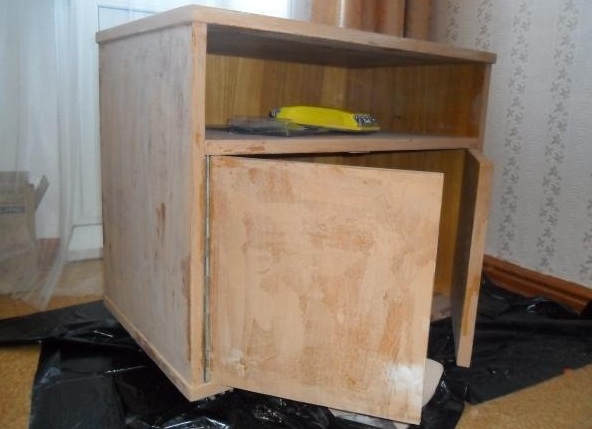
It happens that there is an old curbstone or chest of drawers, once beautiful, but now completely lost their appearance. Do not rush to throw them away, you can figure out how to independently update and polished, and varnished furniture. To do this, follow simple instructions.
So, to restore old furniture at home is not so difficult, as long. It may take about a week to update one item. However, it's worth it, because it results in a beautiful, stylish, almost new and inexpensive thing that can decorate any interior.