To date, laminate is considered to be one of the most popular floor coverings , adequately replacing the parquet board. Given the features of planning and the wishes of the household, it is possible to lay this floor covering differently.
Recently, the laminate flooring has become more popular diagonally. Many consider this method to be less economical, since during work the ends of the panels adjacent to the wall have to be cut at a certain angle. In fact, in order to get quality flooring, following the technology of laying the laminate diagonally, it is enough to buy only 5-15% more material than usual, which, perhaps, is its only drawback.
In general, considering the pros and cons of laying the laminate diagonally, there are much more positive sides. The non-standard arrangement of the panels on the floor, helps to hide perfectly all surface irregularities, as well as curves and slanting angles. In addition, the diagonal computation visually expands the space of a small room. In our master class we will show you how to make the laminate flooring diagonally. For this we need:
- laminate;
- electric jigsaw;
- roulette;
- pencil;
- carpenter's corner with ruler;
- mallet.
Laying the laminate diagonally
- We calculate the amount of material. The area of the room is: 7x9 = 56 sq.m. The length of the board is 1 m and the width is 10 cm. If the corners of the room are all 450, the area of the surplus material will be equal to the width of one floorboard multiplied by a factor of 1.42 times the width of the room, ie: 1.42x 0.1x7 = 0.994 sq.m. In this case, the area of one board is equal to: 1x0.1m = 0.1 sq.m. Thus, for laying the laminate diagonally, we need: (56 + 0.994) / 0.1 = 570 pieces of panels.
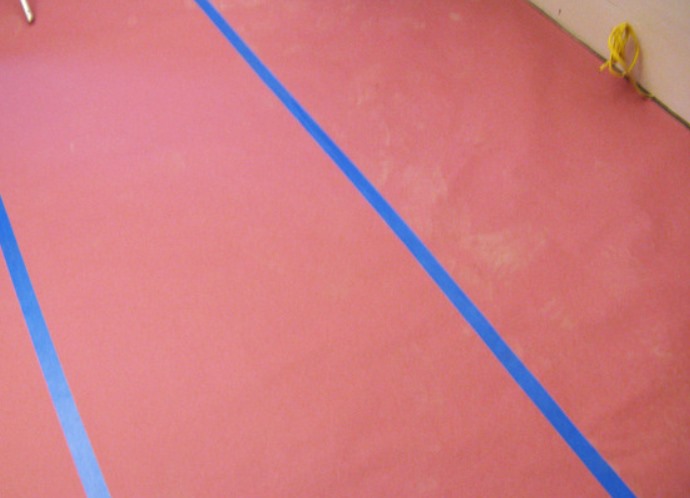
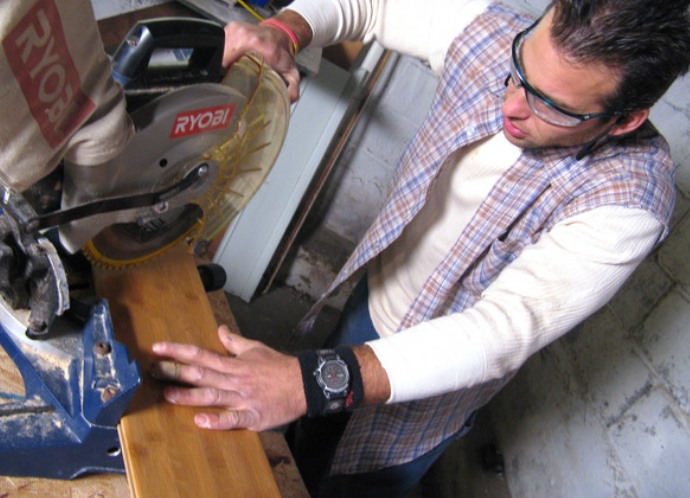
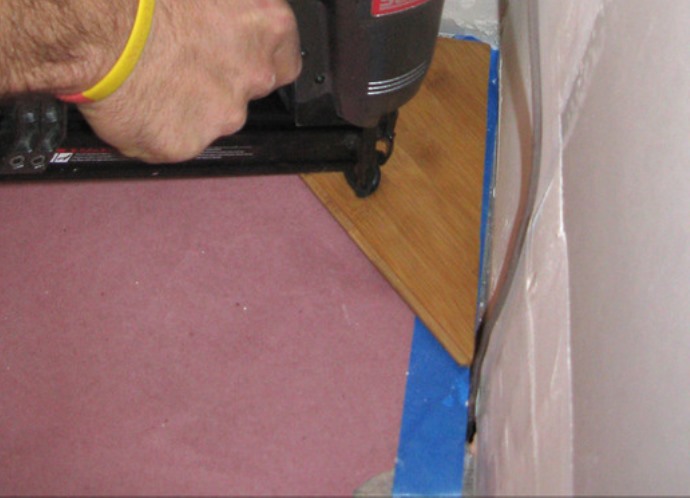
- When the substrate is already laid on the floor, let's get to work. There are two ways of laying the laminate diagonally: from the corner and from the middle. In our case, we will move from the corner. The first floorboard is cut with an electric jigsaw at an angle of 45 °, taking into account the clearance from the wall of 10 mm. Fig. 1, 2, 3
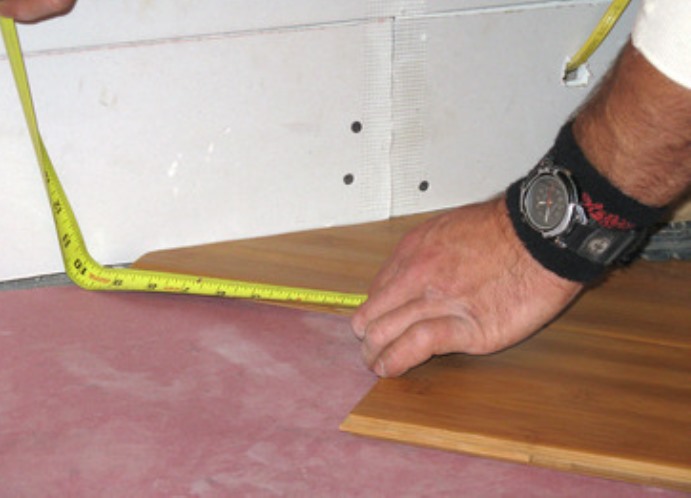
- We put our "corner" in a corner, substituting between the board and the wall the edge of the laminate board (its thickness is 10 mm).
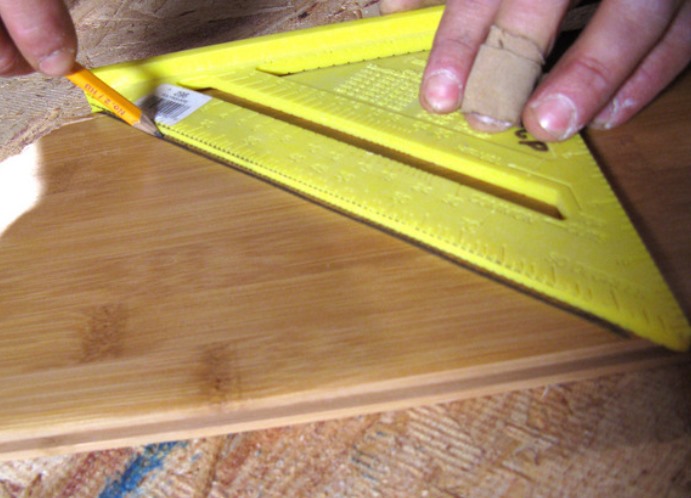
- Using the square for marking, mark on the next board the required length and angle of 45 °, again cut off and attached to the previous board.
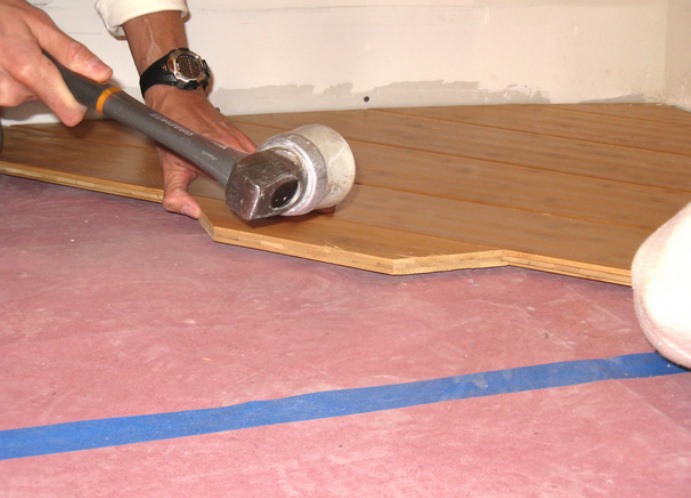
- So we move on. We connect the rows tightly, tapping the sides of the bar with the kiyanka.
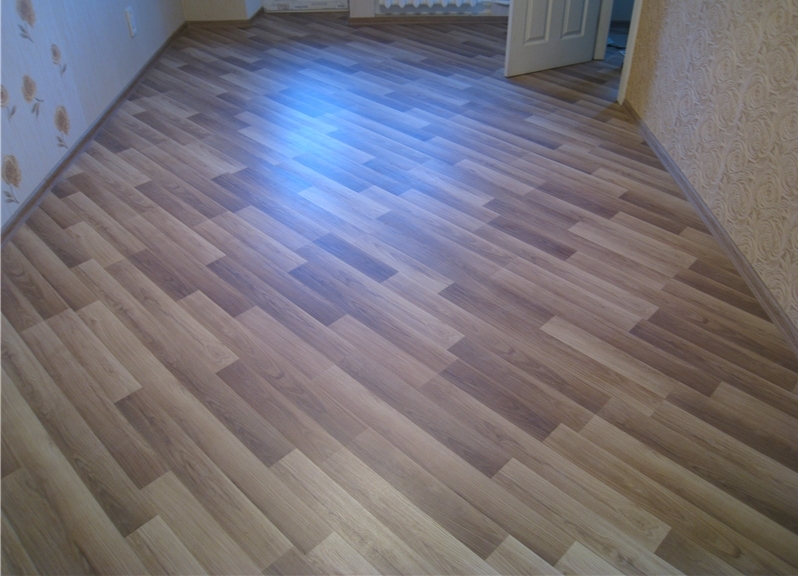
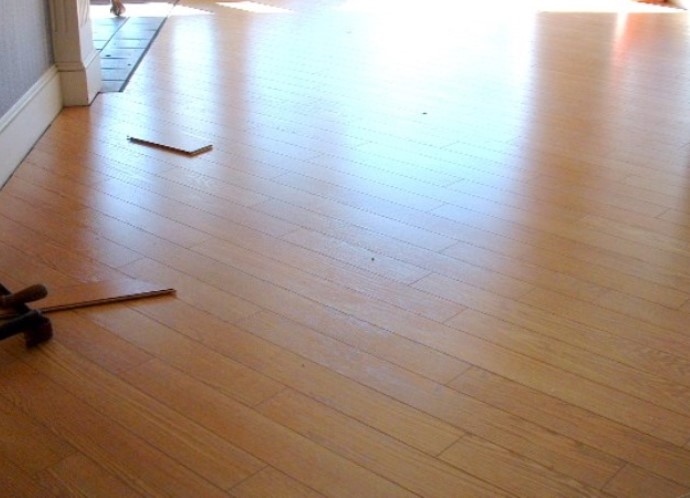
- When our laying of the laminate diagonally approached the opposite corner, tightly insert the last cut piece of the panel to the previous row and press it tightly. Our floor is ready.
| | | |