Turn your loggia into a cozy little room, where it is comfortable not only during the rain, but even after the onset of real cold - this is the dream of many owners of city apartments. Variants of how you can quickly carry out the desired repair work, a lot. One of the most popular ways is finishing yourself with a loggia lining .
What kind of lining is better for a loggia?
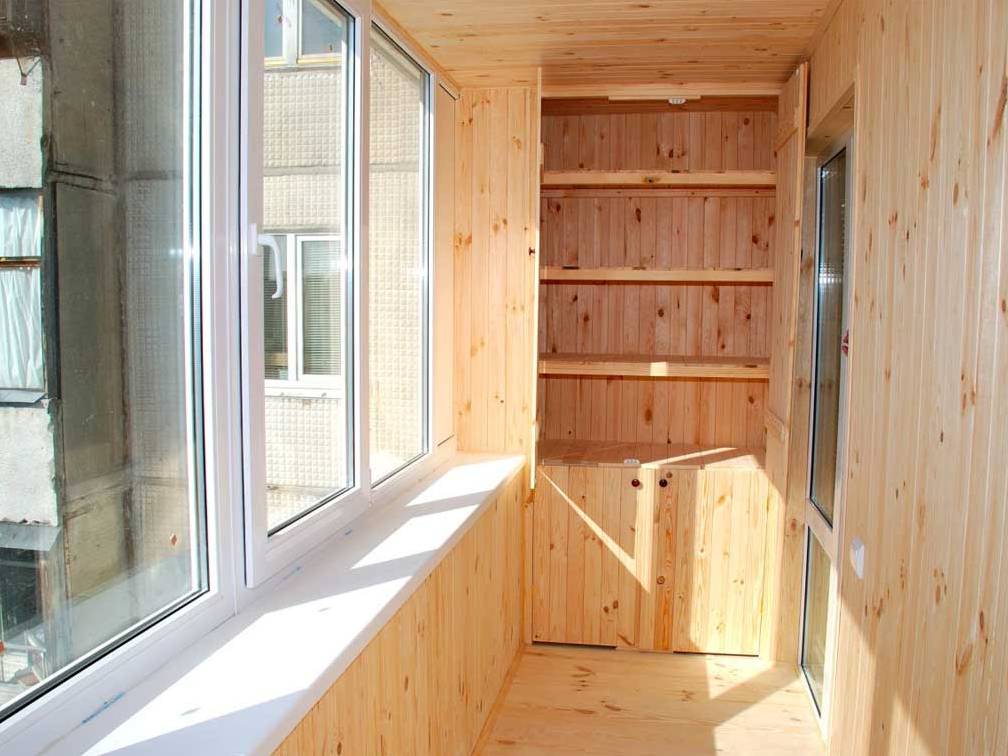
The cost of finishing and the general appearance of the room is influenced by the choice of material. Plastic is cheaper, it is easier to work with and easier to dismantle if necessary. But the tree is stronger, more environmentally friendly, it can be turned into a screw or a small nail. In the sun it does not emit various unpleasant volatile substances. If desired, the owner will quickly repaint the surface of the walls in any chosen color or open with varnish. But in this case it will be necessary to impregnate the lining that is installed on the loggia, which will close the pores and prevent the tree from absorbing moisture, which will significantly extend the life of this coating. In this case, we preferred to use stylish wooden panels.
Loggia lining with wooden lining
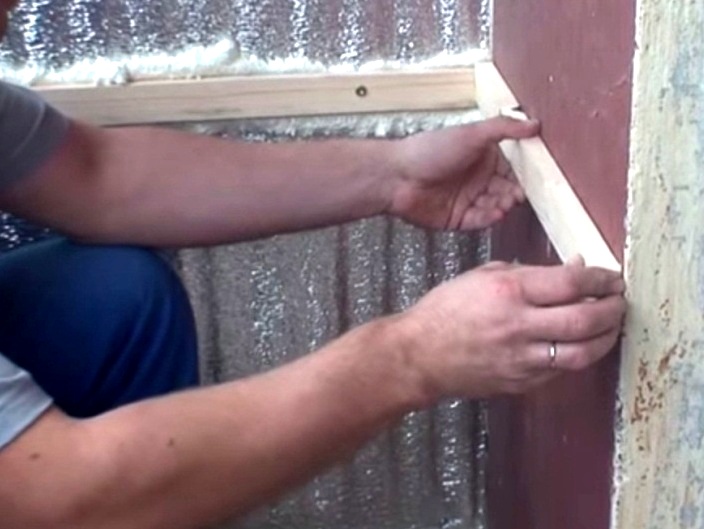
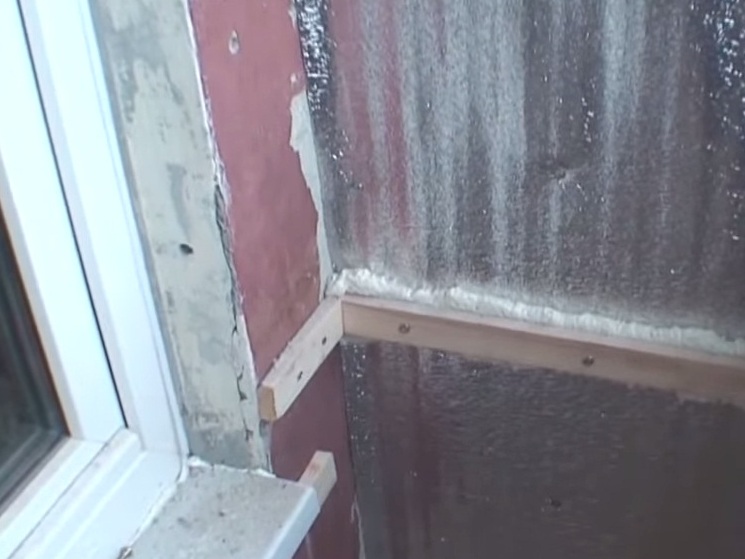
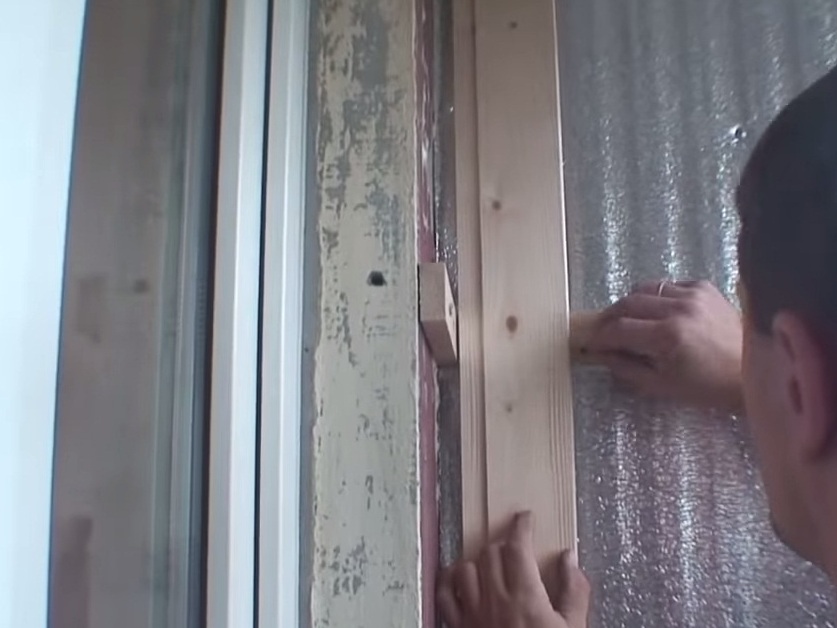
- No boarding will not help if the walls and floor are not insulated, and the windows will not be glazed with good modern double-glazed windows. Only then we proceed to fabricate the frame.
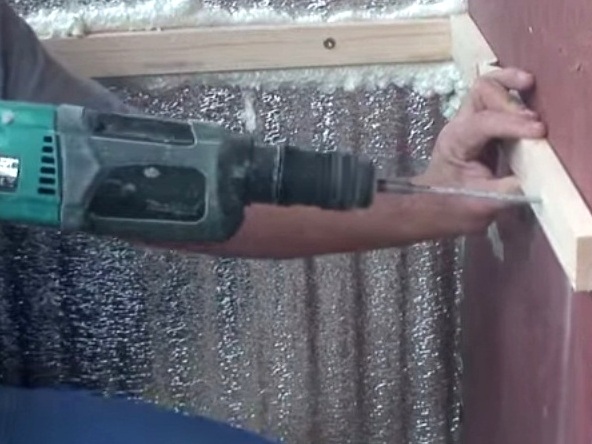
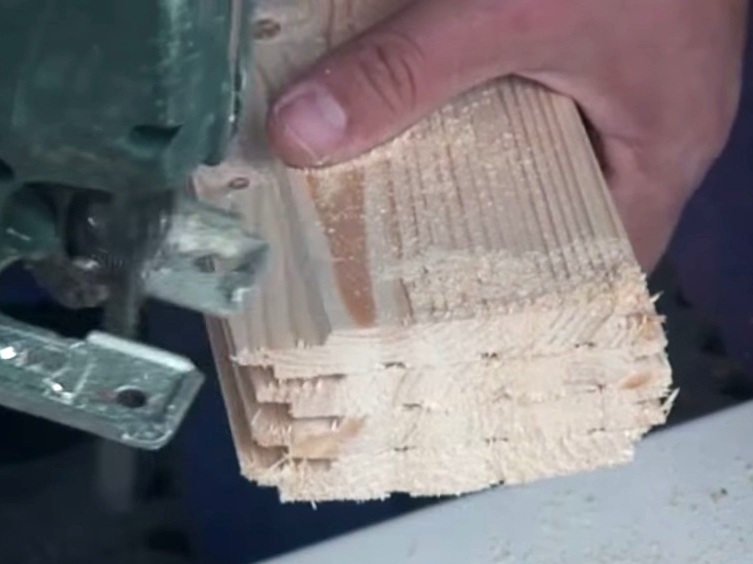
- All the necessary holes are done with a drill, so you can not do without an electric tool.
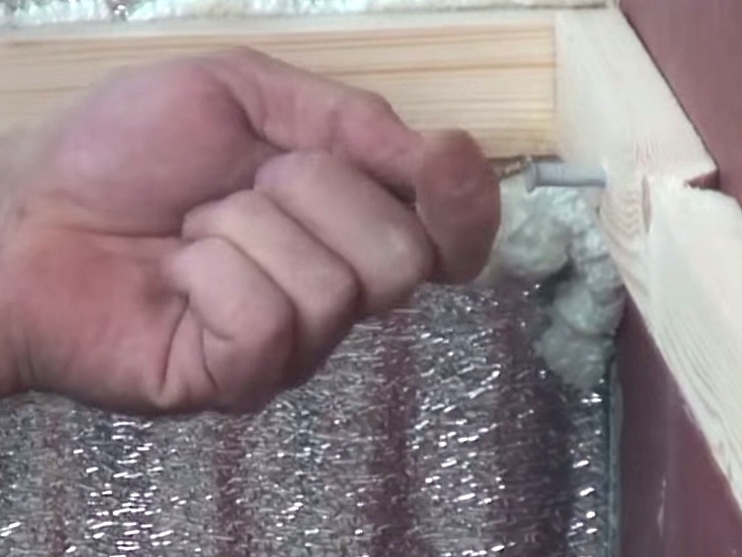
- We fix the slats using plastic dowels.
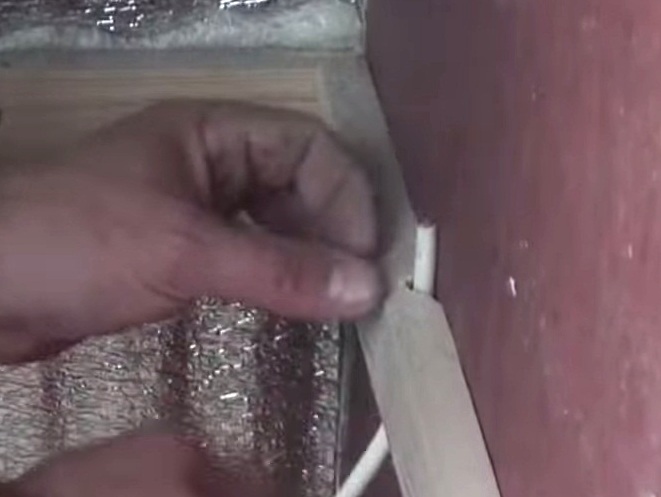
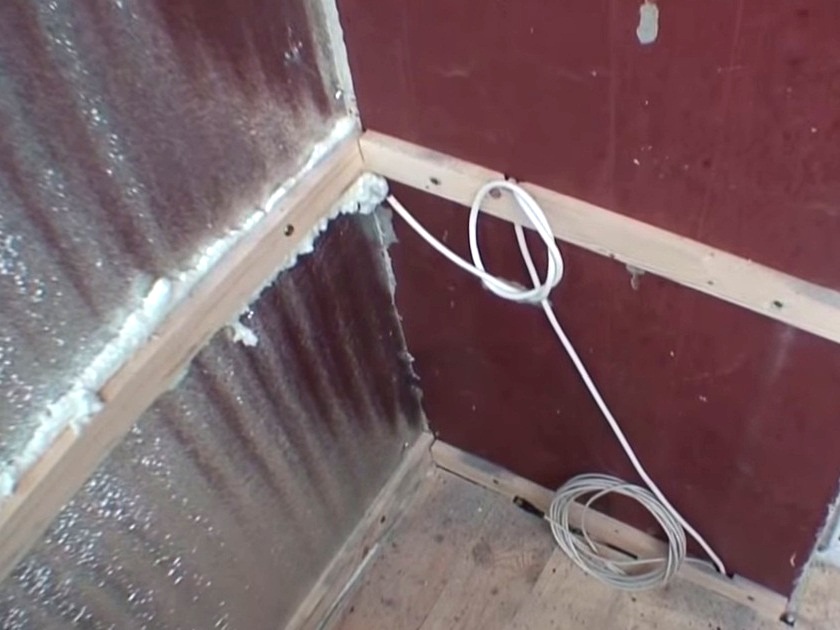
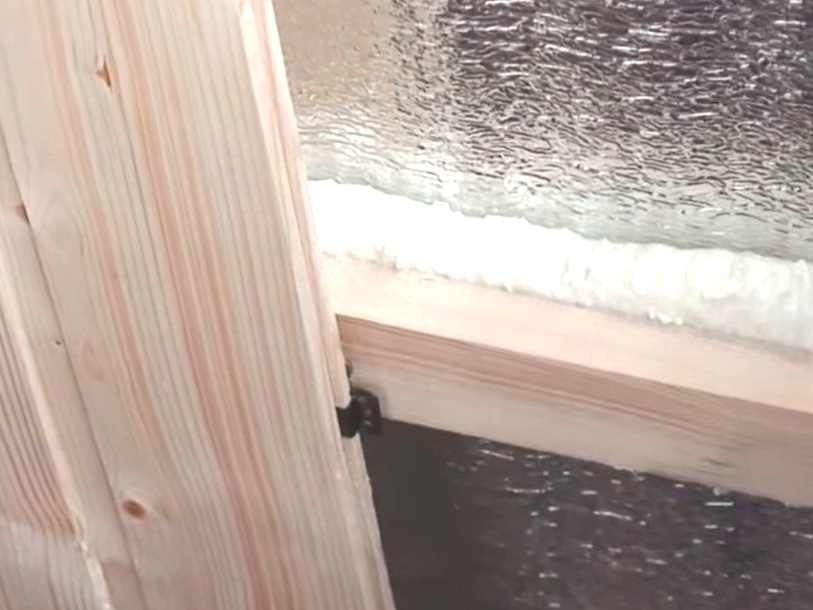
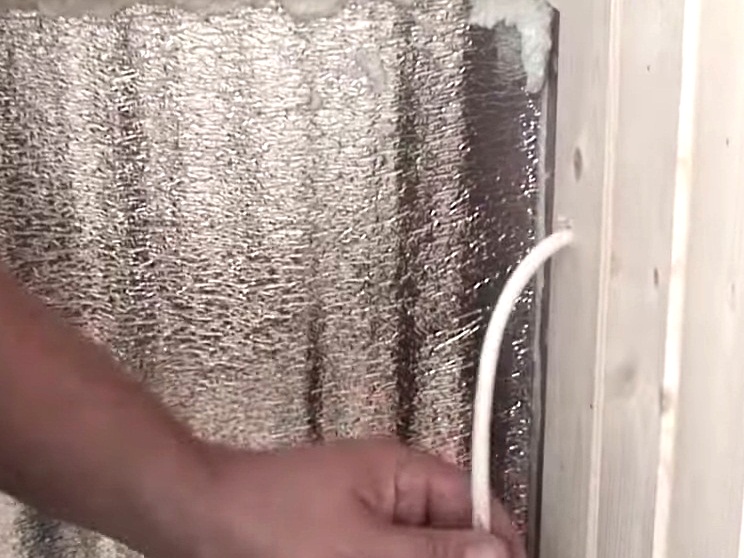
- Take care to make grooves in the tree, in which you need to lay the antenna cable or wiring.
- At the outer wall in some places you can use a mounting foam that will fill the gaps and act as an insulator.
- Similarly, we make work on the other walls.
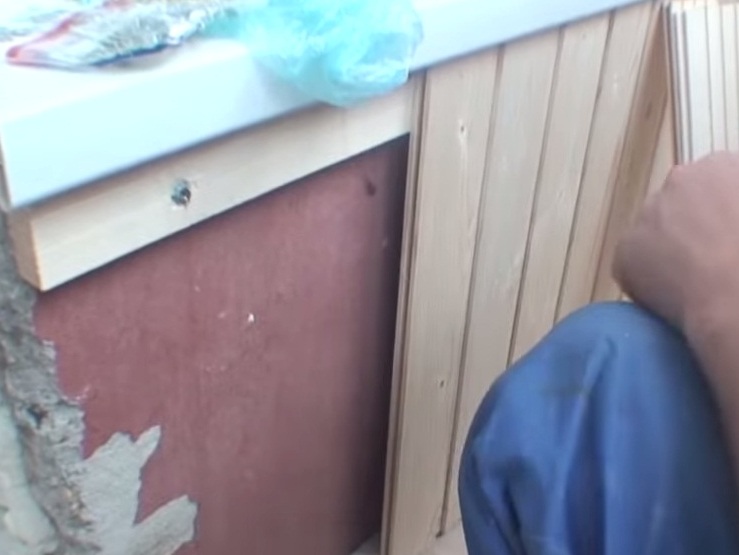
- We cut the panels of the required length.
- Install the first panel.
- We fasten the staple clamps.
- We insert into the grooves the next panel.
- We continue assembling the lining further in the same way.
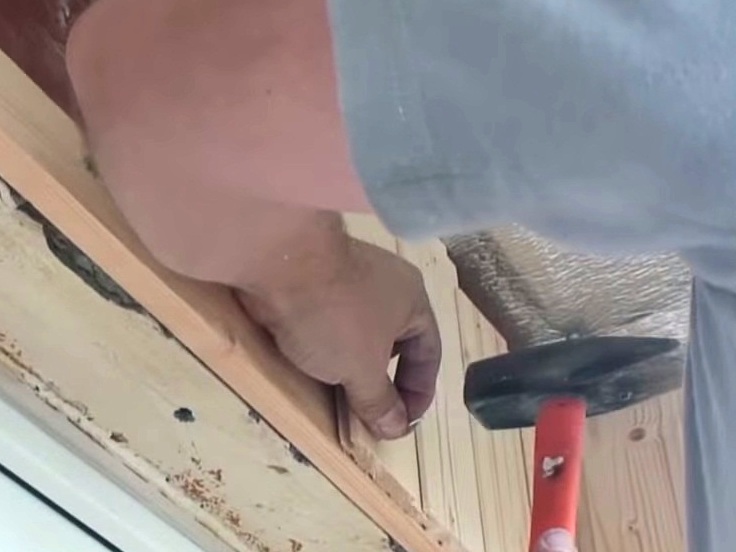
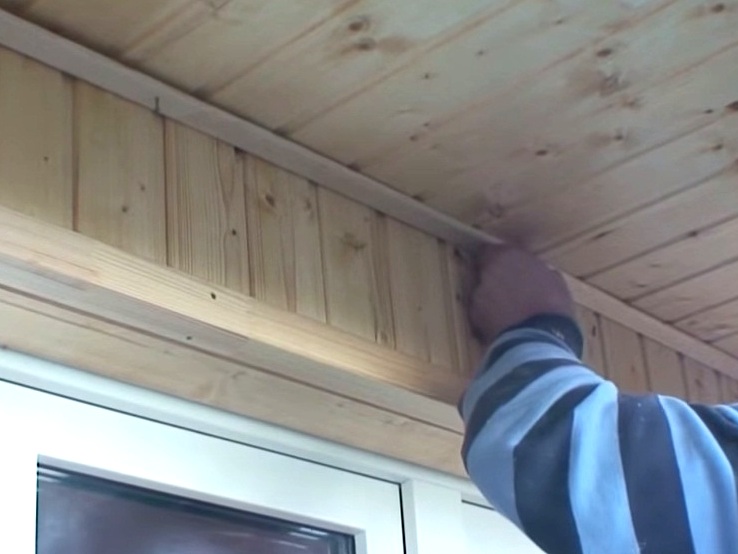
- Above the door, where small pieces of panels are used, small nails can be used for fastening.
- Just carefully cut and fasten the bars under the window.
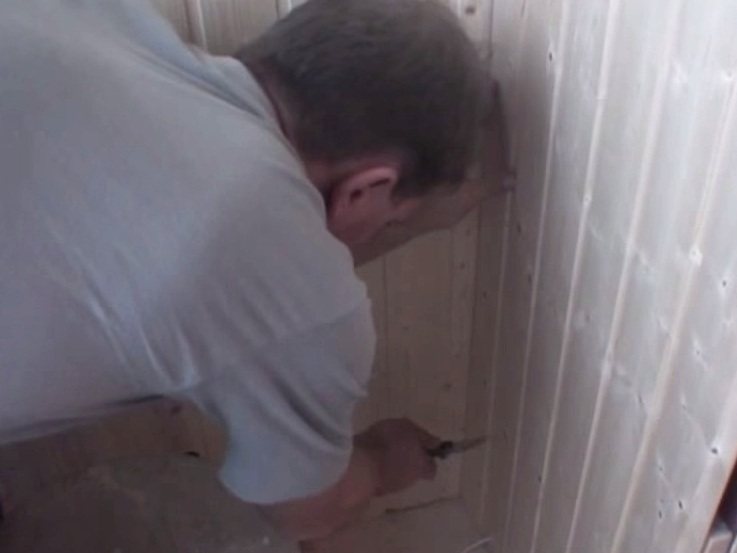
- In places where we exit the wire, we make a hole in the board.
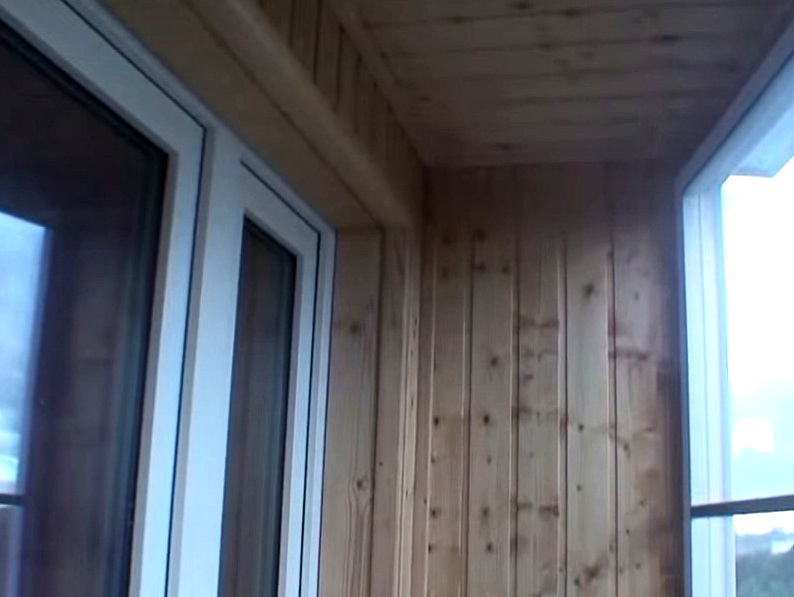
- If everything is done correctly, the panels are densely joined and the surface is smooth.
- Difficulties sometimes arise with the last corner bar, which has to be cut in width and carefully guided with a knife or a thin screwdriver into the grooves.
- We close the lower and upper sections with a carved plinth.
- On this the lining of the loggia has been finished by hand.