Lunar manicure has recently become so popular that it can compete with all the beloved and versatile French. Lunar manicure, created with the help of gel-varnish, will not only please you with an unusual design, but will last longer on the nails.
Types of moon manicure
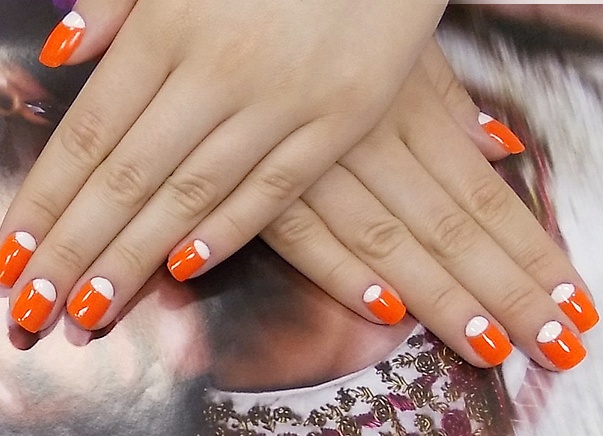
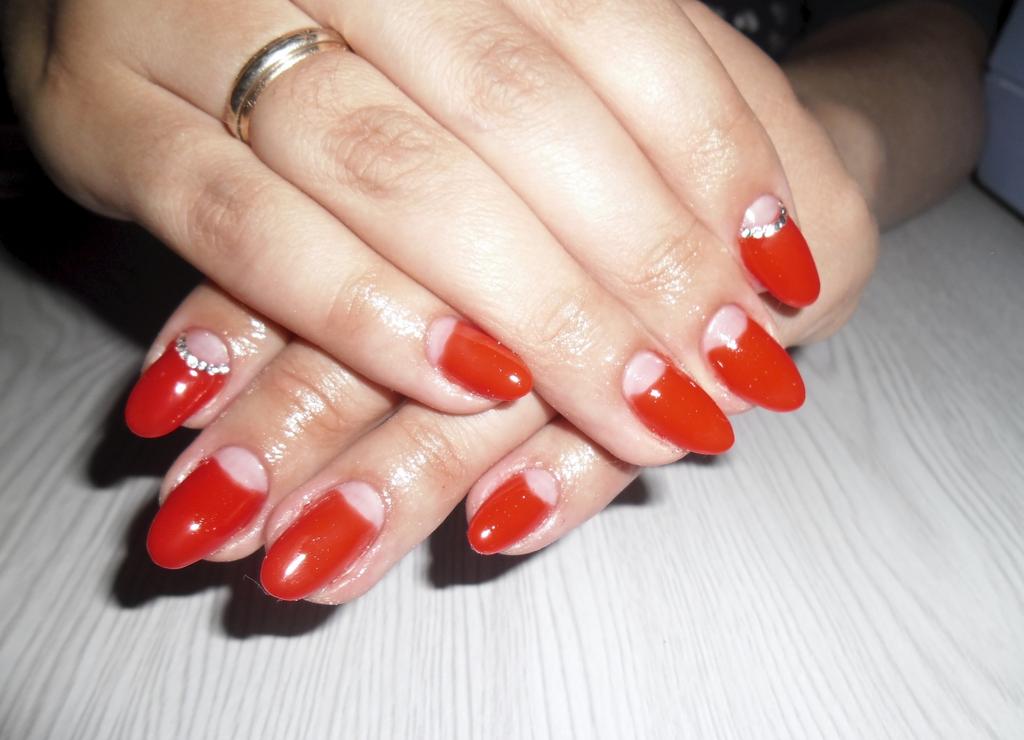
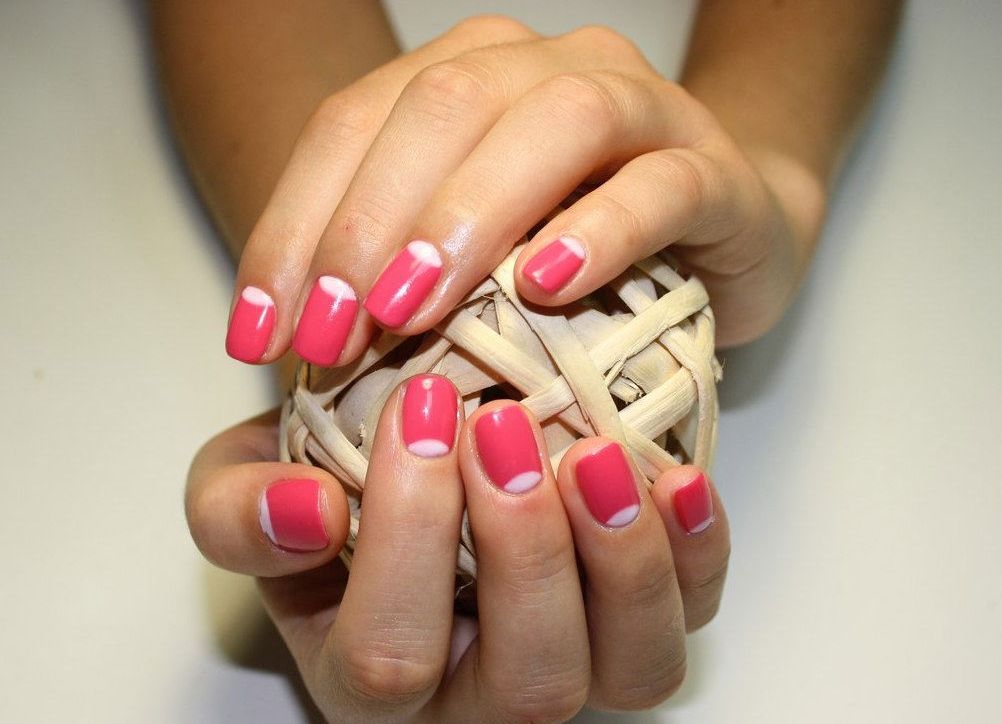
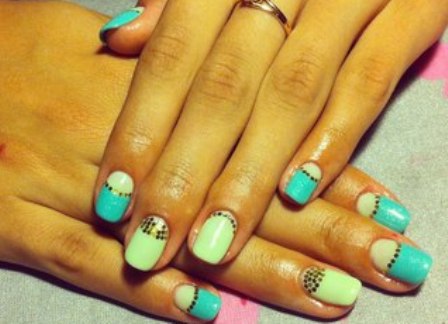
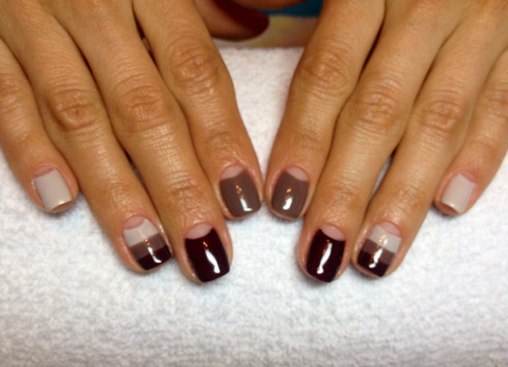
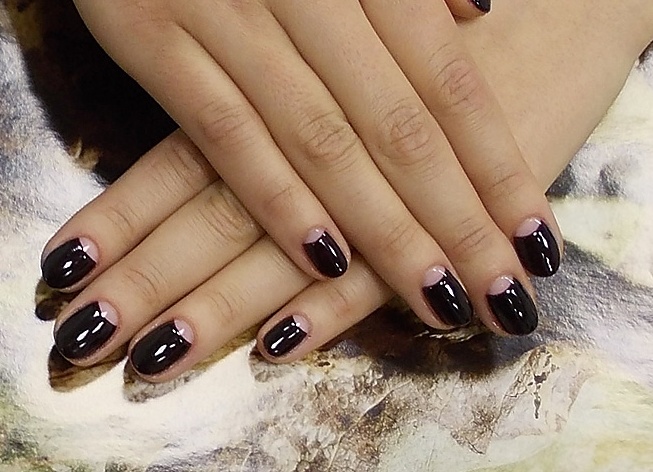
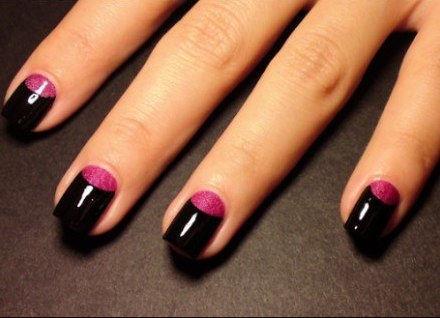
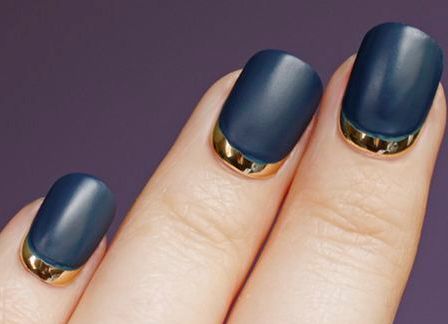
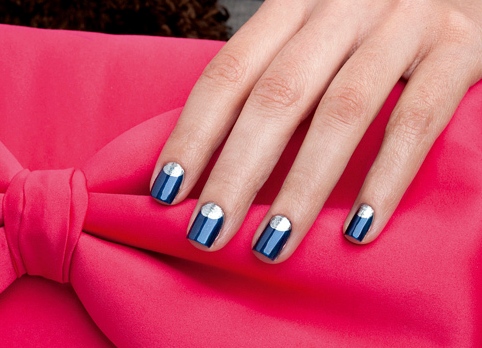
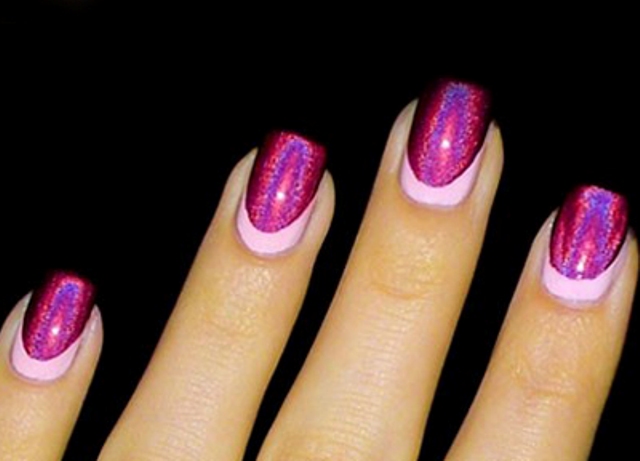
Although the lunar manicure with the help of lacquer began to gain popularity again not so long ago, in 2010 after the Christian Dior show, this design has been around for a long time. In the 30-40 years of the twentieth century, he was known as the "Hollywood French". This method of painting nails is noteworthy in that it can be performed using different colors and shades of nail polish, on nails of different lengths. Experiments are also possible with invoices of varnishes. Lunar manicure is a variant of the French manicure, in which a varnish of a different color, rather than the main one, stands the lower edge of the nail - the hole. The shape of the well can be any: from the traditional semicircular, to the concave and even triangular. For this design, you can choose any shades of varnish, just do not forget to think about what kind of clothes you will combine your moon manicure. The most active is the moon manicure with red and black lacquer. Having made a design using one of these colors, you definitely will not go unnoticed.
How to make a lunar manicure gel-varnish?
From the lunar manicure with the usual varnish the technique of performance differs insignificantly. The main differences are the use of special lacquer structures and a special UV lamp, with which the manicure is fixed.
For the design of the lunar manicure with gel-lacquer, we will need: a base gel coating, a gel-nail varnish for the two primary colors chosen by you, a means for creating a well (stencil or special brush), topcoat, degreaser, UV lamp.
The first stage is preparatory. On it, if necessary, a manicure is performed, the cuticle is removed, the length of the nail is determined, the shape of the hole is decided. After treatment, a special degreasing agent is applied to the nails.
The next step is applying the base coating to the entire nail plate. It should be baked in a UV lamp.
After the base is applied, we proceed to the formation of the well. It is made out before the use of the primary color, because in this case an ugly tubercle does not form on the nail at the place of application of the varnish for the hole on top of the main one. Using special strips for the French manicure or a fine brush for the drawings on the nails, create a semicircle of the desired shape and paint it with gel-varnish. If you are not too experienced in the art of manicure, then, of course, it is easier to use special adhesive strips that are securely fixed on the nail and allow to apply gel-varnish not taking care of accuracy carefully, since all the blemishes after peeling will remain on paper. The brush is somewhat more difficult to use, but if you have some experience with it, you can create holes of absolutely any shape and size, while using strips limits your possibilities. After drawing the picture of the hole, bake the varnish in the UV lamp. If necessary, we apply one more layer.
Next, at the joint to the hole, we apply the main varnish and paint all the free space of the nail. It also needs to be dried with a lamp and, if necessary, make a second coat of coating.
The last step is applying the topcoat to gel-varnishes and drying it under ultraviolet. Then you can apply a top and top coat on top and allow it to dry thoroughly. Your beautiful moon manicure gel-varnish is ready.
| | | |
| | | |
| | | |