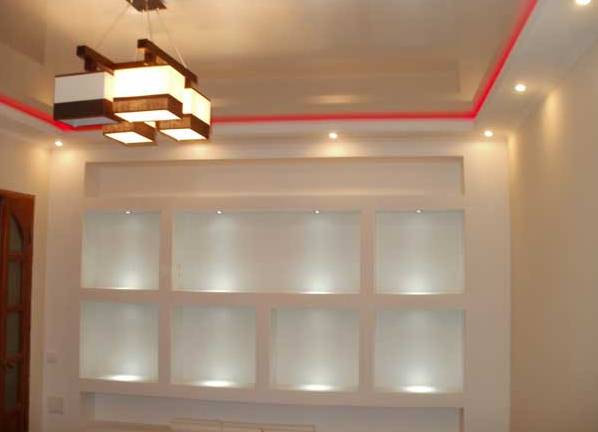
If you want to upgrade the interior of the room, one of the best options for decorating the room can be a decorative niche for LED lighting. The most suitable material for its production is plasterboard. The installation of such a niche is a very simple matter. So let's find out how to make a niche of their drywall with our own hands.
The process of installation of gypsum board niche
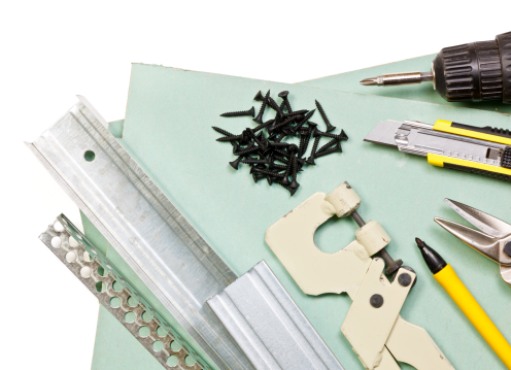
- To create a gypsum board niche with our own hands, we will need such tools and materials:
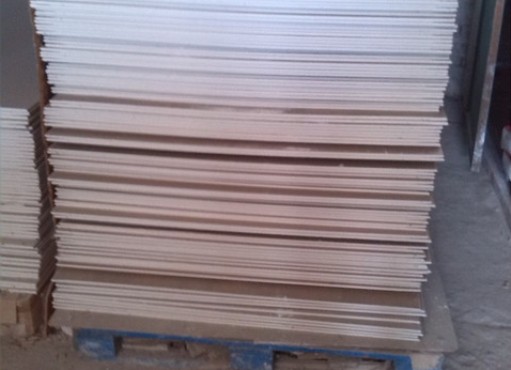
- sheet drywall;
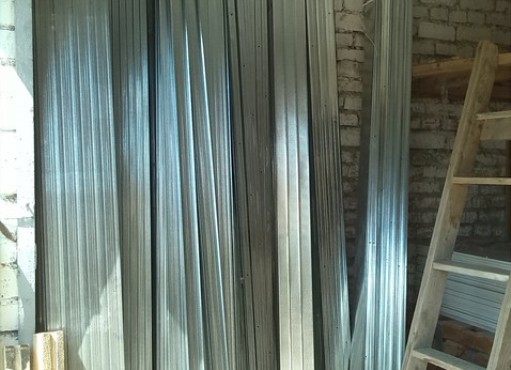
- basic and guiding metal profiles;
- mounting glue;
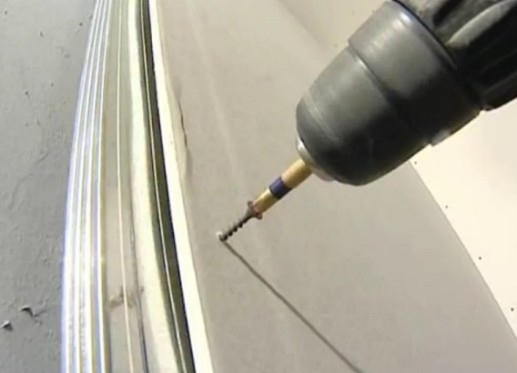
- drill;
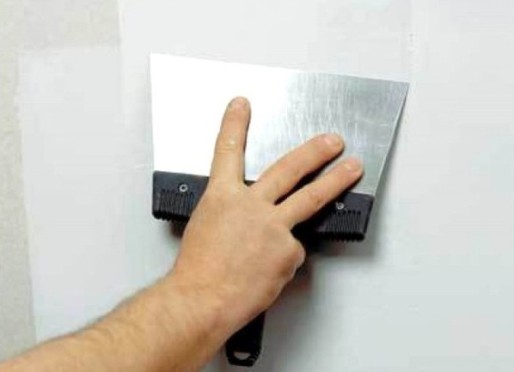
- sharp knife;
- 12 mm self-tapping screws;
- LED cord for backlight.
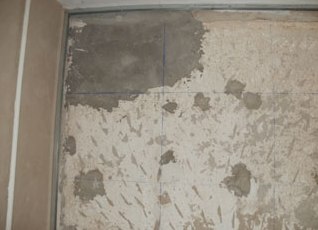
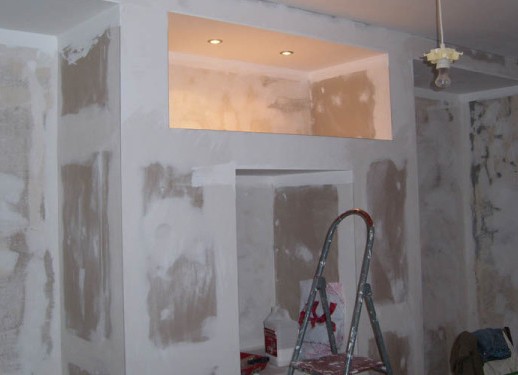
Determine the place where the niche will be located. For this purpose a free piece of a wall about 3 meters in width will fit. Since we will mount LED lighting in a niche, electrical wiring should be near this place. Before starting work, it is necessary to draw up a scheme for mounting the metal structure for a niche. On the size we mark on the wall a place for work. Screws the guide profile to the wall, floor and, if necessary, to the ceiling with screws. The main profile is also fixed using self-tapping screws. After assembling the entire metal structure, be sure to check it for peeling. Before fixing the hippocarcone, mount the wiring for future illumination. Plasterboard sheets are cut into strips of the necessary length and fasten them with screws to the frame. The hats of these bolts must be slightly buried in the material. Watch for smooth joints. Now the surface of drywall is rubbed with a spatula, paying special attention to the seams. Finish finish with a special mixture or diluted universal filler. After it dries, you can paint a niche in color, suitable for the overall color scheme of the interior of the room. In the finished niche we mount LED lighting and connect it to the wiring. This will look like a niche in the wall, made by own hands. As you can see, making a gypsum cardboard niche with your own hands is not at all difficult, but you will get an original interior detail.