The production of dolls from polymer clay is very widespread today. Many people constantly improve this hobby and create with their own hands simply amazing masterpieces. In fact, it is not so difficult to make such a doll, and even a child is able to cope with this task with a certain level of preparation and support of his parents.
In this article we will tell you how to make a doll made of polymer clay, and what it needs to be polished, so that it looks more than worthy.
We make a doll made of polymer clay
The following master class will allow you to learn how to mold dolls from polymer clay with your own hands. The whole process of creating our future masterpiece will be conditionally divided into 3 stages. First, read the detailed instructions on how to blind the head and, in particular, the face of a doll made of polymer clay:
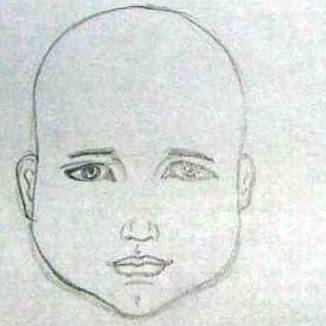
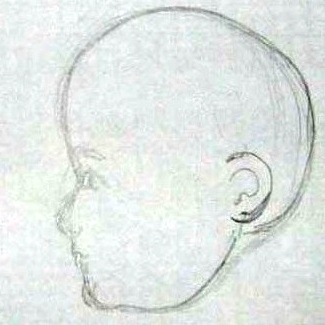
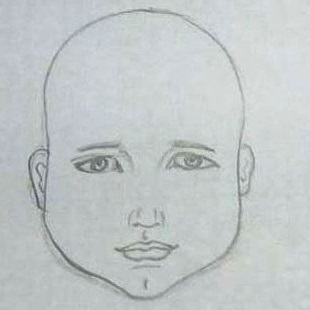
- Draw a portrait of the future doll from two angles - in profile and full face.
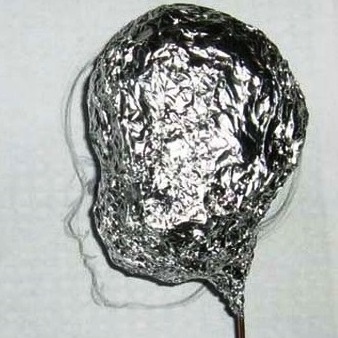
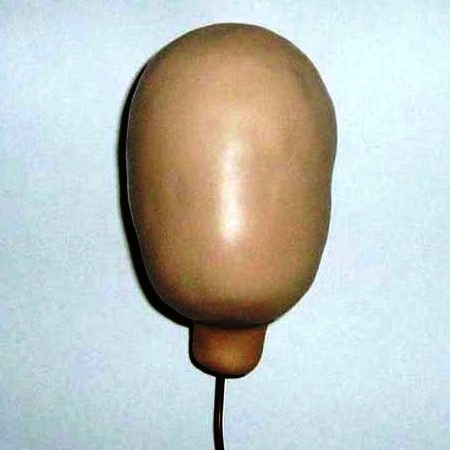
- Bend the wire and on its bend form a foil ball, the diameter of which will be slightly less than the estimated size of the head.
- On the foil, apply a layer of polymer clay 3-5 mm thick and add some material for the neck.
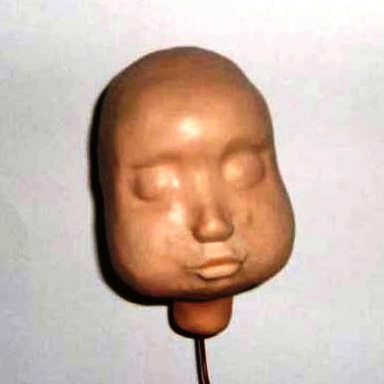
- Use special tools to make slits for the eyes and lips, as well as small earthen linings where the cheeks, chin and nose will be located.
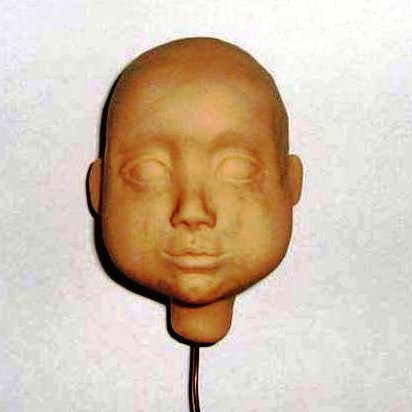
- Mold your ears and bake the product in the oven. Typically, this is done for 15 minutes at a temperature of 130 degrees, but you should always consider what recommendations are indicated on the packaging of polymer clay.
In the following part of the instruction it is described how to perform step by step the torso of dolls made of polymer clay:
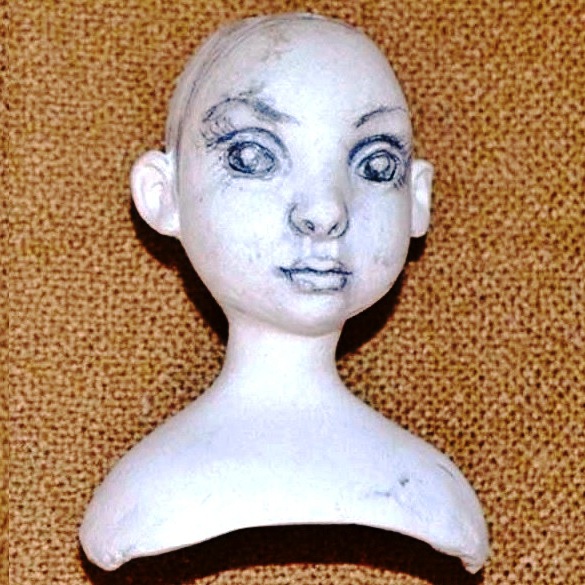
- To the head, add a little clay to create the upper part of the trunk. Color the face to your own taste.
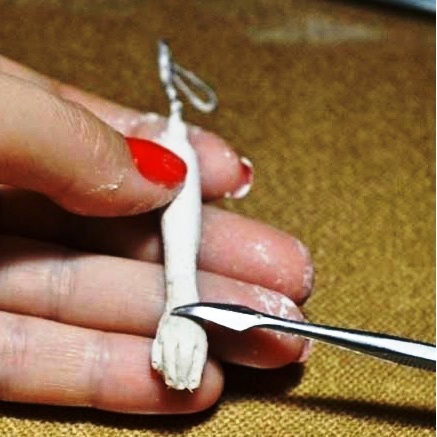
- To make hands, take 2 pieces of wire, bend them and slightly twist.
- Clothe these blanks with clay, forming the handle of the doll, and at the end of each of them make a small hook for drying.
- Gently perform the brush with a special thin tool. Select the nails and lightly protrude the thumbs.
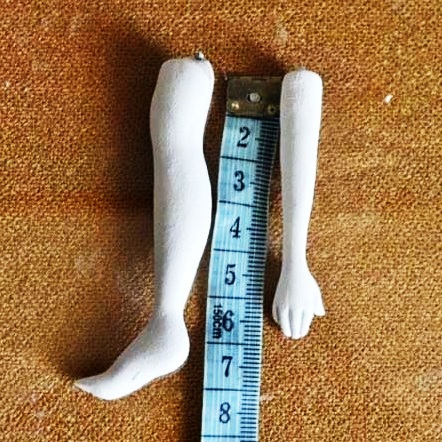
- Similarly, make the legs slightly larger than the arms, and sand all the limbs with sandpaper.
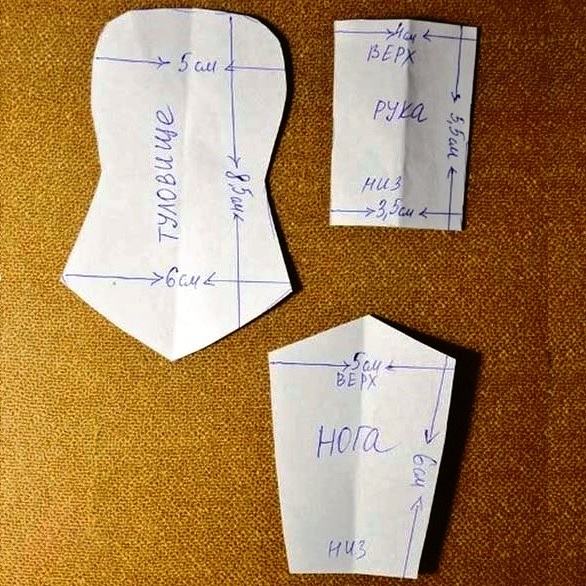
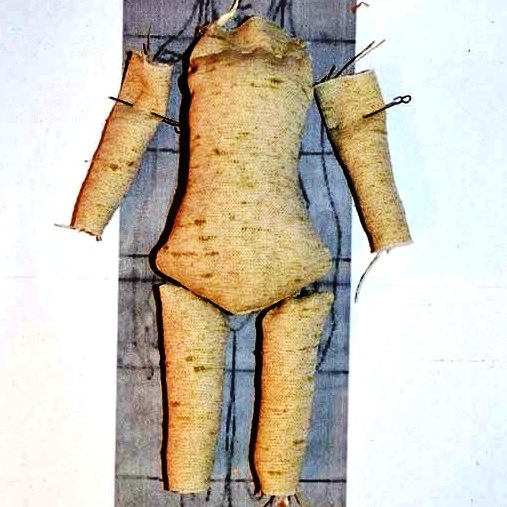
- Make a pattern of the trunk made of paper, as shown in our diagram.
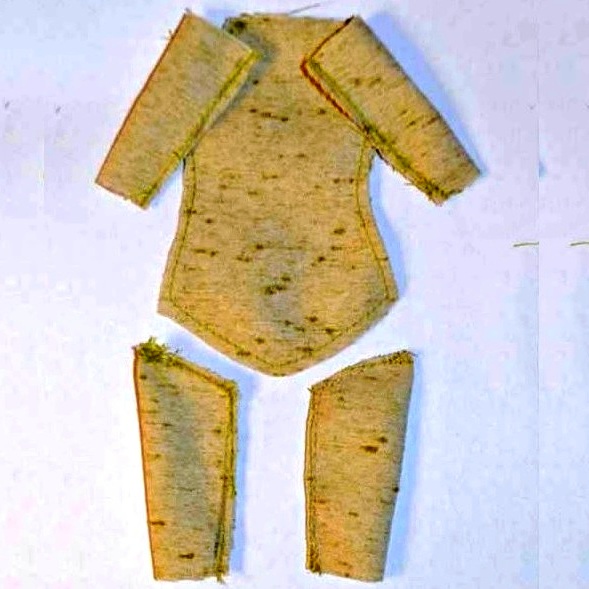
- From the linen fabric, open the necessary details.
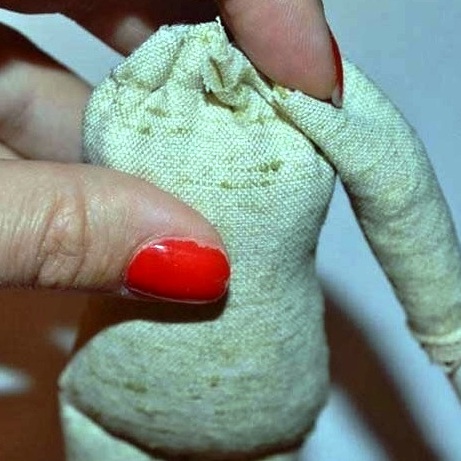
- Turn out these details on the front side and stuff them with cotton.
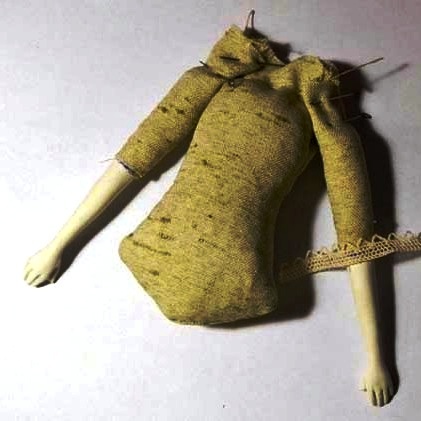
- Inside insert your hands and glue them, from the top with a braid.
- Similarly, insert the legs and sew all the parts together.
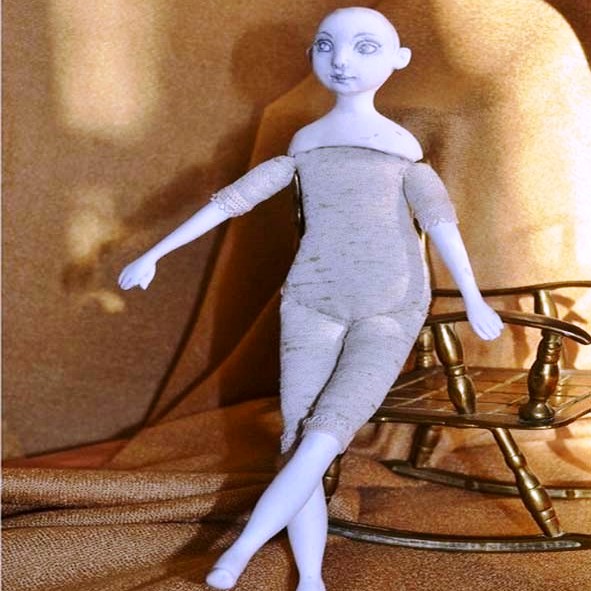
- Glue your head, your doll is ready! It remains only to make her hair.
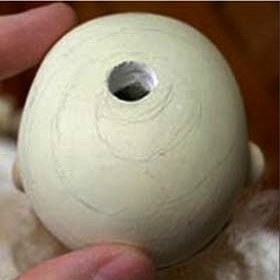
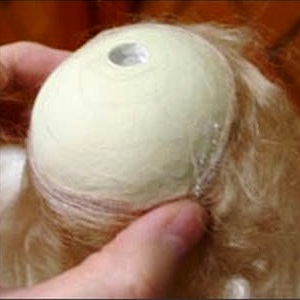
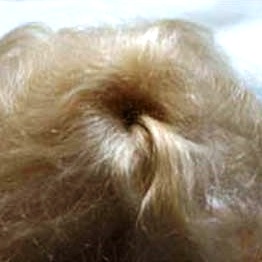
- Make a small neat hole in the doll's head. Mark the lines, spread them with glue and glue the previously acquired artificial hair, gradually moving from the crown to the temporal part of the head and the occiput.
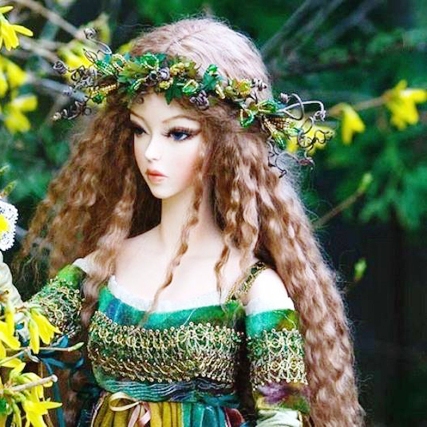
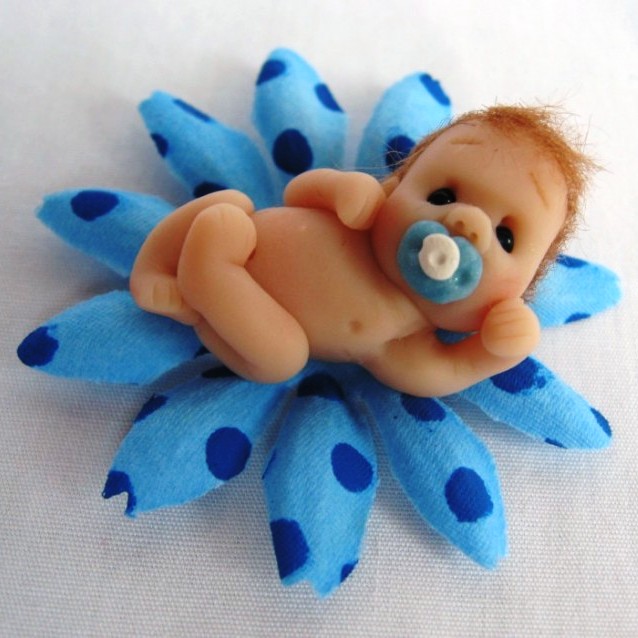
- The ready figure of the doll must be gently sanded with sandpaper and polished with a piece of denim. If desired, you can paint it with acrylic paints. Finally, the final step should be the final design of the toy by adding original clothes and accessories. You can create it yourself or buy in a store. For example, our beautiful doll can be decorated in this way:
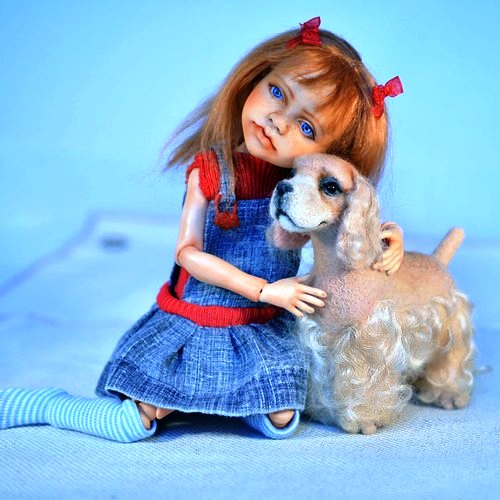
By connecting very little imagination and imagination, you can decorate the masterpiece to your own taste. In addition, having mastered the manufacture of such toys, you can start creating a hinged doll made of polymer clay and add to your collection, or you can make magnificent original gifts for your loved ones.