Products made of polymer clay always look stylish and original. Working with this material is a great way to show your imagination and creativity.
In this article, we will demonstrate a detailed master class on polymer clay, following which you can create a simple, but unusual bracelet . Such an accessory will become a bright and attractive accent of your image or an unforgettable gift for your loved ones.
Techniques when working with polymer clay exist completely different. The bracelet, which we offer to your attention in this master class, is made in a syringe technique. The most convenient way to work in this is to purchase a special tool, an extruder. True, you can use an ordinary syringe, if you take off the nozzle with a needle.
Required Tools
To create a bracelet we will need:
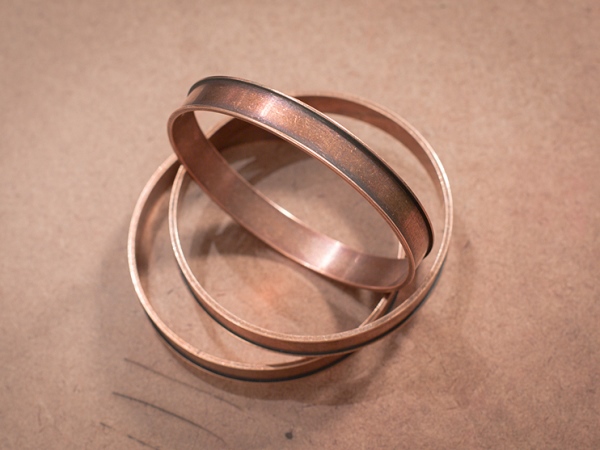
- Metal base for the bracelet. Blanks of various shapes and diameters can be purchased at handicraft shops or ordered on the Internet.
- Polymer clay in several colors. You can choose any shades that you like. The main thing is that they combine with each other.
- Extruder with nozzles or a conventional syringe.
Instructions
Now that all the necessary materials have been prepared, let's talk more about how to make jewelry from polymer clay.
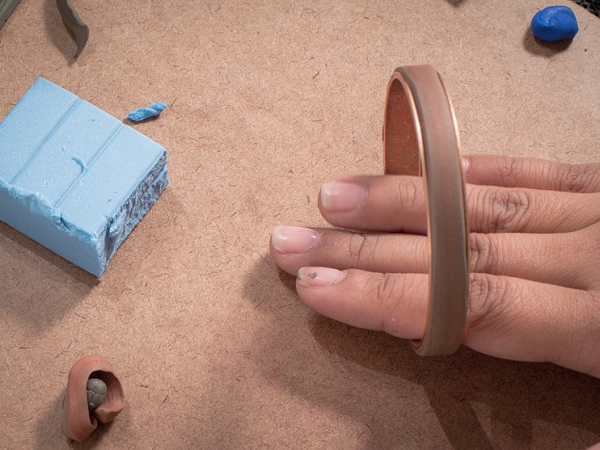
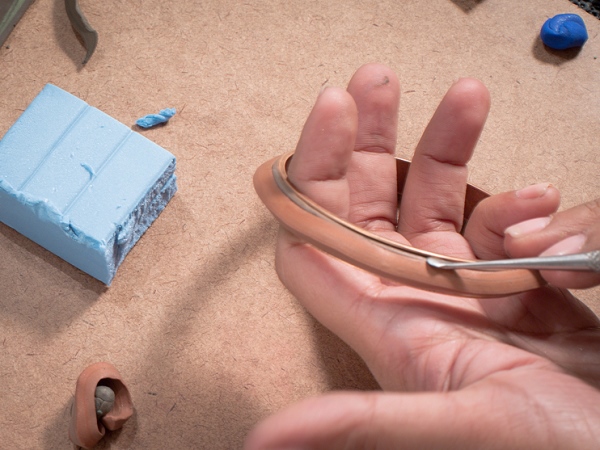
- To begin with, you need to purchase a workpiece, the basis for the bracelet. In this case, it is important for us to choose a workpiece with a small depression, in which we could place a plastic base.
- The next step is the creation of a plastic backing. The colors of the substrate in the finished product will not be visible, so this is a good option for disposing of unnecessary pieces of clay, which in the process of mixing acquired a dirty shade.
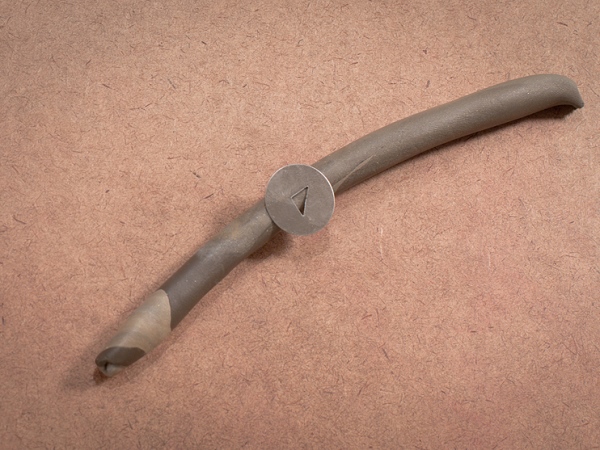
- Roll out the clay and fill it with a groove in the workpiece for the bracelet. If we talk about how to use polymer clay to get a quick and high-quality result, it is most convenient to work with a special device extruder. Using it, using different nozzles, it is possible to obtain strips of clay of different shapes. In this case, it is convenient to use a triangular nozzle to create a base for the future bracelet. If you do not have an extruder, then you can give the polymer clay the necessary shape with your fingers, and then smooth it with a stack.
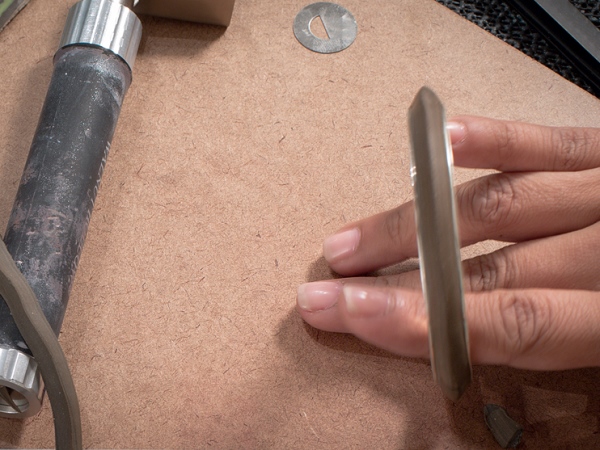
- Carefully check to see if clay leaves the workpiece. We fix and correct the defects with the help of a modeling stack.
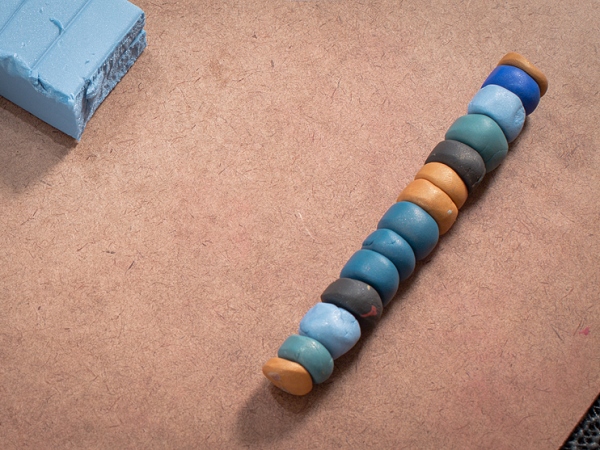
- Then, from the plastic of the selected colors, roll the balls and add them together in random order.
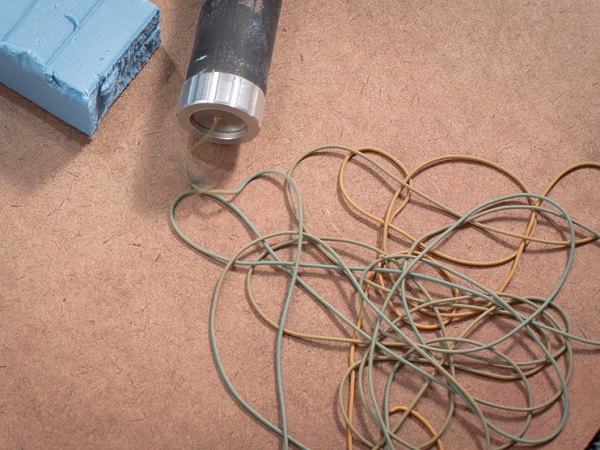
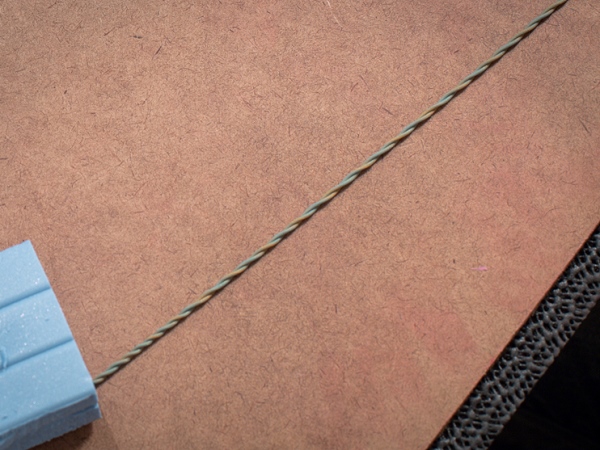
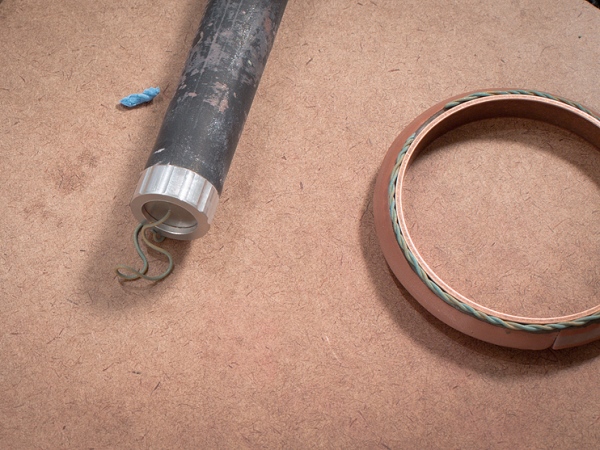
- The collected "turret" is passed through an extruder. At the output we get a beautiful thread of clay. If there is no extruder, then it is possible to obtain such a thread using a syringe. You will have to spend a little more time and effort on this stage, but the result will be the same. Not for nothing because such a method is called a syringe technique in polymer clay.
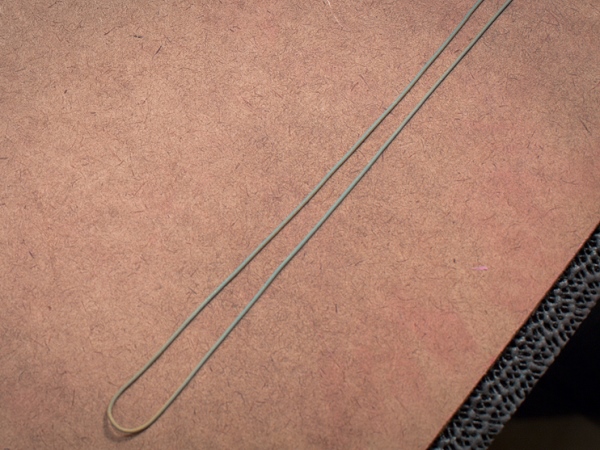
- In order to cut the thread into segments of the required length, we measure the circumference of the bracelet and multiply it by two. The piece is folded in half on the working surface.
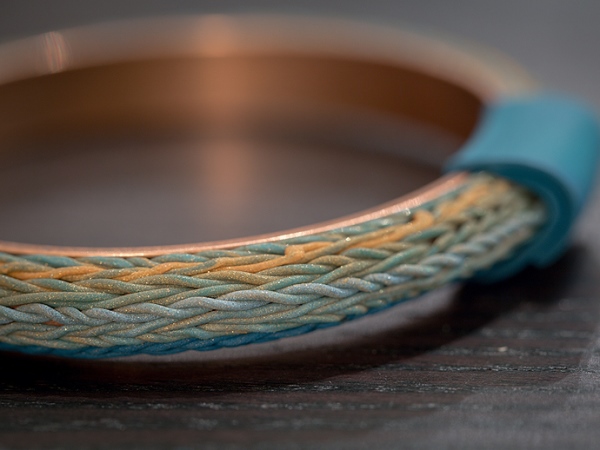
- We twist the segment into a tight tourniquet clockwise. The next thread is counter-clockwise.
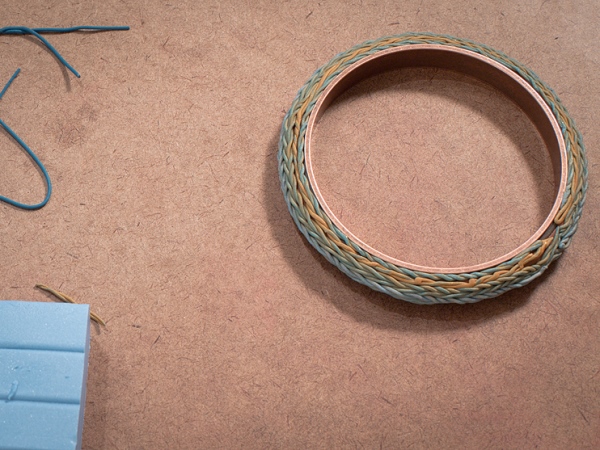
- We put the ready flagellum on the workpiece, alternating twisted clockwise and counterclockwise.
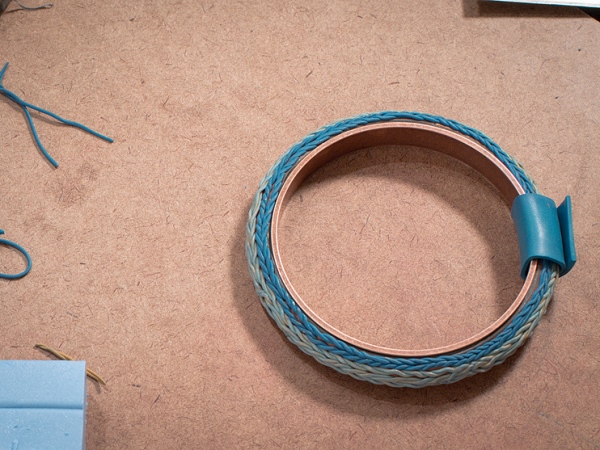
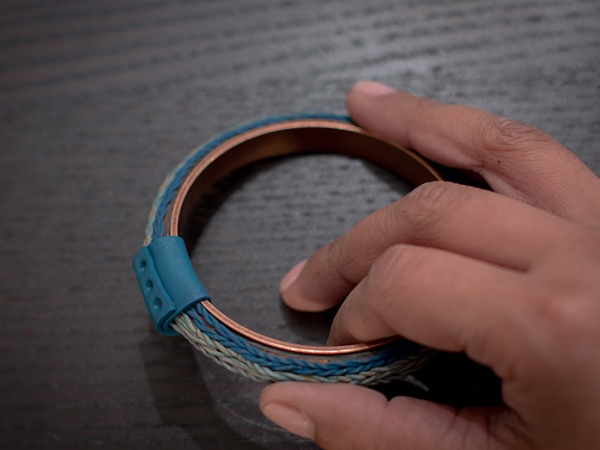
- Close the place of the joint with a small strip of clay and fix it.
- A simple but cute bracelet made of polymer clay is ready! It remains only to bake it, following the instructions on the package with clay.
| | |
| | |
| | |
Using the technique described in this master class, you can create from polymer clay flowers , ornaments and a variety of costume jewelry. You will definitely enjoy not only the wearing of the finished product, but also the fascinating process of its creation.