Do you have a dream to equip the room with exclusive furniture, but there is no money for it? Excellent! Hence, there was a chance to try to build furniture from pallets , and we will consider how to do this using the example of a table.
How to make a table of pallets for the living room?
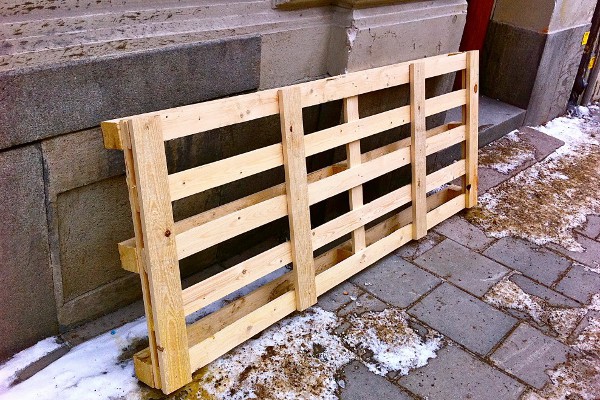
What good such wooden pallets are, so it's its low cost, transformability and simplicity. It reminds the designer, because you have to collect from the standard elements something original.
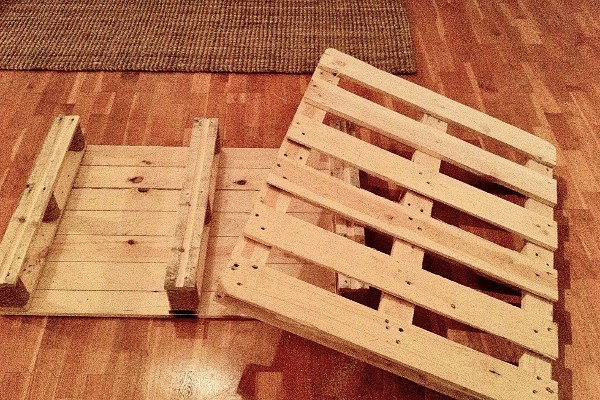
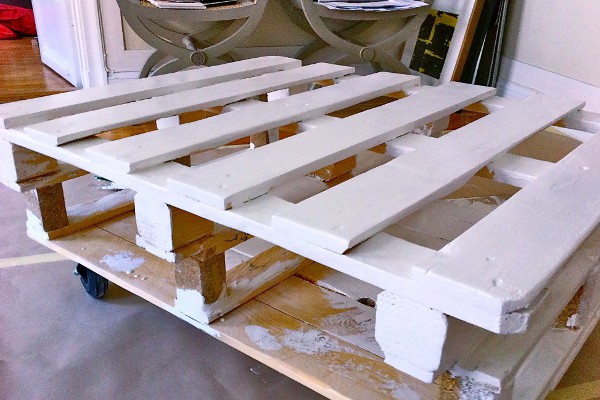
- This time we take two types of pallets: one standard closed, and the second open type.
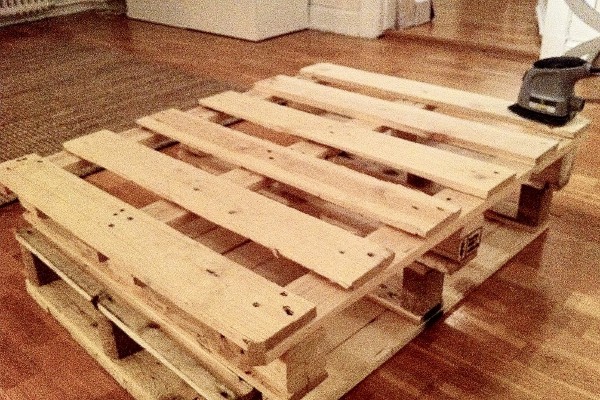
- All ingenious is simple and we just put one on the second part of our table.
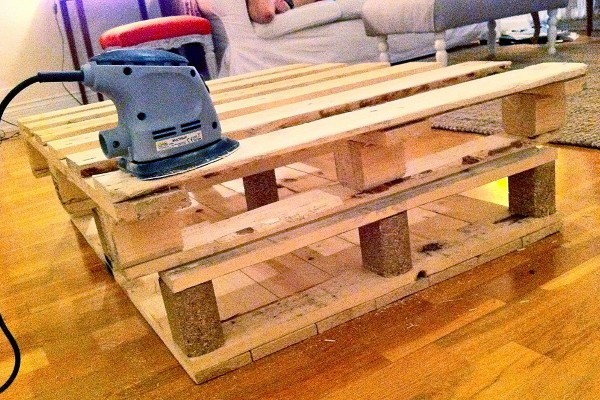
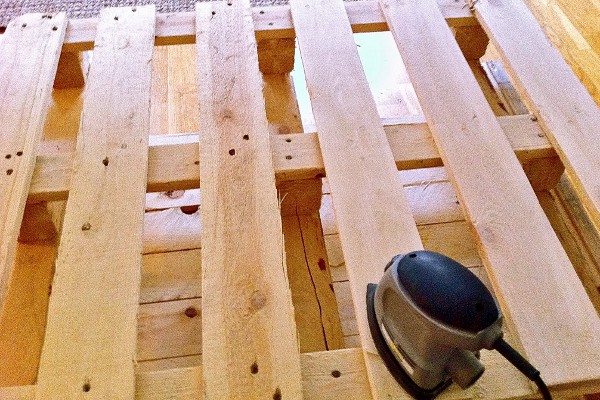
- Since the pallets are not very suitable for use at home, the surface quality leaves much to be desired. But here everything is solved quickly using a grinder or ordinary sandpaper.
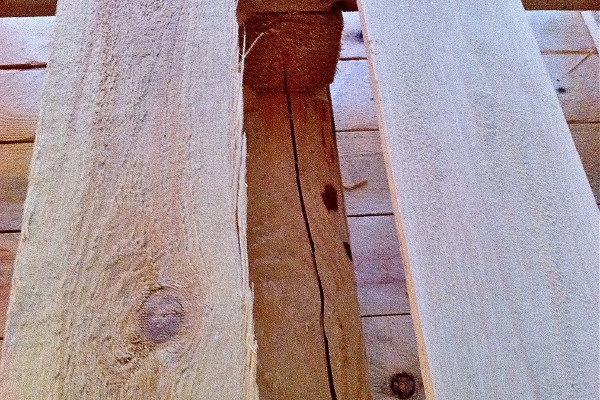
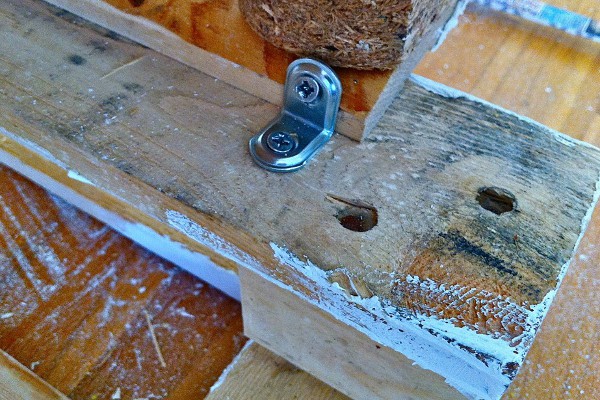
- As soon as the table is put in order, all the voids, holes and just plain irregularities pass through the putty for the tree.
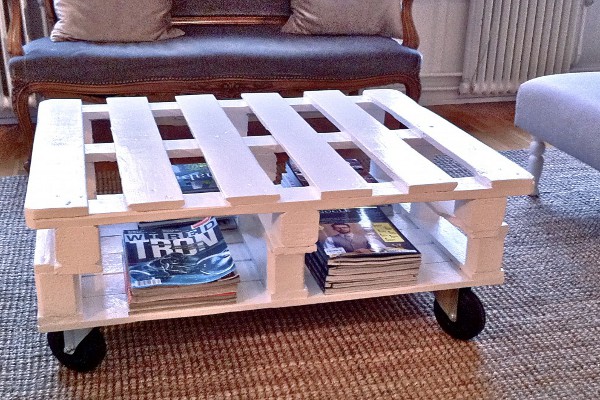
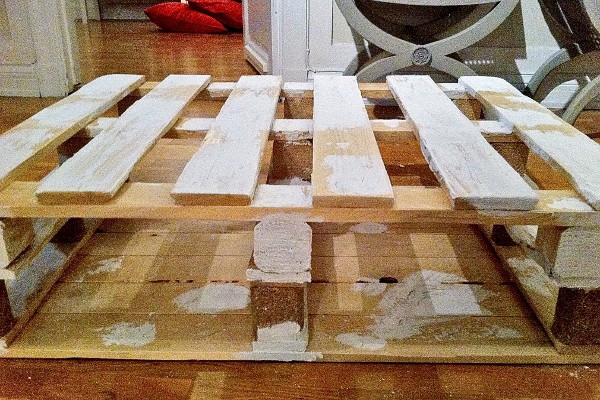
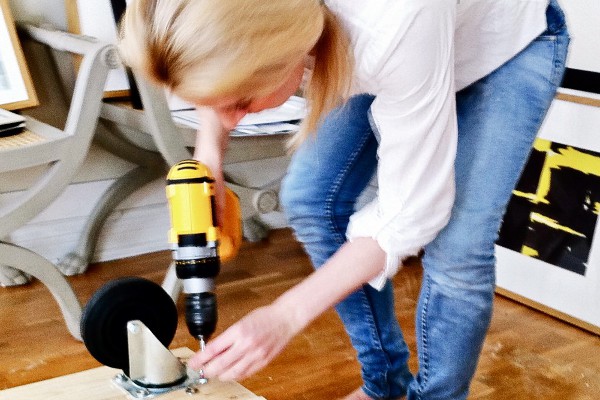
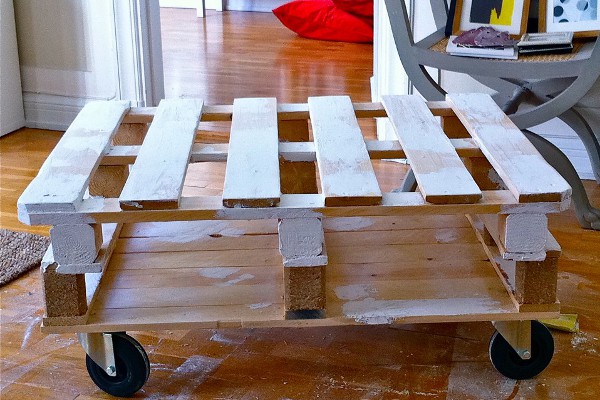
- It remains to attach the wheels and, if desired, fasten the two parts together.
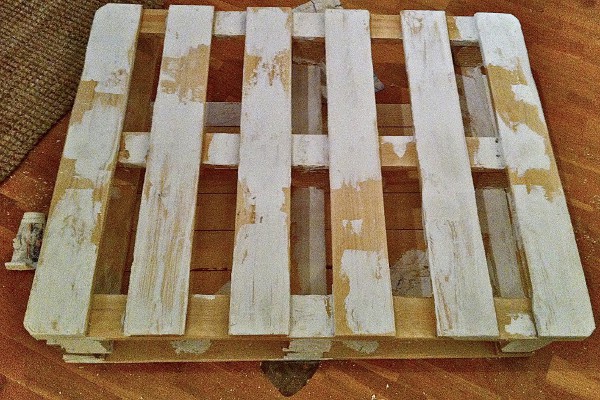
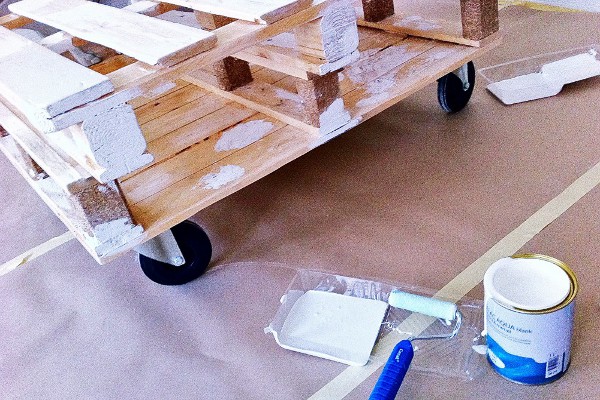
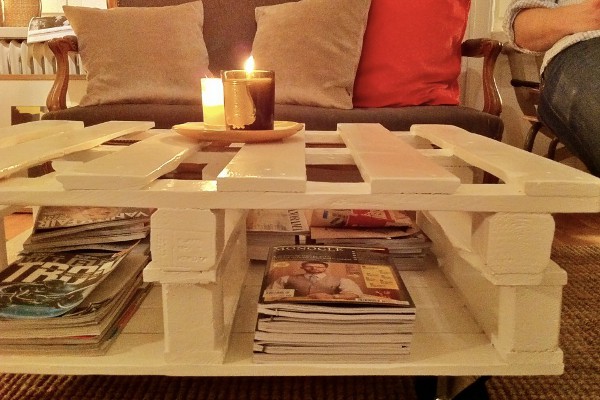
- A few strokes of a magic roller with paint and our furniture is ready!
- Agree, though the table from pallets is simple "it is impossible", but the work made by own hands, pleases an eye.
Table from pallets with your hands to the kitchen
If you have a dacha and you plan to gather there by a big company at the table, making it from the pallets yourself is not much more difficult, and for this you just need a little more imagination.
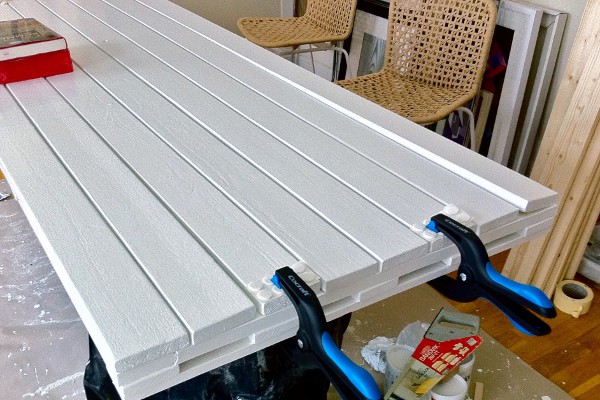
- Here is a pallet, a little longer than the standard square shape, will be an excellent countertop.
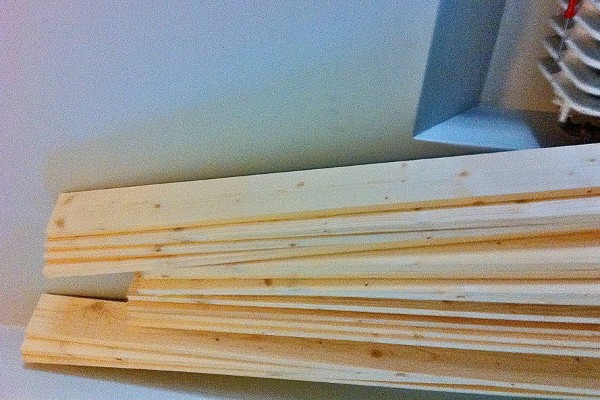
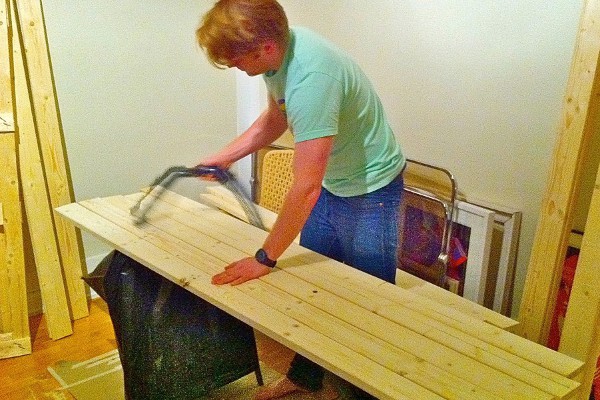
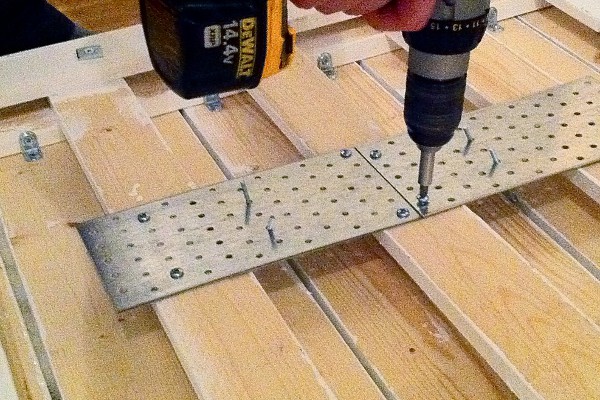
- But this time, we do not need a decorative, but a practical surface, to make it as such help boards.
- In the process of work we make a fitting. This is only an approximate view of future furniture.
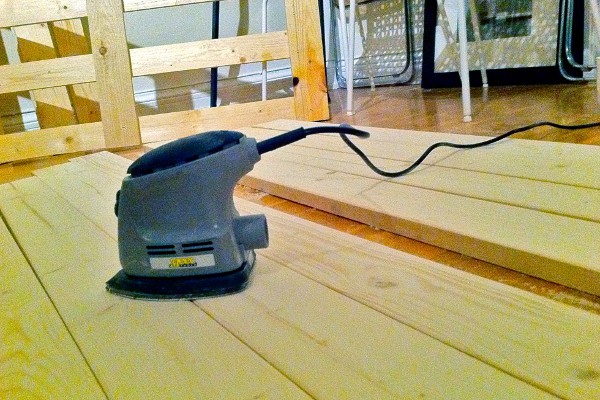
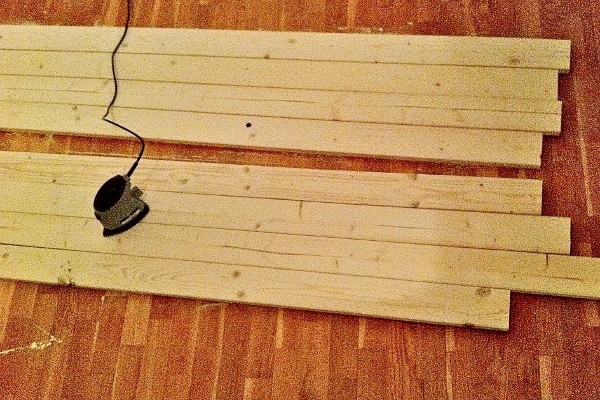
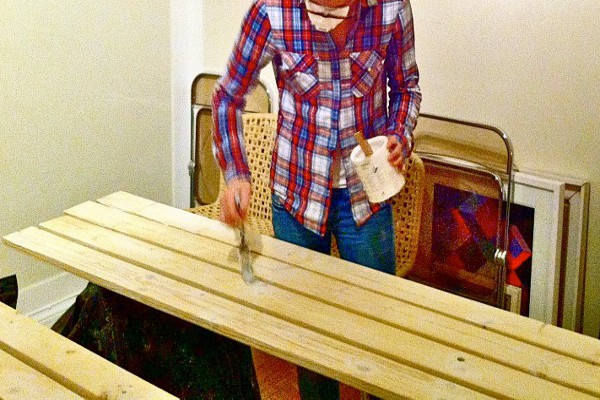
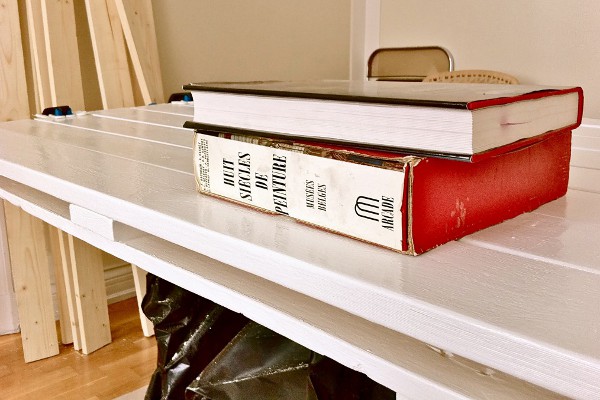
- Next, work with the material for construction. Grind all boards, pallet and achieve a smooth surface.
- After grinding, thoroughly wipe the surface of the residue of dust, you can blow them off.
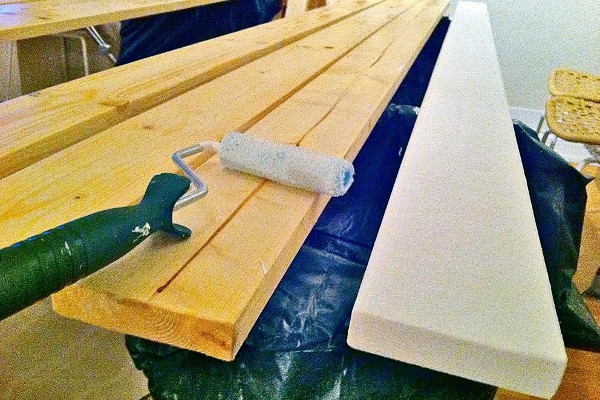
- Once the table is in the kitchen and the moisture is inevitable, we will first walk through the protective layer for the tree. It has no color and just protects the tree from swelling, something like that is sold for finishing the forest under the roof.
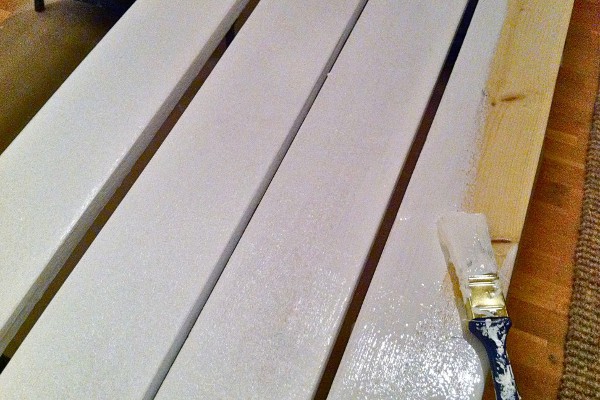
- Next, we color the blanks in the final color.
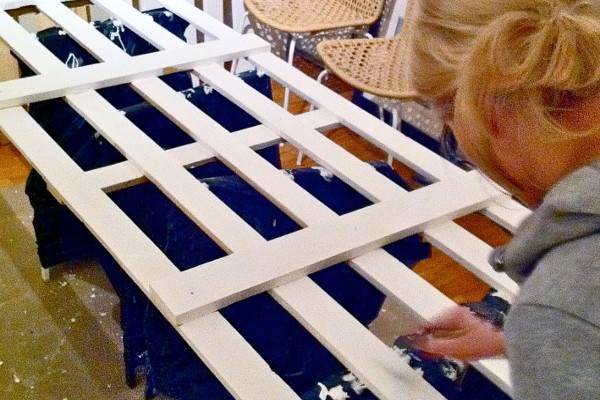
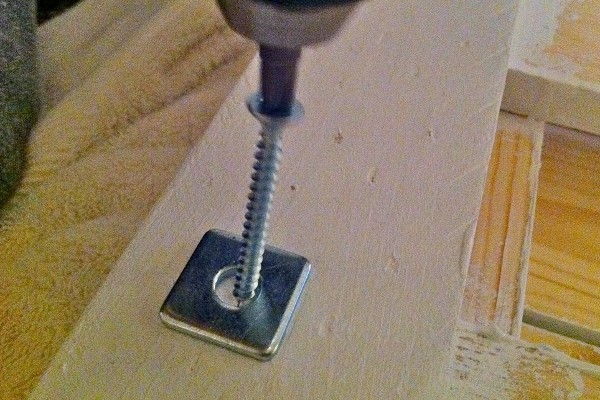
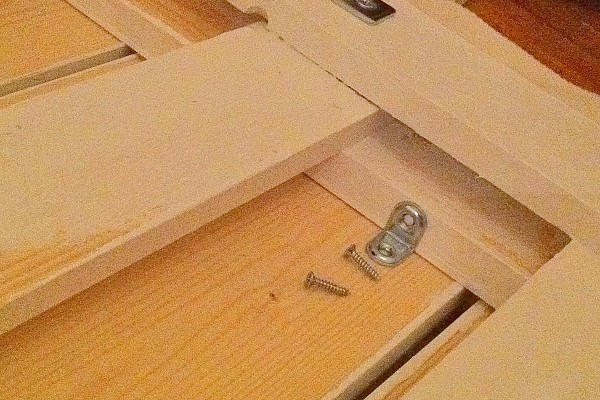
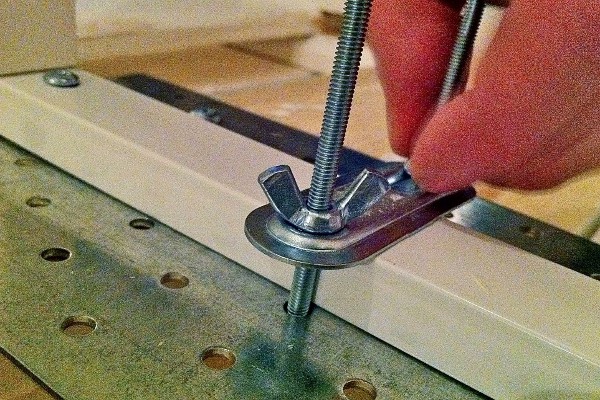
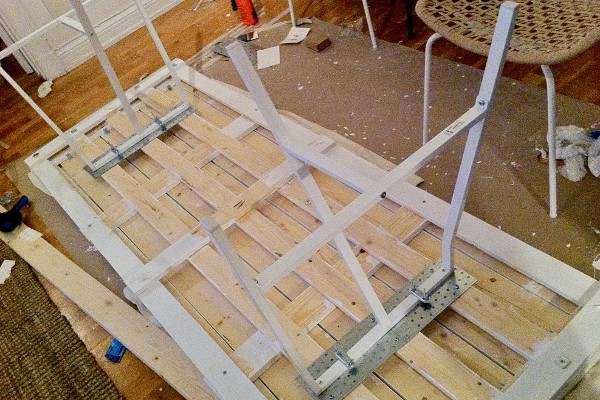
- Our table of pallets for dacha, left a little more work with our own hands and connect the two parts of each other. We do this with joinery glue.
- The code will dry out from the back side, in addition we fix them with corners.
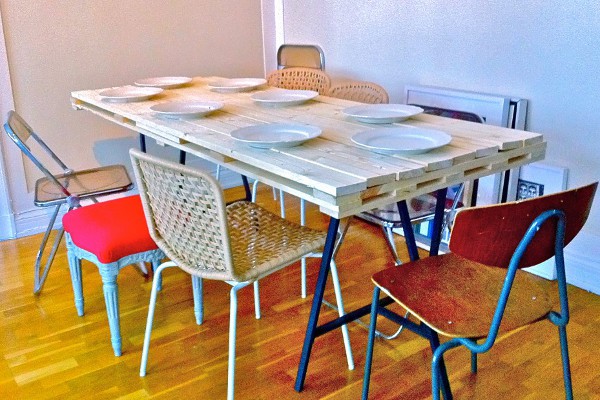
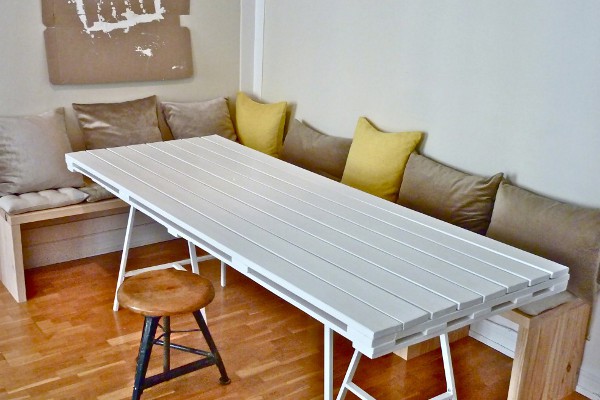
- The last step is to attach the table legs. And here is the result of the work!