The issue of floor insulation usually occurs during the construction or repair of a private house. Of course, you can instruct this matter to trained specialists, but if you wish, it is quite realistic to implement it yourself. And our master class on warming the floor in a private house with your own hands will be your best assistant.
In total, there are several ways to insulate the floor in a private house: insulated screed , insulated wooden flooring, floor heating systems.
Technology of floor insulation in a private house for a concrete screed
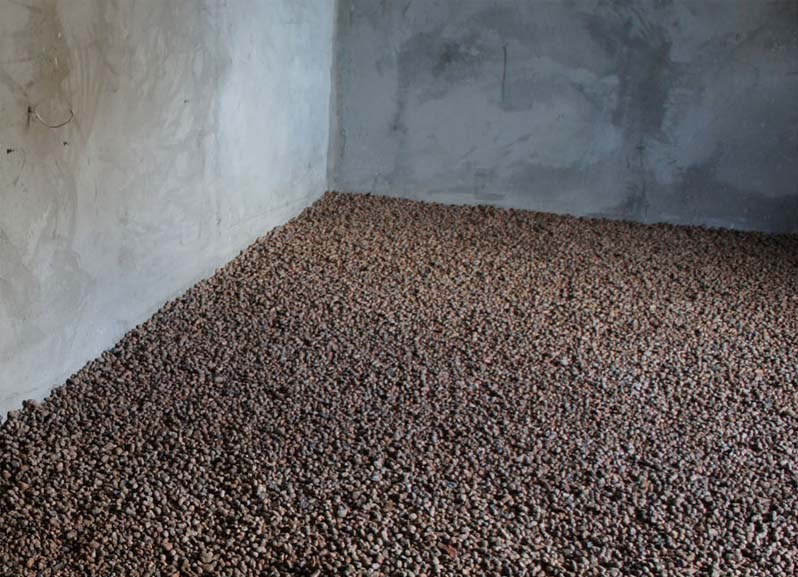
- Floor preparation. We clean the concrete cover from debris, level and cover with a small layer of sand or expanded clay.
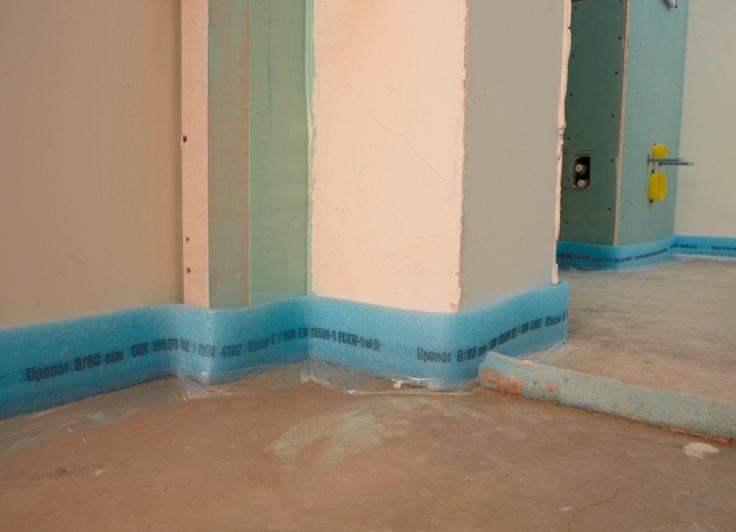
- Mounting the deformation tape. Attach a special tape of foam (10-15 cm high) to the base of the walls along the entire room. For fixing we use glue or screws. The tape will help protect the walls in case the cement screed begins to expand.
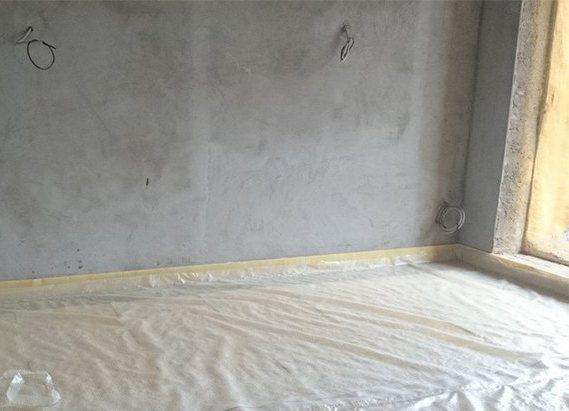
- Waterproofing. We lay several layers of polyethylene film on top of the sand. For reliability, the joints are overlapped and fixed with adhesive tape. If possible, choose a better waterproofing - bitumen mastic or roofing material.
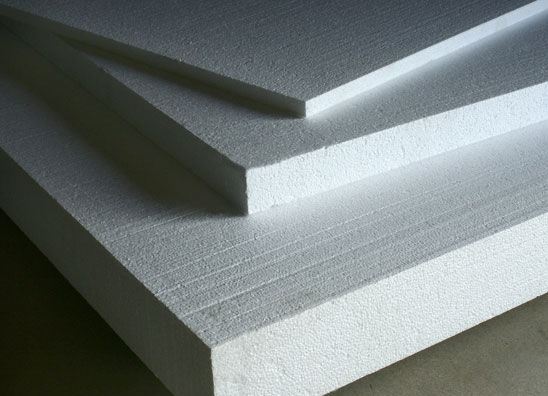
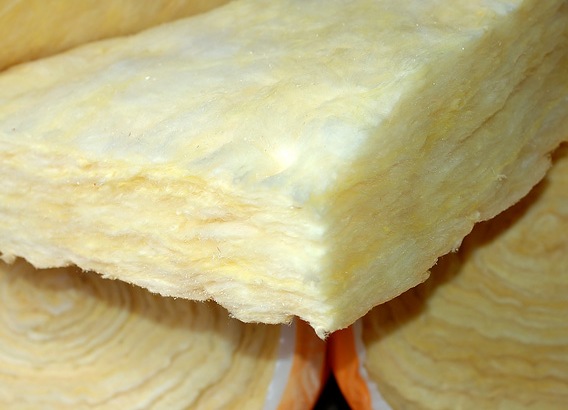
- Thermal insulation. We lay the heater close to the floor, avoiding cracks. As a material for floor insulation in a private house, it is possible to use foam materials (styrofoam, expanded polystyrene) and fibrous materials (mineral veil, glass fiber).
- The second layer of waterproofing. Re-lay polyethylene film in several layers to prevent moisture from entering our insulation.
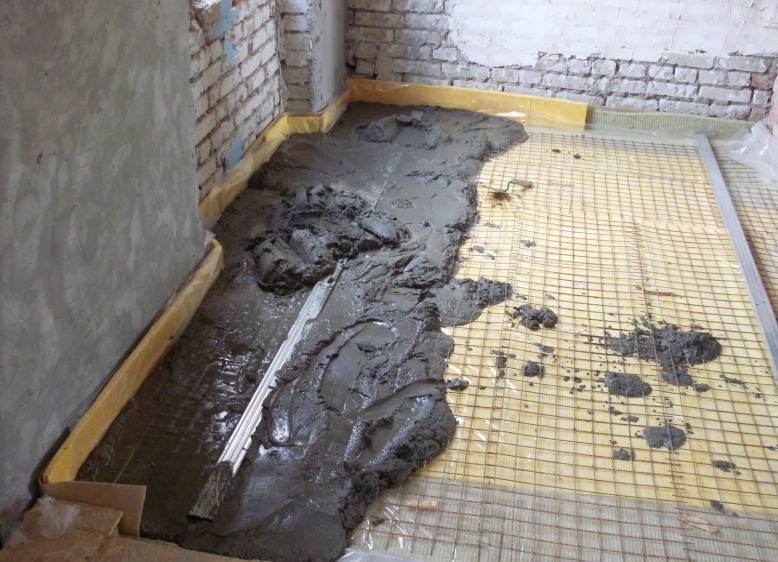
- Preparation for screed. We install a metal mesh or reinforcement on top of the film. We attach the beacons, set exactly on the level.
- Pour the screed. Fill neatly the concrete solution with a layer of 5-10 cm, moving from the walls to the door. Align our screed with the rule and leave to dry.
- Installation of floor covering. We lay the floor covering only after the concrete layer has completely dried.
Technology of insulated wooden flooring in a private house
- Floor preparation. We clear a concrete covering or we spread a rough floor from rough boards densely to each other. Fix the draft covering with tongue and groove.
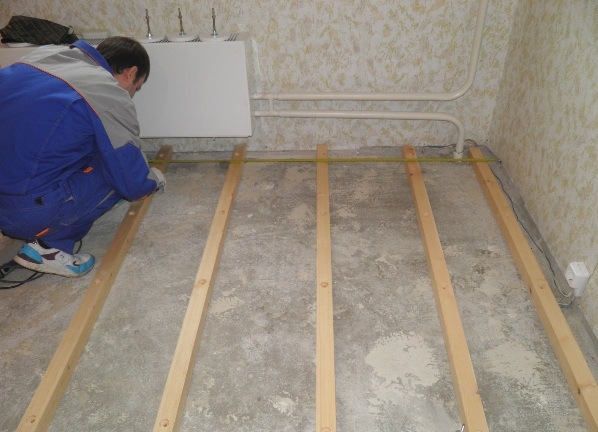
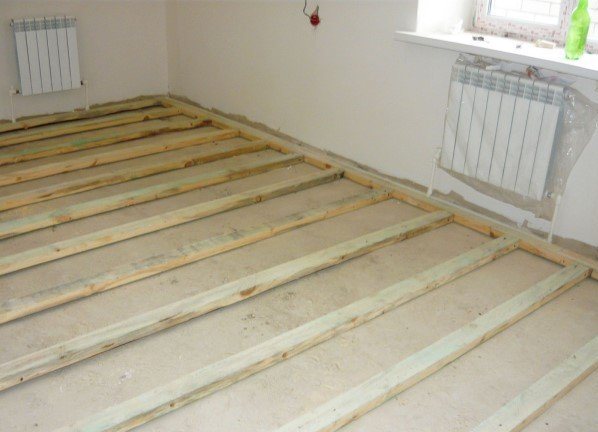
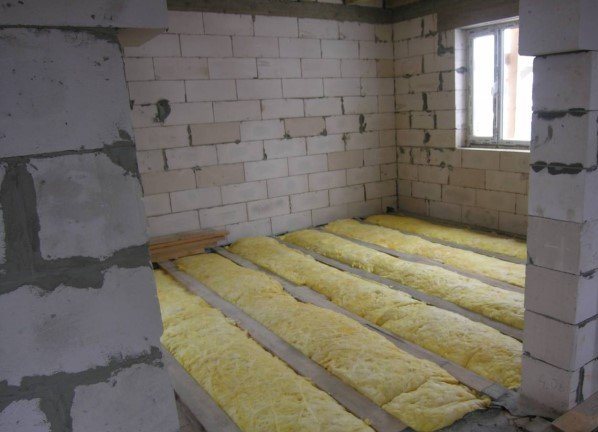
- Installation of the log. We lay the wooden beams (lags) parallel to each other with the same distance. The volume of the gap between the lags depends on the width of the insulation, which we use. We fix the logs with the help of self-tapping screws.
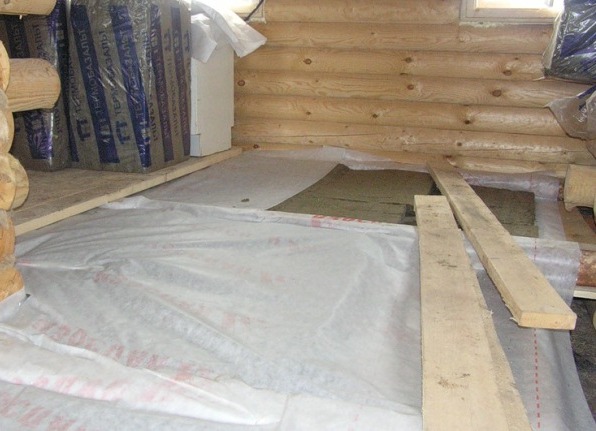
- Waterproofing. We lay a dense polyethylene film or other waterproofing material between the wooden boards.
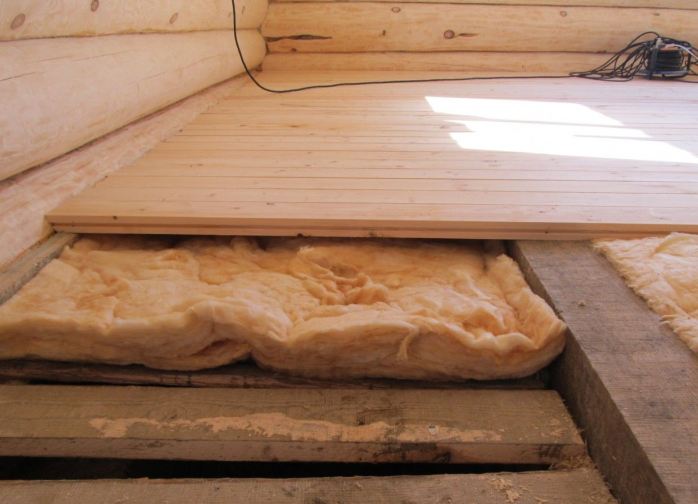
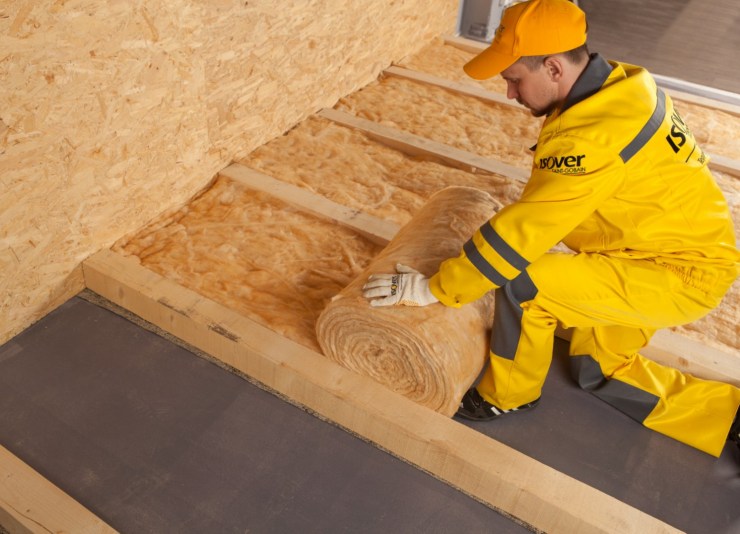
- Thermal insulation. We lay our heater in the received niches in such a way that there were no voids and cracks.
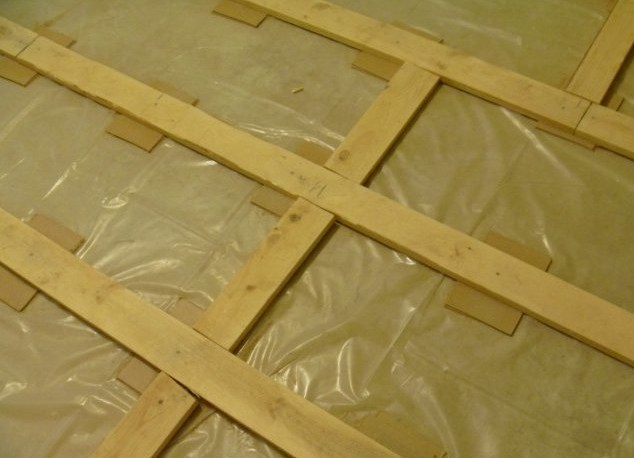
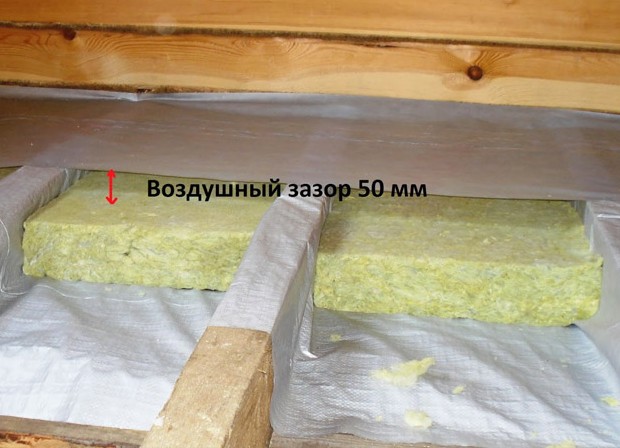
- The second layer of waterproofing. We lay a thick layer of polyethylene film or a special membrane film from the top of the heater to protect it. If the selected waterproofing material can not be laid with a single piece - we form the parts of the film at the joints overlap, and the joints glued with adhesive tape.
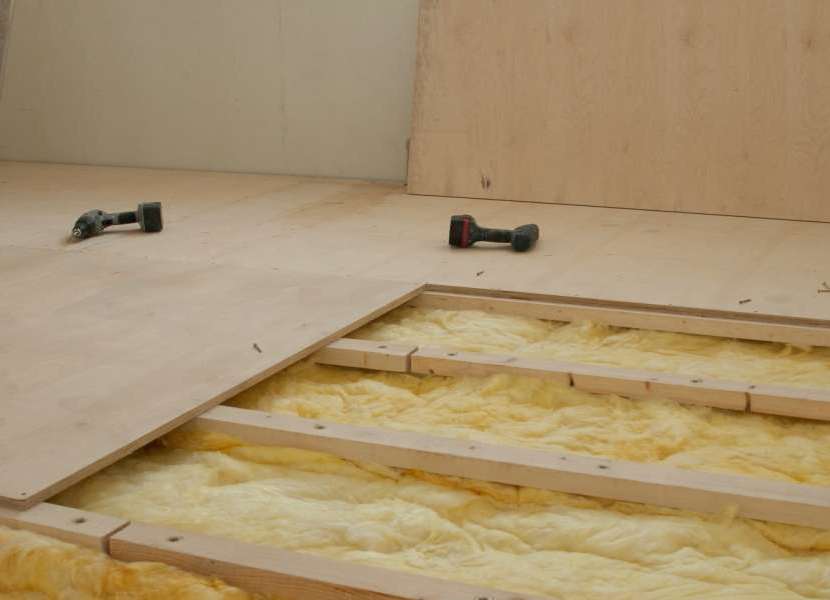
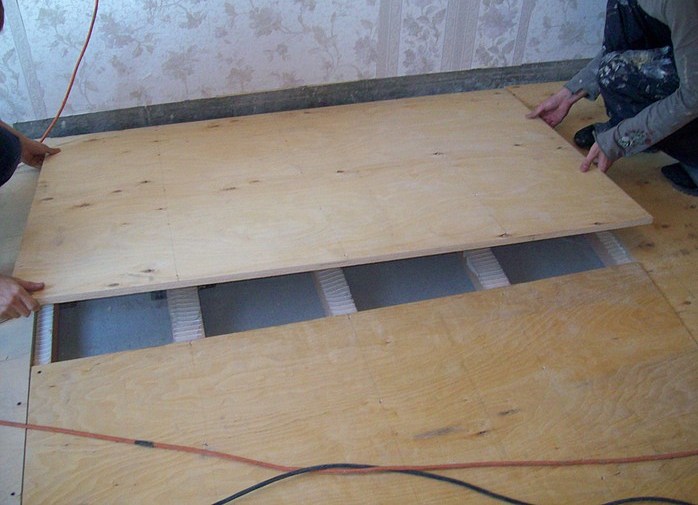
- Installation of a finishing floor. We fix on the logs thin bars for ventilation of the double floor. Then we lay the finishing floor from chipboard or plywood, fixing it with screws. At this stage, do not forget to leave small cracks between the wall and the finishing floor a few centimeters wide.
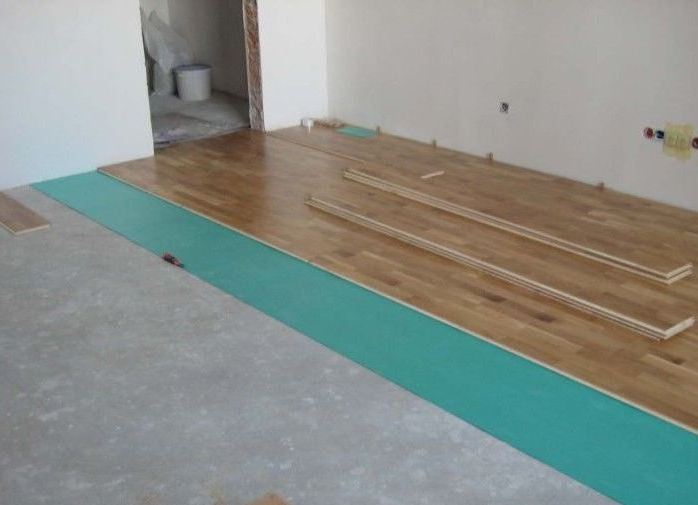
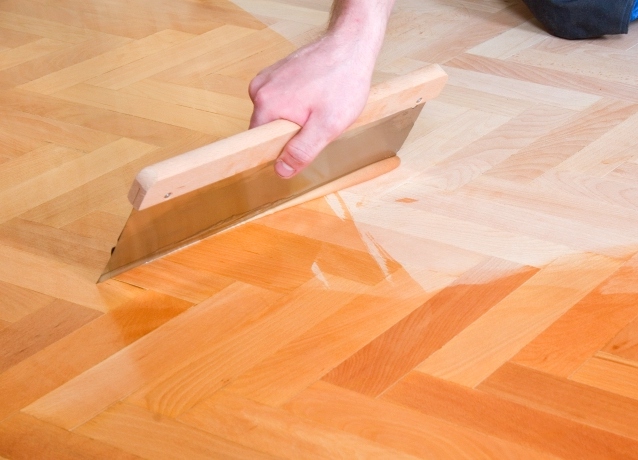
- Laying of the finish coat. As a finishing coat suitable: linoleum , laminate, parquet. We can return the old coating if it is in good condition.