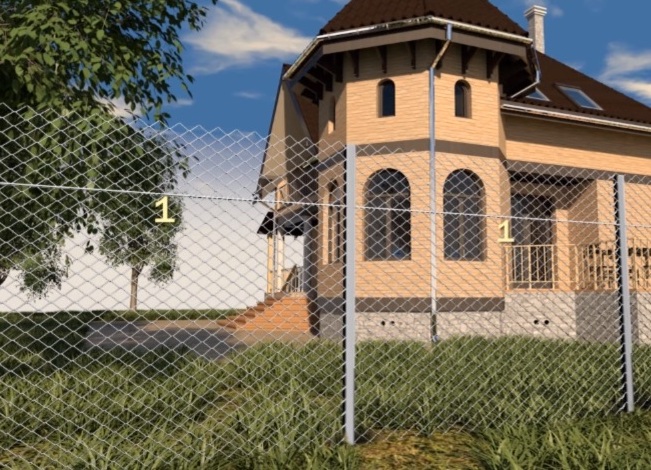
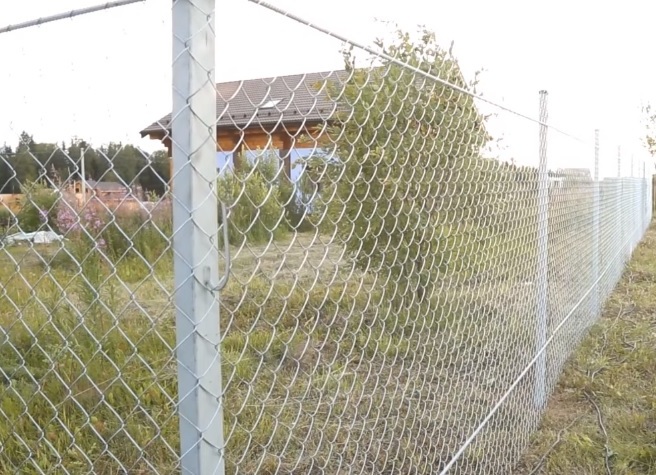
In some areas it is undesirable to mount a solid fence, as it greatly obscures a small area. In this case, a good way out is to install the fence from the mesh netting with your own hands. This is a cheap material that does not interfere with the normal circulation of air, sunlight and can stand for a long time, it is appropriate to use it as a support for climbing plants .
How to make a fence of your own by yourself?
Mesh netting is an inexpensive material that every owner can buy. In order to build a fence of mesh netting with your own hands, except for it you will need:
- supporting poles and plugs;
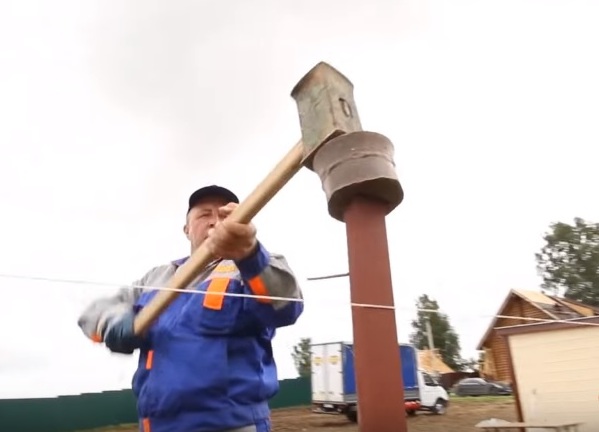
- sledgehammer;
- reinforcing bars, wire;
- welding machine and hand drill;
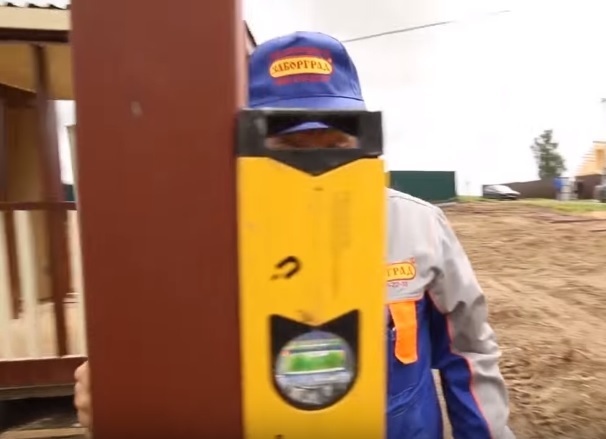
- level.
Let's get to work:
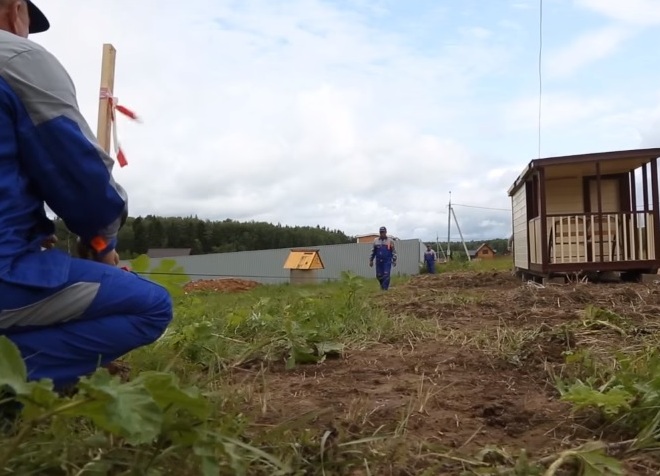
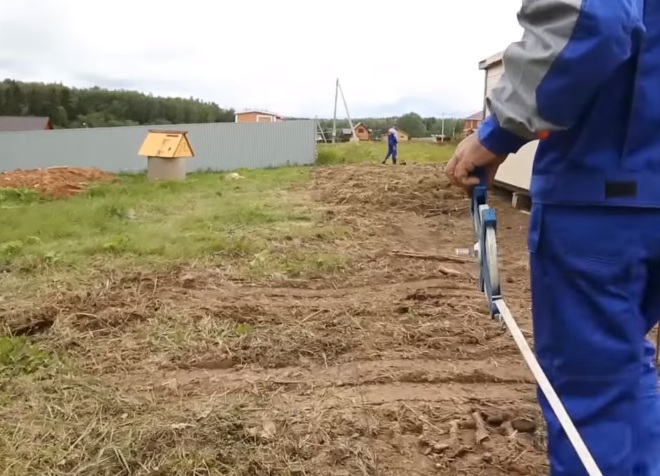
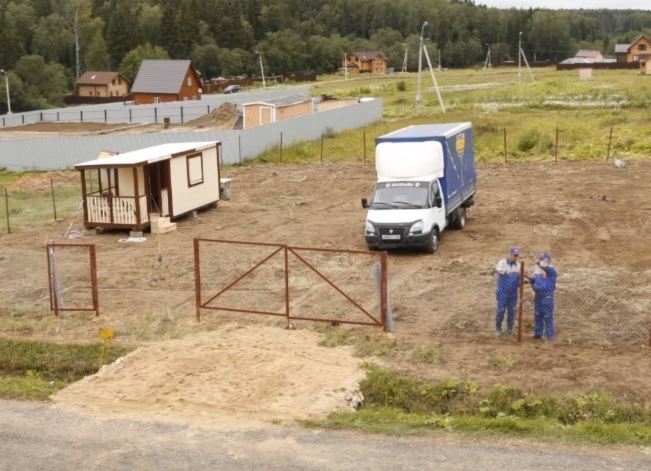
- At the initial stage, the site is marked out. Angular edge points for the installation of starting poles are defined.
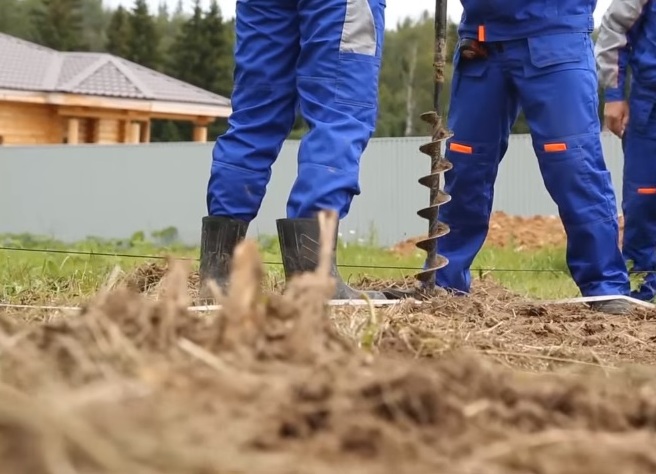
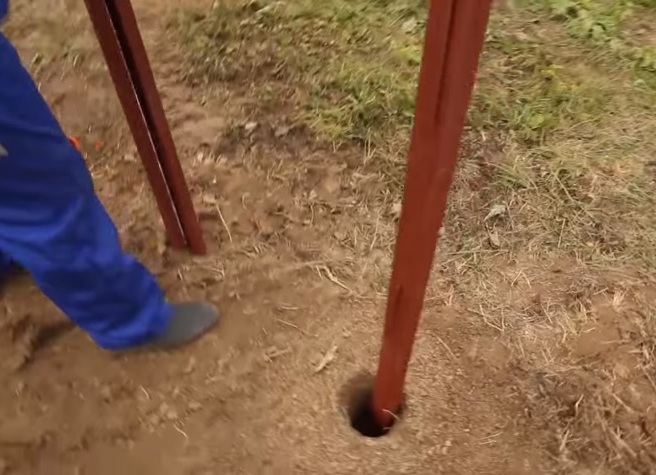
- Then, at the marked edge points, the corner columns are fixed. The deepening for their installation is drilled, the support is put in and jammed to a depth of 1 m. The internal cavity is filled with soil during clogging, this arrangement ensures the most stable position. The depth of the pillar is leveled with a sledgehammer using a special spacer, which protects the metal from jamming.
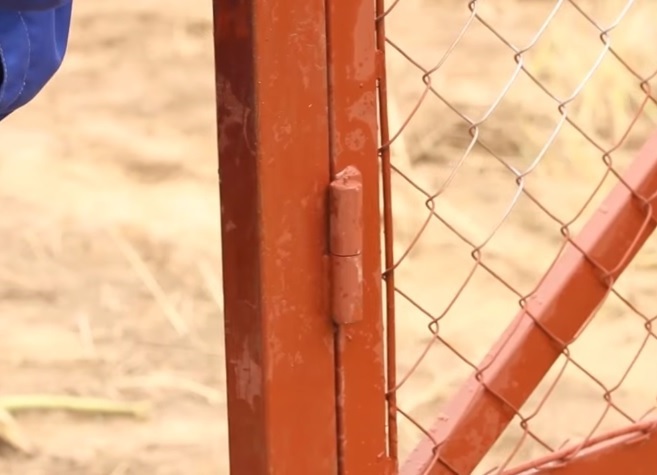
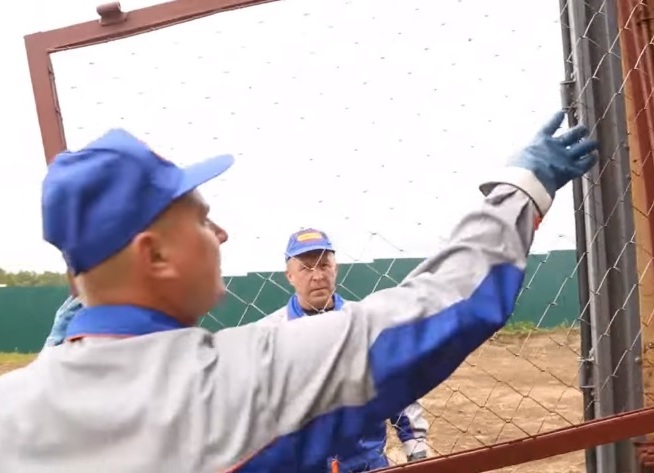
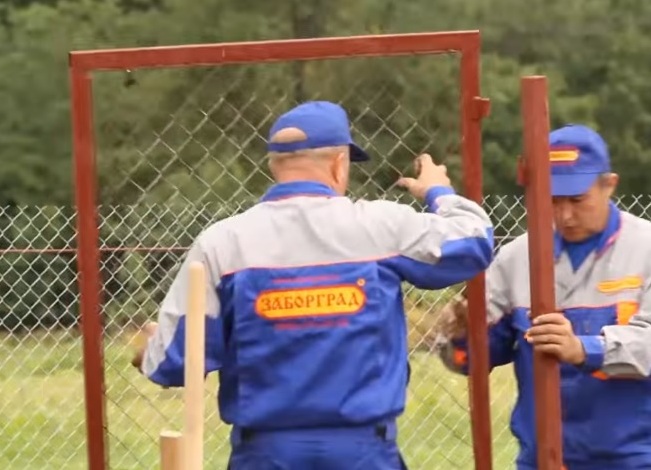
- After the installation of corner posts, the installation for the gate and gate is assembled.
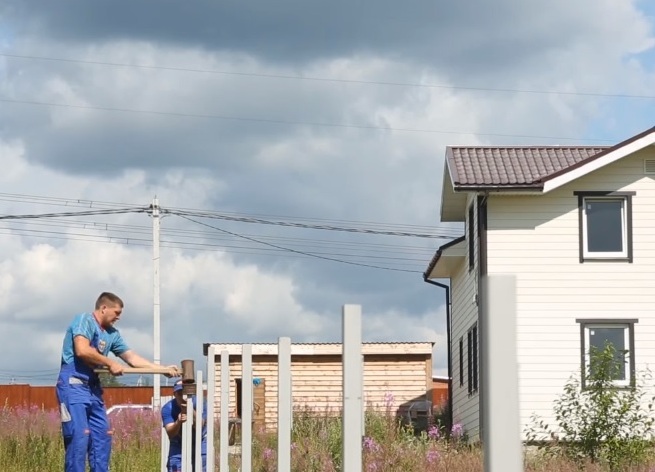
- Typical step of installation of poles is 2.5 m.
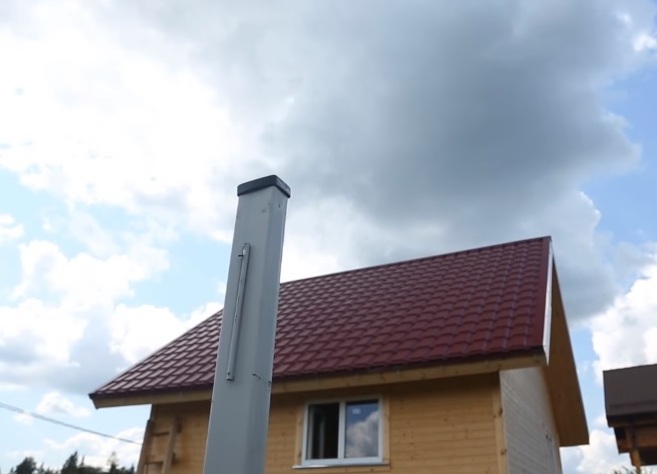
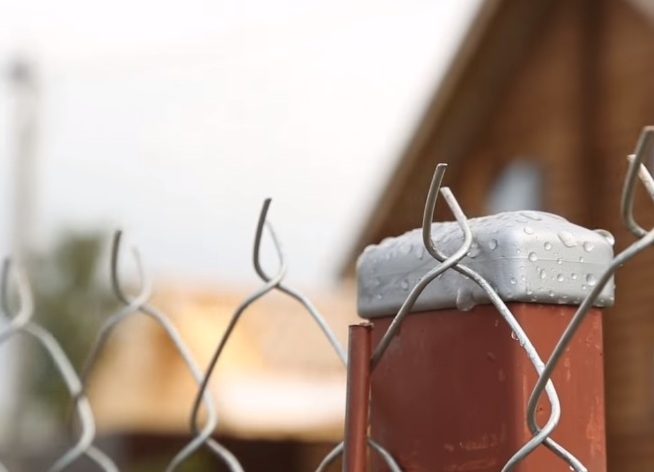
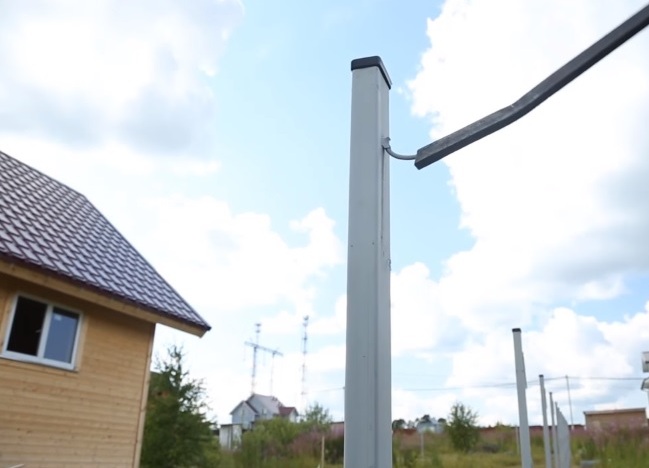
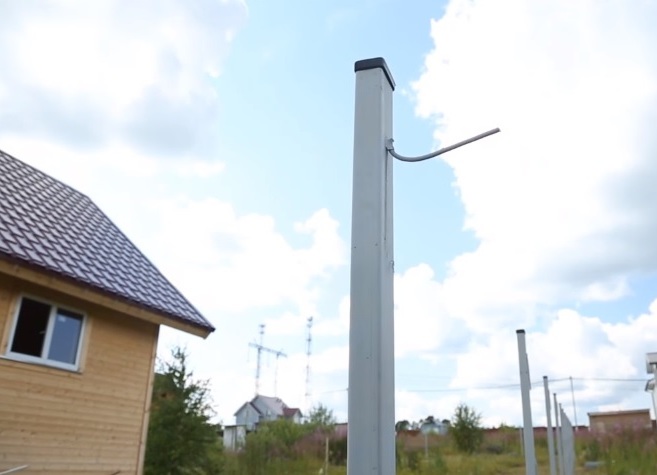
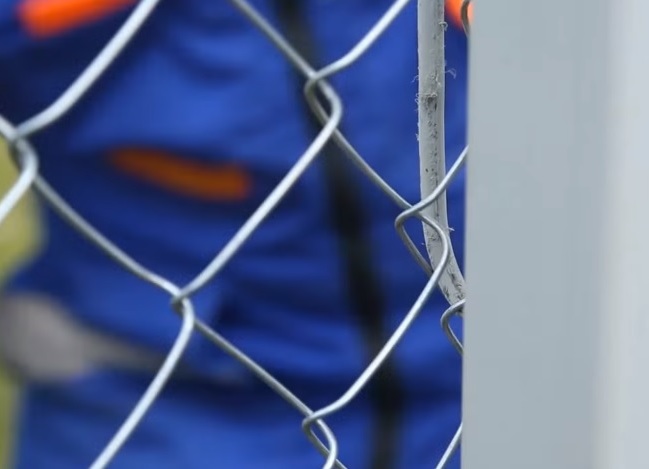
- You can make a fence from the mesh netting with your own hands, using poles that have special hooks for hanging and fixing the material. Ordinary supports are installed in the same way. At the end of the installation, plastic plugs are fixed to protect them from rain.
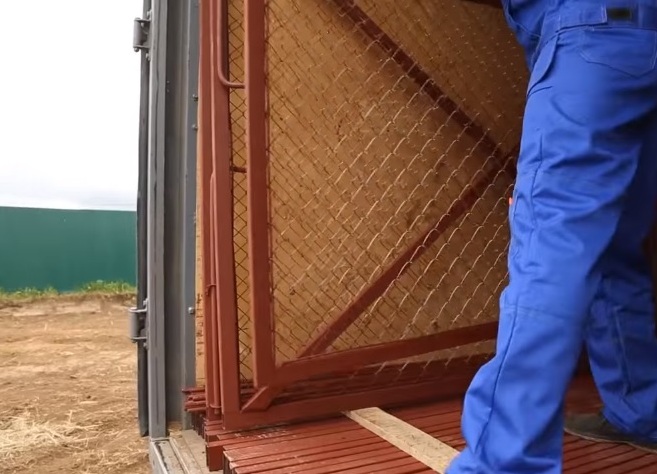
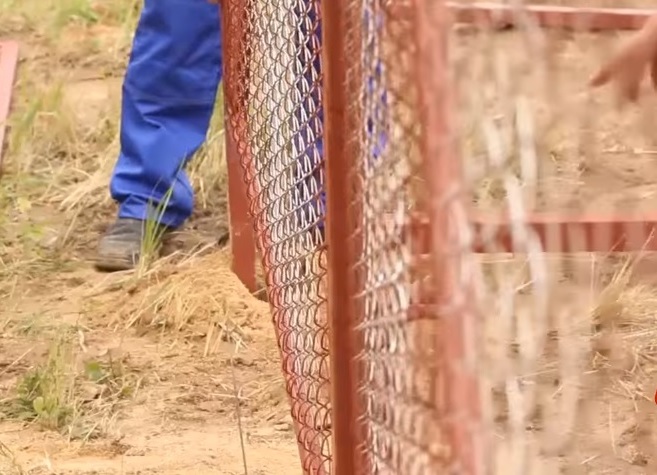
- For the installation of the grid, two methods are used - tension and section. With the sectional method, the finished fence passes, framed by protective laths, are welded to the established posts.
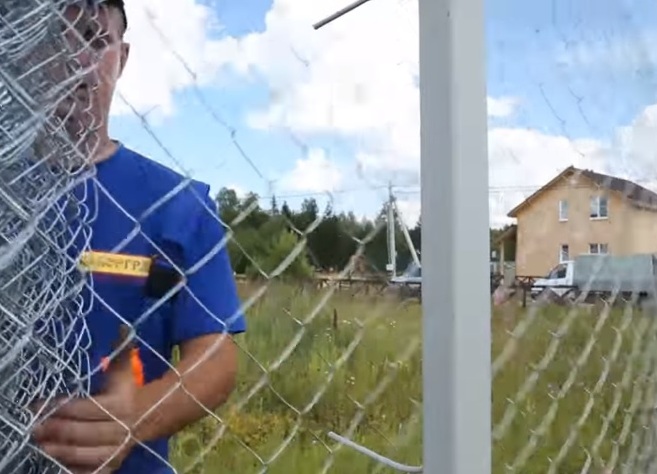
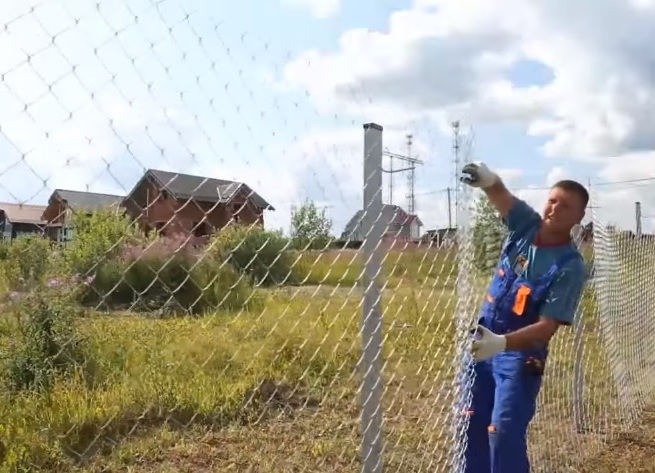
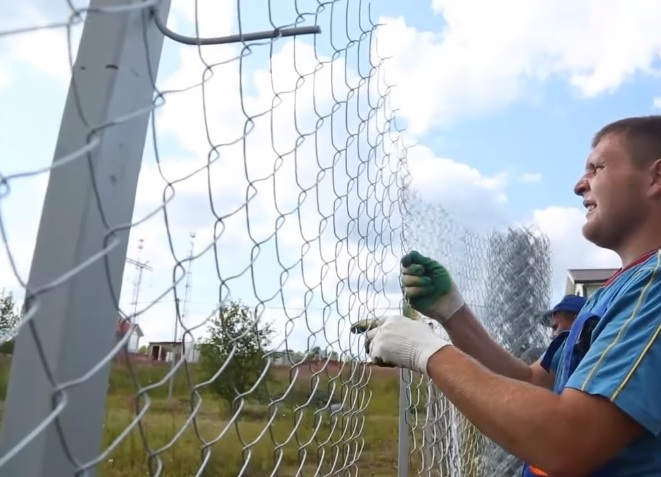
- When tensioning the method, the tension of the mesh is required. For this option, it is sold in rolls. The frame for the fence consists of supporting pillars, reinforcement, which is then installed along the entire perimeter. After fixing the pillars and the frame of the input group, proceed to unwinding and fixing the grid.
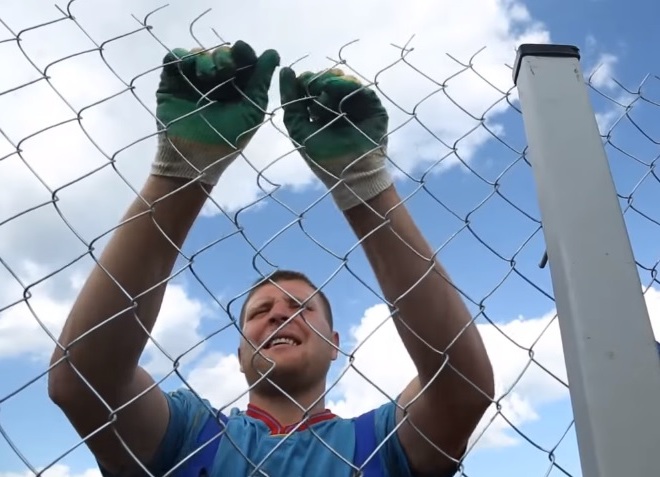
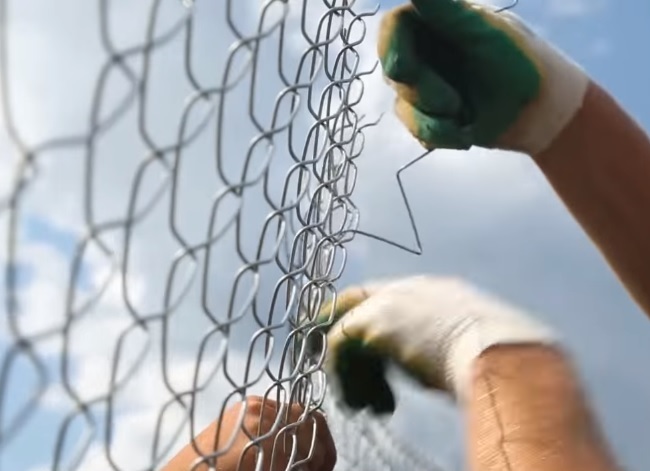
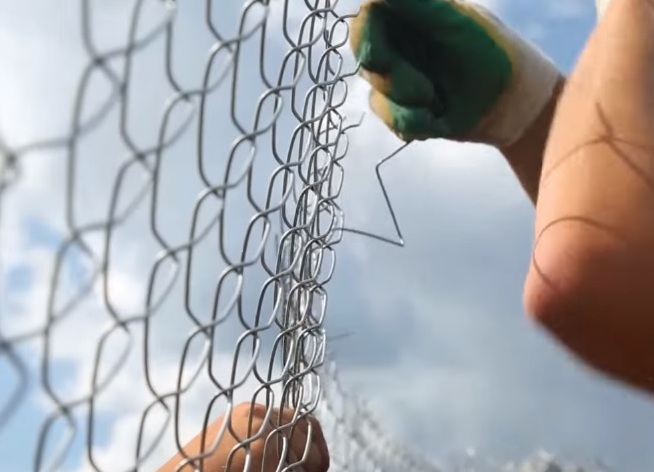
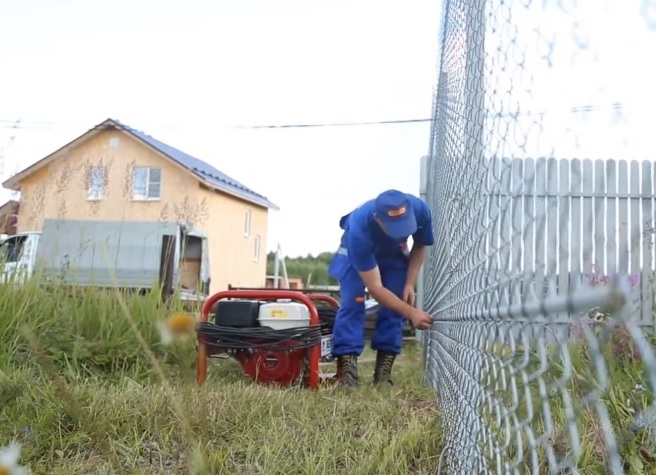
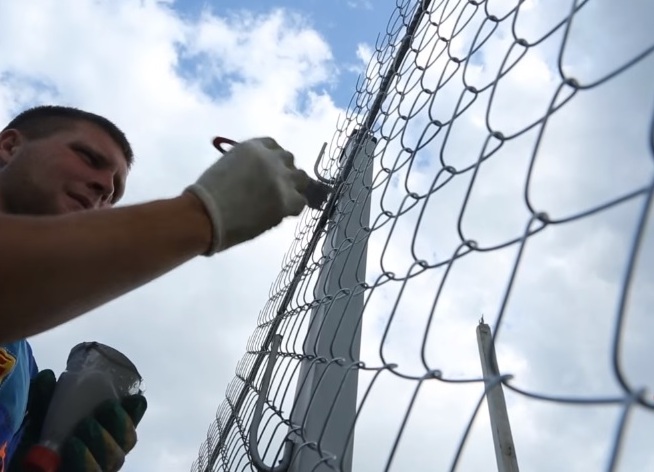
- It is important that the mesh is evenly stretched. The mesh joining points are intertwined in a single web. To do this, the wire drawn out from the web is used.
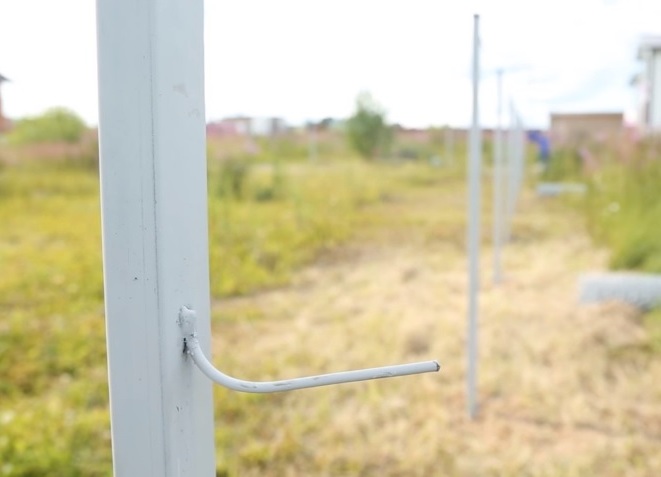
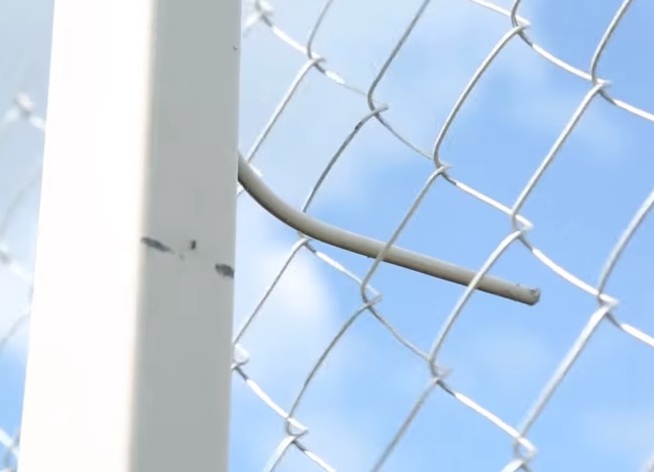
- For the pre-fixing of the mesh netting, special hooks are used, welded to the posts.
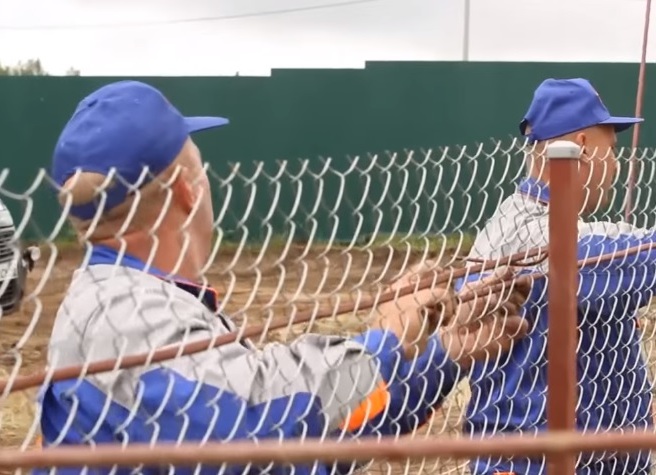
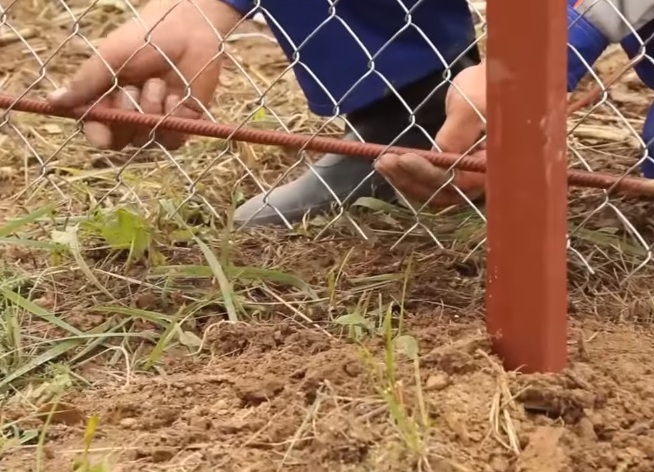
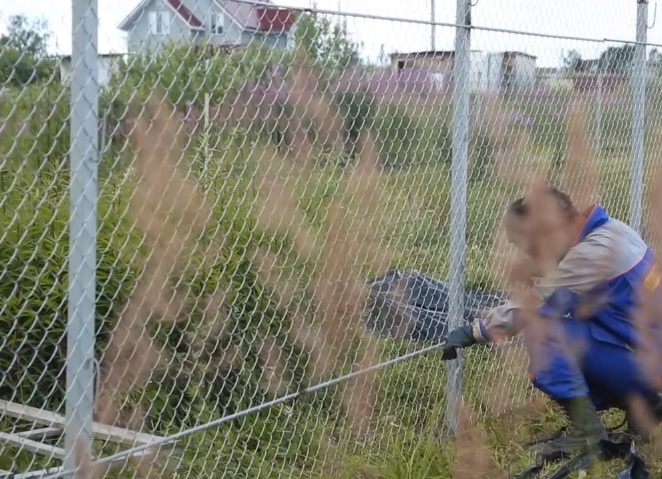
- After the installation of the grid, an additional fixation is carried out and the reinforcement bar is extended.
- For low fences, one row of rebar can be used. But for high fences it is preferable to stretch two rods - from above and from below.
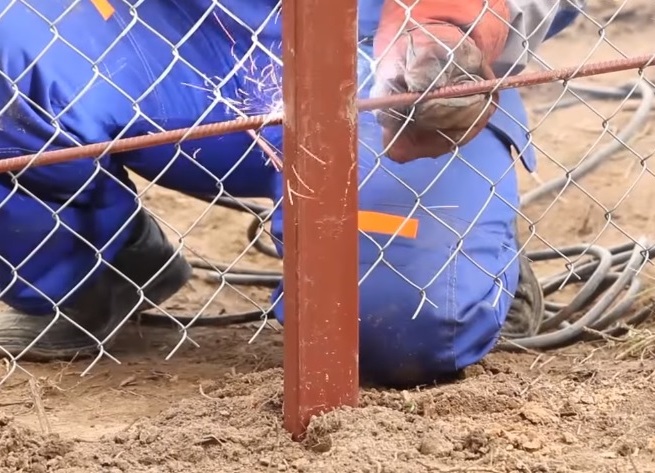
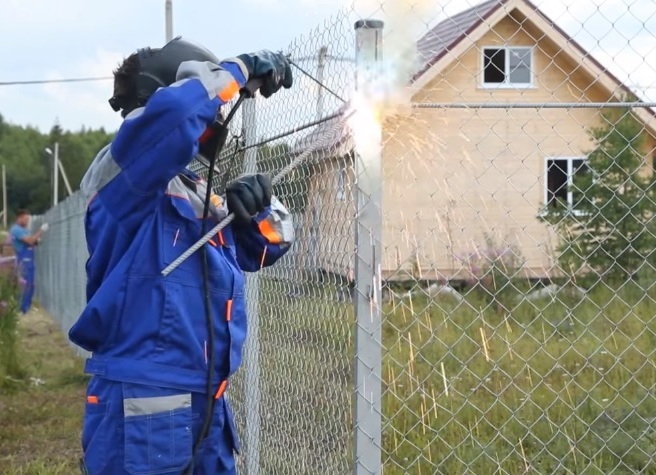
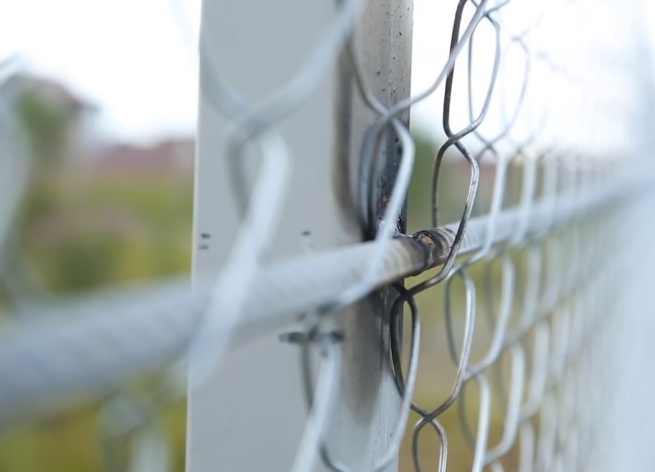
- The rod extends between the grid cells and is welded to the posts and to each other by electric welding.
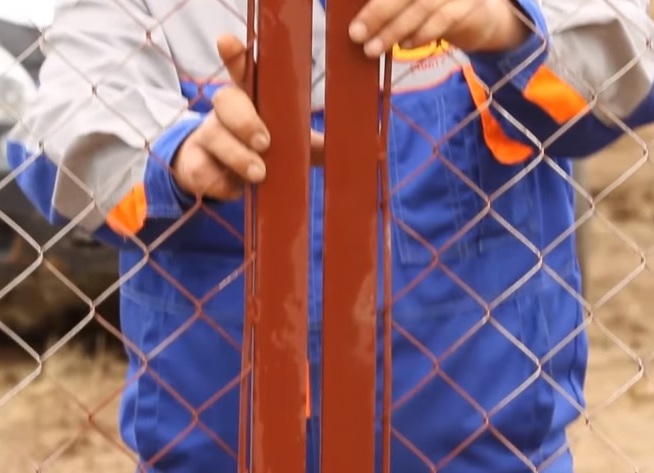
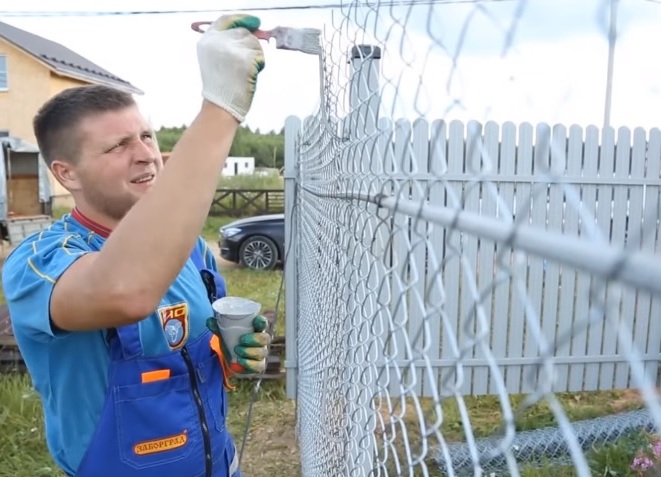
- Welding points are repulsed from slag and covered with paint.
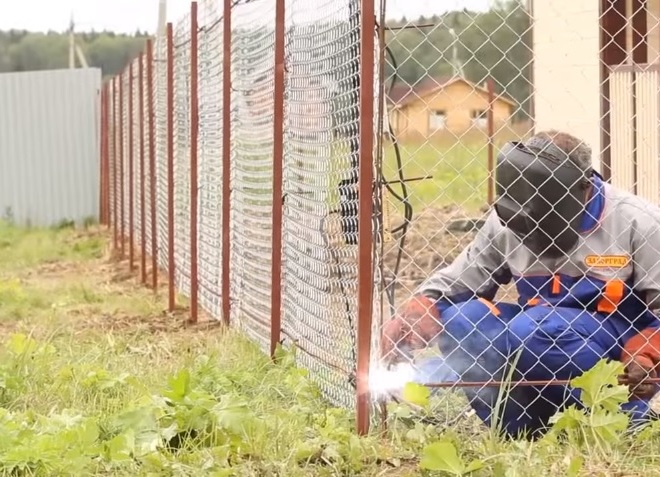
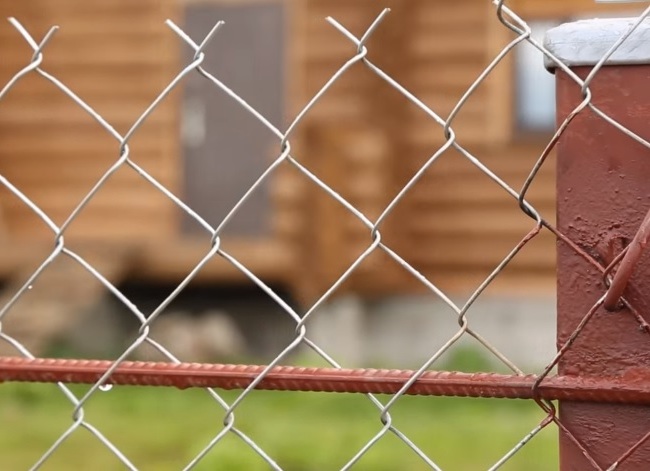
- The fence is ready.
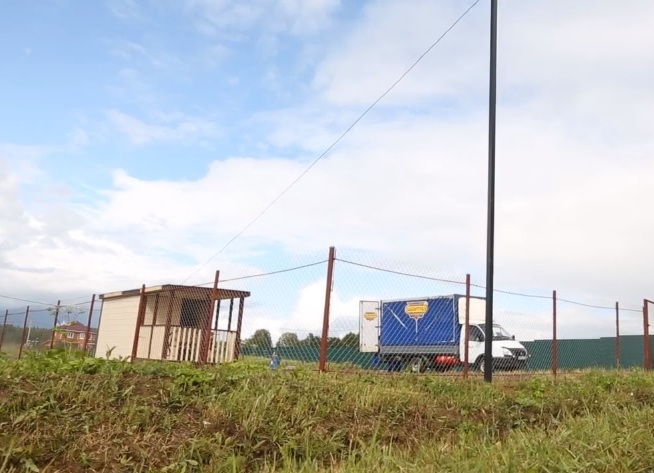
As you can see, it is not difficult to build a fence from a rabbit with your own hands. With this work can handle two or three people in a short time. Such a fence is simple, practical and quite reliable. Fence from the grid is appropriate to install on the plot, protect the pond, a pen for livestock, a poultry house or other small areas. For plants and animals, this design is preferable, because it does not interfere with the arrival of sunlight.