Drywall is a kind of panacea from uneven ceilings. With its help, you can build the most daring designs, one-level and floating with a complex shape, which, undoubtedly, will decorate the room, will give it a unique style.
Advantages of finishing the ceiling with plasterboard
The use of such a material for finishing the ceiling has many advantages over other types of materials and techniques. Here are just some of them:
- Drywall allows you to get a perfectly flat ceiling surface without much effort and expense. You do not have to wash off the old whitewash or wallpaper before you start installing gypsum boards. This greatly saves time and effort. At the same time, all the roughness and roughness of the ceiling will be reliably hidden from the eyes.
- In addition to the uneven ceiling, under the drywall you can hide all communications.
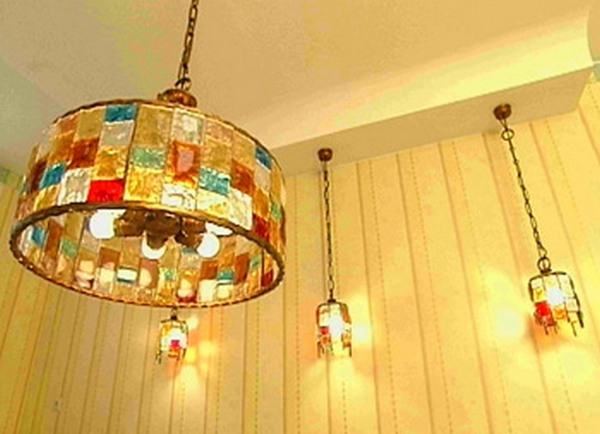
- With gypsum board structures, you can access any type of lighting, whether it's open or closed fixtures, spotlights or the use of LED strips. They make the interior especially attractive, emphasizing all the advantages of the room.
- Thanks to plasticity, plasterboard can be given almost any form, completely without restraining your fantasies.
- Multi-level ceilings from plasterboard visually increase the space, makes it more complicated and interesting.
- Installation of a ceiling from a gypsum cardboard, no less than its dismantling, does not cause the big difficulties thanks to small weight of plates.
Finishing the ceiling with plasterboard by hand
We are sure that you appreciated all the advantages of this finishing material, so now we will try to get acquainted step by step with the finishing of the ceiling with plasterboard.
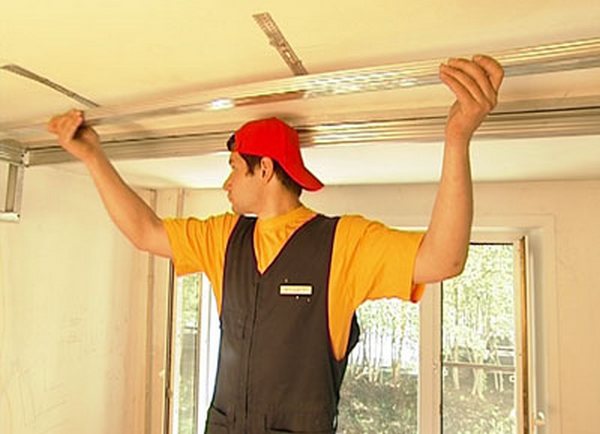
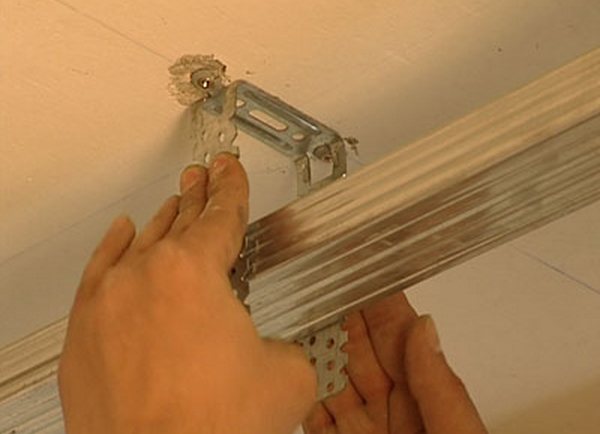
At once we will say that in this master class we will depart from the usual joint of the ceiling and walls at a right angle and make it rounded. To do this, we first need to mark the longitudinal walls under the ceiling and fix the metal structure. In it we lay cross bars from aluminum.
| | |
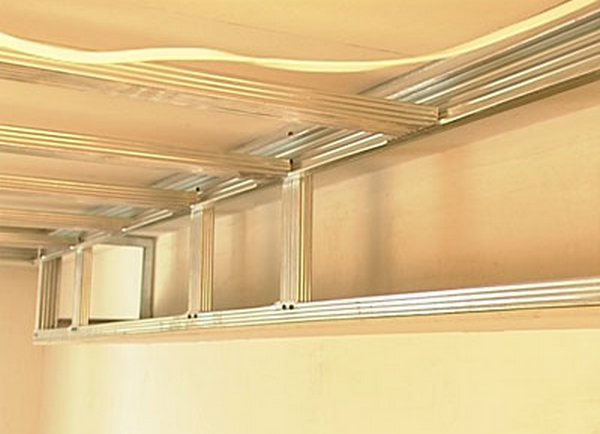
When the profile is distributed evenly with a pitch of 40-60 cm, it must be fixed with screws. To the concrete slabs on the ceiling in the center of the room, we mount the structure using U-shaped hangers.
| | |
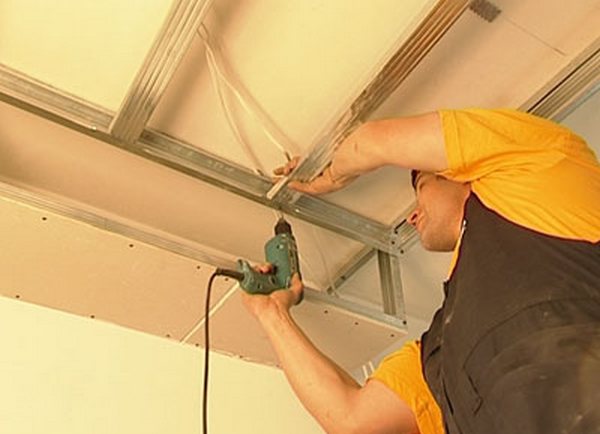
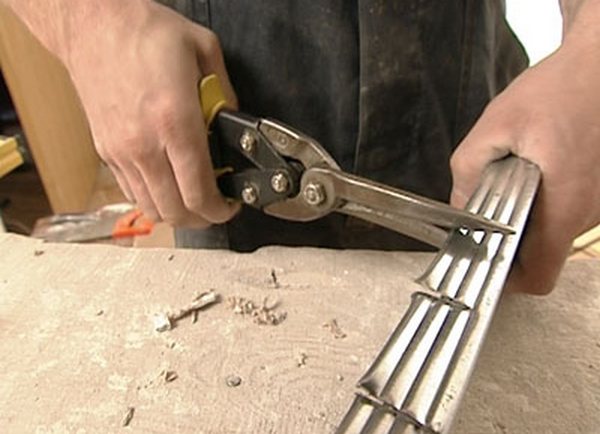
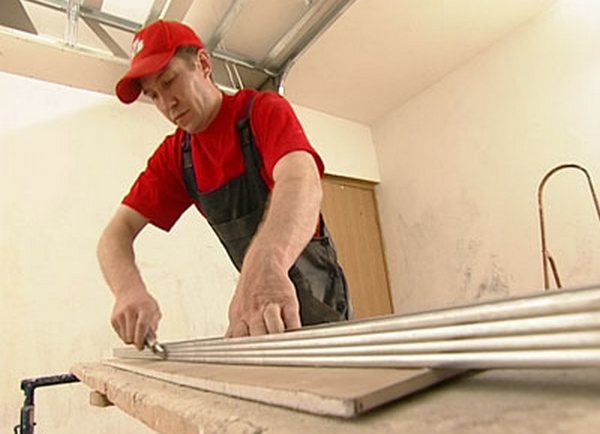
To create a rounded frame, we need to give the appropriate shape to the metal profile. To do this, take the scissors for metal and make a few notches at some distance from each other. Such an aluminum easily folds into an arc.
| | |
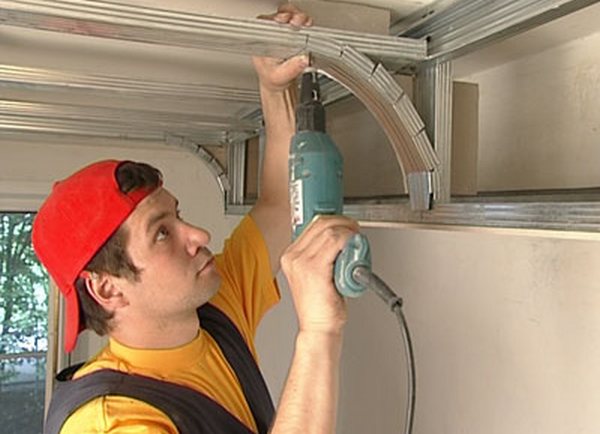
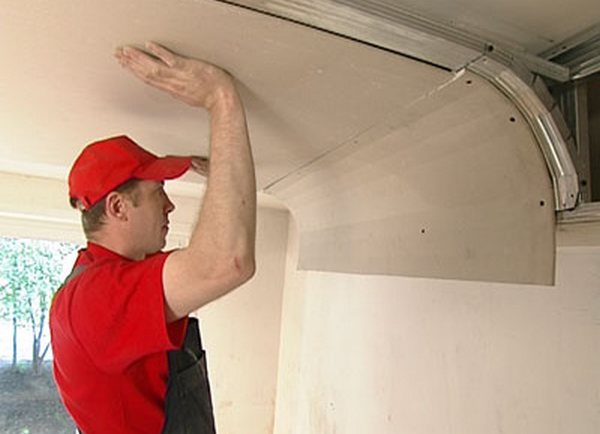
These cantilever beams are attached to our main frame using self-tapping screws. Gypsum plasterboard sheets cut off in the form are fixed on the ends of the ceiling structure.
| | |
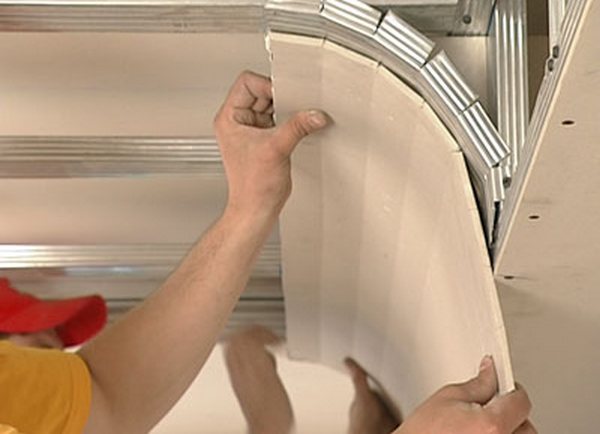
It's time to bend the drywall to give it a semi-circular shape in the shape of a console. To do this, lightly cut it along with a step of 5-7 cm, helping the metal ruler. We bend it and fix it to the frame using screws. The extra length of the sheet is cut off and cleaned.
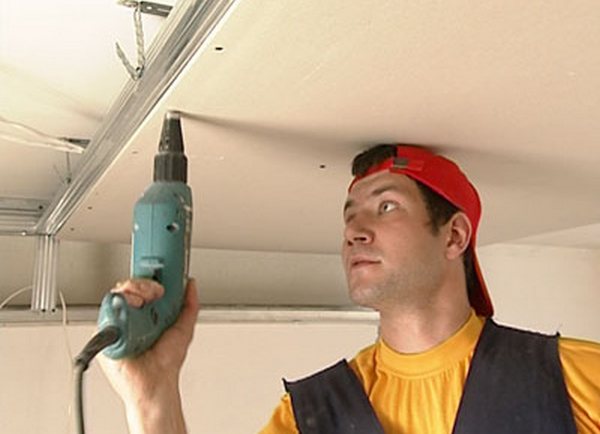
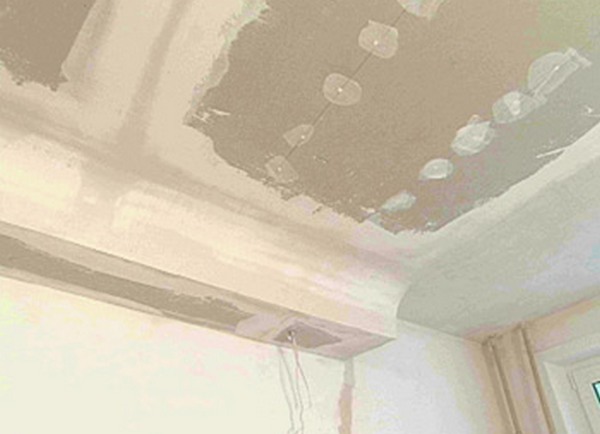
At the end of the installation we need to install all the other sheets on the ceiling. To do this, pre-cut sheets are screwed to the frame. If there is a light on the ceiling, pre-plan and output all necessary wires for the fixtures.
| | |
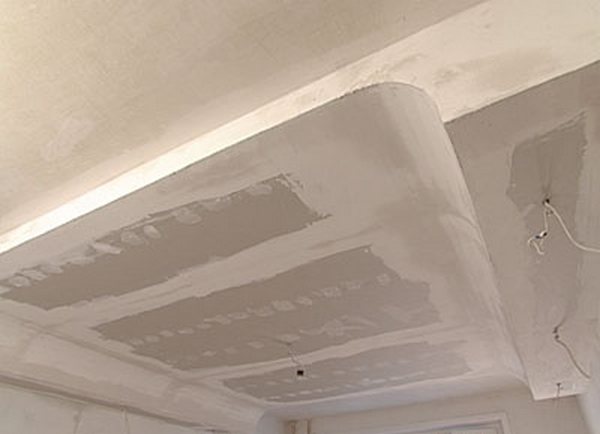
The final finishing of the two-level ceiling from gypsum board is made only after all the joints of the sheets and the place of fastening with screws are sealed with putty. Also, before finishing it is recommended to prime the entire surface.
| | |
Well, the finish can be absolutely anything, as drywall is an ideal basis for paint, decorative plaster, ceramic tiles and many other materials.