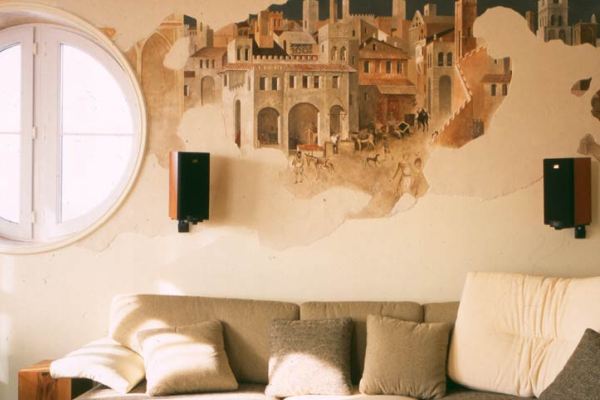
One of the most popular options for decorating the walls of the premises during repairs is now a fresco. This is an ancient art form, which is a painting on raw plaster. But since it is very difficult, now they call fresco any picture on the wall, artificially aged. Run this painting can even someone who does not know how to draw. Frescos in the interior , made by own hands, allow you to create an original design. Any picture looks more attractive than ordinary wallpaper.
How to make a fresco with your own hands?
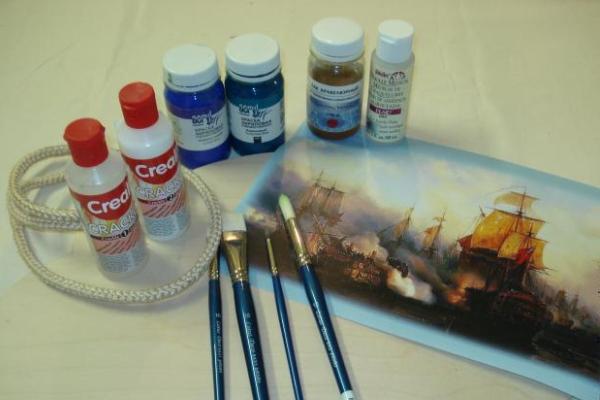
If you decide to decorate the room in this way, prepare the materials necessary for this. You need to buy special spatulas (metal and rubber), brushes and paints in the tone of the image, putty, lacquer and a pattern that will act as a fresco. In addition, plaster is needed to prepare the wall.
Stages of making a fresco with your own hands
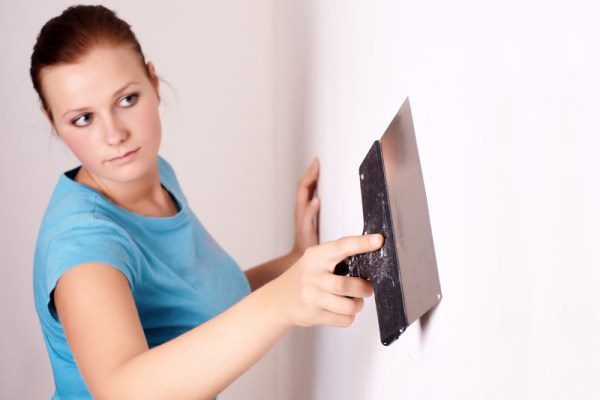
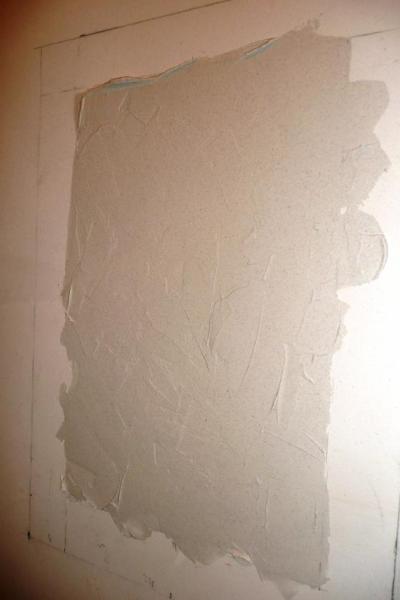
- First you need to prepare the surface, plastering it with a composition that will not crack. Stage preparation of the wall is very important.
- Next, the wall needs to be leveled and primed. Before applying the pattern, make sure that the surface is perfectly flat.
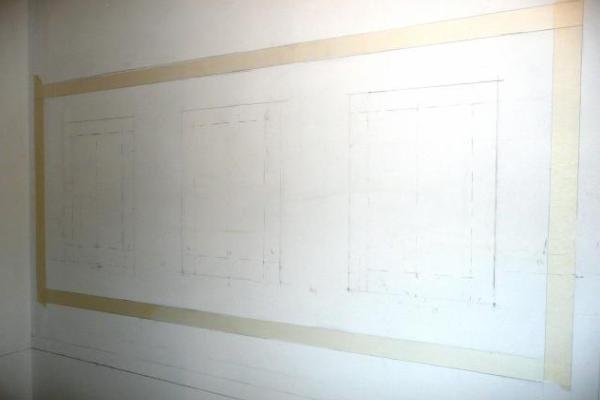
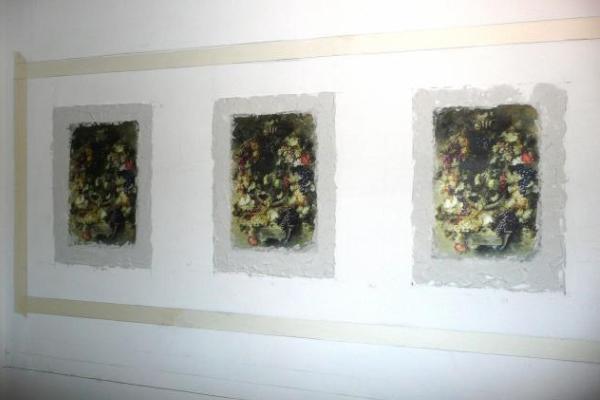
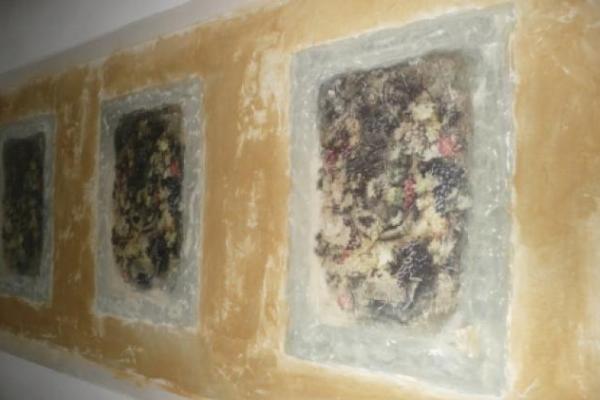
- The execution of the fresco on the wall with your own hands begins with the marking. It is recommended to use a level. In this case, the composition will consist of three figures, so 3 rectangles are marked. The first rectangle corresponds to the size of the picture, the second - serves as a frame to the posse, the third - a baguette.
- After that, the outline of the picture is pasted with a wide strip of tape and plastered, applying a thin layer of a metal spatula on the wall.
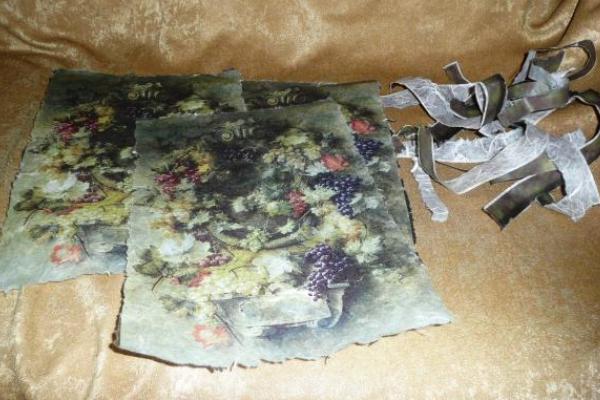
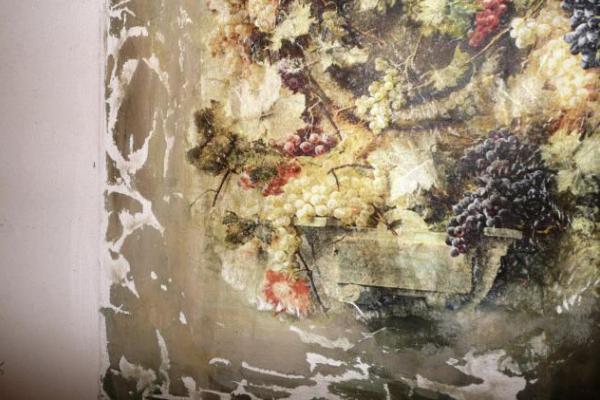
- From the rice paper on which the image is imprinted, the ends are opened to make the fresco look more natural and textured.
- After drying putty, rice paper with the image is superimposed over a special rubber spatula and smoothed from the middle to the edges. The drawing is done by means of PVA mixed with water. Glue consistently all the drawings, conceived on the composition.
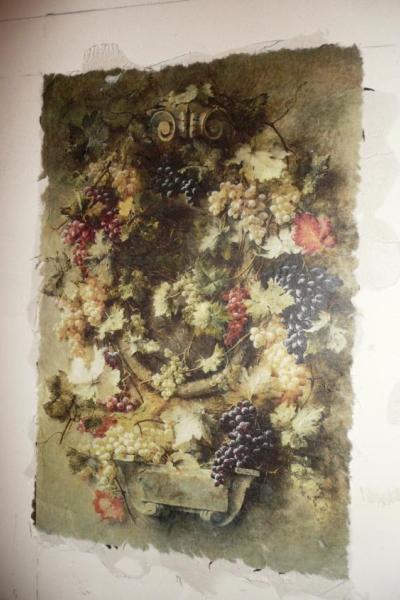
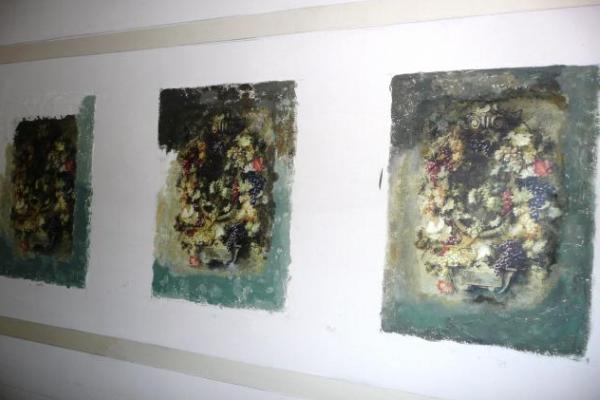
- We shpatem the small frame-passe-partout. Picking up colors that match the color of the picture, we tone the mat. Add some water to the paint so that the consistency is not too thick.
- Coloring the mat, we make smooth transitions from one color to another, creating the effect of light and shadow. We work alternately in all three scenes using each color. By mixing the colors each time separately, the pictures will not look similar, because repeating the hue is problematic.
- Not waiting for a complete drying - skim for removing the texture of the fresco.
- Leave the pattern until completely dry. After that, easily weighed noodle and wiped with a damp cloth. It is important to remember that at this stage it's easy to damage the drawing, so you should act carefully.
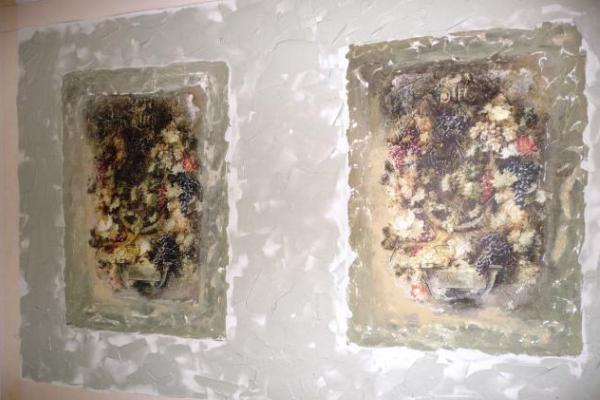
- Through the entire area reserved for the background of the picture, we apply a rough shpaklevku with sharp movements. We are waiting for drying, we skim with a coarse skin, after which we are toning with liquid acrylic. We put 2-3 layers of universal acrylic putty, after drying, we tonify and weighed.
- Toning ocher with water. After drying, we skim.
- We paint the whole surface with liquid acrylic. It is recommended to use a wide brush.
- Cover the picture with a layer of matte varnish, wait until it dries completely and cover with one more layer.
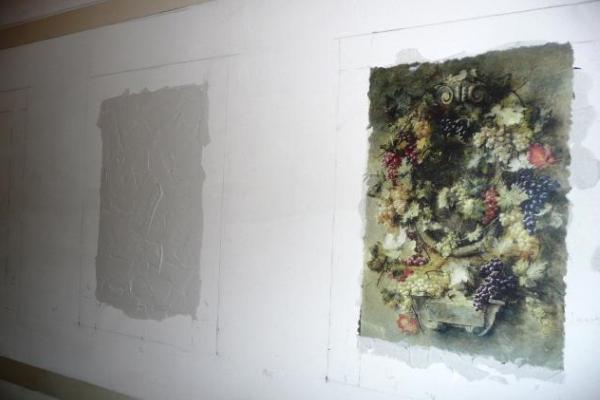
- The composition is decorated with a baguette, which is attached to the wall with liquid nails. The fresco is ready!
This master class on making frescoes with your own hands will help you create the original design of any room.