Have you ever wondered why sometimes the doors in the apartment do not close well, begin to creak, while still being new or mowing, that the thought of the kingdom of the crooked mirrors involuntarily comes to mind? The thing is that not all builders and workers know how to properly install the interior door. And those who know, they can just disregard the work.
Perhaps after reading this article and learning how to install the interior door yourself, you decide to try your hand at this field and fix someone's mistakes or just save money.
It should be recognized that it is not so easy to correctly install the door from scratch, as well as reinstalling the one that was installed incorrectly. It can not be said that this is a whole art, but the skill and experience in this matter definitely will not interfere.
How to install the interior door correctly?
- The first step is to measure the exact size for the new door. There are standard sizes that are available in a wide range in all relevant stores. However, there are also original variants, they are made to order and one must take into account that they will have to wait until they are produced. If you suspect that this is your case, try to make measurements before you get rid of the old door. Also pay attention to the level of the floor, it must also be taken into account when buying and installing the door. For example, the difference between a floor with a thick fluffy carpet and a floor without any cover is quite significant. In addition, it is necessary to leave a small space at the top and bottom of the future door, so that it can be easily opened. If the old door functionally suited you, just take the measurements from it.
- Then the door is removed from the hinges, which stood before that. It is necessary to carry out this work carefully, so as not to damage the door jamb. All nails are removed one after another, and then the door is carefully separated from the wall, for this it needs to be raised beforehand.
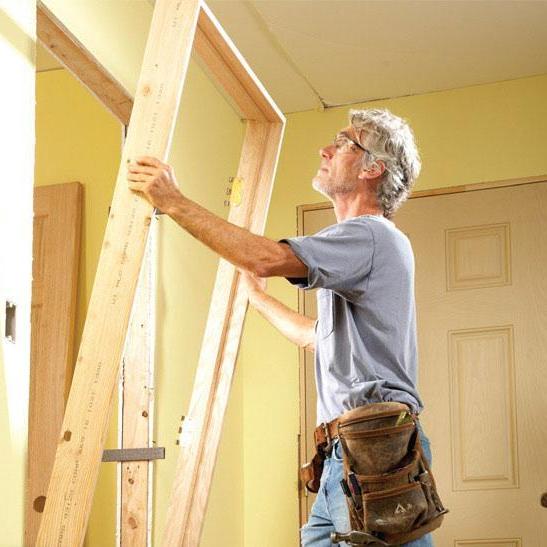
- After purchasing a new door, you can start installing it. The door is leaning against the doorpost so that it forms an ideal vertical, and forms an angle exactly 90 degrees with respect to the floor. Mark the pencil of the fastening point of the door, as well as the top and bottom, so that it does not accidentally move out.
- Next, you need to hollow out the door to fasten the loops. Try not to overdo it, otherwise the door will be difficult to restore later. You can work layer by layer, constantly applying loops and checking how tightly they fit.
- Now you can drill holes in the door. They also need to be noted in advance. Since the holes are small enough, it may require a special drill. When you drill, keep the drill perpendicular to the door, so the probability of making a mistake decreases.
- The next step is to fix the hinges and tighten the screws. Similar actions are performed on the door jamb - the hole for the hinges is hollowed out and the screws are screwed. When placing door hinges, you need to consider in which direction you would like the door to open. It is generally accepted to open the door to the interior of the room, so that the light switches are located on the opposite side of the door hinges. Ask someone to hold the door while you mark on the door jamb the place of fastening the door hinges and drill holes. It is almost impossible to do this alone.
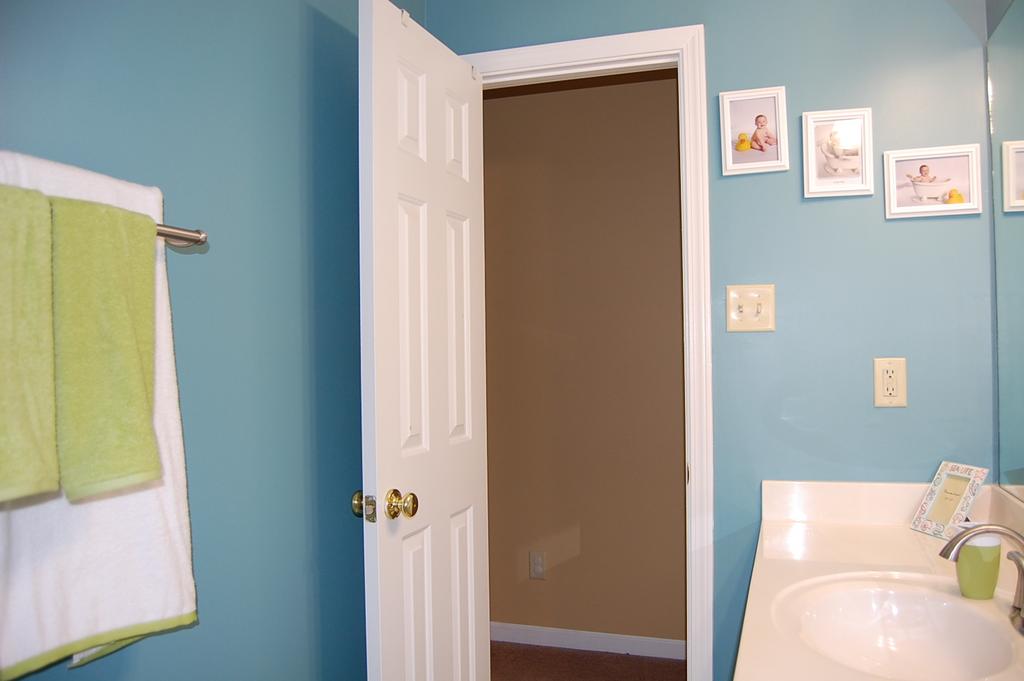
- Check how smoothly the door opens and closes. If everything is in order - ready, you installed the interior door with your own hands.
| | |