Crafts made of paper are very interesting for children, and robots or other cartoon heroes are altogether in awe of crumbs. Make a paper friend is not difficult. It is enough to have a printer at hand and some free time.
Robot made of paper with your own hands
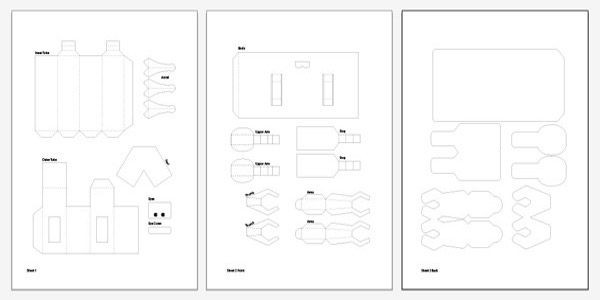
Before you make a robot paper, you need to print a template on the printer. The author of the lesson offers a universal version of the robot's scheme of paper. You can decorate it on your own. The author did this using a program on the computer, but you can do it with the colors after printing. So, consider a step-by-step lesson, how to make of robot paper.
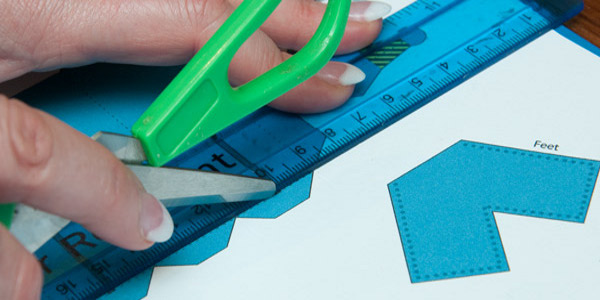
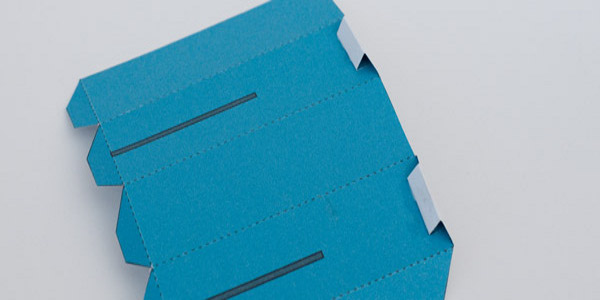
- There are different types of lines in the figure. The solid thick line shows the places for carving. The dashed lines indicate fold lines. Before you cut, you should bend everything and see if you've connected the parts correctly.
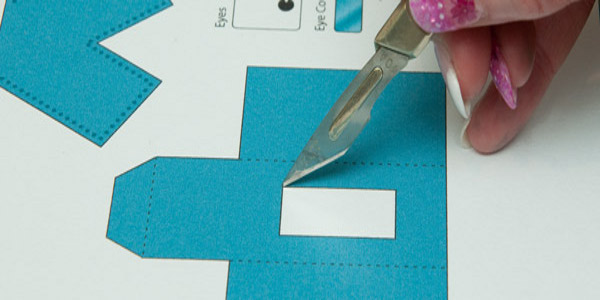
- All holes are cut using a clerical knife. Do it better before cutting out the details.
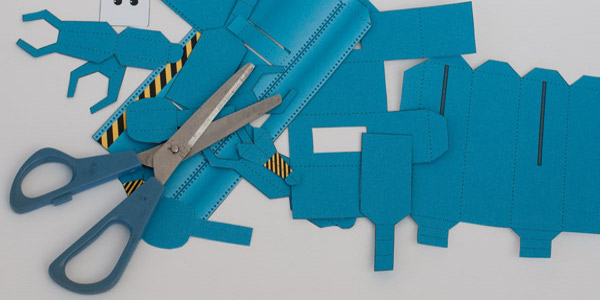
- Now that all the details for paper robot models are cut, you can start assembling. Beforehand, it is better to bend the parts according to the dotted lines in order to once again make sure that the assembly is correct.
- For bonding, it is best to use PVA. Perfectly fit the bottle with a dispenser or ear sticks to apply glue to the parts, if you have a large volume without a dispenser. You can use the glue in the stick.
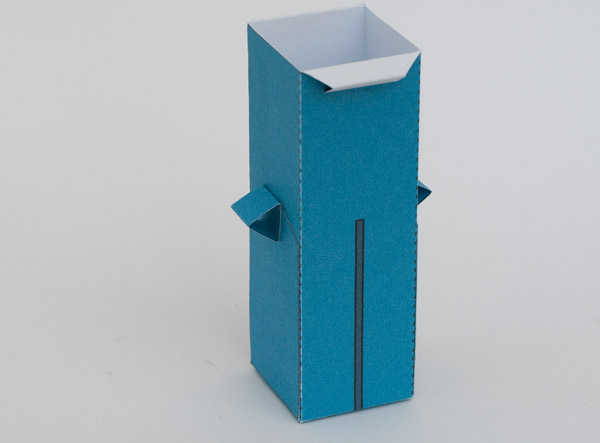
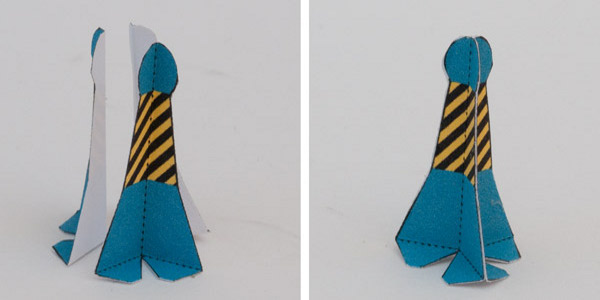
- The robot consists of two pipes. One can move inside the other. The inner tube has delimiters in the form of triangular parts. They must be bent and glued together.
- Now turn off with the glue the part. Try to do everything as accurately as possible, because it affects the appearance of the structure and its ability to move.
- Fold and glue the tabs as shown in the picture.
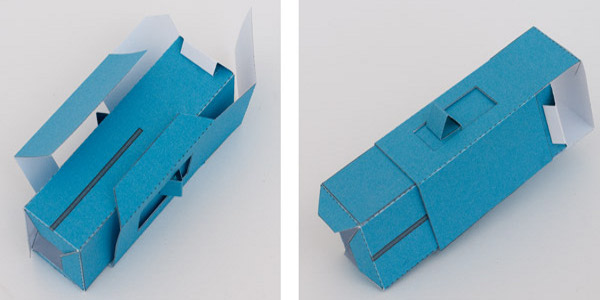
- Now we connect two parts of the internal component of the structure.
- Then wrap the outer part around the assembled inner and glue it together. Check that the inside can move freely.
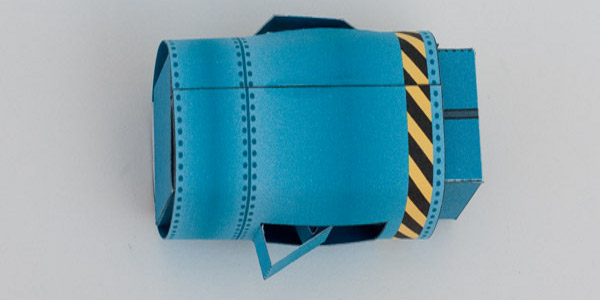
- We take the following detail. This body is for our crafts made of paper in the form of robots. We give the details a little bent shape. You will see on the body cutouts, designed for delimiters of triangles on the inner tube. As closely as possible, smooth all the bends and make sure that the glue dries well. It is better to advance the workpiece slightly beforehand so that it beautifully wraps the inside.
- Further, we give the body a cylindrical shape and fix the edges with glue.
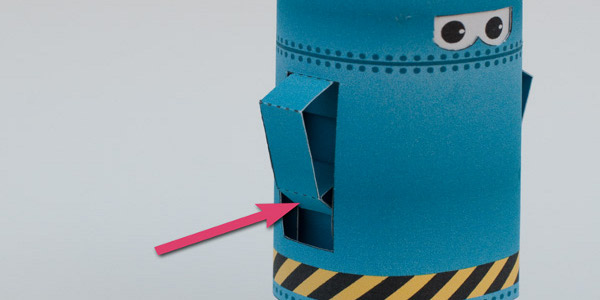
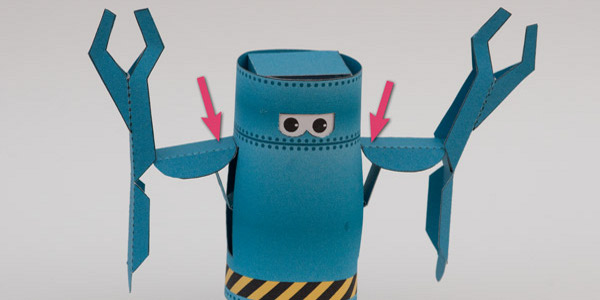
- Side tabs are designed to allow your robot to move your hands. We fix the lower part of the tab to the bottom of the triangular stops.
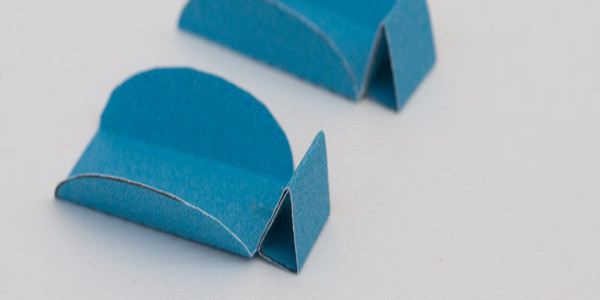
- Next, we collect the robot handles. The protrusions are bent and glued together, as shown in the photo.
- Now we collect the rest of the hand. Triangular ledge glue to the inside of the hand. The edge of the triangle must lie exactly in the bend of the hand. Next, we attach the claw in such a way that he continues the line.
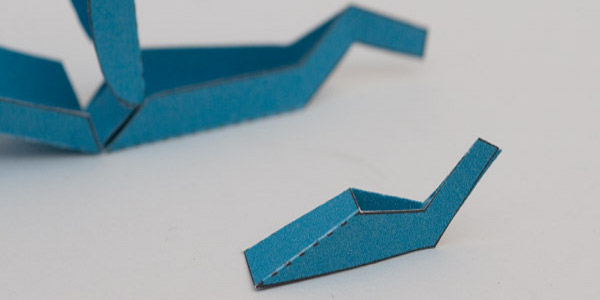
- We fold the finger along the fold lines and also attach it to the hand.
- We glue the finger according to the instructions. The second hand is collected in a similar way. We wait until everything is dry.
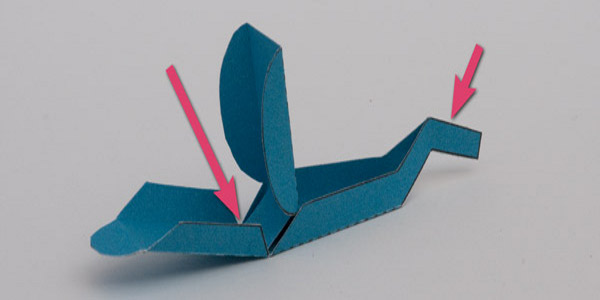
- Next, glue the levers with tabs. The arrows indicate the places where you need to apply glue. Allow the parts to dry completely.
- Next, glue the curved ledge from below with the lower limiter.
- We collect the antenna and glue it together. When you collect the antenna, try to do it as accurately as possible.
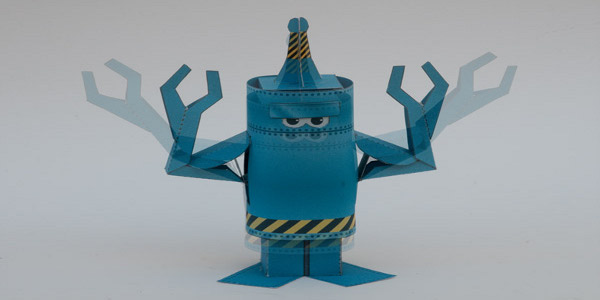
- Attach to the head of the upper and let the glue dry.
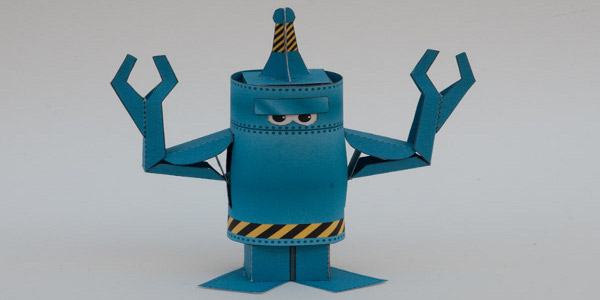
- A robot made of paper with your own hands is ready, and now you can please crumbling new friend. Due to the movement of the inner part, he can move his hands.
| | |