A very exciting activity for both children and adults can be the folding of paper from various shapes. In this lesson we will tell you how to make a tree from paper. And, as the new year's magic holiday is approaching, the tree that we will be putting together will be a Christmas tree. Such a New Year's accessory will be a wonderful decoration of the house on the eve of the new year.
Necessary materials
In order to add and collect a New Year tree from the modules in origami technique you will need:
- Color paper (green for foliage and brown or black for trunk);
- scissors;
- ruler.
Instructions
So, let's start creating a paper Christmas tree:
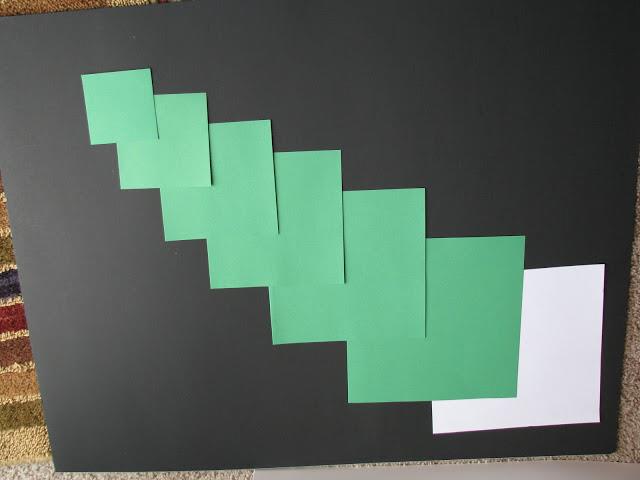
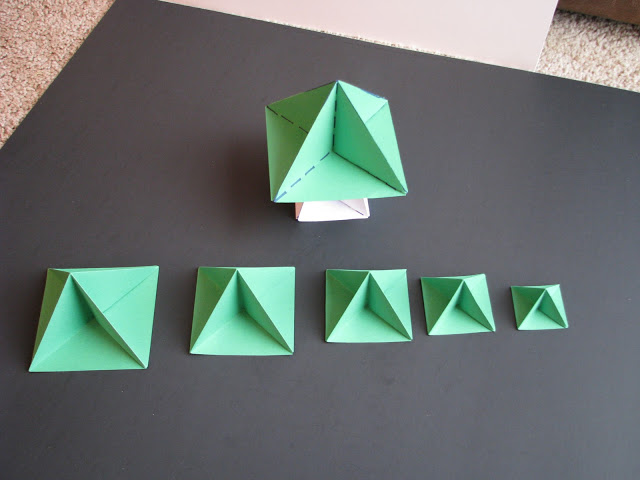
- First, cut out of the paper 7 square blanks of different sizes. The side of the square from which we will fold the trunk, as well as the largest green square, is 20 cm. Reduce the sides of each subsequent green square by 2.5 cm. Thus, the smallest blank will be a square with a side of 7.5 cm. You can prepare and more pieces of other sizes, creating a tall and spreading tree in the origami technique. Or, on the contrary, to make a miniature model of several modules.
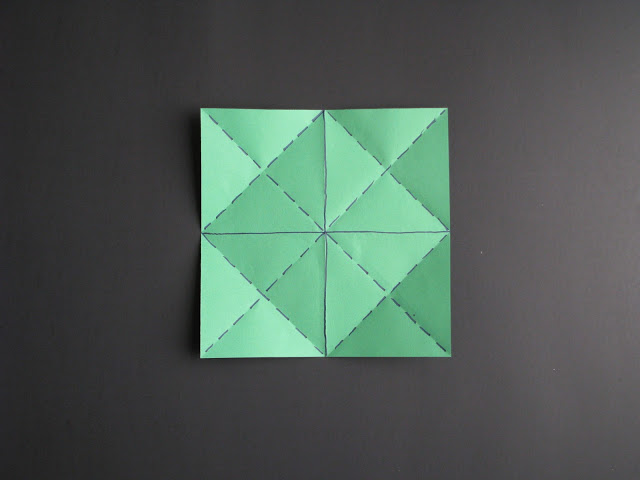
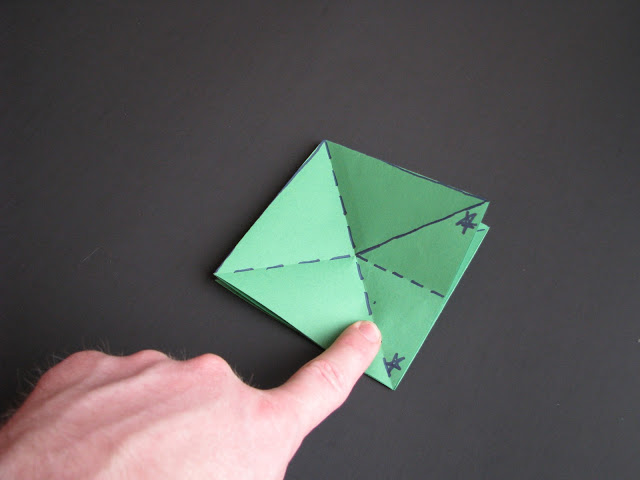
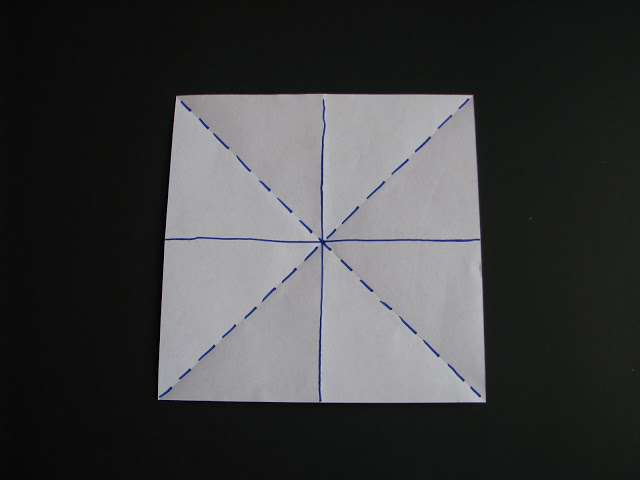
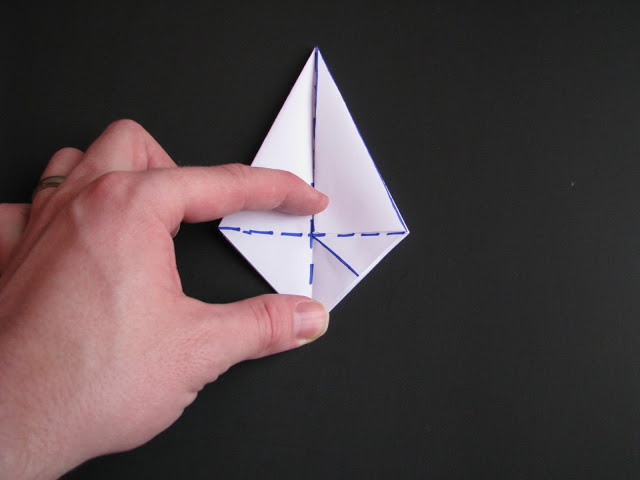
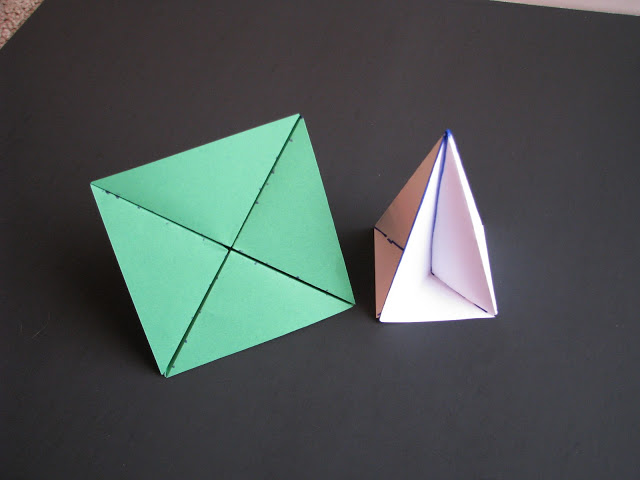
- Take the largest square and mark the auxiliary lines that will help with the further folding of the figure. On the dotted lines here and further, the paper needs to be bent and turned back to just outline the crease. On the solid lines, the workpiece must be folded.
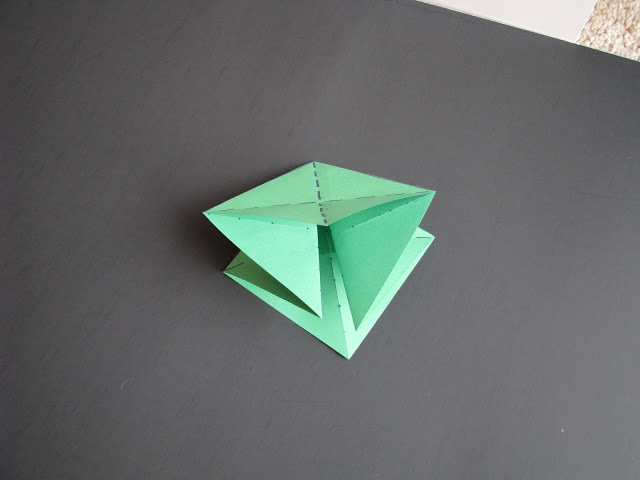
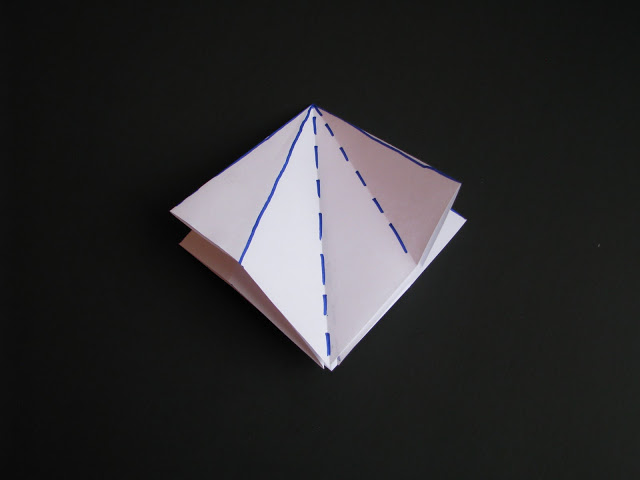
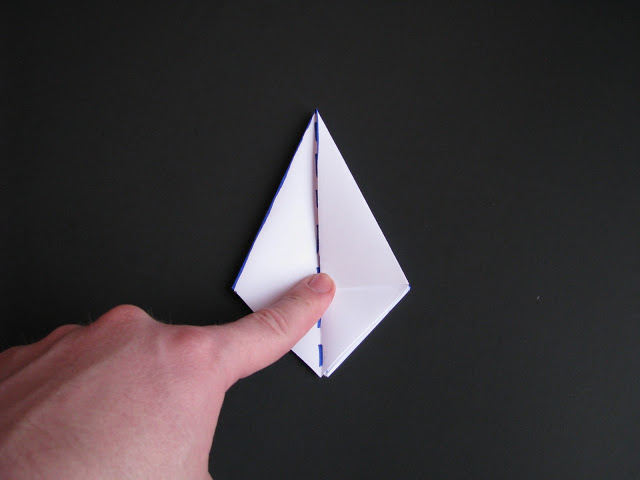
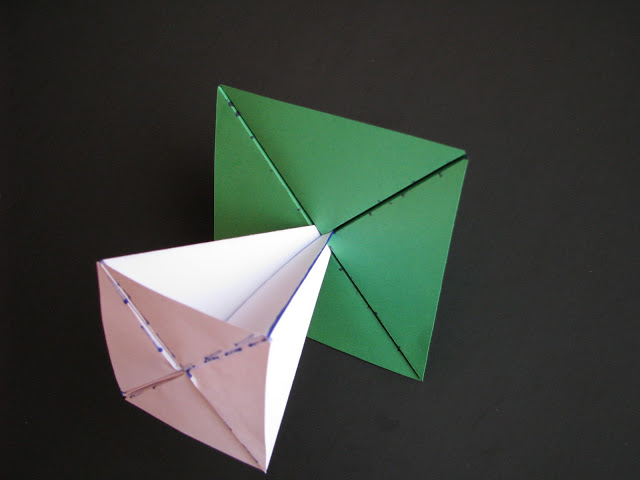
- Fold the square into the shape shown in the photo. To do this, align all four corners of the square at one point.
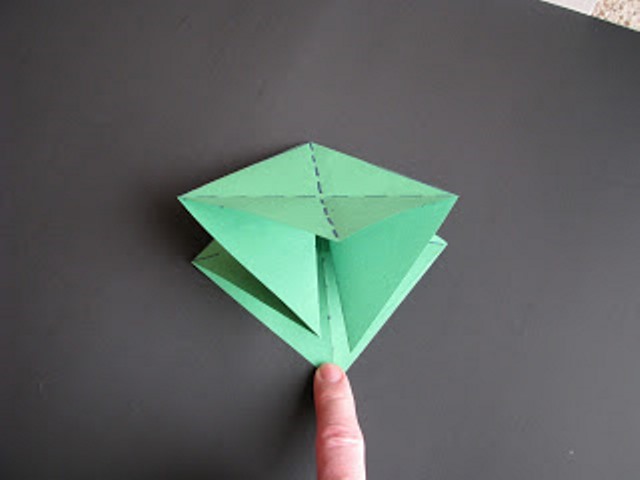
- If this step of the master class on creating a tree from paper causes you difficulty, then look closely at the following photos. The resulting square should be a quarter of the original figure.
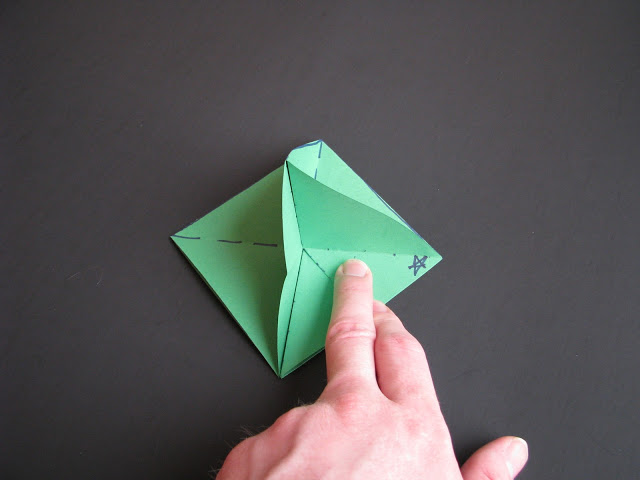
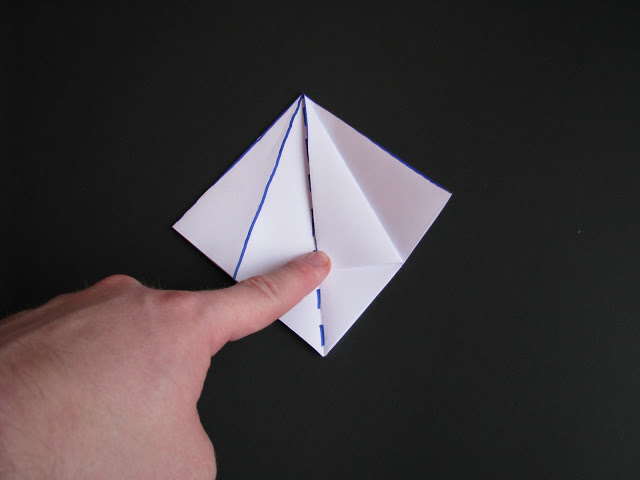
- At the formed square, bend one lower corner, indicated by an asterisk in the figure, and connect it with the second asterisk on the right.
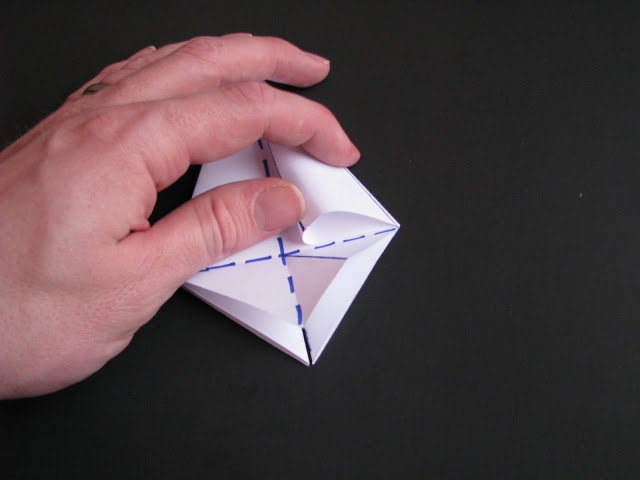
- Corner, which turned out as a result of the previous action, gently wrap the inside of the figure.
- Do the same with the next free angle of the square.
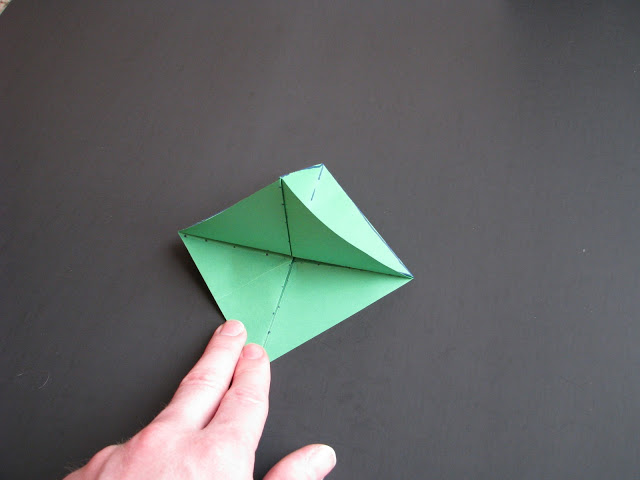
- Then with the two remaining. Difficulties in turning the folded corners inside the figure can occur when working with the last corner. Open the workpiece slightly to help yourself carry out this action.
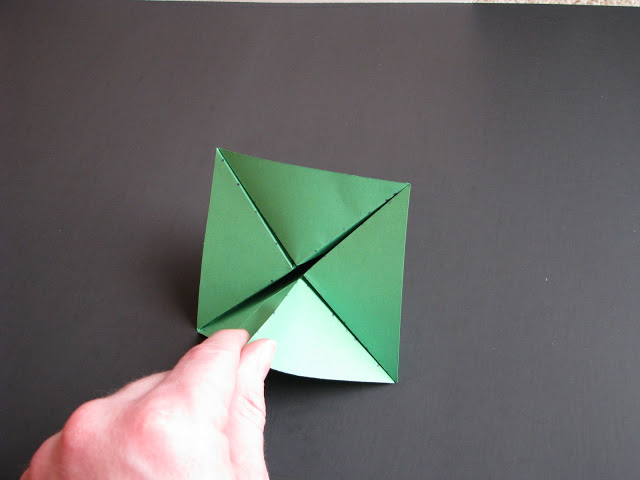
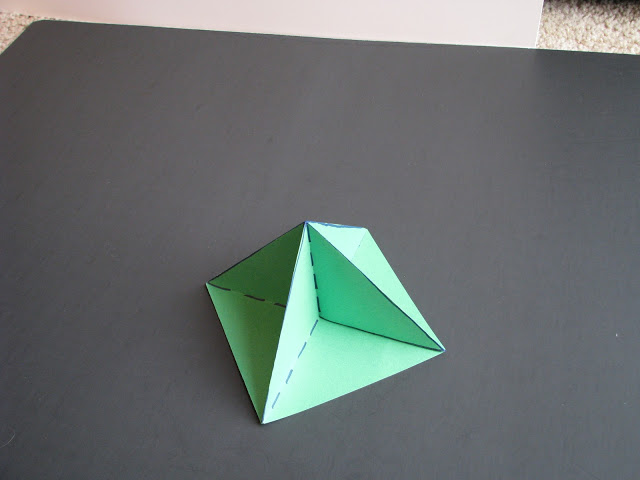
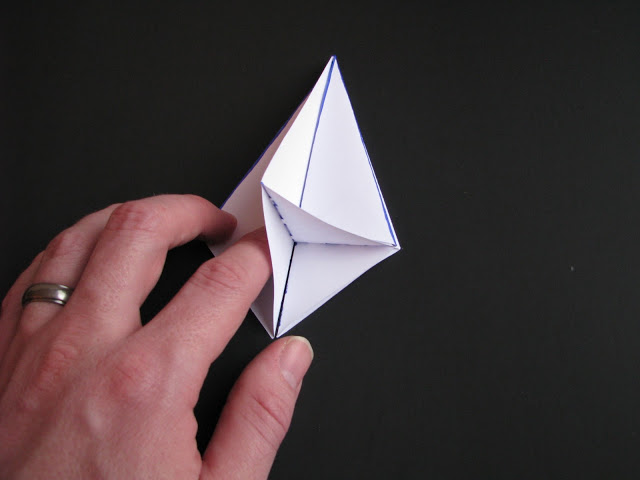
- At this stage, the lower module of the paper tree in origami technique is ready.
- Fold in the same way the rest of the details that will be needed for the crown of the tree, and set them aside for a while.
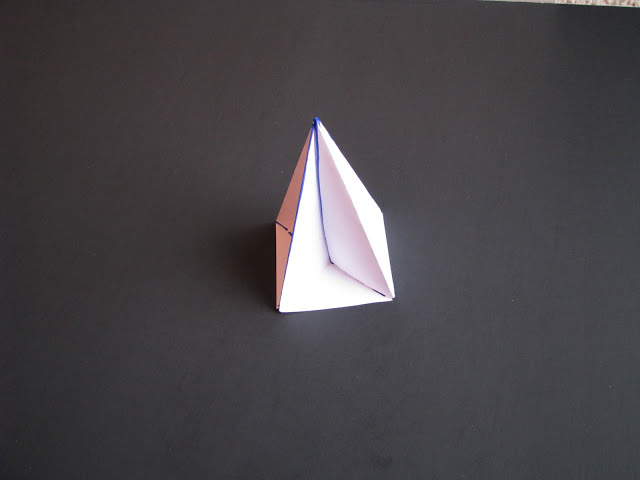
- Now let's proceed to the folding of the figure, which will play the role of the tree trunk. In the master class for this part a white square of paper is used to make it easier to follow the actions performed. But it is better to use brown or black paper. Mark the auxiliary lines on the square.
- Fold in the same way as the green figure.
- Then bend the lateral corner to the middle of the resulting figure.
- Moving in a circle, do the same with the other corners.
- The right side of the lower triangle fold in half.
- Slightly open the shape, as shown in the photo.
- Place the corner in the open pocket.
- Repeat the same steps for the remaining corners of the workpiece.
- As a result, you will get a figure that will become the basis for a paper tree.
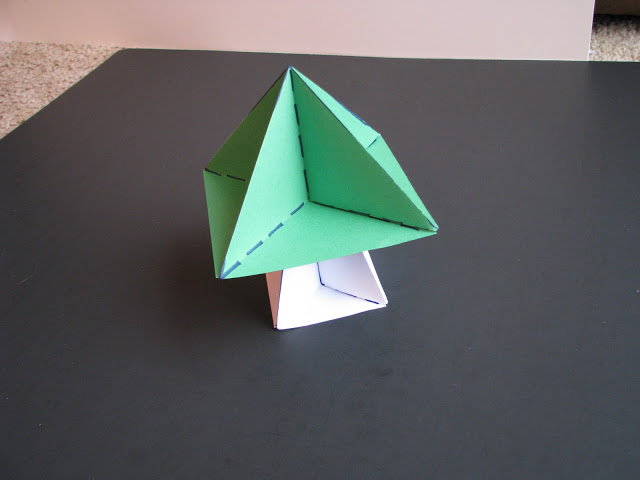
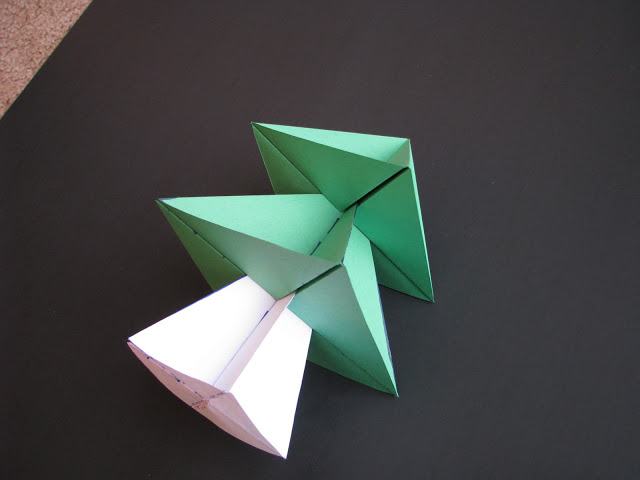
- Take the "trunk" and the folded figure of the tree crown and begin to collect the paper tree with your own hands.
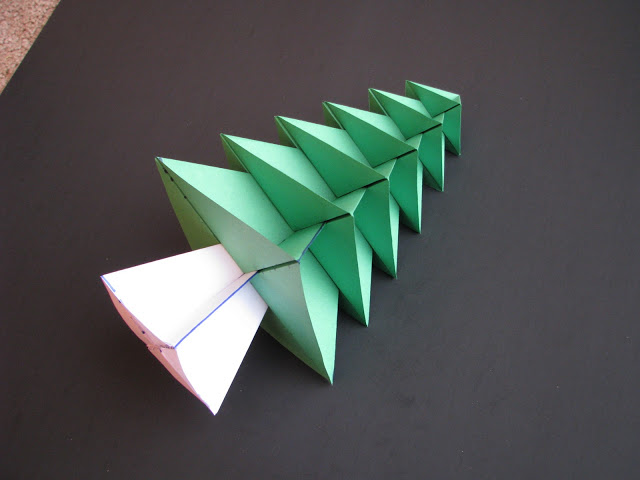
- Lay out before you all the prepared modules and one by one put them on top of each other.
- The paper tree is ready!
| | |
| | |
| | |
| | |
| | |
| | | |
| | | |