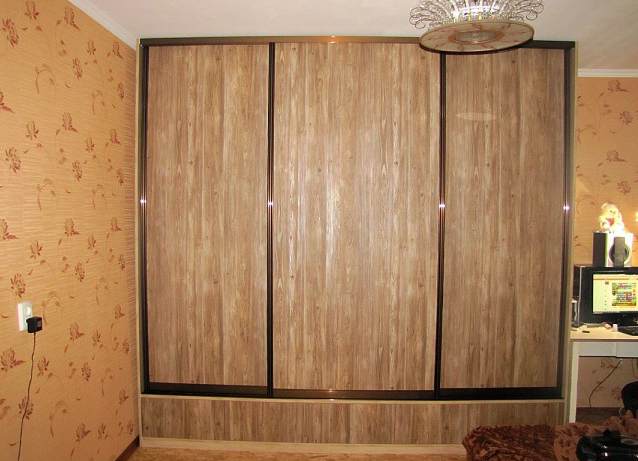
The manufacture of wardrobes with their own hands is a painstaking, albeit not too complicated task. However, the variety of their options should be taken into account in the design, because the built-in, angled and "through" (straight) cabinets are made according to different algorithms. We will consider how to make a direct compartment compartment with your own hands.
Preparatory work
Preparing for the construction of a sliding wardrobe-coupe with their own hands, it is necessary to perform several preparatory operations.
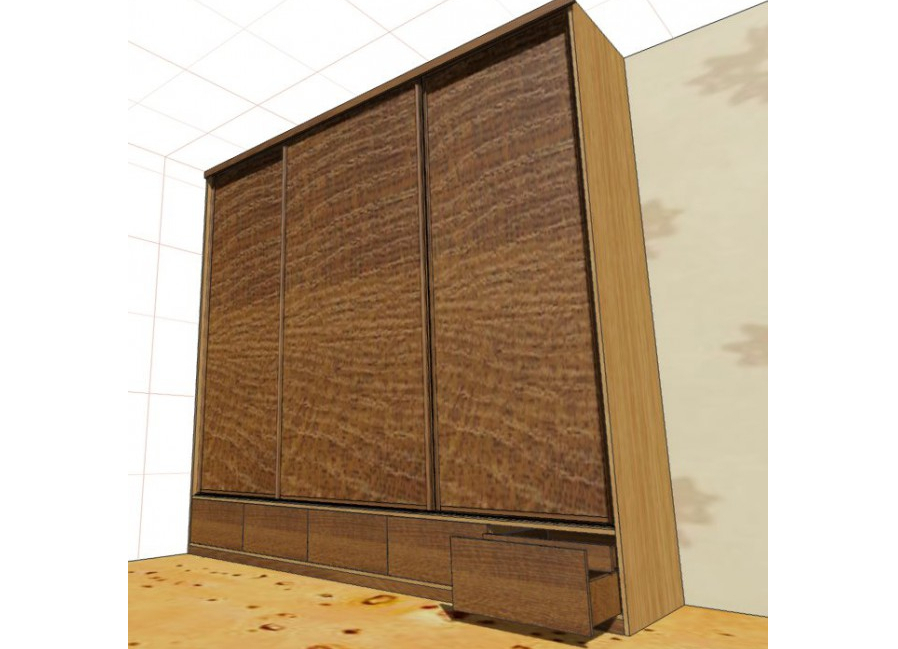
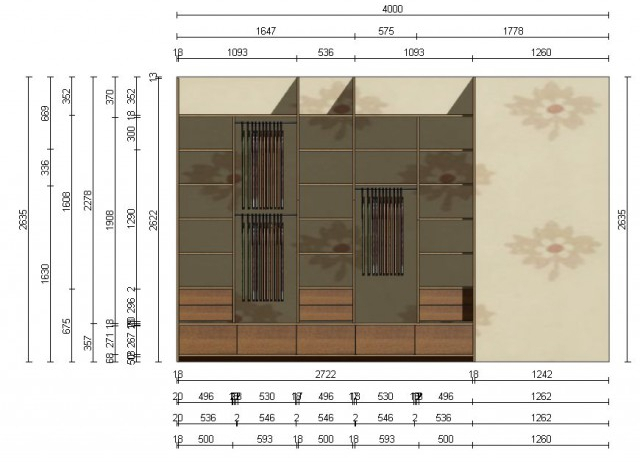
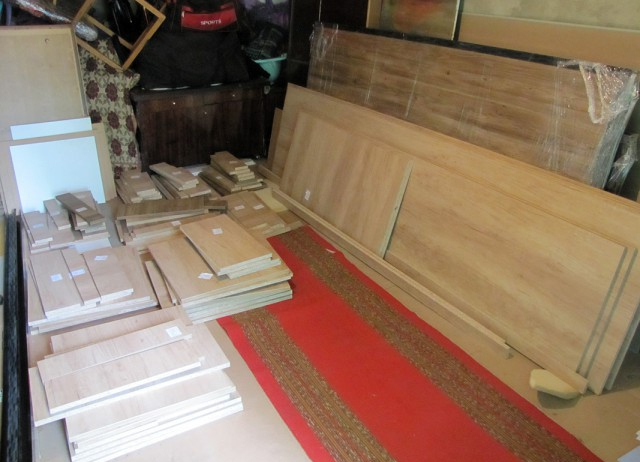
- Prepare a detailed project with a cabinet drawing and all dimensions. It is guided by it, we will purchase building materials. Our cabinet will have dimensions: height - 2635 mm, length - 2758 mm, depth - 650 mm. In the network, you can find many programs that help to compose a detailed project and calculation.
- After the calculation is made, you can purchase the material and order the sawing by parts. This is done, because it is almost impossible to cut the chipboard exactly at home, you just waste your time and nerves. Also, it is better to order the door system of the coupe when ready.
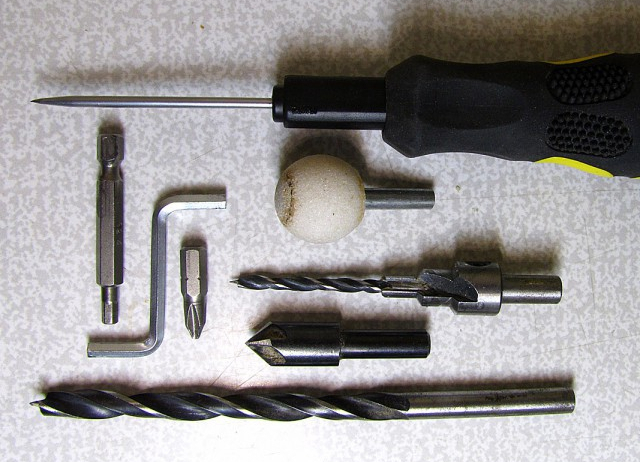
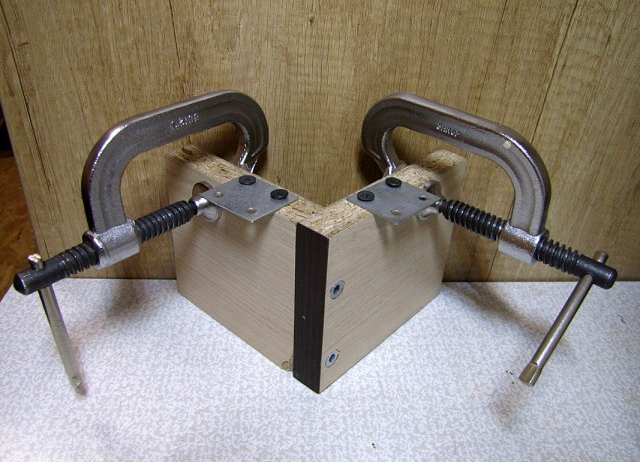
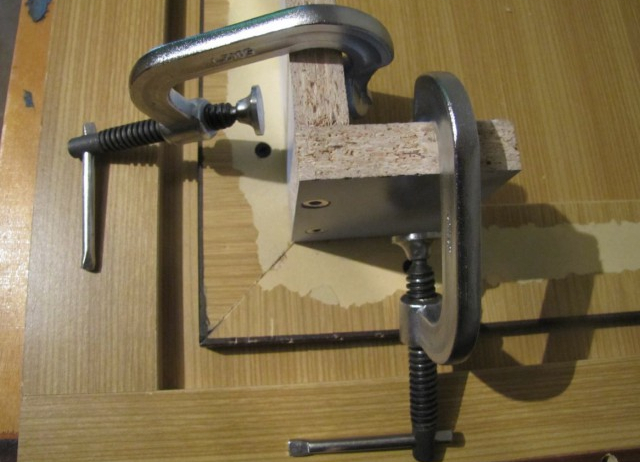
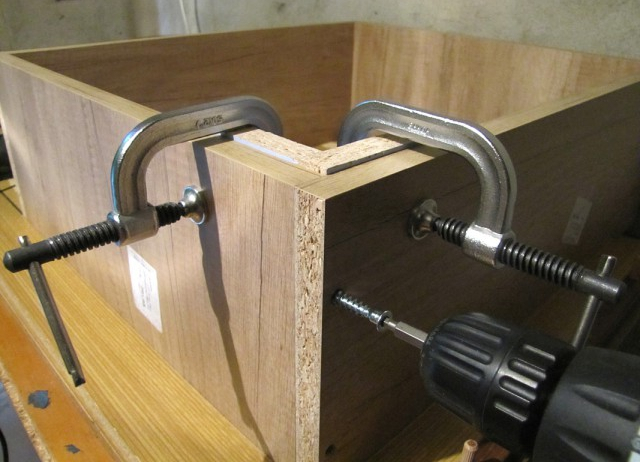
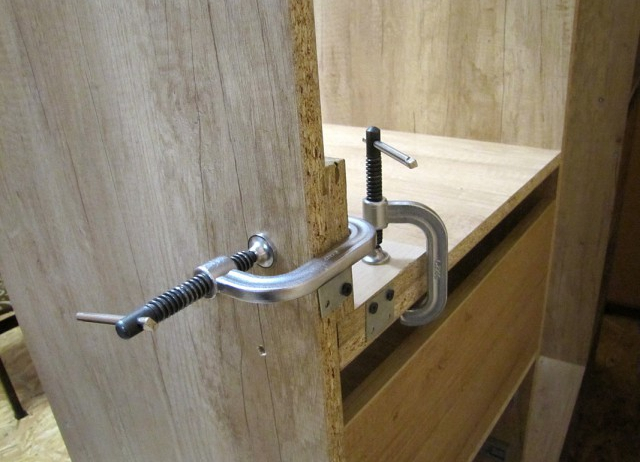
- We buy additional equipment. The parts of the cabinet will be fastened with the help of confirmations and dowels. We will need: an awl, a countersink, a confirmation drill. At once it is possible to make a corner for an even docking of parts and a conductor for drilling holes into the end of the part.
Instructions for assembling the closet with your own hands
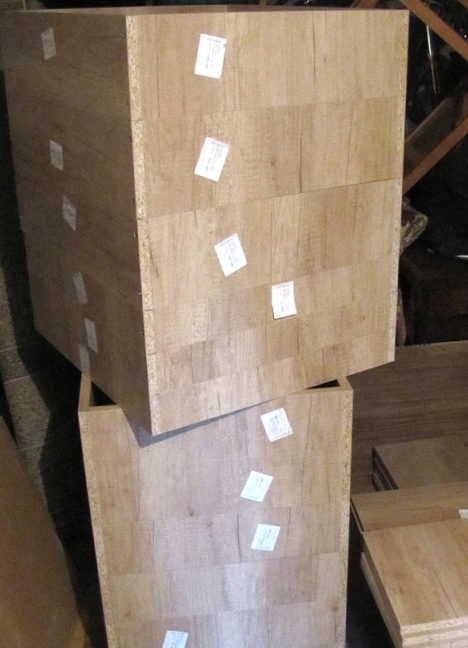
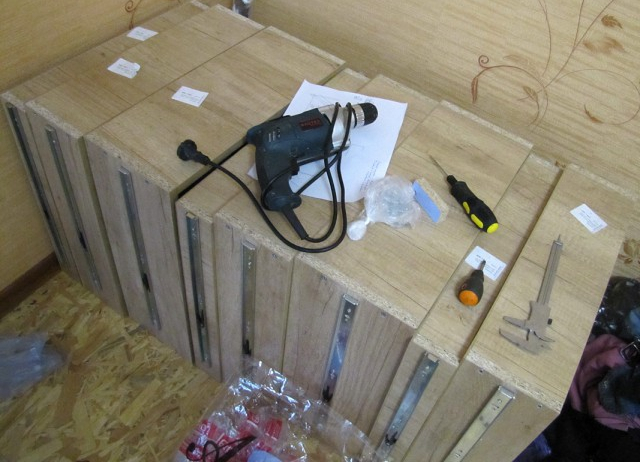
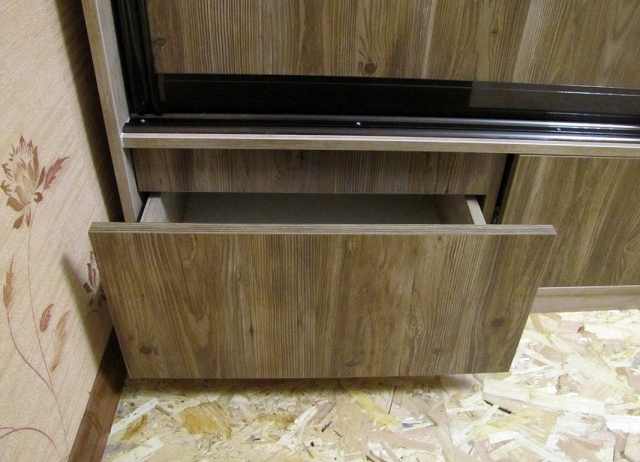
- Assembling the closet-compartment with their own hands in the home, we begin by assembling all the boxes we have conceived. We twist the parts at right angles with the help of a corner and a conductor. All in all, 14 boxes are used in our project, one of which is a secret box.
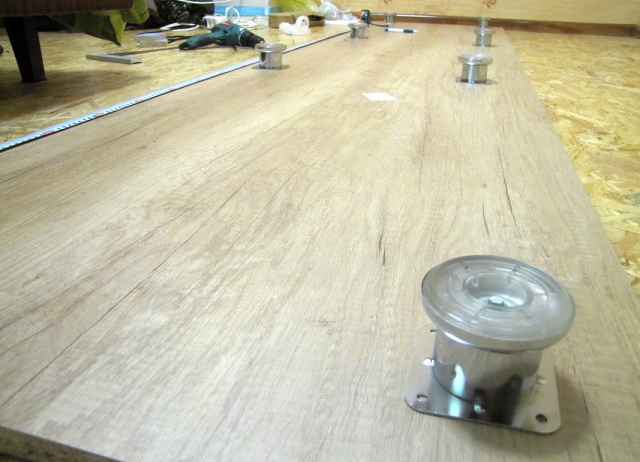
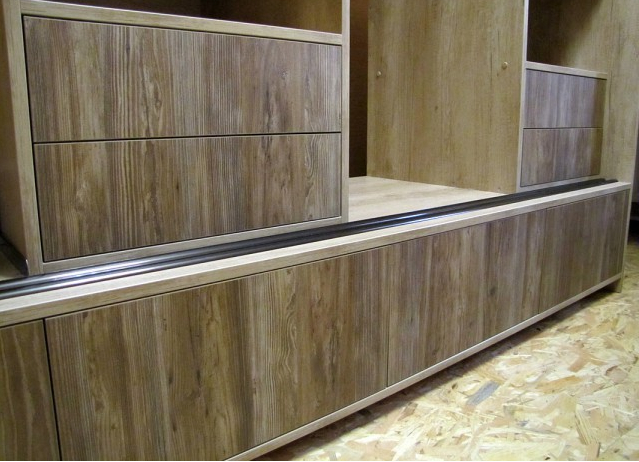
- Next is the assembly of the base. We screw to the part of the base of the leg, and then we glue a piece of felt to each of them so that the cabinet does not scratch the floor in the room during operation.
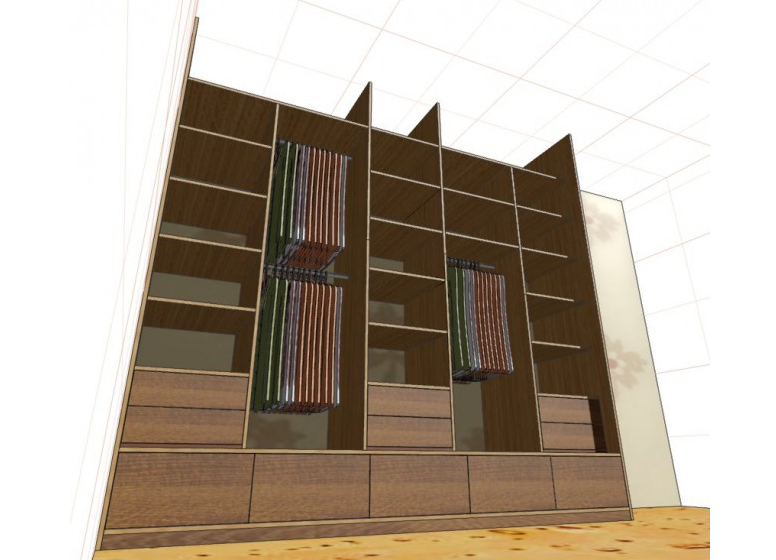
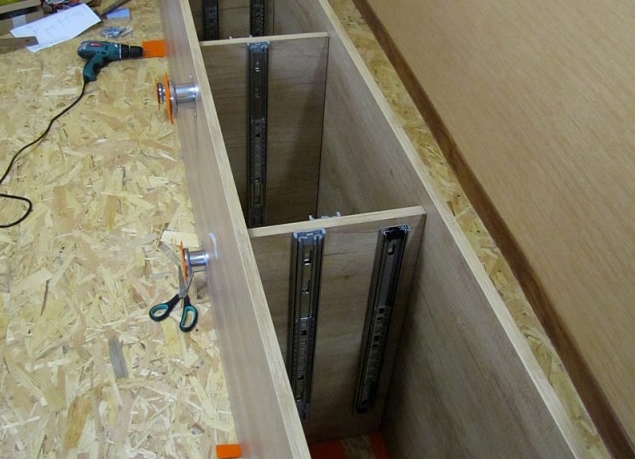
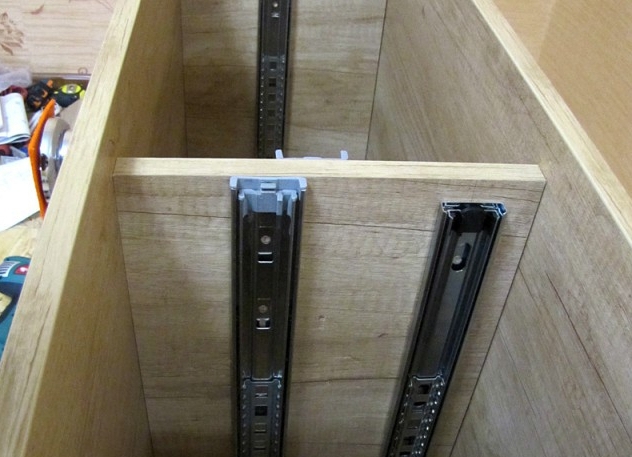
- On the bottom part we install the partitions for the boxes and fix the guides on them, from above we cover with the partition.
- To the boxes we fasten the other part of the guide system - runners, which will ensure their easy opening and closing.
- To the base we fix the side wall and the partition, and between them we build the shelves, according to our drawing.
- Align the shelves with a corner.
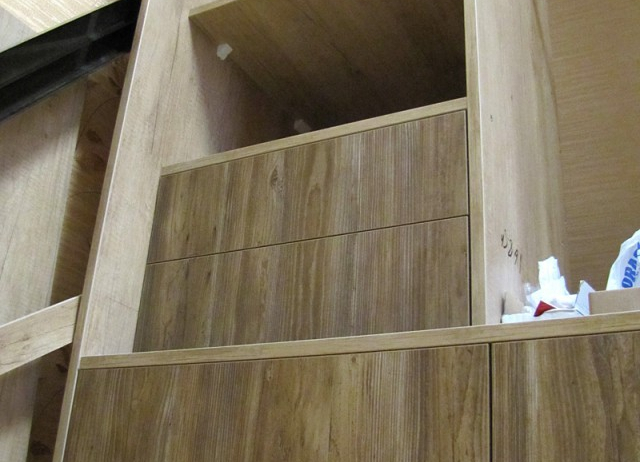
- To the closed boxes we establish facades. To do this, in a closed form, attach the facade to the building scotch, then open the box and screw it with screws.
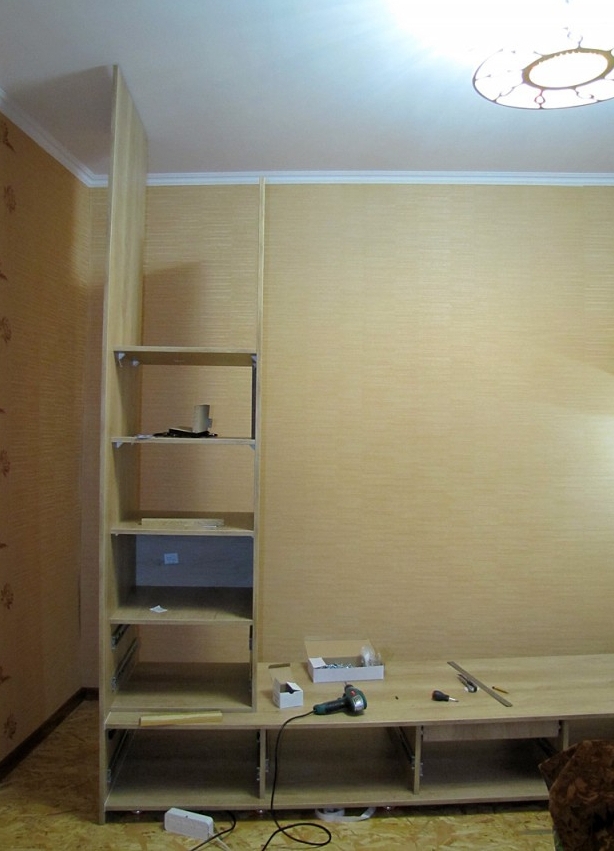
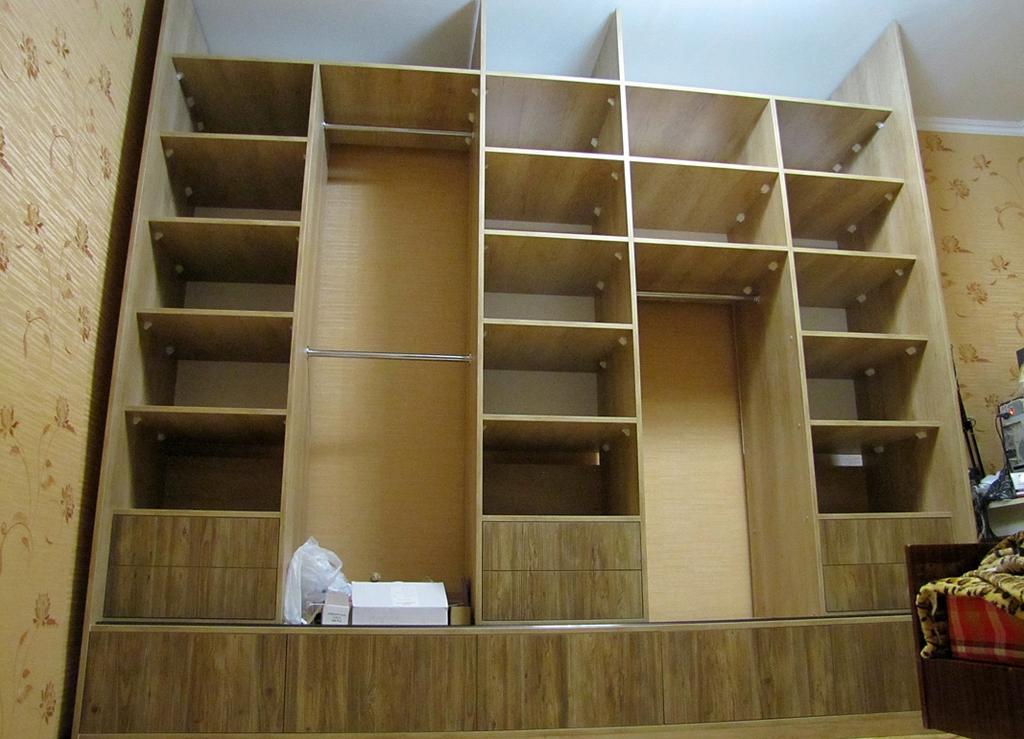
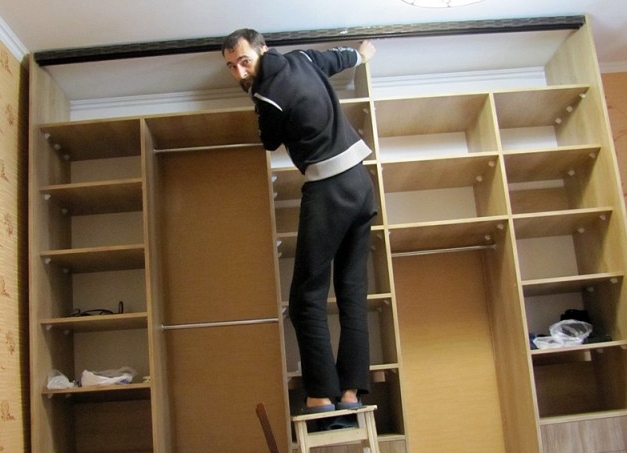
- According to the scheme we collect the whole design of the compartment cabinet except the top cover. We install the bar for hangers (they can also be made to order of the required length).
- And here is the box with the secret. This is some complication of the design, therefore, it can easily be omitted when designing and assembling.
- It remains only to install the coupe door system. To do this, fix the top cover of the cabinet, and to it and to the bottom part we fix the guides.
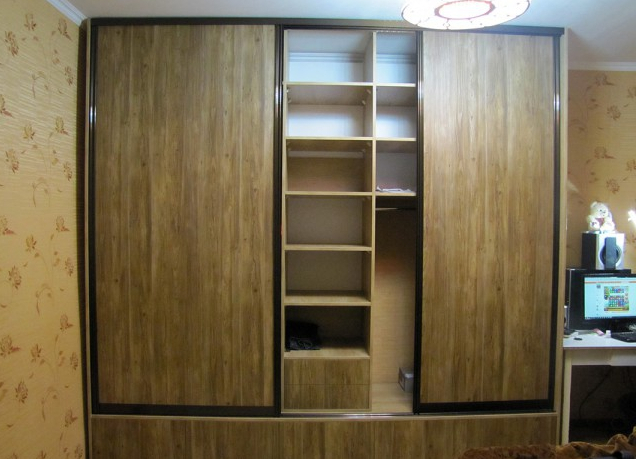
- Sequentially install the first two doors that go when you open the inside of the cabinet (How to make the closet compartment with your own hands 23).
- It remains to install only the topmost door, and our closet is ready!