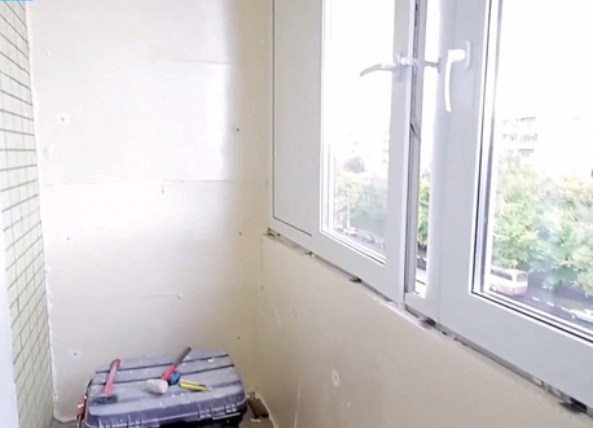
In any apartment the balcony is most often reserved for rest, it is pleasant to spend evenings, to drink coffee, or to finish a hard day with a glass of your favorite juice or tea.
But when the warm season is over, many are interested in the question of how to insulate and trim the balcony? To this part of the house was as comfortable and comfortable as possible, its decoration should also be given due attention. In our master class, we will tell you step by step how to properly insulate the balcony from the inside by using a penopolix. For this we need:
- wooden slats;
- penoplex (can be styrofoam);
- Particleboard;
- self-tapping screws;
- dowels with hats;
- special foil tape;
- penofol;
- building stapler;
- mounting foam;
- sealant;
- staples;
- laminated panels;
- decorative guides;
How to properly insulate the balcony on the floor?
- The first thing we do is laying wooden racks on the floor. The distance between the bars should be 1 cm more than the width of the penoplex sheet, the thickness of the bar is equal to the thickness of the insulation - about 5 cm. We attach the rails to the floor along the balcony with screws, screw them at a distance of 30-40 mm from each other.
- We put the level to the racks and see if the stacking has turned out evenly? If not, then to raise the rails you can use a plastic lining, putting it under the bar.
- We lay on the floor a heater for the balcony - foamotex.
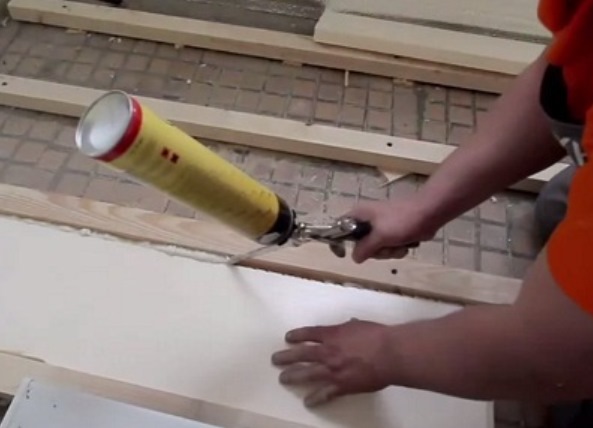
- We process foam joints between penotex and slats.
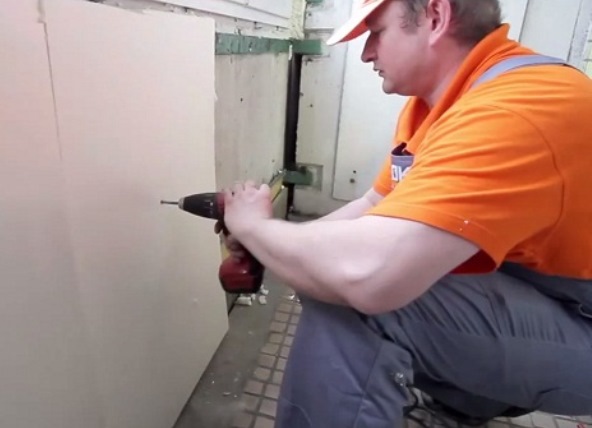
- Take a sheet of chipboard and attach it along the balcony to the wooden slats using self-tapping screws, screw them at a distance of 10-15 cm from each other, leaving a small gap between the sheets.
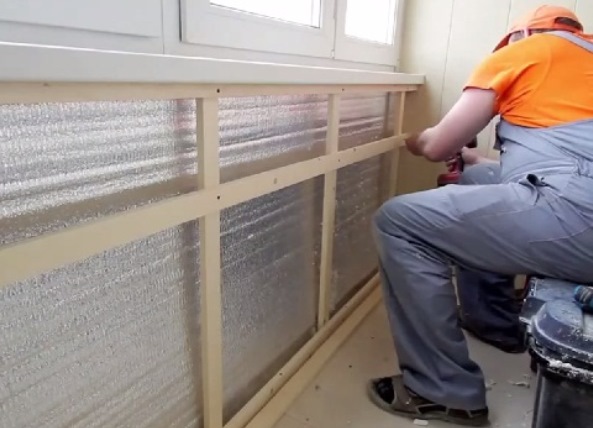
How to properly insulate the balcony walls and ceiling?
- This phase of work we begin with the fastening of the insulant itself. We apply the mounting foam to the wall in zigzag motion.
- We apply a heater for the balcony to the surface of the wall and fix it with plastic dowels with hats. It is very important to choose the dowels, take into account the thickness of the balcony wall, so as a result of its fastening, the tip of the dowel does not come out to the outside of the balcony.
- We take the building level and look how exactly we laid the heater.
- On top of the heater, apply an additional layer of foam. To glue this thermal insulator you need whole pieces, you can overlap, the main thing is not to form joints.
- Formed seams of foam foil are sealed with foil tape.
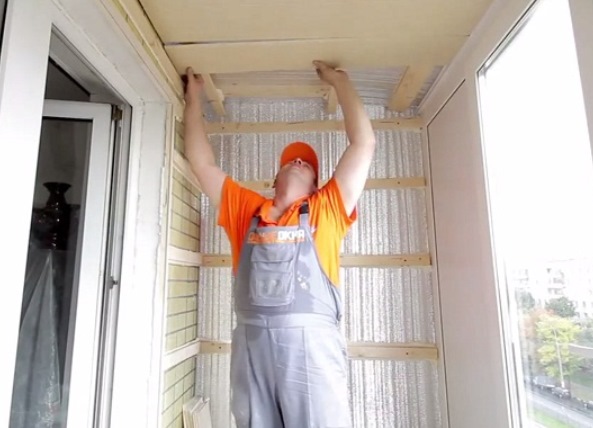
- The same is done on the ceiling.
Balcony finishing
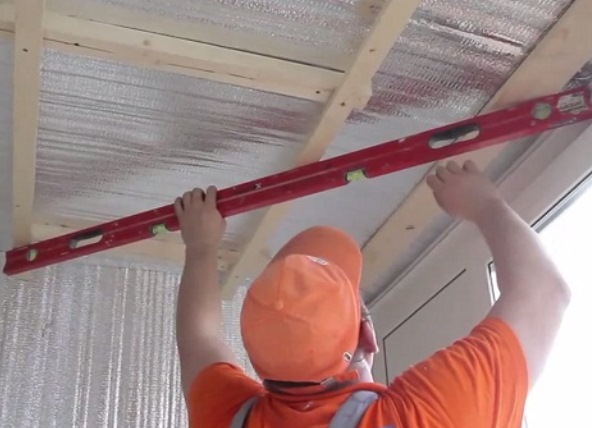
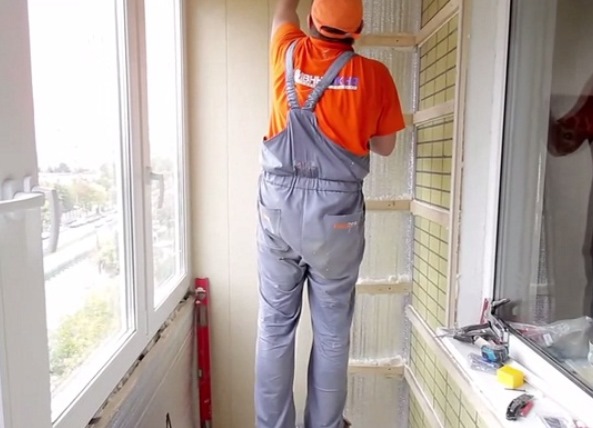
- How to properly insulate the balcony from the inside with the help of a heater cleared and went to the final part - the skin. On the ceiling we attach wooden slats 2 cm thick by means of screws at a distance of 35-40 cm to the previously built frame, for laying the insulation for the balcony.
- The level is measured by the evenness of the resulting construction.
- Next, we attach the wooden structure to the walls. We choose self-tapping screws so long that after screwing they do not protrude out the balcony. Before fixing on the slats, we apply a little mounting foam and attach them to the surface with self-tapping screws at intervals of 35-40 cm.
- Now, the frame for laminated panels is ready, and you can start finishing. We fix the panels with a construction stapler, and the ends are covered with decorative guides.
- We lay the panels on walls and ceiling.
- The ends are hidden behind the decorative guides.
- We put on the decorative corners of the mounting foam and attach them to the corners.
- The seams between the panels are masked with white sealant.
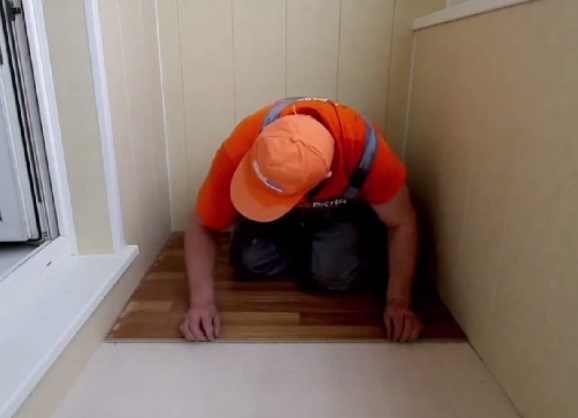
- We lay on the floor the laminate in a horizontal position.
- We fix the plinth. That's what we got as a result.