One of the best flooring is tile - it is durable, moisture resistant, it is represented by different textures and textures, easy to clean and install. Adhering to simple rules, you can independently update the floor in the kitchen , corridor, bathroom.
Features of tile works
For the success of the "event" you need to follow several rules. First of all, buy material from one lot, so that the shade, size and texture are absolutely identical.
To begin the flooring, you will need a tile , a primer, a glue mix, a grout for grout, a serrated and rubber spatula, a level, a rule, a tile cutter or a grinder, a perforator, a rubber hammer, a tape measure, rollers, a bucket for glue.
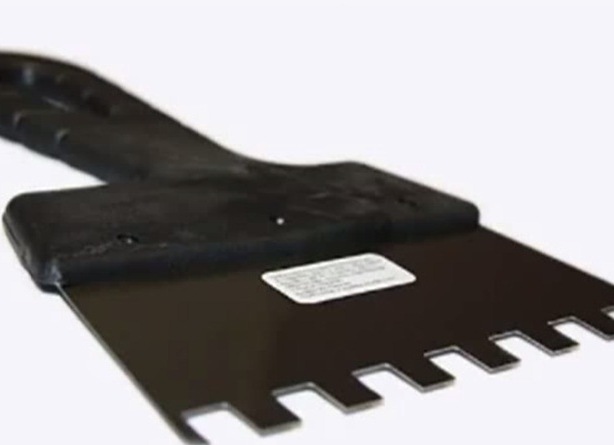
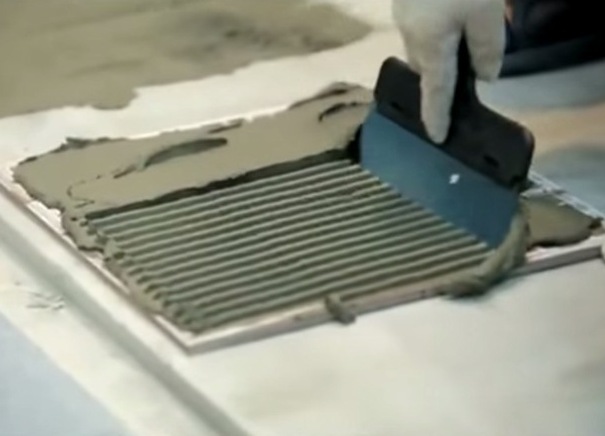
To put the tile, for example, on the kitchen floor you will need a notched trowel with square teeth.
| | |
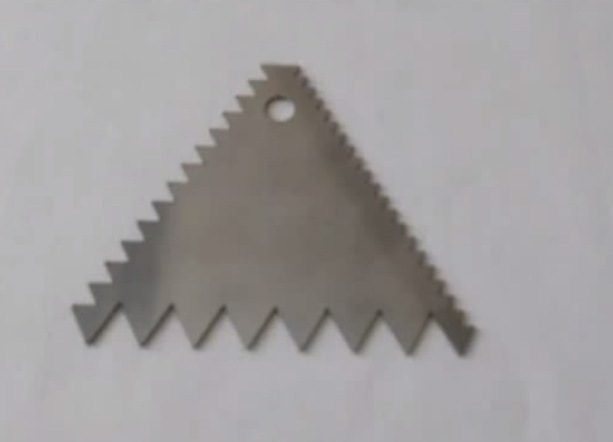
V-shaped tool is used for working with wall materials.
| | |
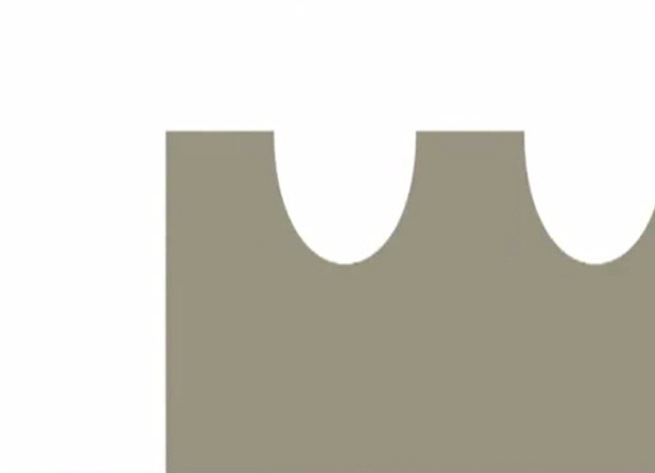
U-shaped spatula is suitable for mounting large-sized tiles.
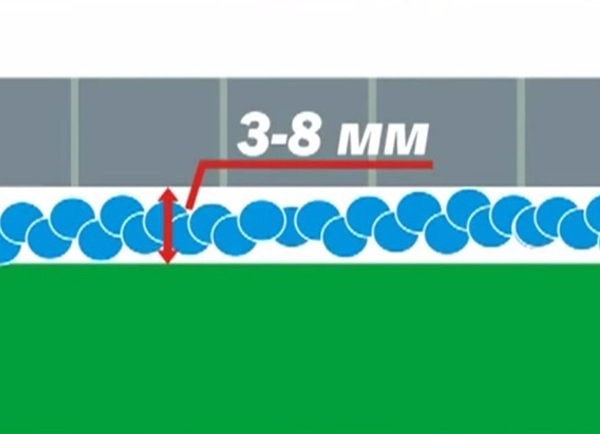
Tiles must be taken with a margin in consumption at 20%, because during the work it can crack, puncture. Pre-primer the floor, for 1 square meter consumes 0.2-0.3 liters of primer. On 1 sq.m. it is required 6-8 kg of adhesive mixture. Crosses are needed to adjust the gaps at the seams. Cement solution as a binder is better not to use, because it is not too reliable, the layer will be much thicker. Using a special dry mixture, a thickness of 3-8 mm can be achieved.
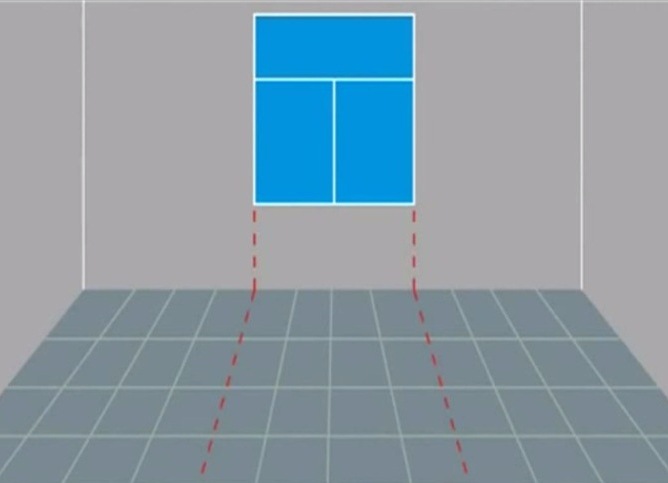
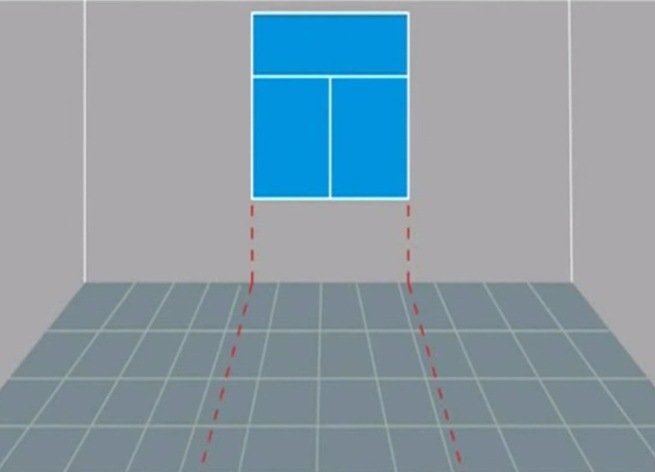
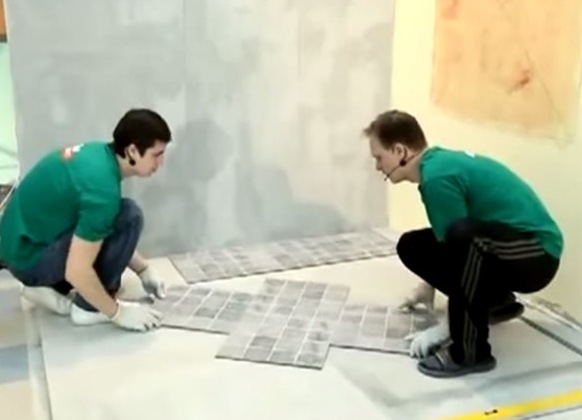
Before you begin to work, decide on the option of laying the seams. The simplest is "seam in the seam". It is desirable to combine the seam with the axial lines of the window, as in daylight, "no matching" will be evident.
| | |
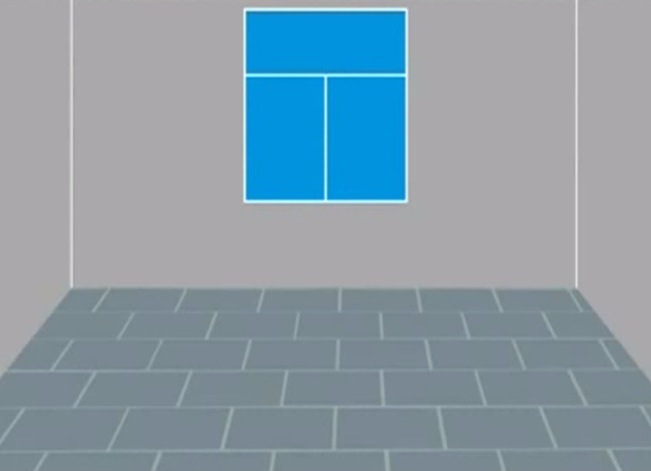
It is possible to put with a break in half a tile.
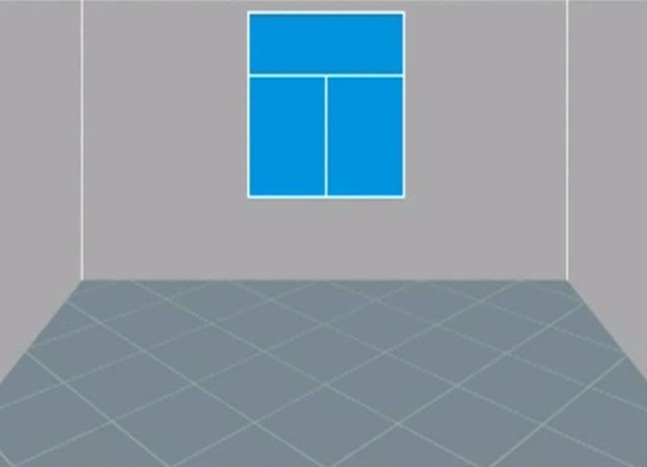
The masonry "on a diagonal" looks originally.
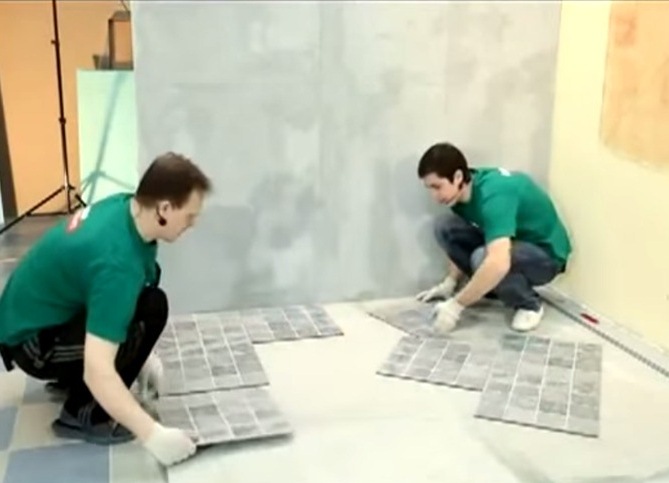
It's better to start work from the center of the room. If there are cuttings on both sides of the wall, then they should be the same in size. On the one hand there may be a whole tile, on the other - a scrap, it is desirable to close this side with furniture.
How to put the tile on the floor yourself?
To properly put the tile on the floor, follow the algorithm:
- It is necessary to make a markup and decide on what will be the masonry.
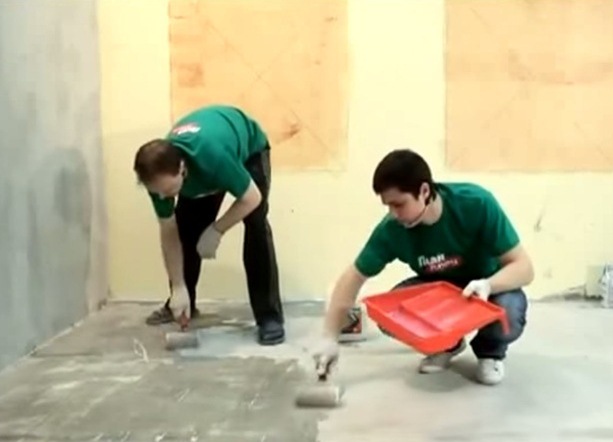
- The floor must be clean and level. The difference should not be more than 3 mm, otherwise it is necessary to level the substrate with a screed or fill the floor.
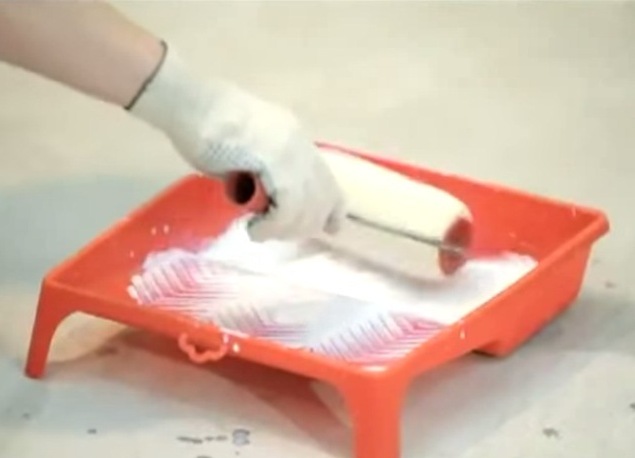
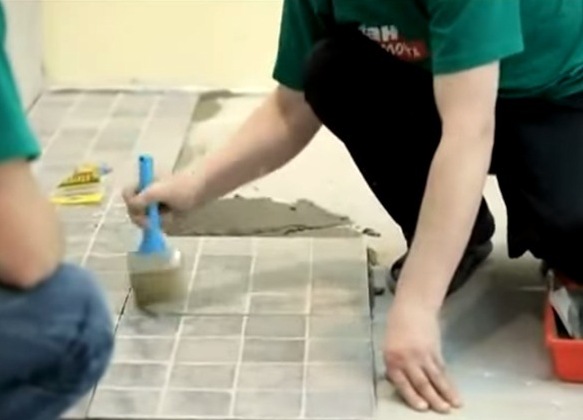
- Then follows the primer.
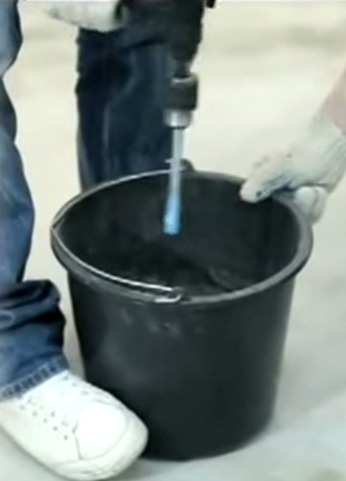
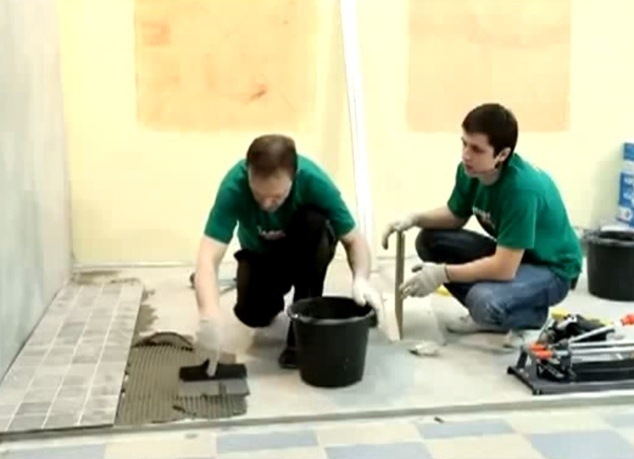
- The binder needs to be prepared in small quantities, since it hardens quickly enough. Water with glue is mixed in a proportion of 1: 4, lumps should not be, with this the punch handles well.
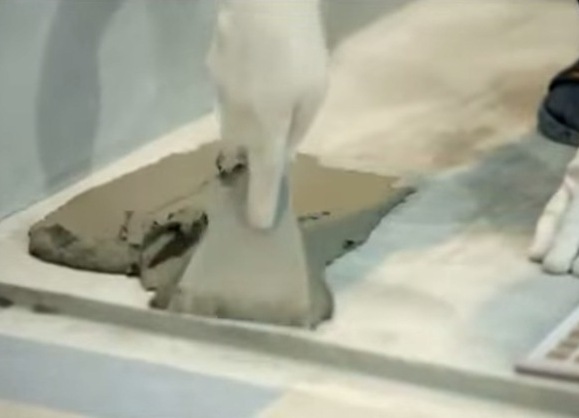
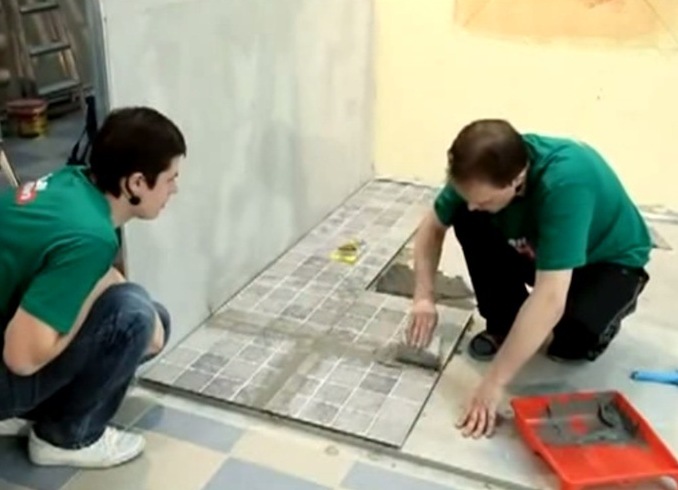
- We put the finished mixture on the floor (with a normal spatula) and on the tile (with a notched trowel).
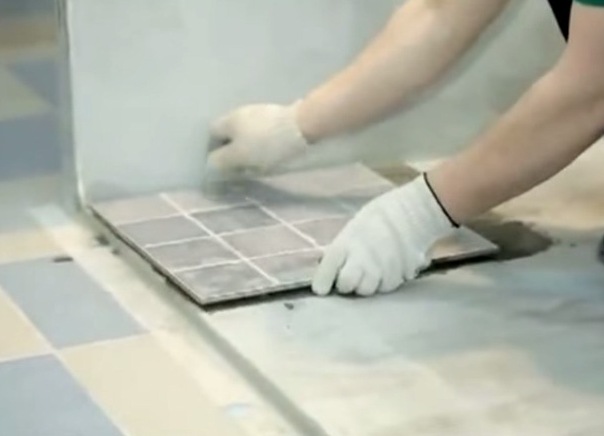
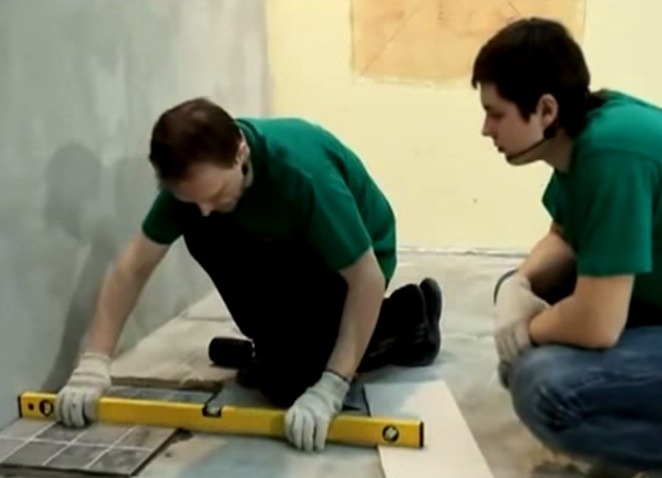
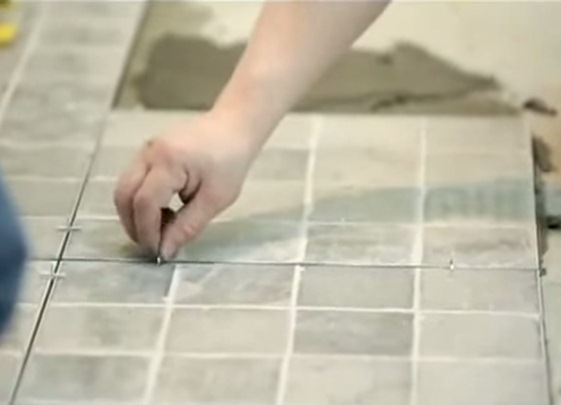
- Check the level of masonry. If necessary, correct it by tapping. Dimensions of the seam are easy to adjust crosses.
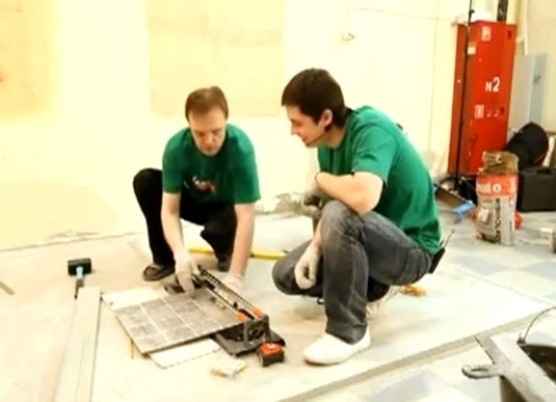
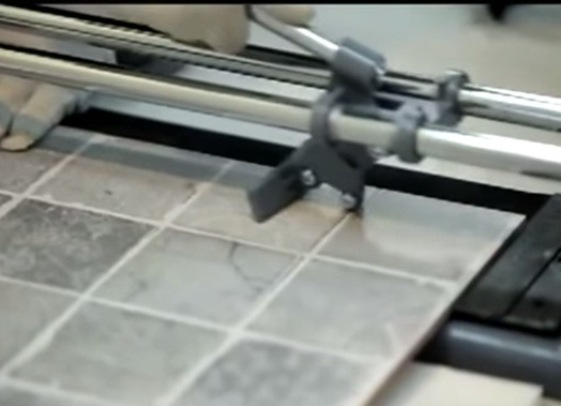
- Pruning of tiles is carried out with tile cutters. The material is placed in the tile cutter so that your measurement coincides with the zero mark of the installation. Cut, then break off the unnecessary area.
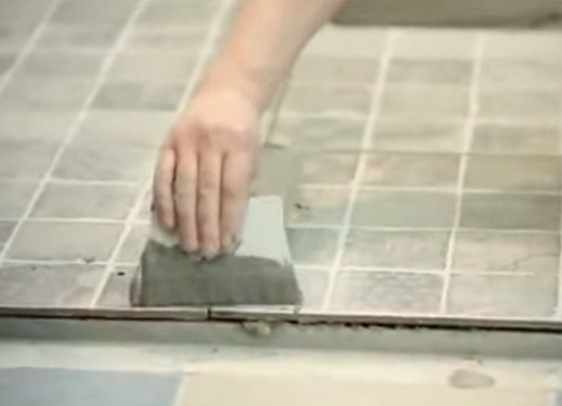
- After 3-4 days, you can start filling the seams with a special mixture. Remove the crosses, moisten the seams (using a brush). Grout should have a consistency of thick sour cream. To apply it, use a rubber spatula.
| | |
Walls should also be level, large swings are not allowed.
| | |
| | | |
| | |
| | |
| | |
| | |
| | |
After 30 minutes, excess grout is removed, after a week at the seams, it is recommended to go through sealant.
Paul is transformed!