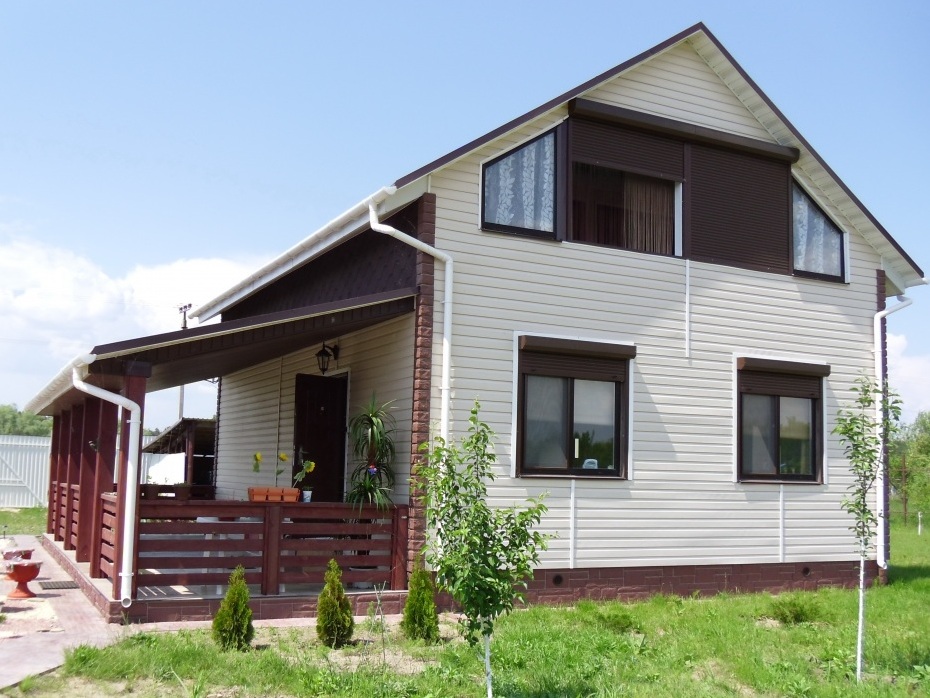
Siding is an ideal option for those who wish to somehow transform the appearance of an old wooden house. Easy design, without taking a lot of time to care, is able to serve faithfully and truthfully for quite some time.
How to properly sew a wooden house with a siding?
- Tools and materials . From the tools we need to have a Bulgarian, metal scissors, a hammer, a tape measure, a building level, a square, a screwdriver and a screwdriver, and a stepladder. For work we also need material for waterproofing and insulation, siding and a sufficient number of different kinds of finishing strips. You need to buy a mounting foam to seal the cracks and an antiseptic for the treatment of walls. We take care of buying a metal profile or a wooden bar, which we pre-process.
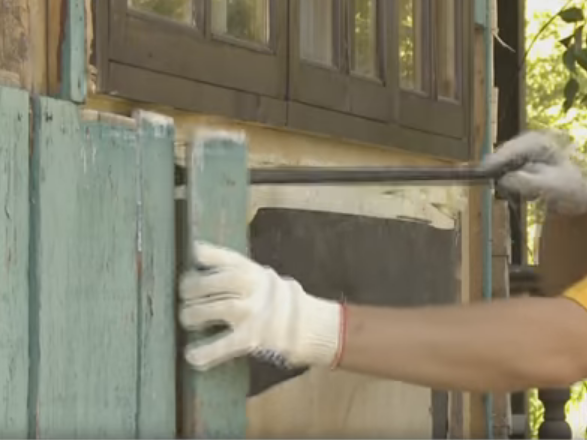
- Preparatory stage . To begin with, we release the house from the protruding elements, which can interfere with the work, repair the cracks and process the walls.
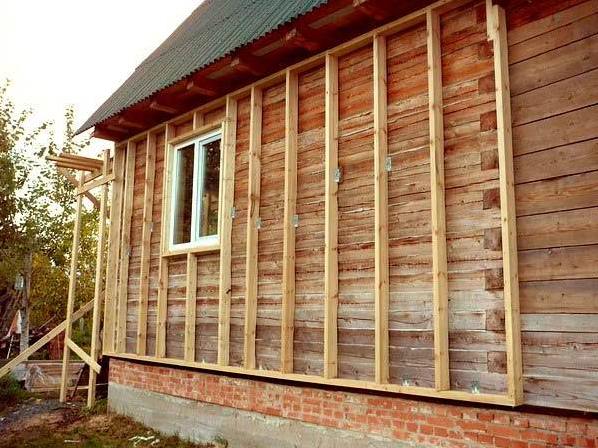
- Mount the crate . With the goal of evenly putting the starting bar, measuring tape and level markings on each of the walls of the house. We drive nails and pull the string. Horizontal lines should close at a minimum distance from the plinth. At each corner, we mount vertical guides in 30 cm increments, increasing their number in the places of greatest load with the help of U-shaped fasteners.
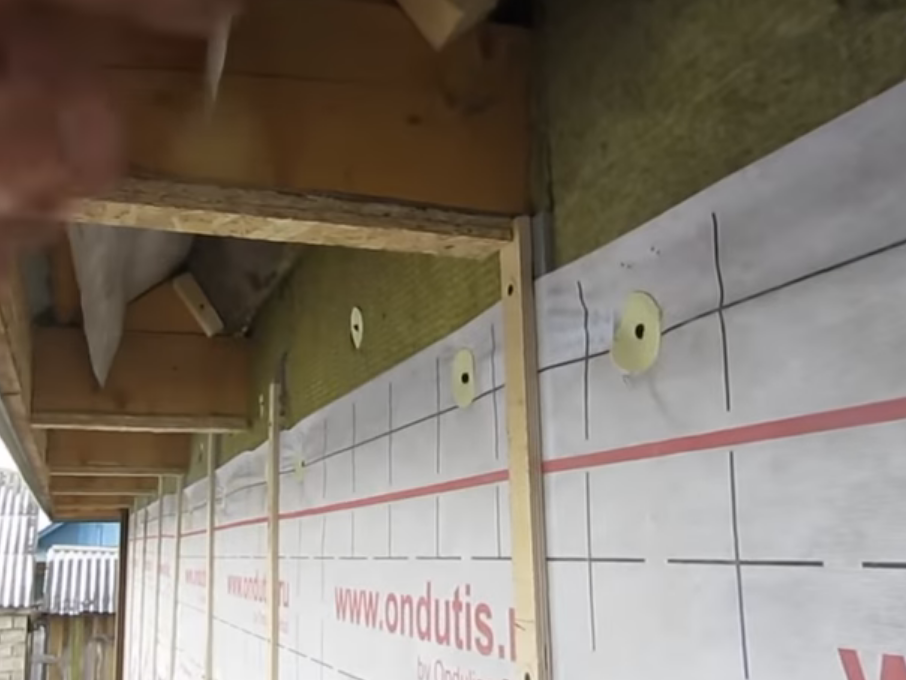
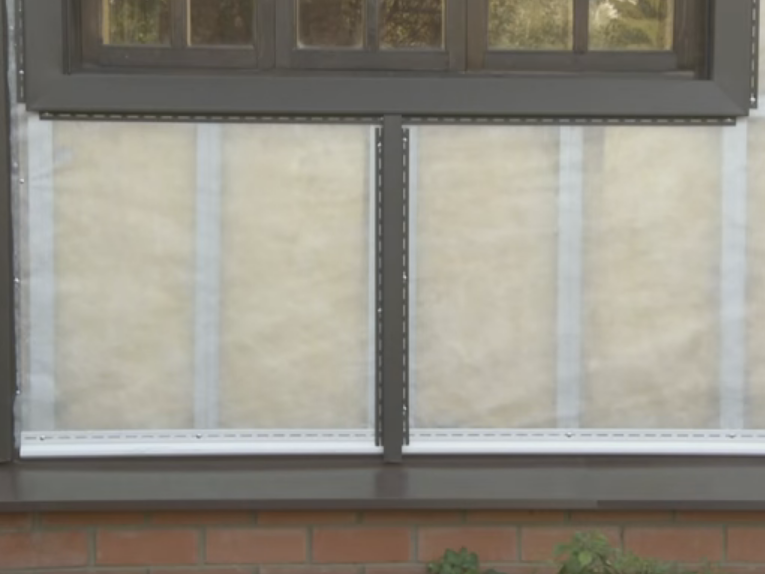
- We install waterproofing and insulation . We install the insulation on the crate, protect it with waterproofing material and additionally build another crate for ventilation of the siding.
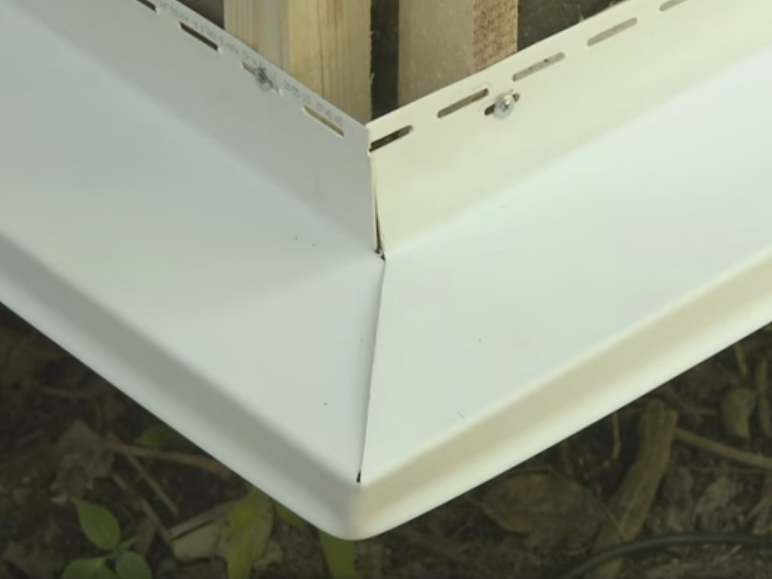
- Begin the installation of the guide elements. We install water drainage.
- We fix it by the level in the center of the nail hole with a step of 40cm.
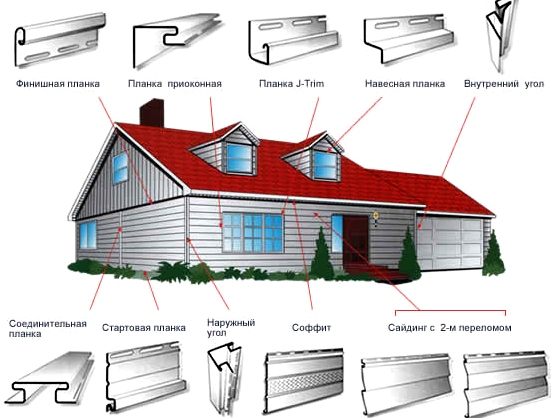
- At the corners we attach the angular profiles, the pitch between them is 20 cm, starting to fasten them from the top.
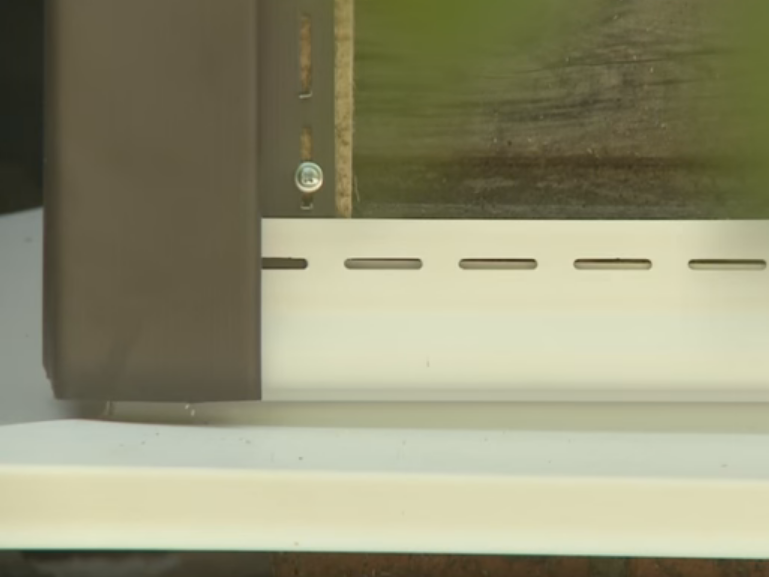
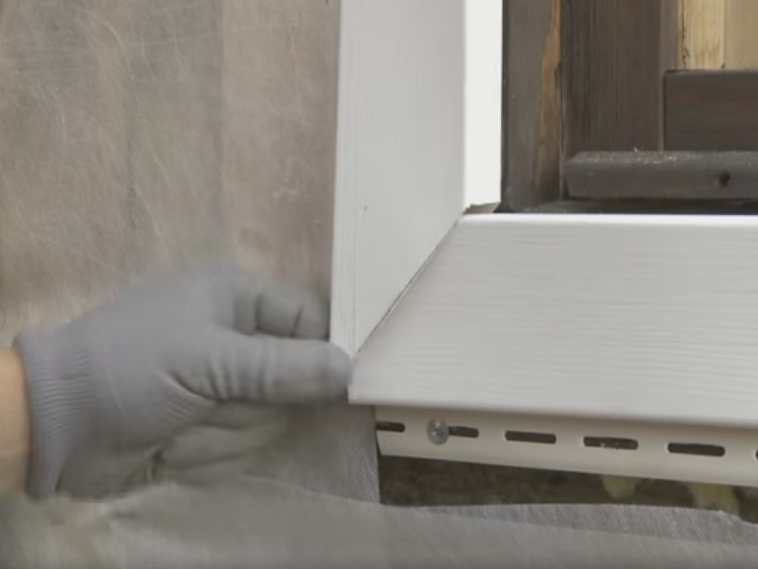
- The starting bar is fixed on the bottom line over the low tide.
- We trim the trimmed slats of the window and door, cutting the details of the right size, making allowance for pruning the corners of 45 °.
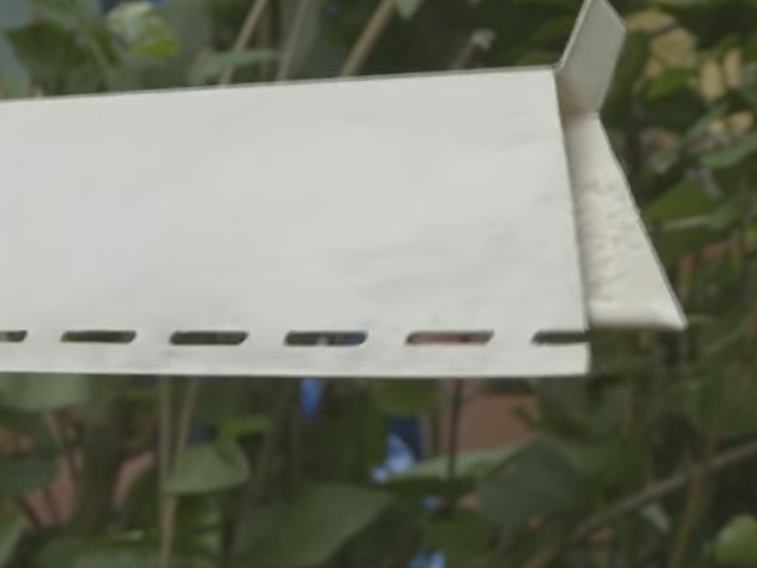
- In the upper element, we cut out the tongues.
- First we make the installation at the bottom of the window, then frame the sides and top.
- In other cases, a window profile is used, which serves as a junction of the clypeus and the slope. We prepare it in a manner similar to the clypeus with hooks for attaching to the finishing strip, which we attach to the inner perimeter of the window.
- Mount the H-profile.
- We fix the finish line.
- As a decorative and auxiliary element we use the J-profile.
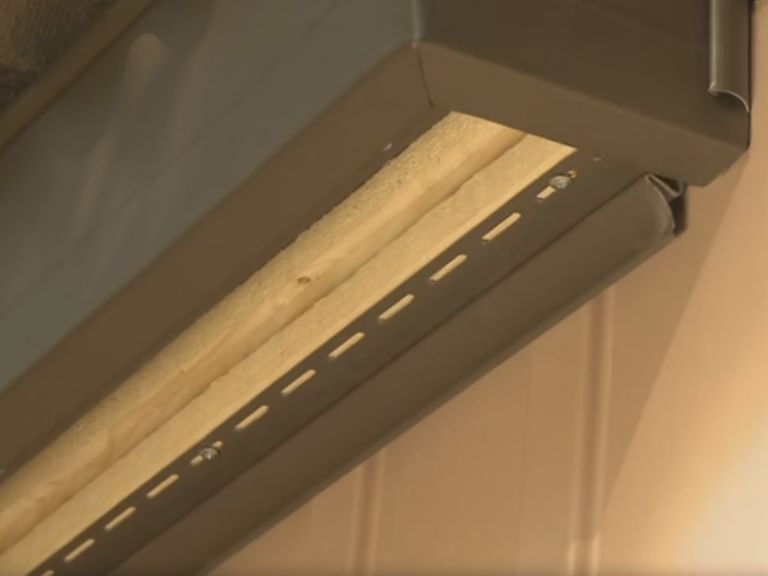
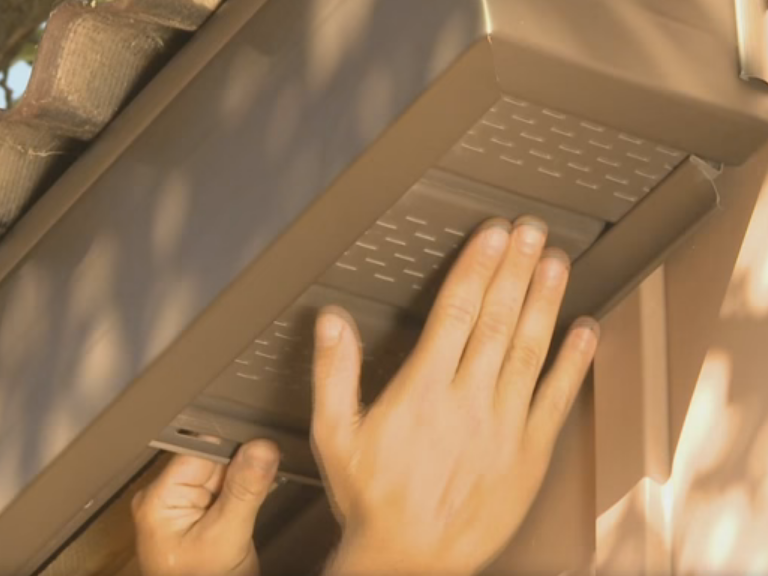
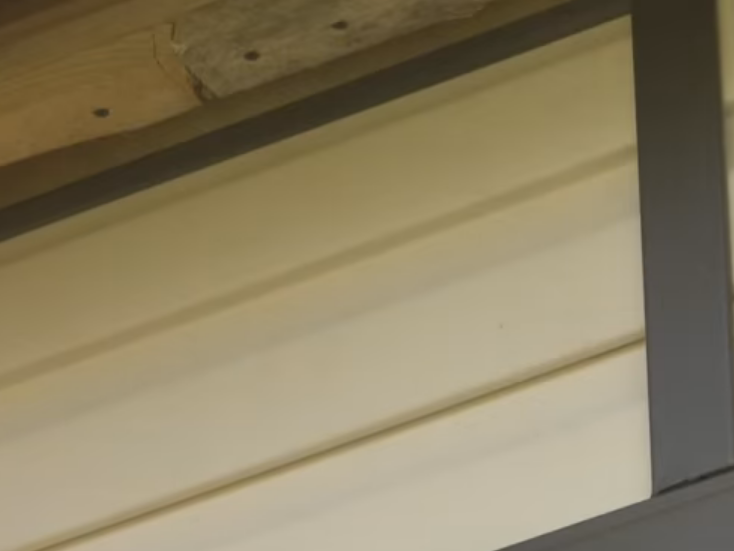
- To install the soffit, we use the molding covering the last panel.
- We establish the spotlights between the molding and the J-facet.
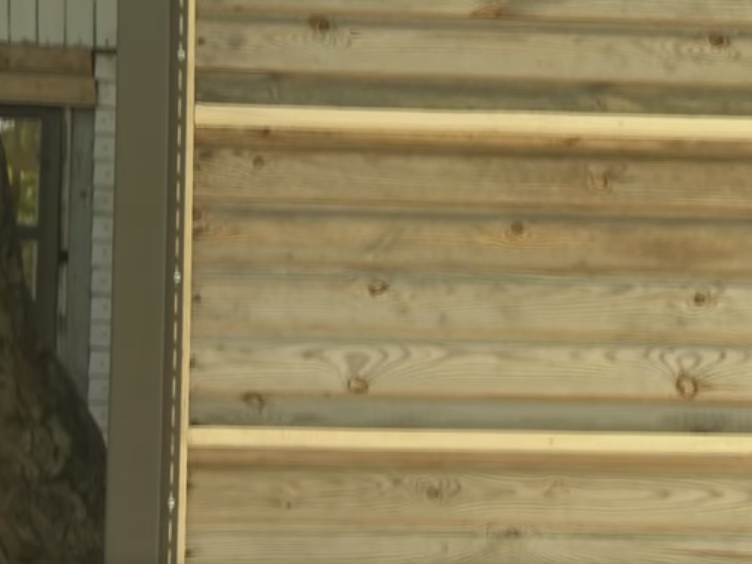
- Install the panels.
| | |
We start from the starting bar to the click of the lock from the bottom. In the upper panels, the screws are placed in the center of the holes every 40 cm. finish the installation on the finish line.
Before you sew your own wooden house siding, take care that it is stored in a dry room on a flat surface. Given the ability of the material to shrink and expand, self-tapping screws are not twisted in any way, constantly checking the fasteners by moving.