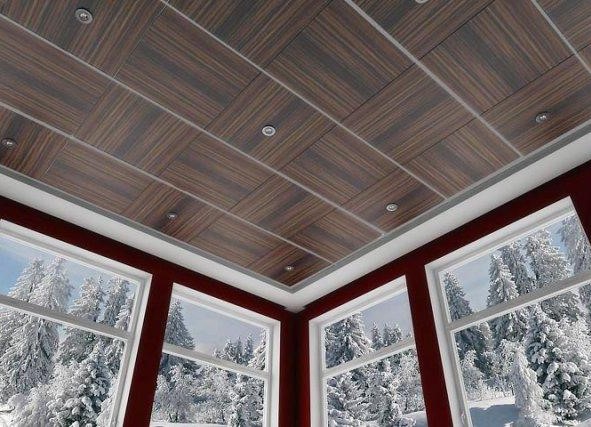
There are many ways to finish the ceiling, giving it a neat and well-groomed appearance. Installation of PVC ceiling is one of the most budgetary, simple in self-realization and quick options.
Preparing the ceiling for the installation of PVC panels
PVC panels are wide strips that are easily assembled and connected to each other. Thus, they create a single and integral coating of any surface. The seams between the slats when installing PVC panels are made almost invisible, which gives the ceiling an even more beautiful and beautiful appearance, and the variety of patterns and colors of such panels allows to create a unique design of not only the ceiling cover, but the entire room.
So, if you are going to make the installation of the ceiling from PVC panels, then first you need to do the preparatory work, that is, build the frame of the future ceiling, which will then secure the plastic bars.
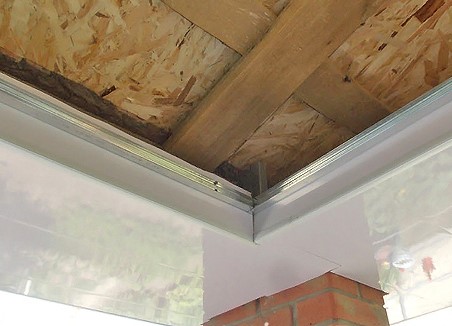
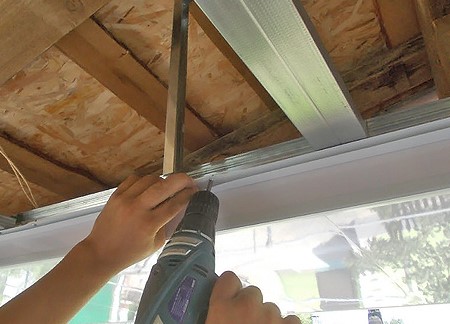
- It is best to build a frame for mounting the PVC ceiling with one's own hands made of a metal profile intended for fastening plasterboard. It has the appropriate characteristics of rigidity and wear resistance. But the use of wooden racks (as some masters do) in this case is not very suitable, since they can deform when the humidity in the room changes, as well as rot and deteriorate more quickly. To build a skeleton it is necessary, being guided by indications of a level that the ceiling has turned out equal. On all four walls, a metal profile is fixed under the ceiling at a predetermined height. To the ceiling the profile is fixed either with self-tapping screws for metal or special dowels. The distance between the two fasteners can vary from 40 to 60 cm (installation of PVC ceiling 1).
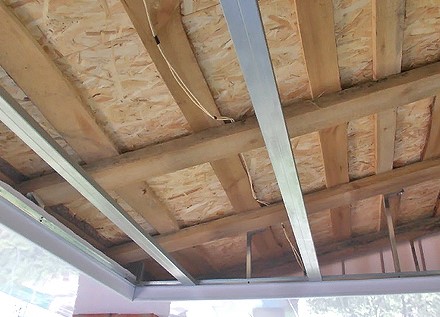
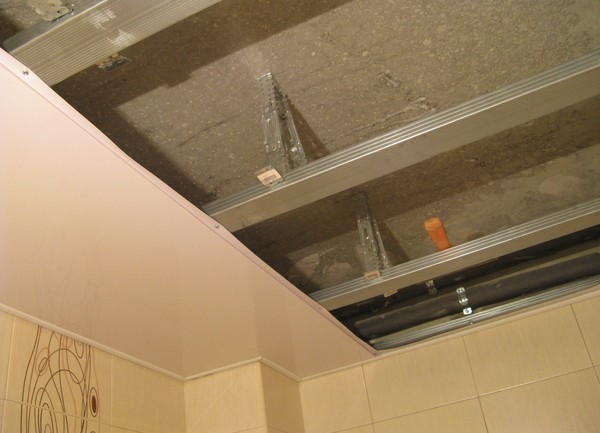
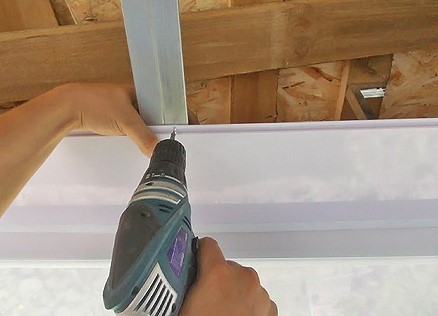
- Now throughout the area of the future ceiling it is necessary to install metal profiles that will serve as stiffening ribs, as well as a surface for fastening plastic panels. The distance between them should not exceed 60 cm. These profiles are installed strictly perpendicular to the direction of installation of the plastic slats specified in advance (it is optimal to coat the ceiling with PVC panels in the direction parallel to the wall in which the window is located, which will make the seams on the material the least noticeable).
- To ensure that the stiffeners do not slack, they must be secured with special suspenders to the existing ceiling. At this stage, the frame for panel mounting is ready.
Installation of suspended ceilings PVC
Now you can proceed to the direct installation of tension PVC-ceilings.
- You should start with fixing to the frame of the starting plate, which will be inserted plastic panels (you can also install the ceiling skirting immediately, but for the layman this will be problematic and can lead to material damage, so it's easier to make the installation with the starting slats, and later, if desired, just glue on the silicone adhesive skirting on top of the finished ceiling). The starting bar is cut along the length of the wall surfaces and fixed with small metal screws to the frame on all walls except the one that will be opposite from the beginning of the paneling.
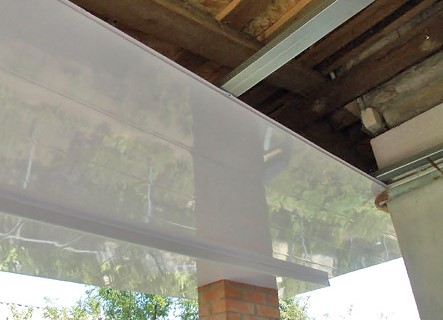
- The first PVC panel is inserted into the starting bar and fixed with screws at the intersections with the metal stiffeners.
- By the same principle, a second panel is attached to it, and then all the others. So all the canvas of the ceiling is collected.
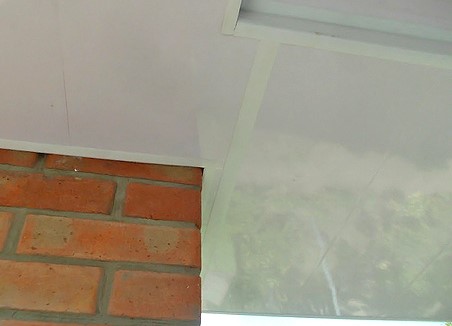
- The last plastic bar is mounted without the starting profile. After that, it is cut from one side and pasted with a silicone adhesive, giving the ceiling of PVC panels a complete look.