Vinyl siding can be safely considered a profitable investment in the future. All the finishing of this kind consists of special vinyl panels and laths approximately 1 mm thick. Installation is extremely simple, such a shell allows you to "breathe" the walls, which inhibits the destruction of the wooden frame.
Horizontal vinyl siding - instructions for installing yourself
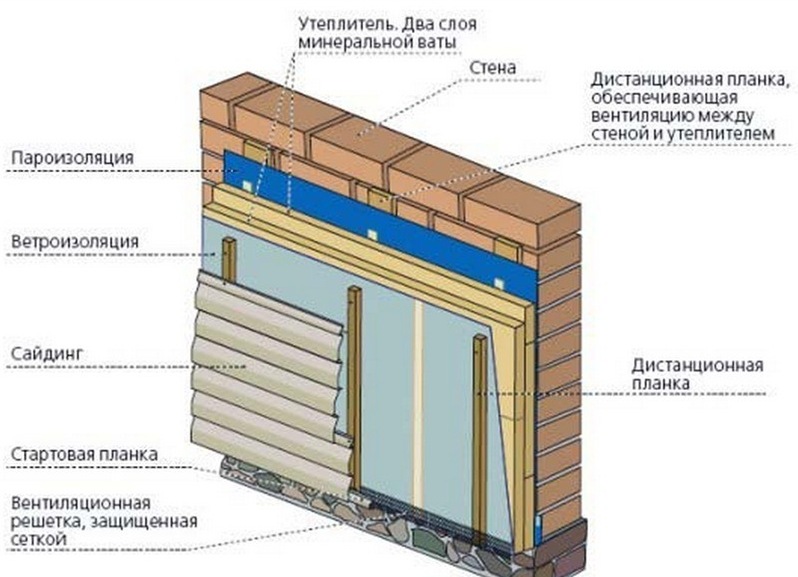
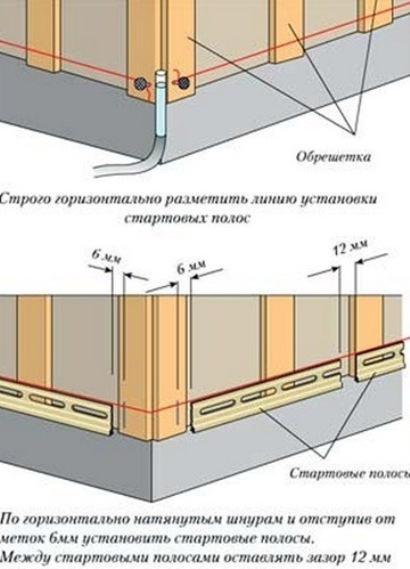
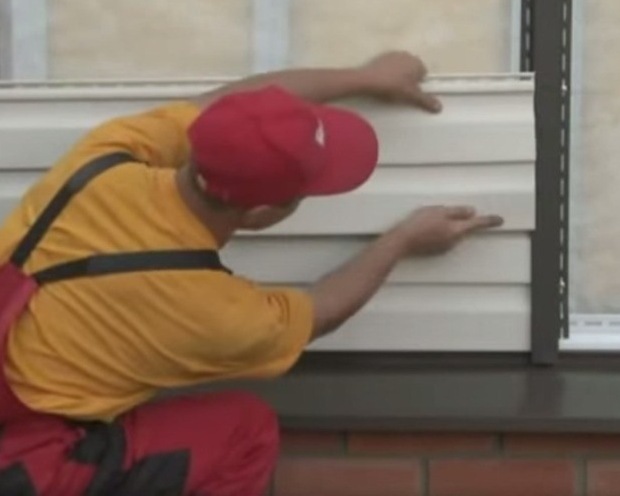
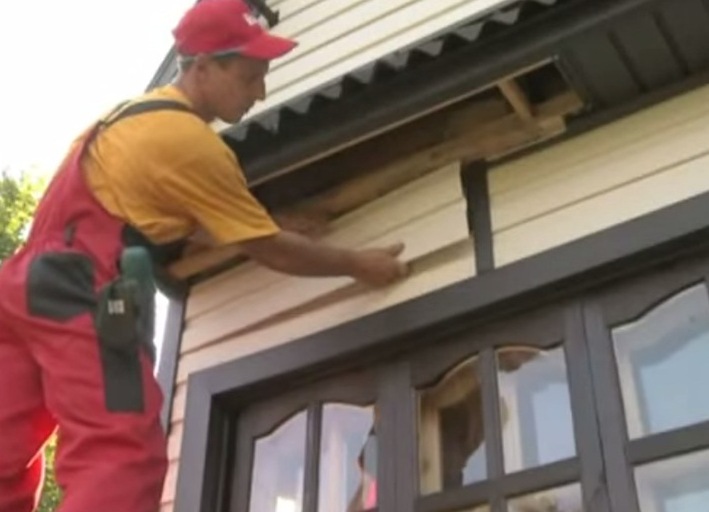
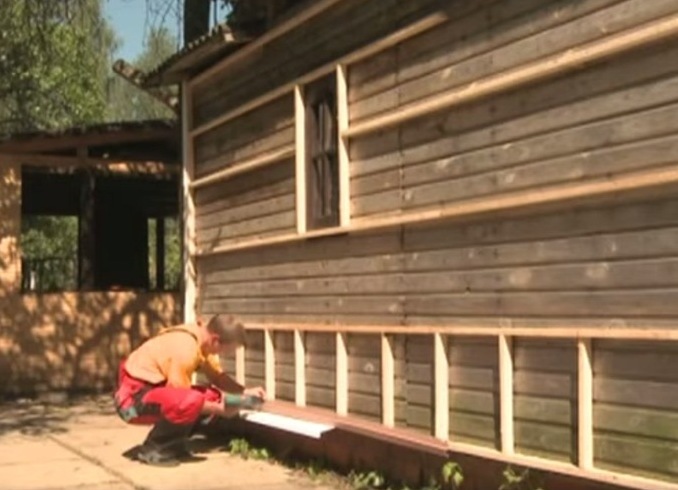
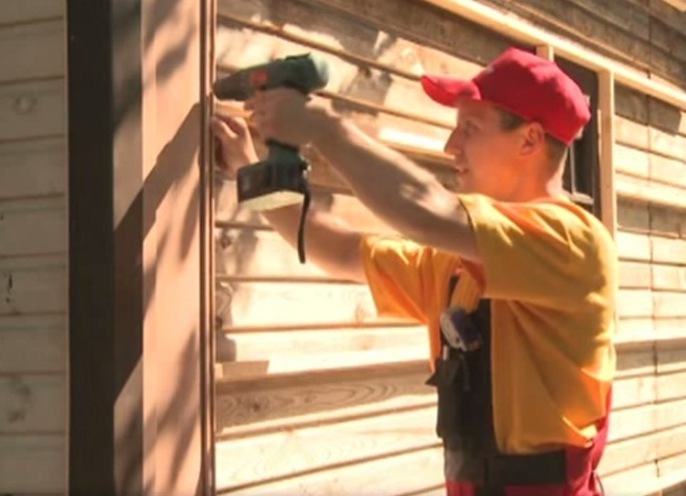
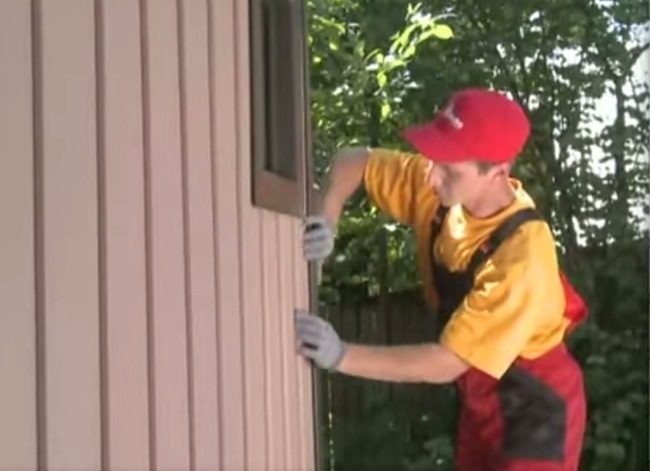
Installation of vinyl siding by one's own hands is possible. The only thing you will have difficulties with is windows, doorways and external objects in the form of pipes. Installation work must begin with the frame assembly. For the battens use metal profiles or wooden slats. If the frame is flat, the stage "skeleton" can be missed. With the help of a plumb and level marking is done. The cladding is fixed to the base with galvanized self-tapping screws. In order for the facade to be made as high as possible, the wall must eventually have the following layers:
When the crate is ready, proceed to fixing the elements of vinyl siding.
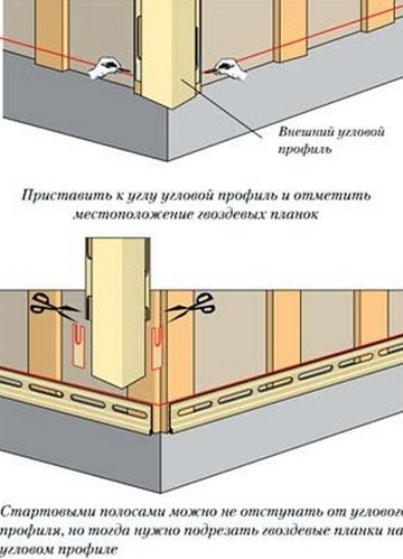
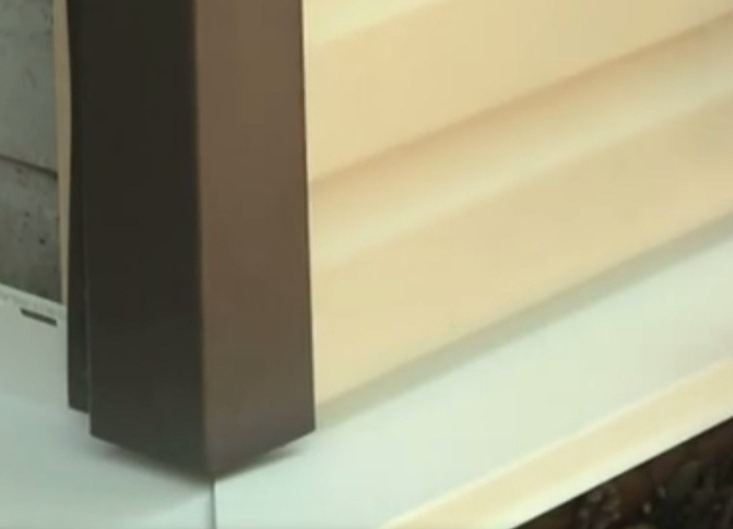
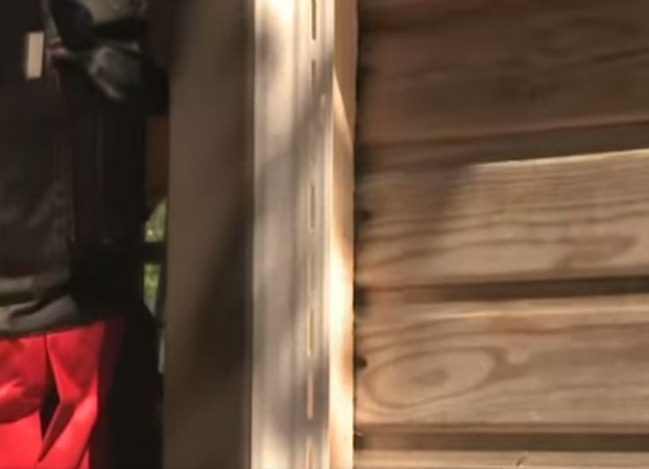
- Horizontal installation of elements must begin with the installation of vertical accessories: corners, H-profiles and platbands.
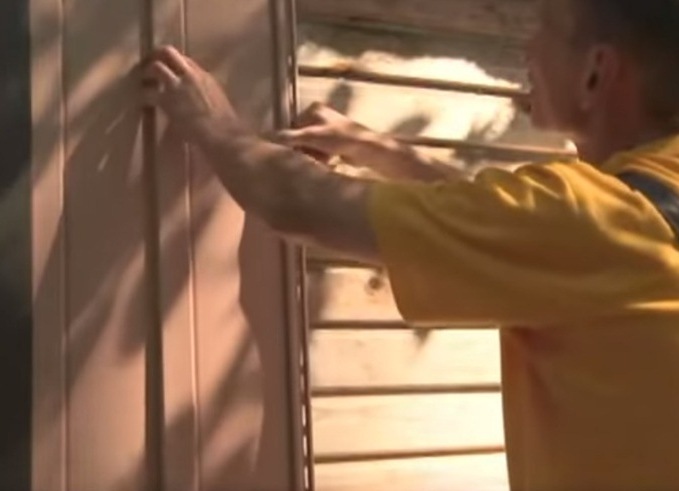
The first panel snaps into the start profile.
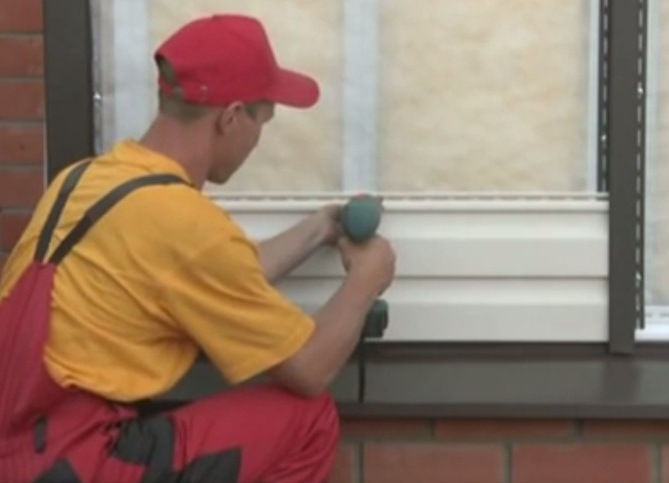
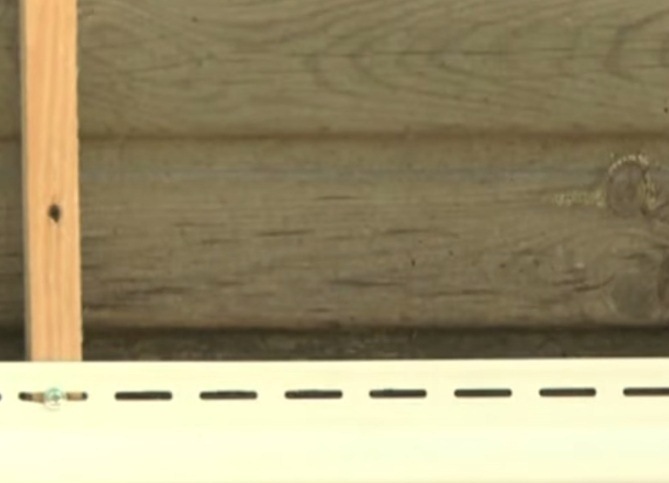
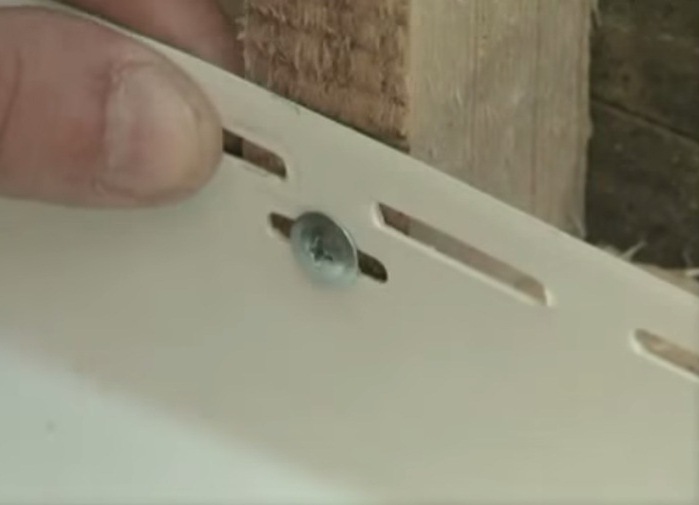
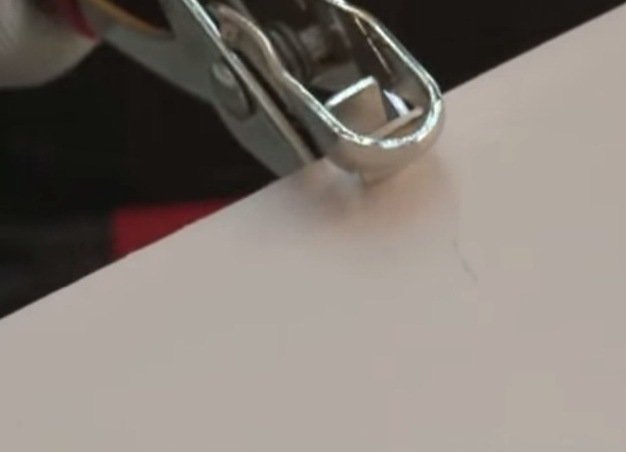
- To fix the element you need self-tapping screws, which are fastened to the crate in steps of no more than 0.4 m.
The correctness of the work is simple: the panel should move along its axis, if necessary, the fasteners are weakened.
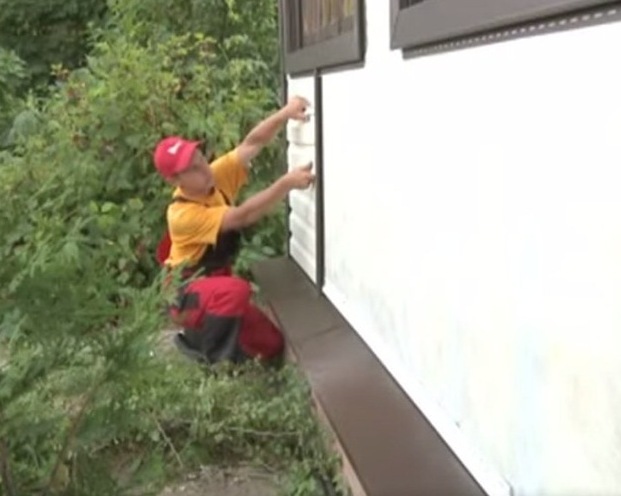
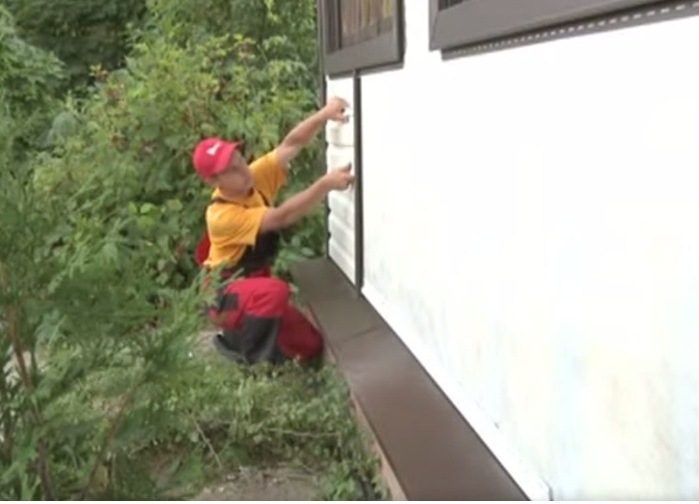
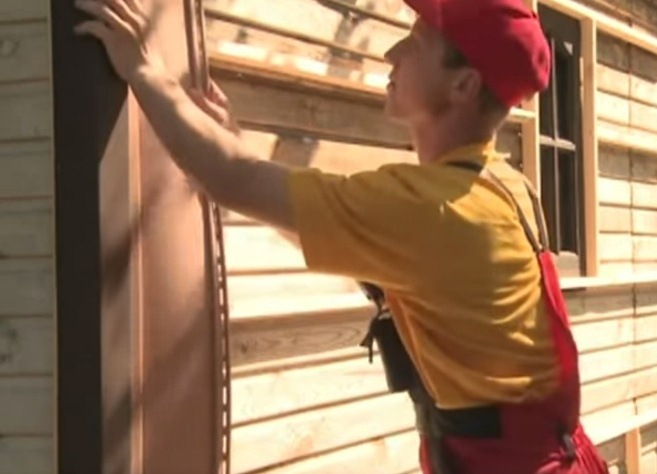
- The next part is inserted into the lock part of the previous panel. Secure it with screws. This process will be repeated until the last panel.
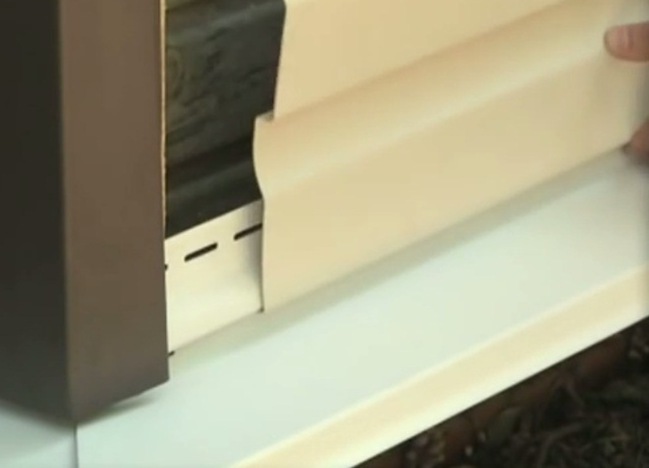
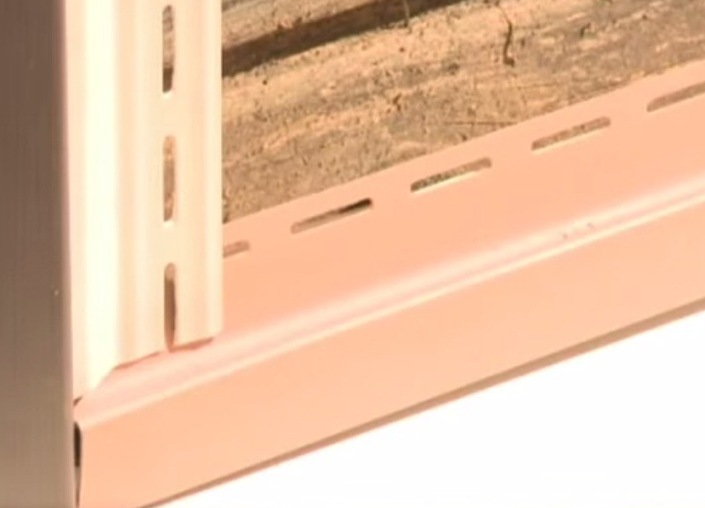
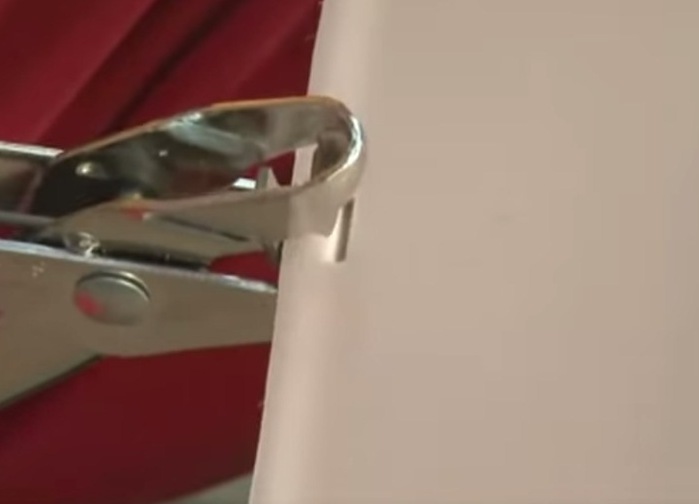
- Under the roof is attached the finish profile. To snap, you need to make a hook on the panel with a punch.
Vertical way of fixing vinyl siding
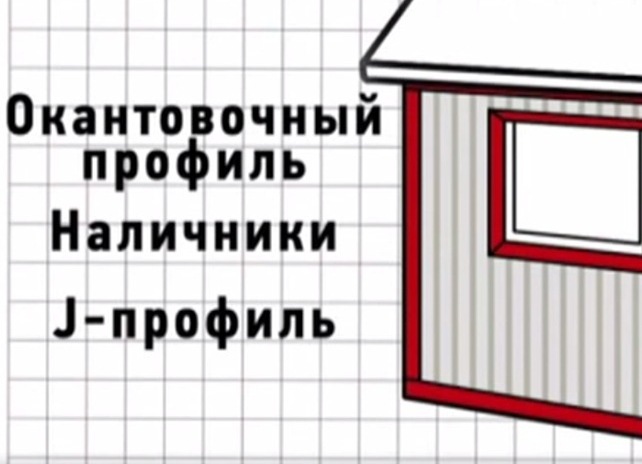
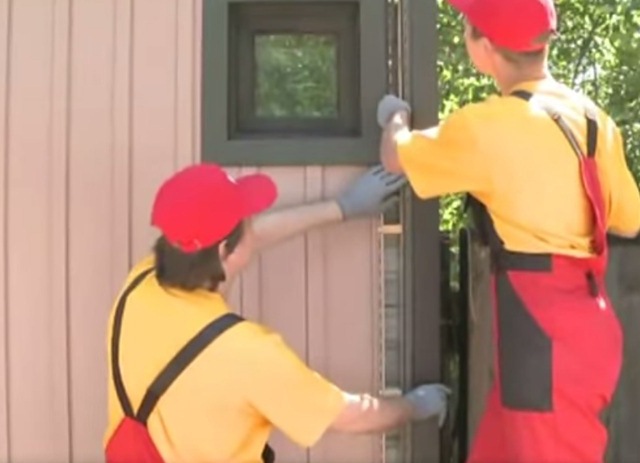
If you opted for a vertical siding method, you should know that its installation takes place between horizontal accessories: the trim profile, the platbands and the J-profile.
- The first is edged. In the corner, where the work starts, the starting bar is set. The panels are cut off at the top to avoid visible unevenness in the lower part.
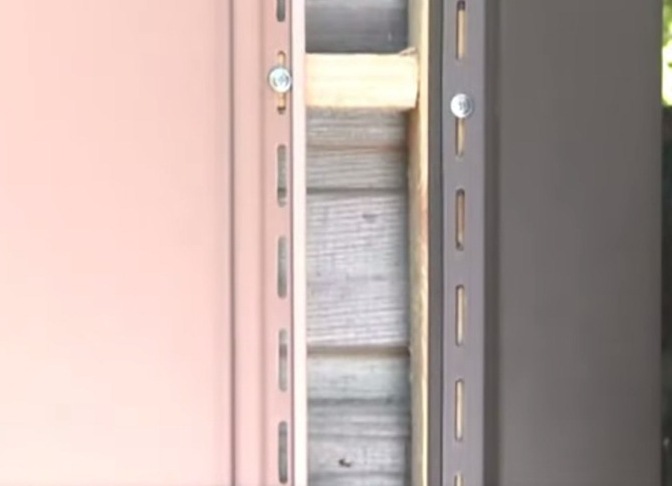
- We fix the first panel in the starting plate and fasten it with self-tapping screws according to the same principle with a step of no more than 0.4 m.
- The second, third and each subsequent element snaps into the lock part with the previous component and is fixed with screws.
- In the opposite corner, fix the finishing strip, the screws in the last two components must go on the same level.
- The last panel should have hooks with a pitch of about 15 cm.
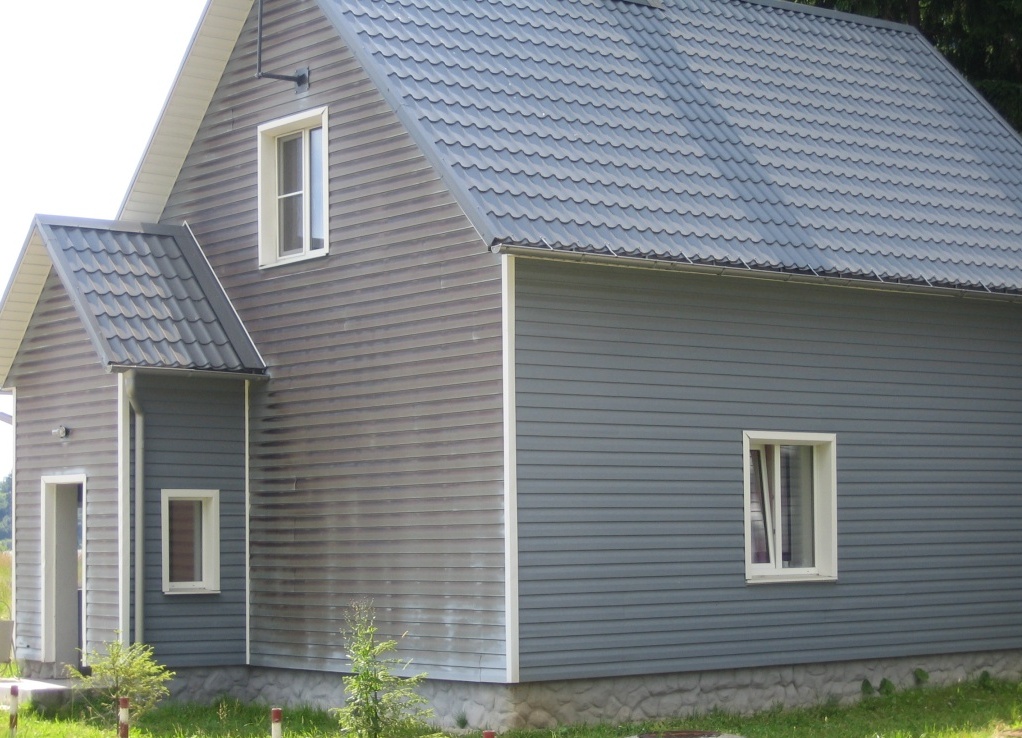
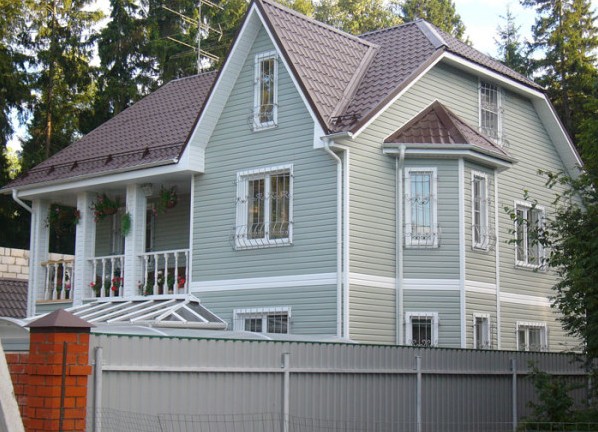
Your house will look like this: