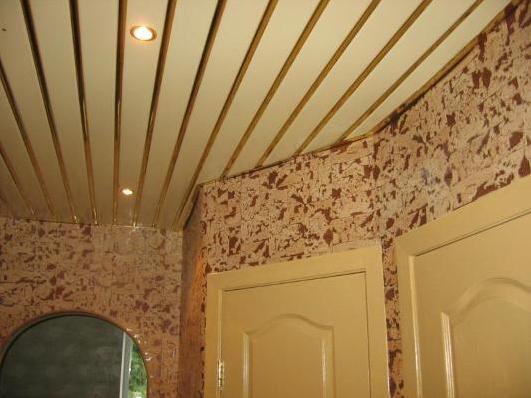
Roof ceilings first appeared in our country in the 90s, but they were then much more expensive than other types of repair, and for this reason they did not receive wide distribution. But over time, the technology of production of this material has been improved, which allowed producers to significantly reduce their prices. Now, the roof ceilings can already be found everywhere in administrative buildings, and in a simple bathroom . And if you carry out the installation of a two-level lath ceiling at home, you can get a work of art in the apartment.
Tools and materials required for work:
- Stringers, profile, suspension panels and all other devices that make up your ceiling kit.
- Impact drill, screwdriver, perforator, electric jigsaw.
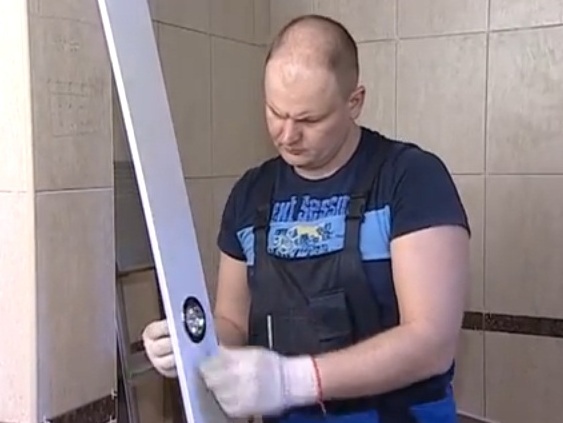
- Building level, rulers, tape measure, marker for marking.
- A set of screwdrivers, pliers, metal scissors, a knife.
- A set of screws and dowel-nails.
- Ladder.
Ceiling Mounting Technology
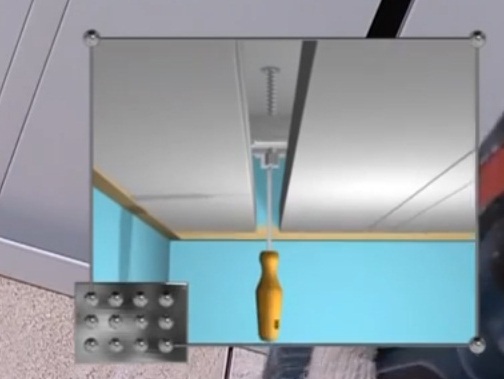
- First of all, we are determined by the choice of the height of your ceiling. It can be arbitrary, but if there are lighting devices, it is necessary to lower it no less than 1 cm below the height of the luminaire.
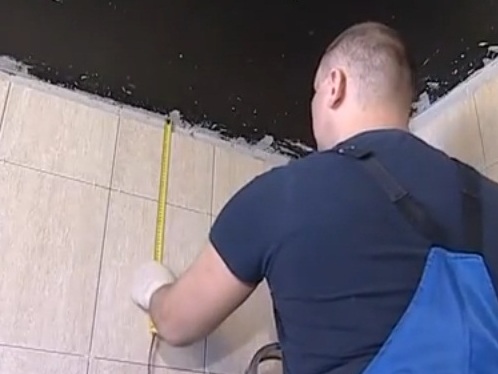
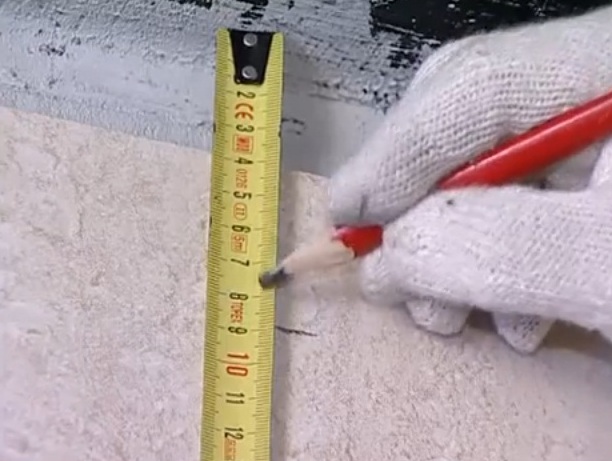
- We make markings around the perimeter of the room, connecting points with a straight line. To do this, use the corners, applying them to the wall. Here, at a given level, the basis of this complex construction will be kept.
- We put marks for future fastening. The marking step is 30-40 cm, but if there is a tile in the room on the walls, you should take this into account so that the labels do not fall on the seam. Otherwise, the ceramic tile may burst.
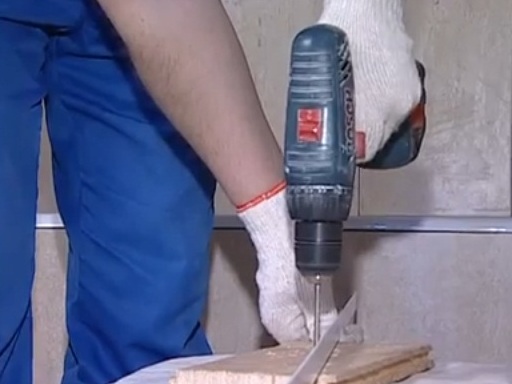
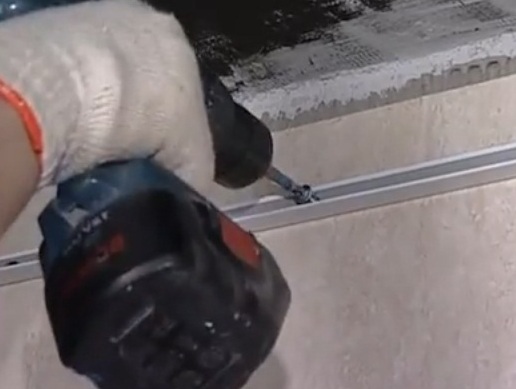
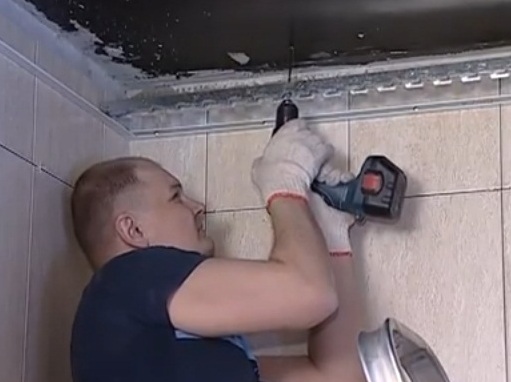
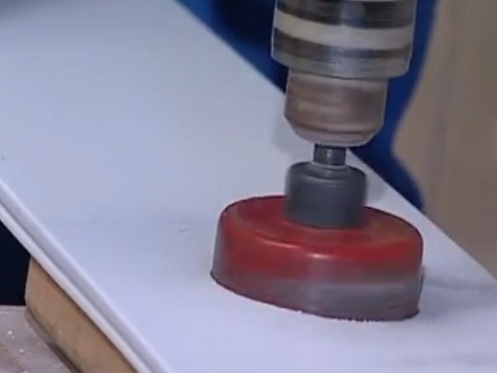
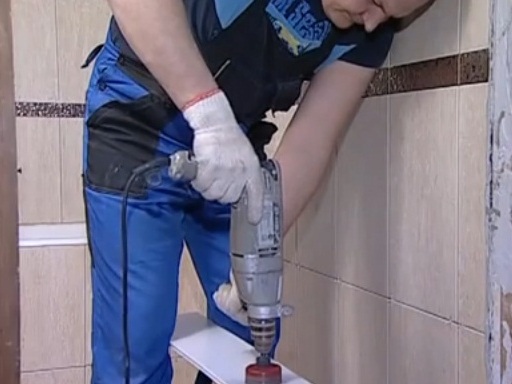
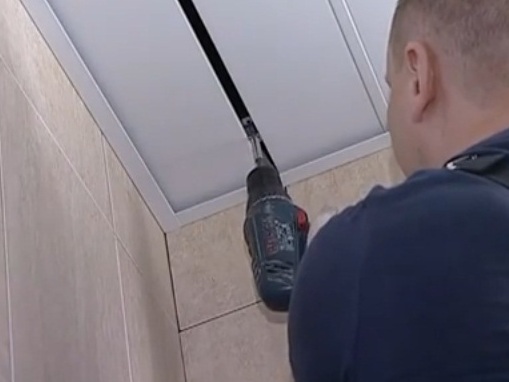
- We drill the slats.
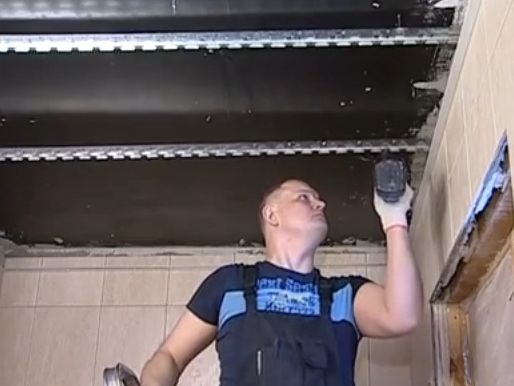
- We make a hole in the walls.
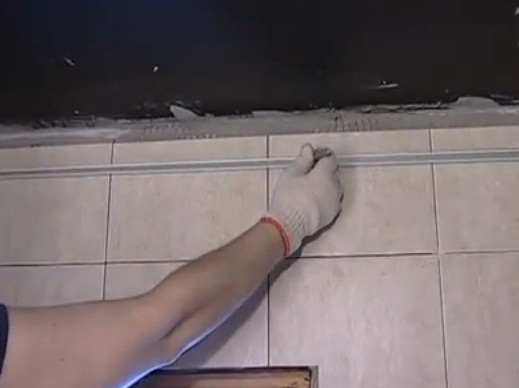
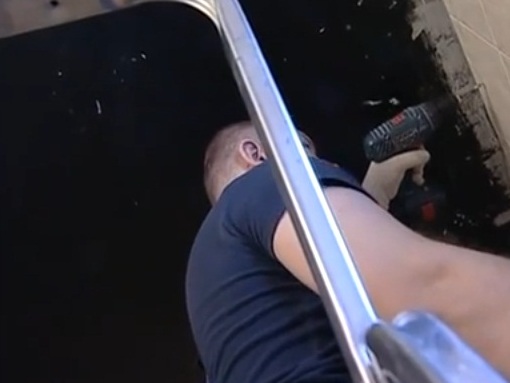
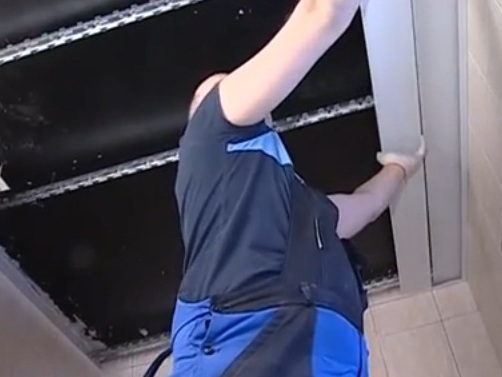
- Corners to the walls are fastened on screws. This is a fairly light material, and it will withstand such fastening.
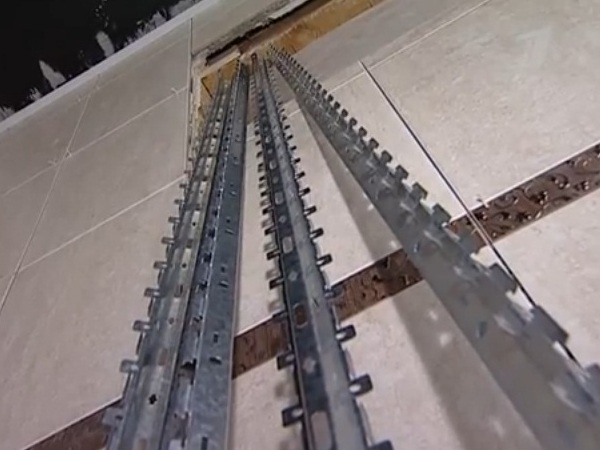
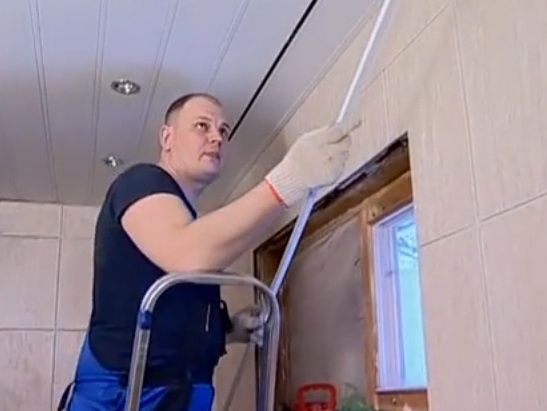
- Further we prepare for work our directing - stringers. They will be needed for us at the next stage of installation of the rack ceiling.
- If the bathroom is small, up to 5 square meters, then only three stringers are enough. The standard distance between them is 70 cm-1 m. But it is better to put another additional bar, which will add extra strength to our design.
- To the ceiling does not hang, it is better to retreat a little from the wall - about 10 cm.
- With the help of a drill and a cap, make holes for the lighting fixtures.
- Do drilling as carefully as possible, so as not to damage our bars.
- Immediately insert the fixtures in the grooves.
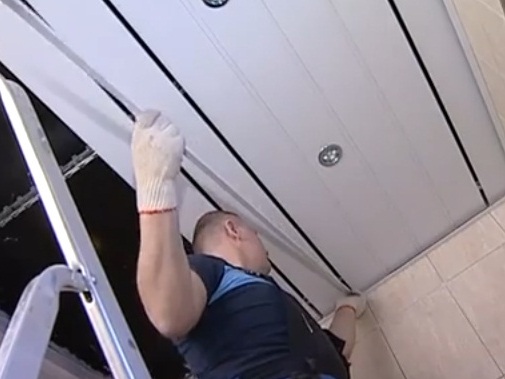
- We start fixing the panels. They are inserted into the stringers to a characteristic click, indicating that the edges of the rails are securely fixed.
- Gradually insert them one after another, filling the ceiling space.
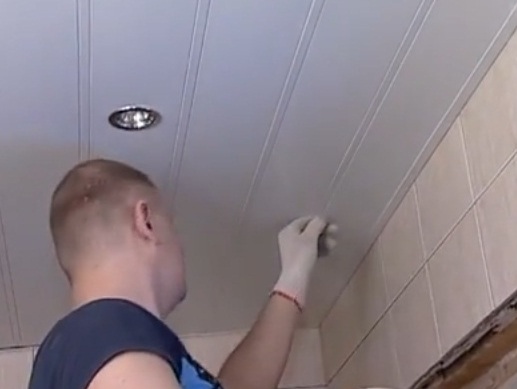
- The panel, which turned out opposite the fastening of the stringer, is set last.
- Adjust the height of the ceiling.
- You can do this with a screwdriver or a conventional screwdriver.
- We fix the remaining rake.
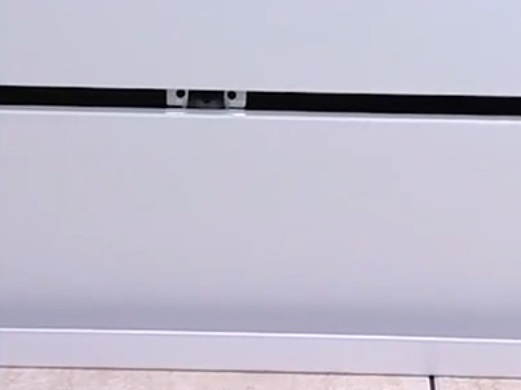
- We check the quality of work. If the installation of plastic or aluminum lath ceiling is made correctly, then for a decade or two, you can forget about the repair.
Where is it better to mount an aluminum lath ceiling?
Everyone knows that aluminum, unlike plastic, refers to non-flammable materials. This allows you to use this type of decoration on staircases and other possible ways of evacuating people. If you use it in the kitchen, you will be absolutely sure that the low ceiling above the stove will not be affected by the heat. It is also not afraid of increased humidity, which makes it possible to widely use aluminum lath ceilings in halls, baths, swimming pools and vestibules. In addition, such a surface is environmentally friendly, does not emit harmful fumes, and it can be cleaned with any detergent.