What used to decorate only the temples, medieval castles and royal palaces, nowadays it began to appear in the dwellings of a common man in the street. New inexpensive materials imitate marble, expensive wood, elegant stucco molding . Not surprisingly, the wall painting also began to attract the eyes of many people. There are two main ways of drawing a drawing on such a surface - painting on a wet or dry plaster. The first method is very interesting, but more complex. The fact is that the painter's work time is limited by the drying time of the surface. If something goes wrong, then it will be extremely difficult to fix the defect. Most likely, you have to delete the failed fragment of the picture. Therefore, consider here the second method, which is easier to implement in practice at home - drawing a picture on dry plaster.
Technique of painting on dry plaster
- For this type of artwork, lime, oil, wax paints made on a mineral basis have always been used. You can buy new, more resistant dyes - these are materials based on PVA or casein-oil emulsion. Some artists choose acrylic paints, matte or glossy. They dry very quickly, which is not always convenient, but subsequently form a strong protective layer, which protects the image from moisture and sun. There are special compounds that imitate mother-of-pearl, patina, cracking, creating a glow effect in the dark. Also worth paying attention to the coating waxes and varnishes that can change the appearance of the painting for the better and protect it from various damages.
- Before painting on plaster, create a sketch. Determine the scale of our composition, draw it on paper and split it into squares. So it will be easier to transfer the image to the wall, so as not to be mistaken and not to alter the complex work in a new way.
- Align the surface of the wall, remove traces of whitewash, wipe any irregularities, make your future "canvas" smooth.
- Here you can not do without priming, which makes a calcareous test and composition based on casein glue. The composition for the primer may differ slightly depending on which paint you choose for work. Produce it usually in three stages, each time drying the surface.
- We break up our "canvas" into even squares. This work can be done in several ways - to draw out the marking with coal, to stick on labels a paint tape, a thin thread or twine. If the drawing consists of large elements, then transfer all the main starting points to the wall using a large ruler.
- Carefully begin to draw out the outline of the composition, using drawing charcoal or sepia.
- In the process of working, constantly correct the image, so that everything looks as much as possible proportionately and harmoniously.
- When you start working with color, it is better to first take dark color tones, to white elements you should go only at the end of the work. Begin drawing from the periphery, gradually moving to the center of the composition.
- Appreciate your work as a whole, maybe it's better to work something out once more, as long as there is such an opportunity.
- At the final stage we cover the painting with varnish or other protective layer.
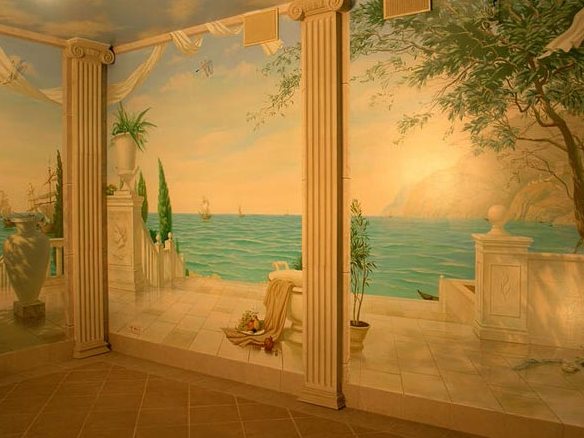
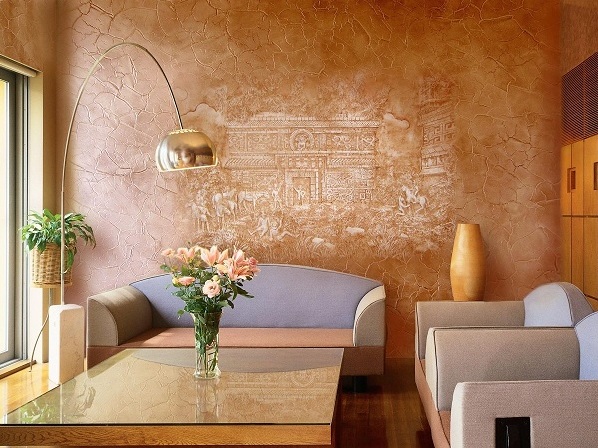
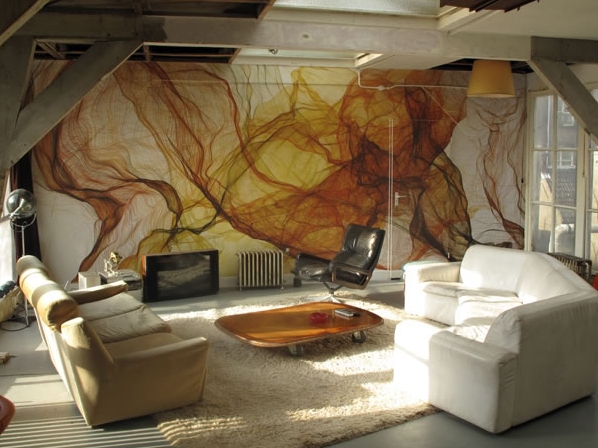
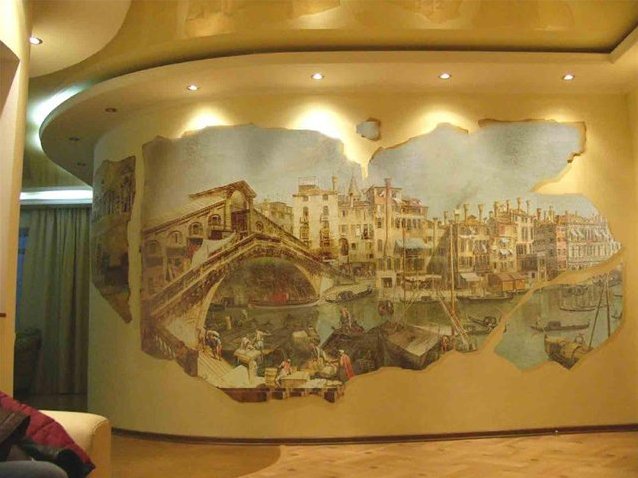
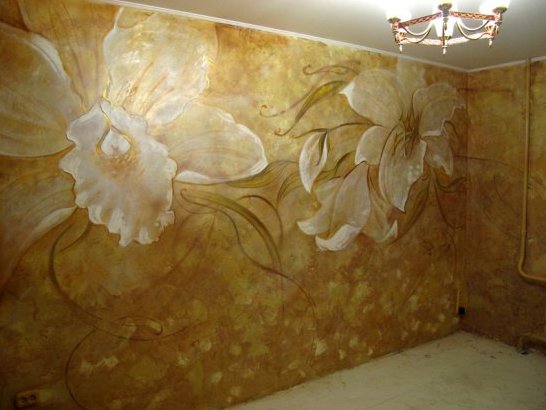
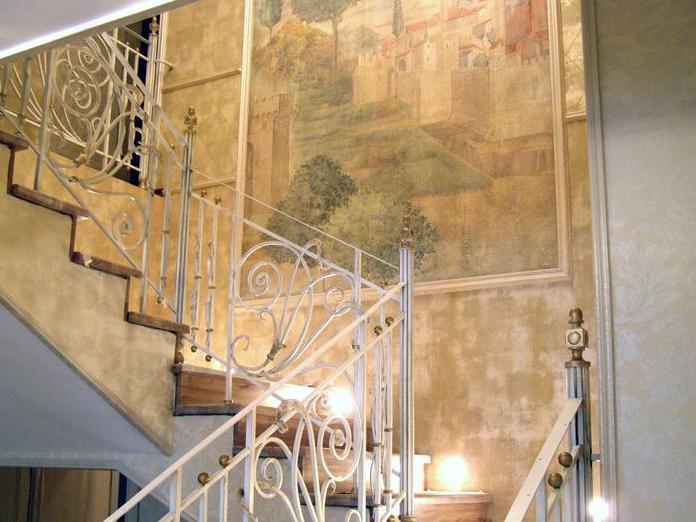
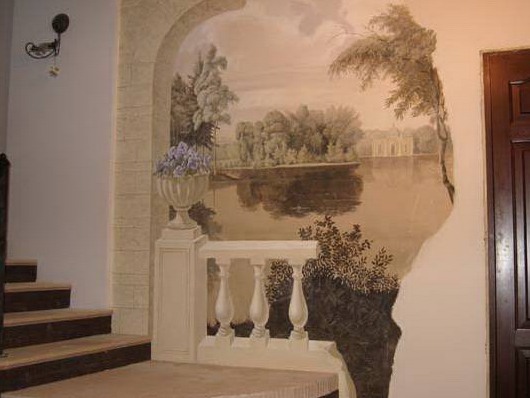
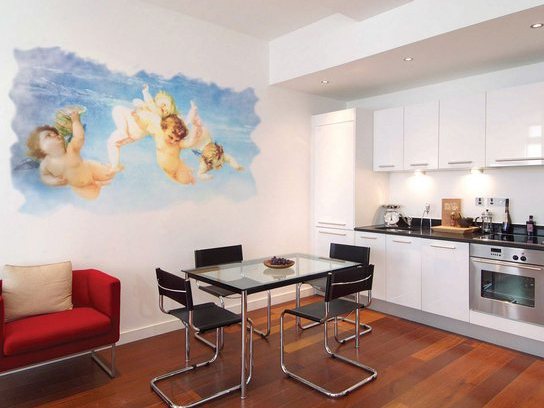
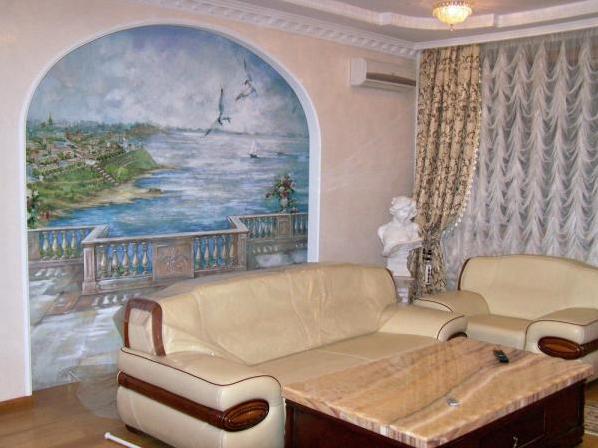
Undoubtedly, dry plastering of walls, with artistic painting applied on it, will perfectly decorate your house. But you need to choose the right drawing to fit in the classic or modern interior, and did not look ridiculous here. Depending on this, choose a landscape, an abstraction, a drinking theme, a mythological plot, or something else. Remember that the original fresco can completely and unrecognizably change the look of your room.
| | | |
| | | |
| | | |