The process of wall finishing with ceramic tiles is long and requires some skills. However, in most cases, almost everyone cope with this. Cladding of internal walls with ceramic tiles is the most popular kind of decoration in kitchens, in bathrooms and balconies . We offer to consider in detail the process of ceramic cladding.
Facing with ceramic tiles
Preliminary it is necessary to level the wall and apply a layer of soil to it for better adhesion. Once the wall is completely dry, it is possible to embed the tiles with ceramic tiles.
For work we need the following materials and tools:
- of the consumables used by the tile with a special glue, crosses and a fugue (for processing seams between tiles);
- level with a tape measure;
- spatulas (dentate, plain, rubber);
- Drill with drills and special nozzle;
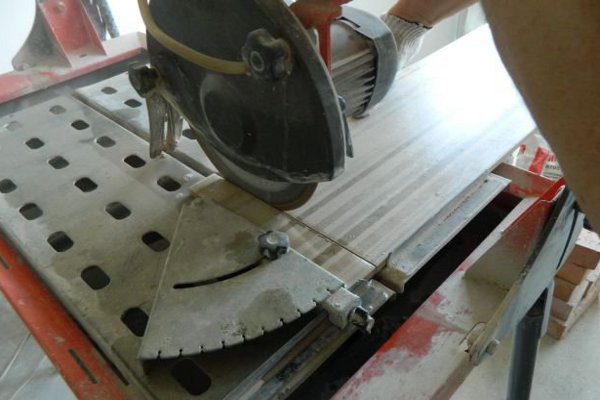
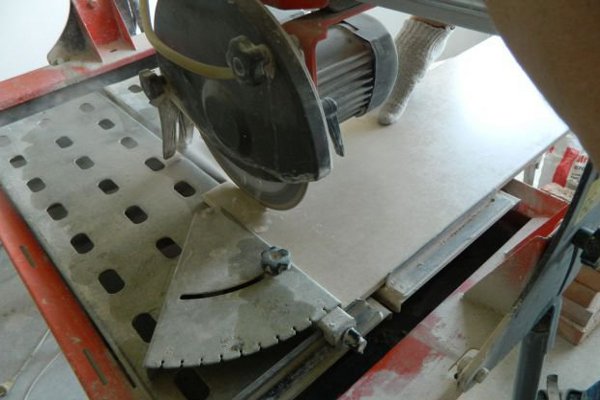
- tile cutting machine;
- rule;
- Roulette with a pencil and ruler;
- a rubber hammer and a trowel.
Now let's look at the step by step process of facing the walls with ceramic tiles.
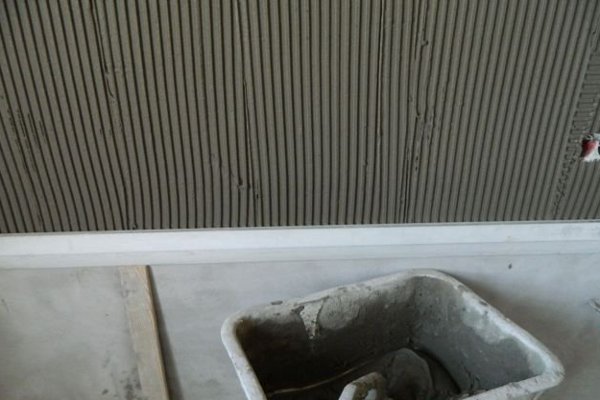
- The first stage is to prepare. Using a laser level, a horizontal line is beaten. It is located at a distance of 85 cm from the floor. On the line, either an aluminum profile or a wooden rail is attached.
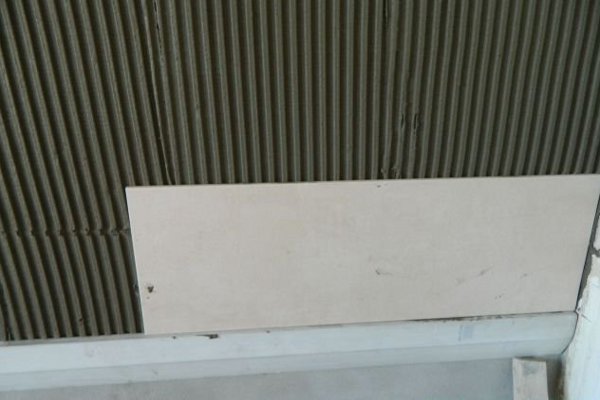
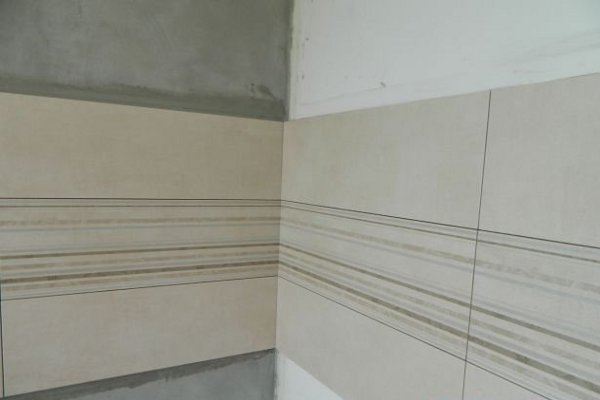
- Laying ceramic tiles for interior lining will begin with the so-called red corner: the most prominent place is decorated with whole slabs, the corners are cut.
- Pour the mixture for the tiles into a bucket of water and stir well. In the adhesive composition there should be no lumps or air bubbles. After the preparation of the solution, it is necessary to allow 15 minutes to brew.
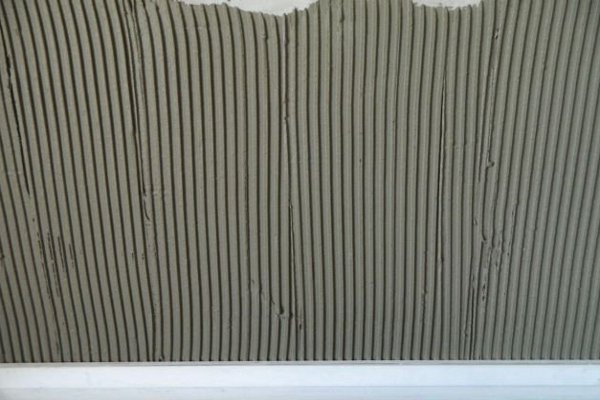
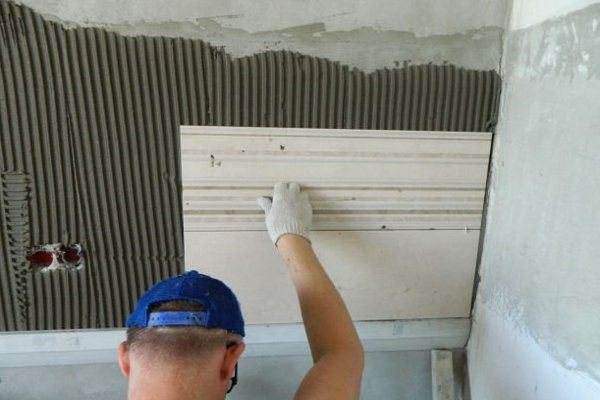
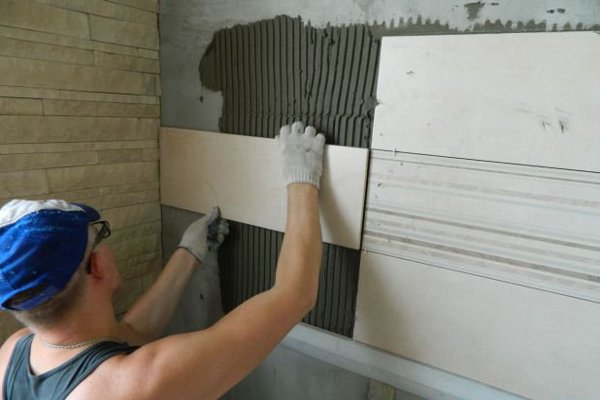
- With a special notched trowel we will apply the mixture on the wall.
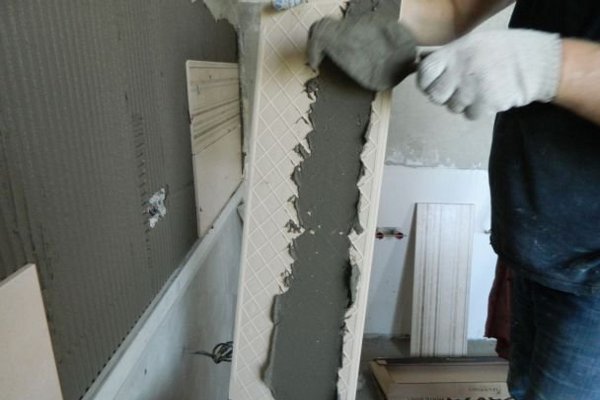
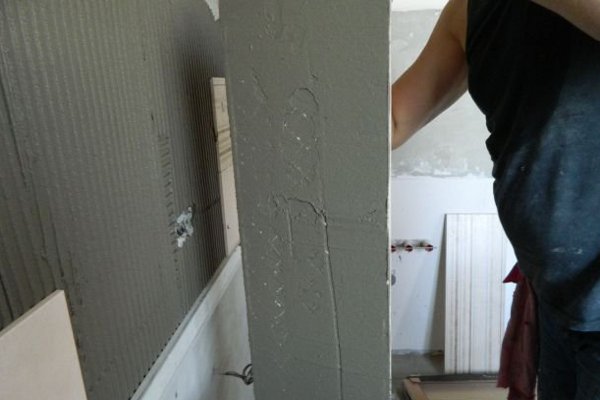
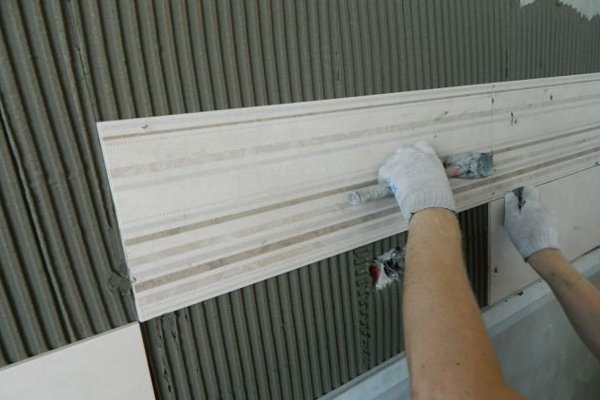
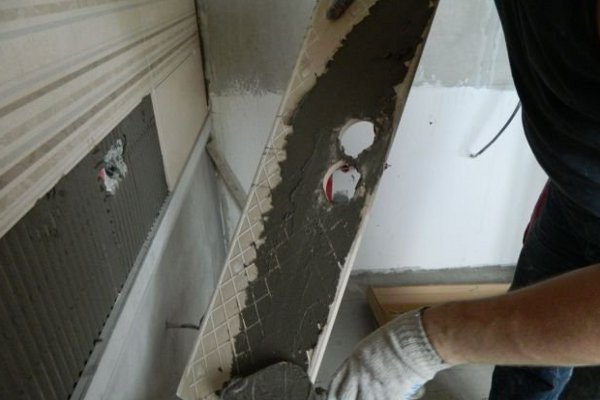
- On the tile, the adhesive composition is applied with a conventional spatula. Then apply the workpiece to the wall and tap it with a rubber mallet. This is necessary to remove excess air, then the tile tightly mesh with the wall.
- From below we have a rule. The first tile should lean on it.
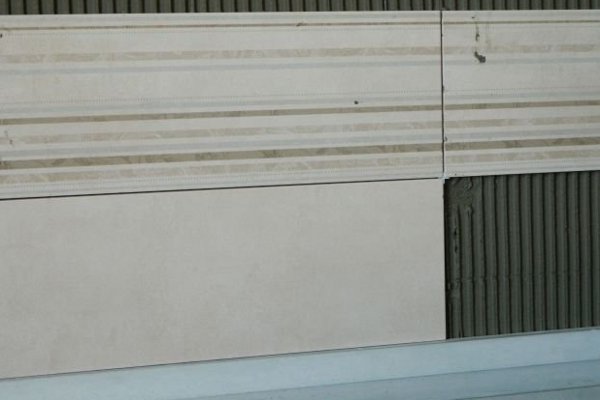
- After installing the tiles, insert the crosses.
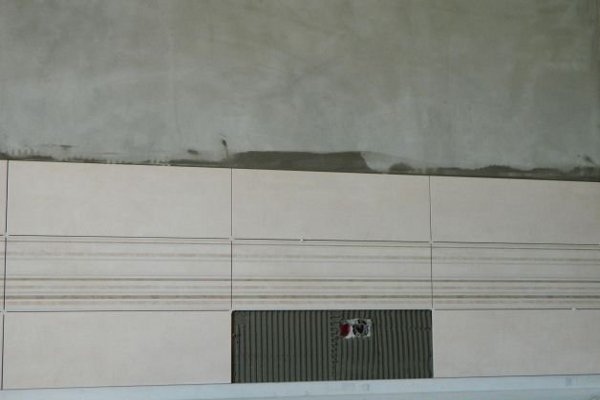
- In place for the next tile is an outlet. We skip this step and put the whole through the necessary distance.
- Ensure that no voids are formed on the tile after the mixture has been applied. Each time we control its level in the plane.
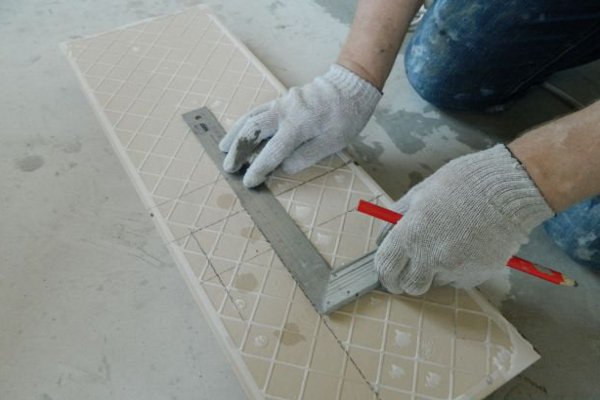
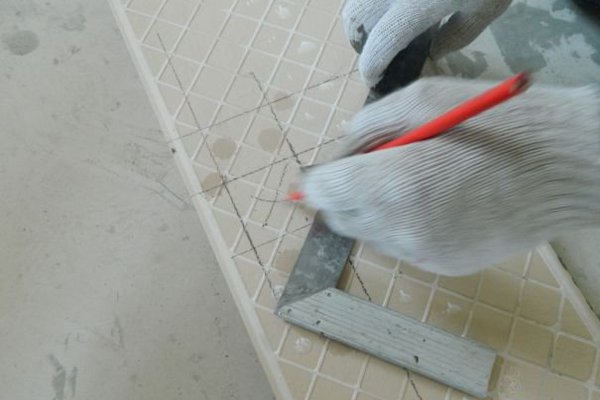
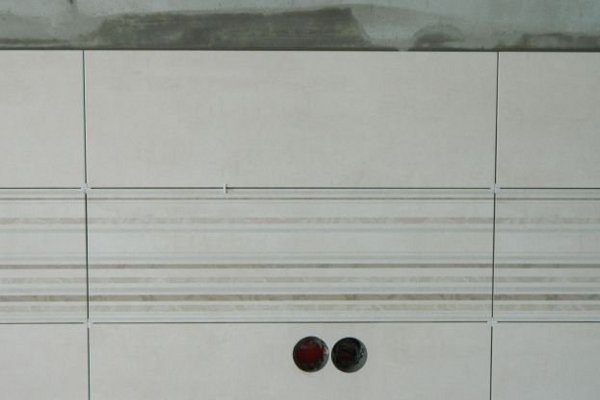
- The main part of the lining of internal walls with ceramic tiles is completed. Now we have got to the corners, where the slabs have to be cut.
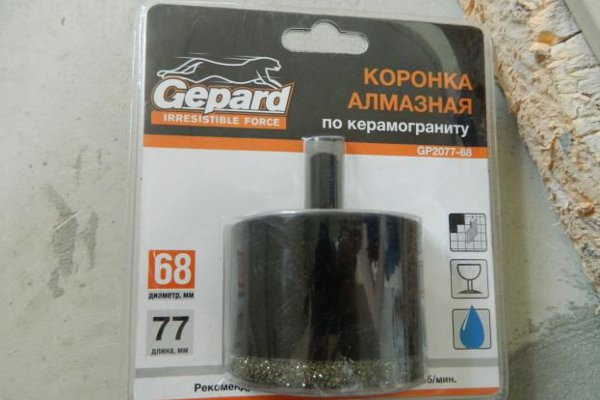
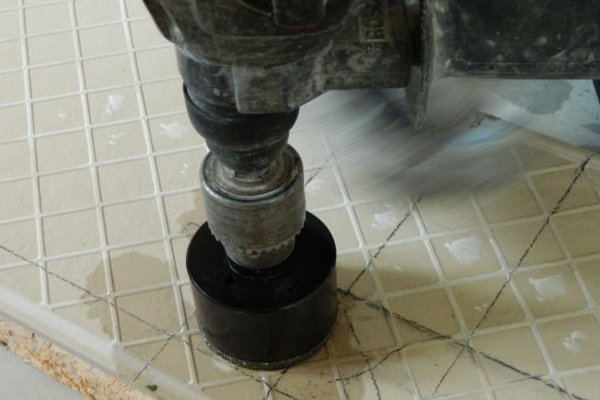
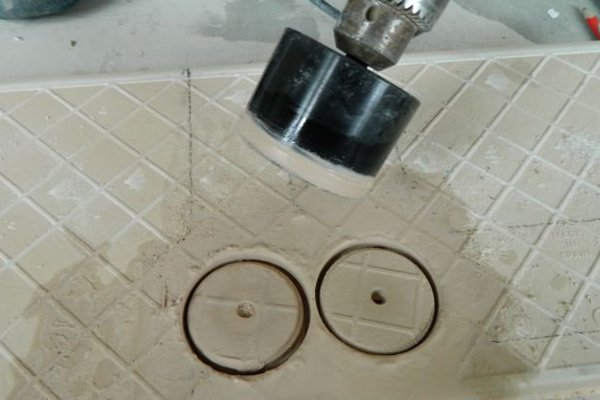
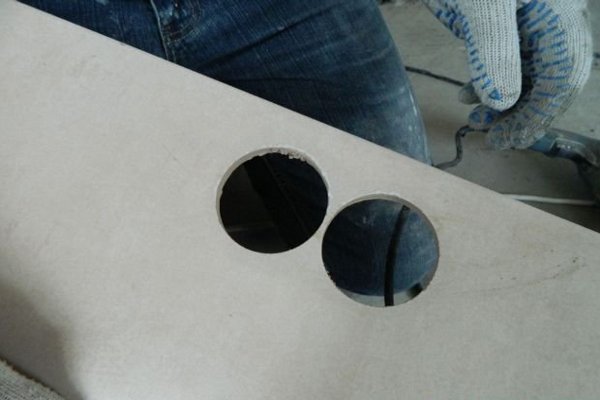
- We return to the holes for the sockets. These holes will be done with a drill with a special diamond crown.
- In the usual way, we fix this tile in its place.
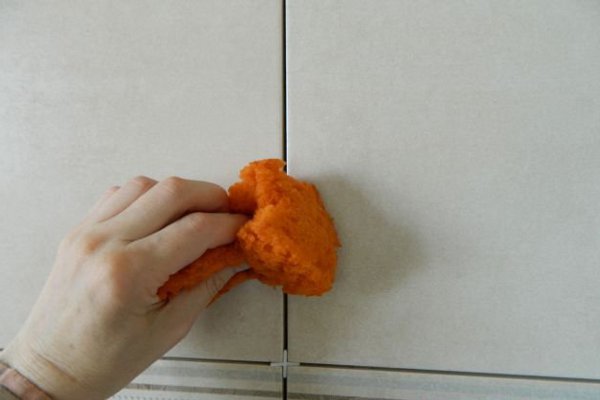
- The finished masonry should dry out in about a day. At this stage, all the crosses are removed. Further, the fugue is diluted with water in the indicated proportions. Apply it between the seams with a rubber spatula.
- A soft sponge is moistened with water and wiped off excess.
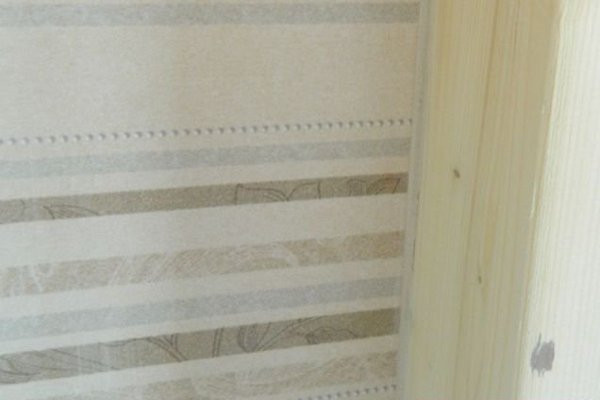
- Similarly, work the joints between the tile and other types of wall finishing indoors.
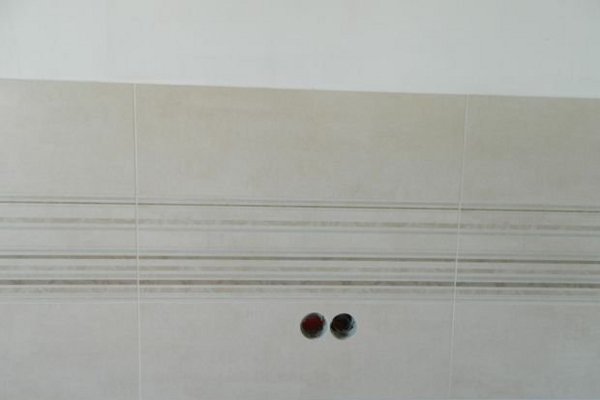
- This is a very satisfactory result, you will receive with careful observance of all indications on the packaging of consumables and correct calculations.
Cladding of walls with ceramic tiles is a fascinating process. Your task as accurately as possible to calculate the consumption of tiles, as well as carefully check the horizontality of all the lines. The only thing that can become an obstacle in work is the need to purchase some tools. In the rest everything is quite realistic to master yourself and after the first time even in the head does not come to resort to the help of a specialist.