Very often people use their balconies not entirely rationally. They can not think of anything better than to make them unnecessary trash and old things. But here it is quite easy to make a cozy rest room, quite warm and with a wonderful view. Many are limited to simple installation of new double-glazed windows, but this is not enough to turn this place into a picture. It is necessary to make some more work before you can fully enjoy the results of your work in the form of a beautiful and functional balcony interior .
Types of building materials that take for cladding balconies:
- lining made of natural wood;
- plaster;
- plastic lining;
- PVC panels;
- ceramic tile;
- wall plastering with plasterboard.
All listed materials have their advantages and disadvantages. Repairing the balcony with cement or lime plaster with their own hands will not create that comfort, as when the walls are covered with wood, but the work in this case will be much cheaper. Plastic lining is easy to install, has many different shades and everything can be done in a short time. PVC panels have good resistance to shocks, do not change color and are well washed. Gypsum cardboard will create an absolutely flat surface, which can then be trimmed from above with any material (wallpaper, tiles).
Stages of repairing an open balcony with your own hands
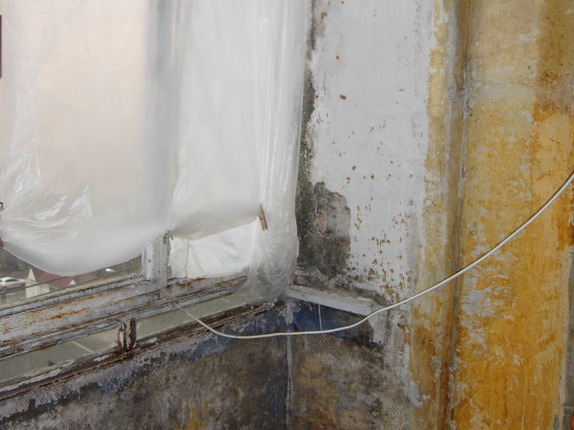
- We tear off the old wallpaper , if there are any, to expose the concrete walls and parapet.
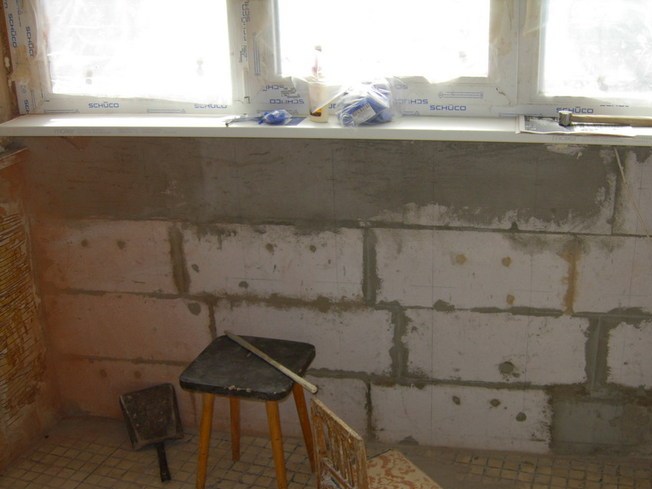
- We erect the parapet, using foam blocks as the material.
- We change old frames to new high-quality double-glazed windows.
- All irregularities are eliminated using an electric tool.
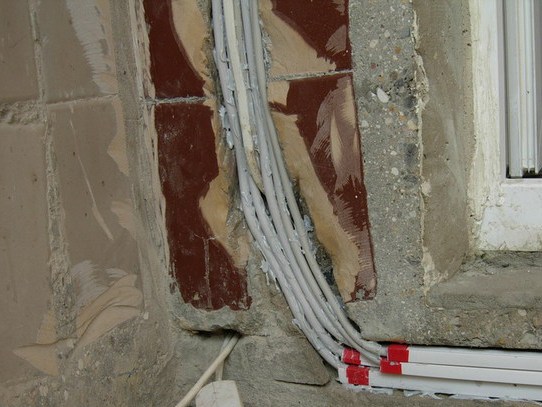
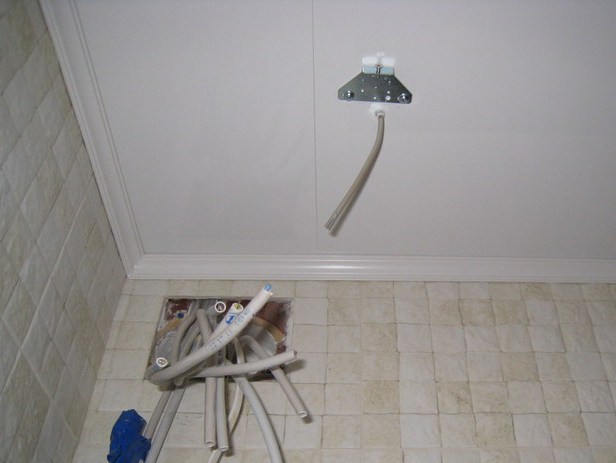
- We make with the help of a perforator the recesses for electric sockets, switches and junction boxes. We perform shtroby in which we will lay the wires.
- We lay wires on the executed grooves.
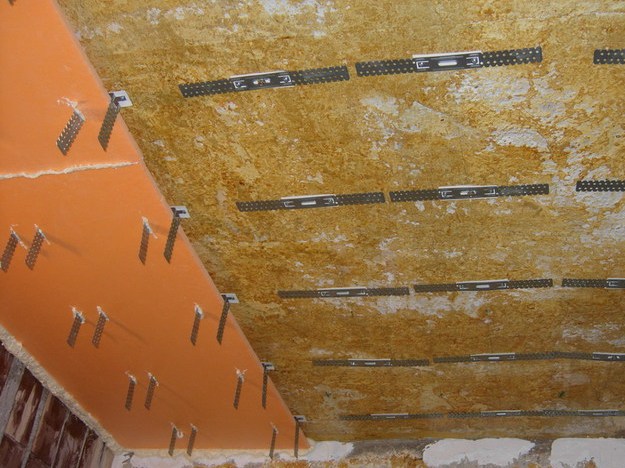
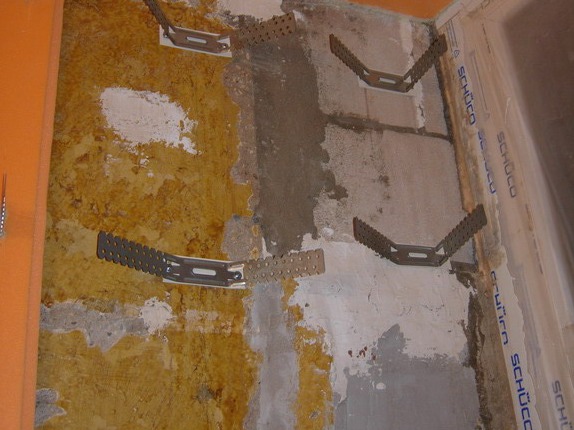
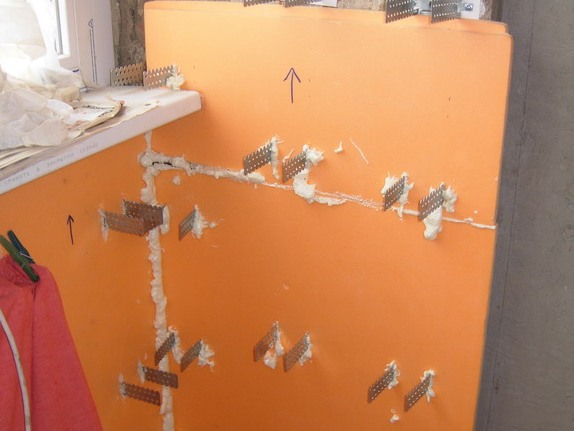
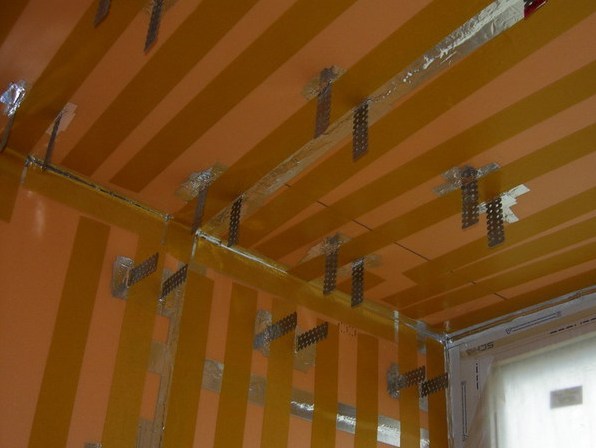
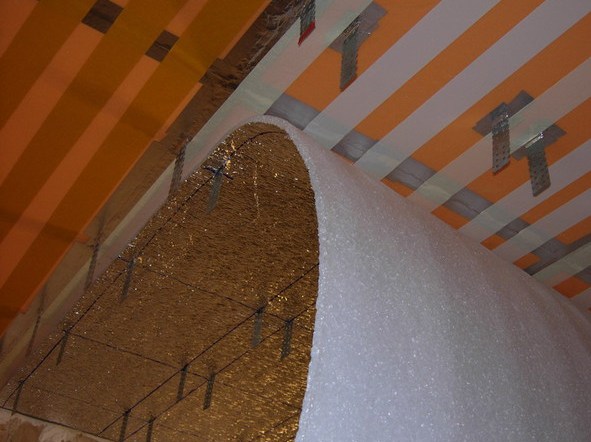
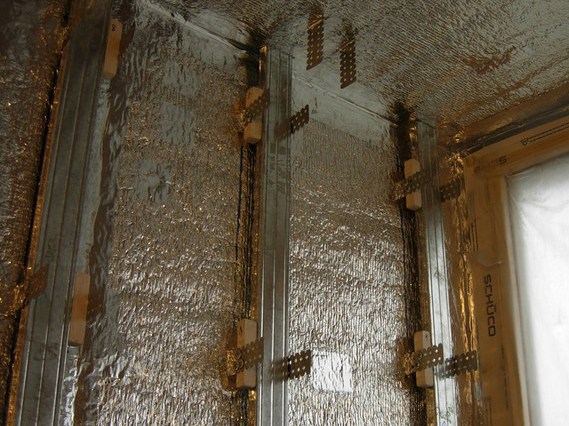
- We fix the suspension to the ceiling and install polystyrene plates through them.
- The same is done for the warming of the walls.
- Seams between the plates are filled with foam and sealed with aluminum tape.
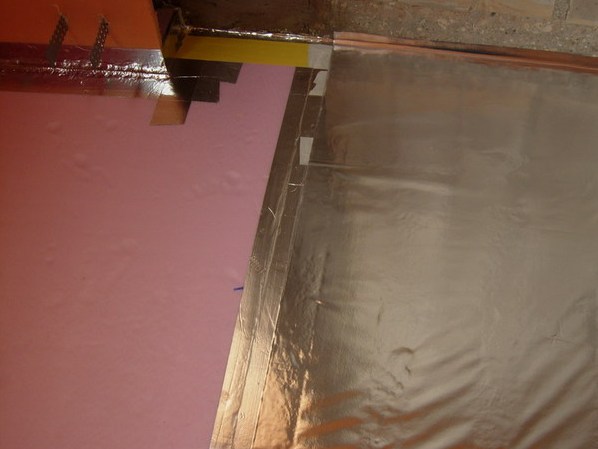
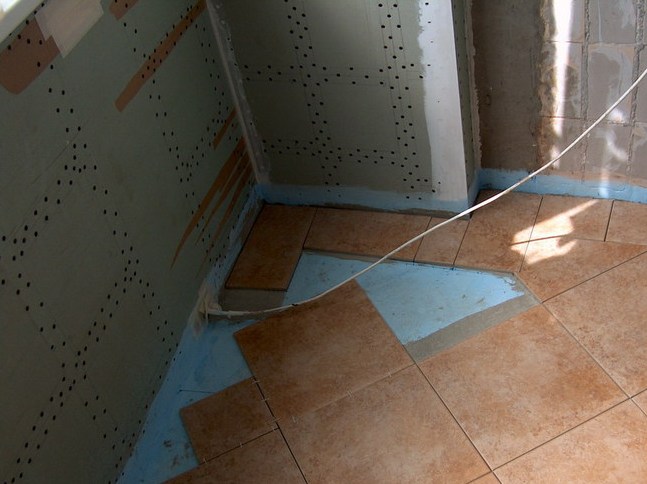
- We glue a layer of vapor barrier, using double-sided adhesive tape, covering the entire surface of the floor.
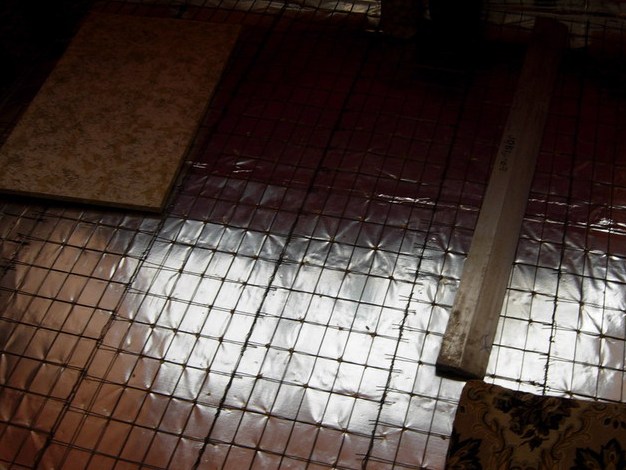
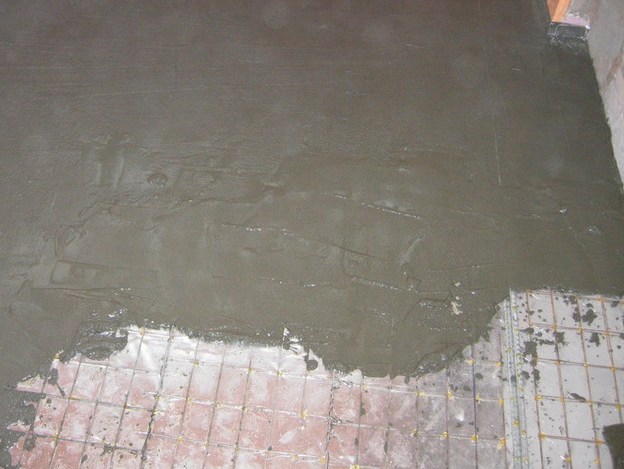
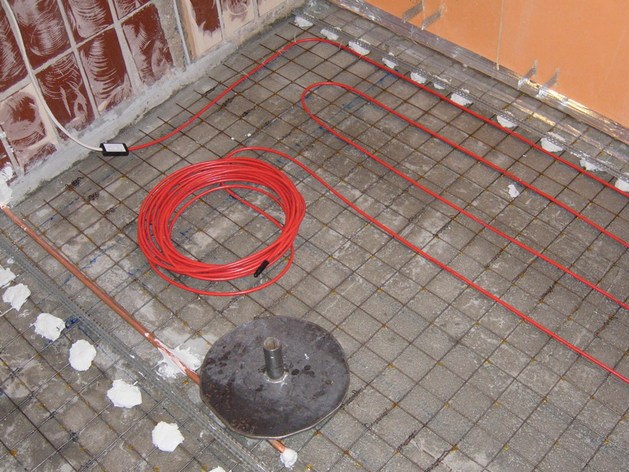
- From above we settle the reinforcing mesh and put the beacons.
- We make a coupler.
- On the floor we settle the cable of the warm floor. Fill it with the final layer of screed.
- The floor was flat.
- On the walls of the adhesive strip of double-sided scotch tape.
- We fix the strip of thermal insulation.
- To the suspensions we attach metal profiles, creating a frame on which the future facing will be fastened.
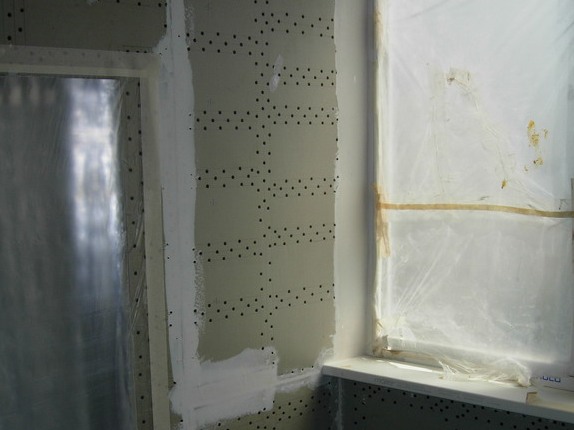
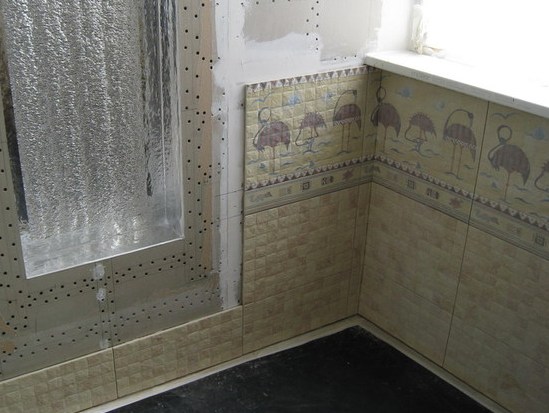
- We continue to repair the balcony with our own hands, installing plasterboard sheets on the frame.
- On the floor we settle the tiles.
- The walls are decorated with ceramic granite, tiles or other material.
- We install the plastic outlets.
- Slopes shpaklyuem, primer and roller put the paint.
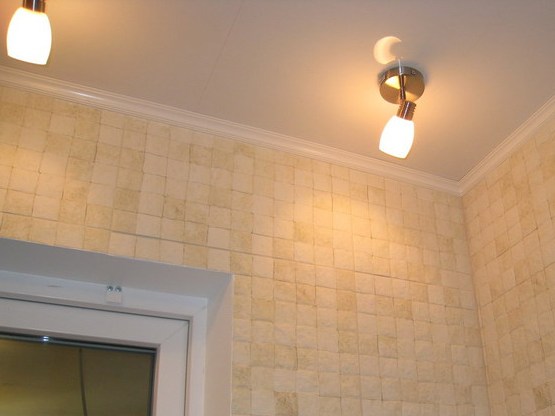
- On the ceiling we install plastic panels, trying to carefully remove the wires under the fixtures.
- We install sockets, switches and lamps.
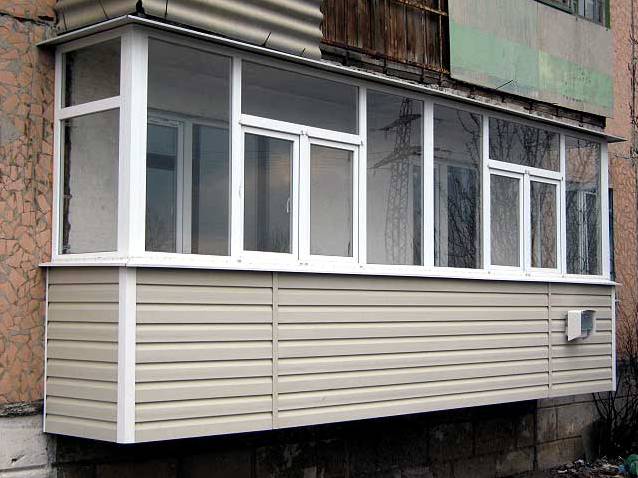
- Outside, the balconies are covered with materials that are not afraid of temperature changes and exposure to open sun, wind or moisture - siding, plastic panels, lining for outdoor work.
- Repair the roof of the balcony with your own hands. To make the frame, you will need to buy wooden blocks, a metal corner or a pipe. The wood is easier to install and does not require the presence of a welding machine, but the supporting structures made of metal are more durable and durable. The visor or roof can be made of ondulin, but in this case it is necessary to make a big slope so that snow does not stay on the surface. Metal tile has a good appearance and requires less tilt. Polycarbonate will make the construction as light as possible and capable of transmitting light. In addition, it has excellent sound-absorbing and heat-insulating properties.
Thus, the repair of the apartment with our own hands, we finish the balcony, creating here for ourselves another cozy and warm corner.