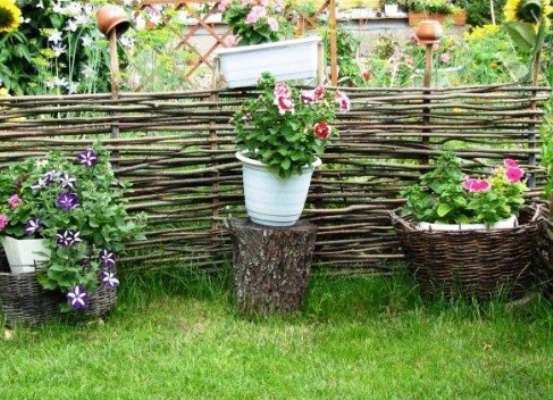
Previously, wicker fences were one of the most popular types of fences. With the development of technology and the emergence of other structures, the wicket fences began to depart. But still today in the modern design of its site, many owners want to make the originality and resume the former style by adding wooden wicker fences with their own hands.
How to make a wicker fence?
If you decide to make a wicker fence with your own hands, the master class does not present any difficulties and does not require special preparation. You will need materials: a vine, pegs and the simplest construction tools that everyone has on the farm: a hammer, a knife. The most important thing is to choose a suitable vine.
The ideal solution is hazel or willow. The willow willow has a special strength and looks very stylish in woven designs. Willow rods of one and a half meters are ideal for weaving the fence. You can use other trees, the most important is that the twigs are elastic and easily spun. After cutting the rods, they should be dried. If the fence is thick, choose large diameter rods, if thin and small, then you will need thin rods.
In order to clean the vine, you need to put it in the water for about a week, then clean the vine from the bark. If the rods are poorly cleaned, leave the vine in the water for the same time. You can use the evaporation method for a more pronounced effect. So, in order to know how to make a braided fence with your own hands, check out the step-by-step guide.
Step-by-step instruction:
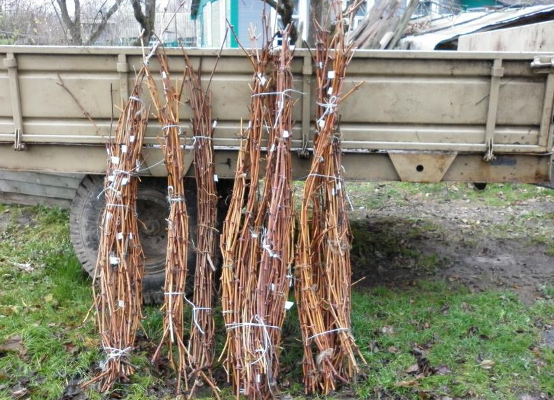
- We prepare the vine . Separate smooth and smooth twigs of the same length from the others. Then we knit the bundles and put them to dry. To give the material elasticity, we break it. You can make a braided fence also from fresh twigs.
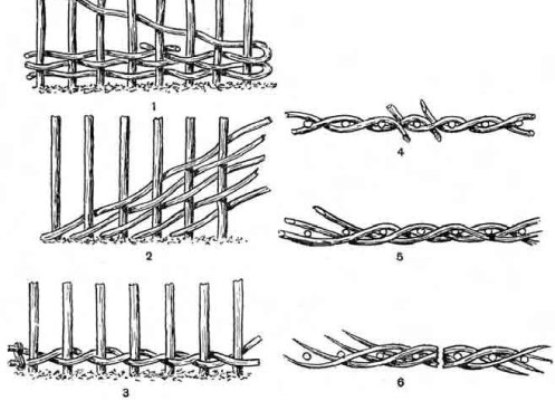
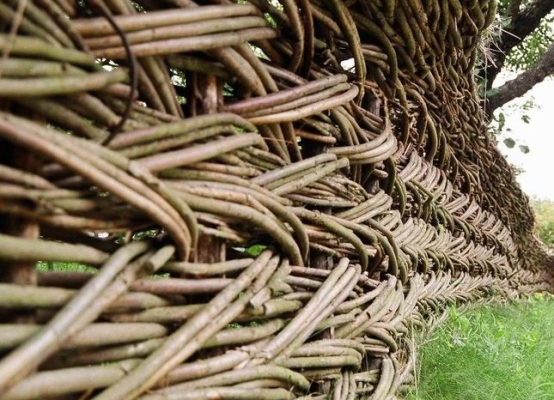
- We choose a place for the future wicker fence . We use vertical and horizontal ways of weaving. With horizontal weaving, we get a standard fence. Effective and modern look fences with vertical weaving.
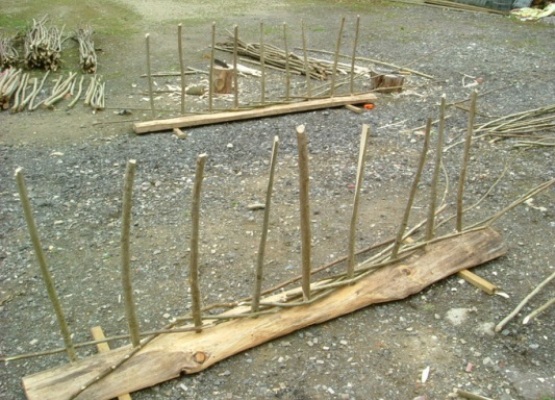
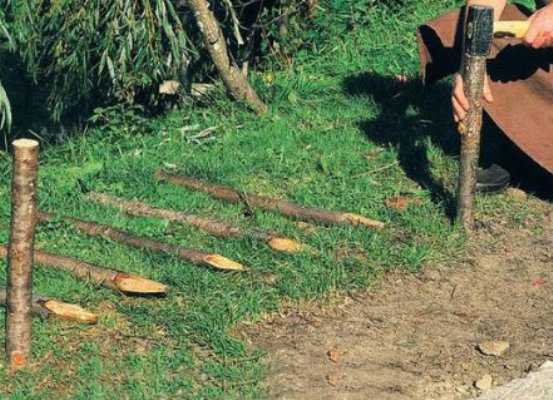
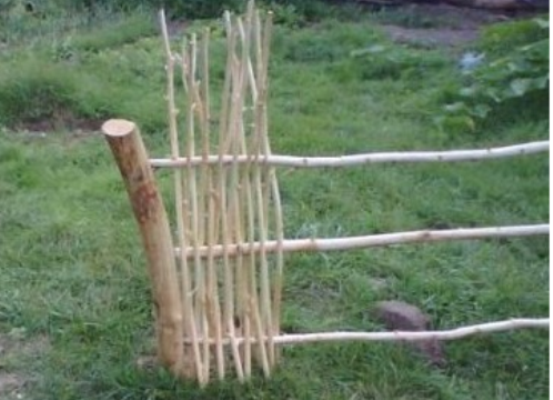
- We prepare the pegs for the fence . The ends of the branches should be treated so that they are not rotten in the ground. You can use metal poles that will last longer than the wooden ones. These structures can be painted under a tree. We drive the pegs approximately 50-60 cm along the entire area of the future construction. In advance, we will make the markup for convenience. With vertical weaving between the pegs, we set several cross bars to support the twigs. For this, we prepare strong branches.
- We begin the weaving . We insert the vine into the ground and the plait to the desired height. The edges of the vine are cut. Using the wire, fix the ends of the rods. The process of weaving resembles a figure eight. The plait is so that each next rod is a continuation of the previous one. We fix the process with a hammer. The end of each rod should be from inside the fence. The last ends are neatly refueled along the columns. To make the weaving not decay, they should be tightened well.
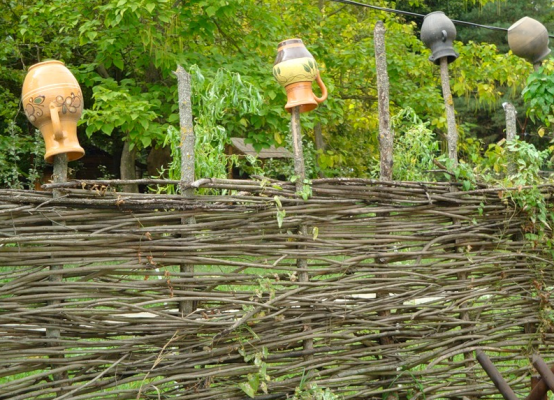
- We put a covering . Now, when the fence is gossiped, we will cover it with varnish or other coating, depending on what kind you want to give the fence.
| | |
| | |
The wicker fence is ready. There is nothing complicated in its structure. The most important thing is to strictly follow the instructions. At will, make your own adjustments, and you will get an exclusive fencing. Vine is a very resilient and durable material that can easily be braided. Even the most original and elaborate decorative wicker fences by their own hands do not present any problems in the invention.