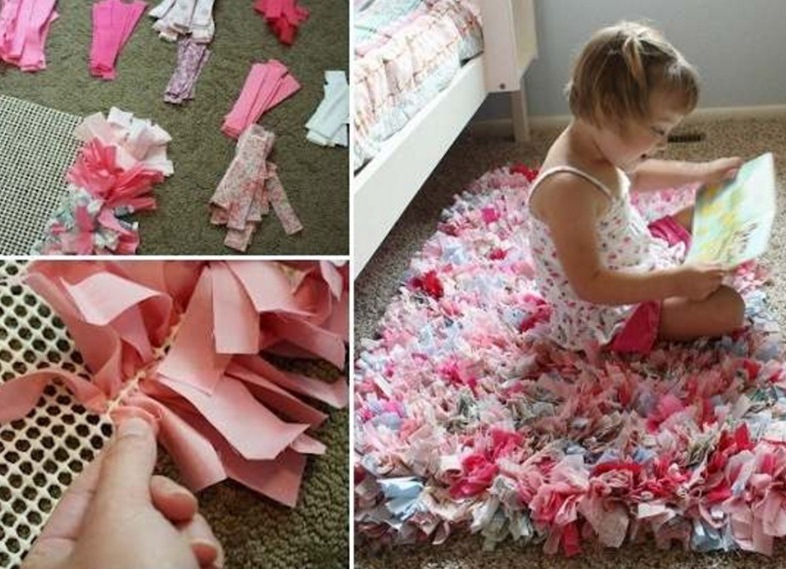
It does not always make sense to overpay exorbitantly for a designer thing, especially if from improvised tools and old things you can make excellent mats at home. A little imagination and desire and in your house there will be a unique thing made by own hands.
How to make a carpet of old things with your own hands - master class
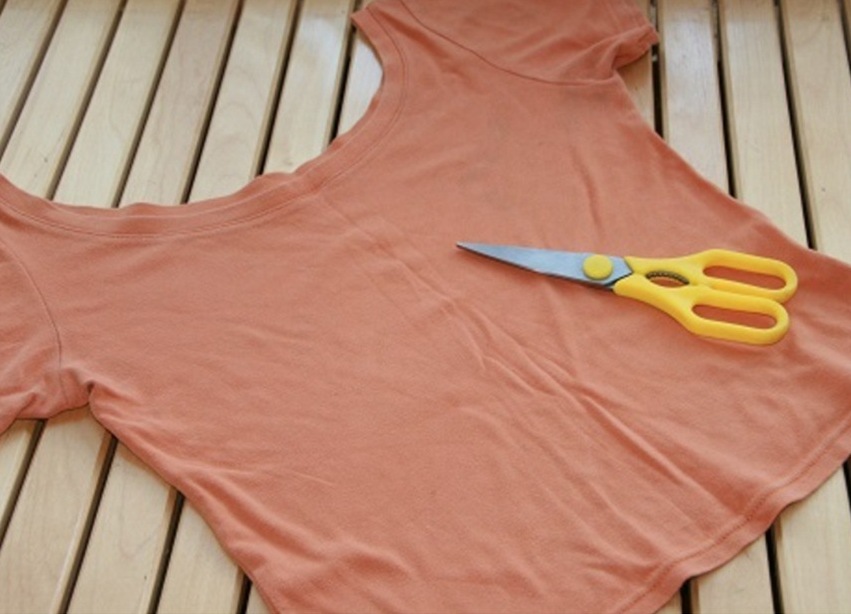
Before you make a carpet with your own hands, you need to prepare a "yarn." For the product you will need knitwear , for knitting well fit T-shirts, T-shirts. The color scheme can be very diverse. Colors can be alternated, for contrast use bright and neutral colors.
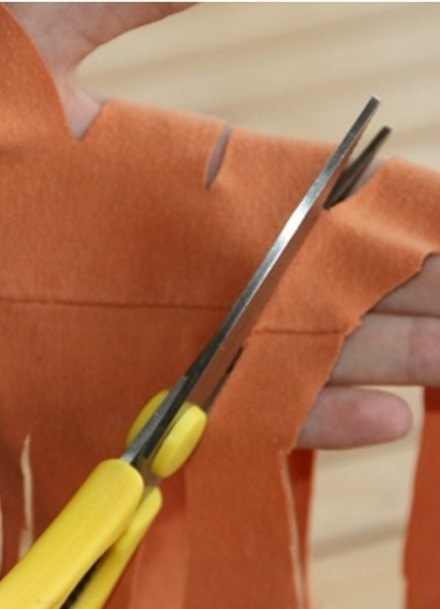
- Spread the selected item on a flat surface. Finishing seams are cut off.
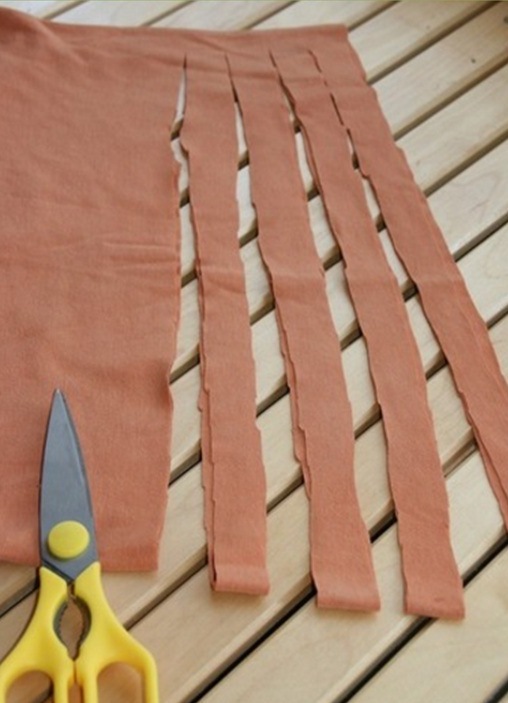
- Now proceed to cutting strips, their width is 2-3 cm, but do not cut a couple of centimeters to the edge.
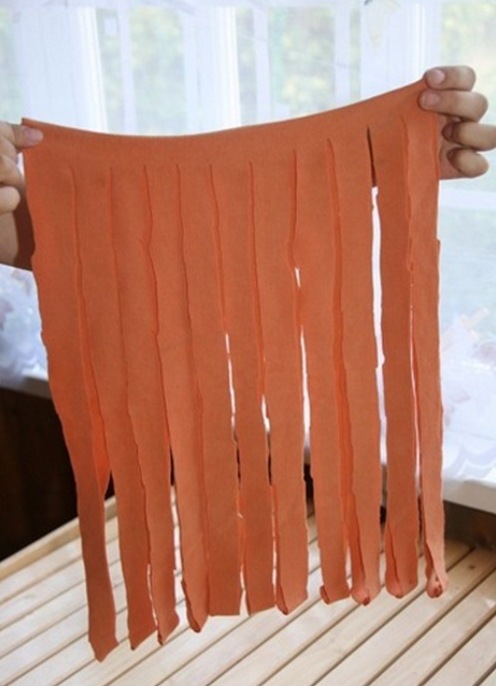
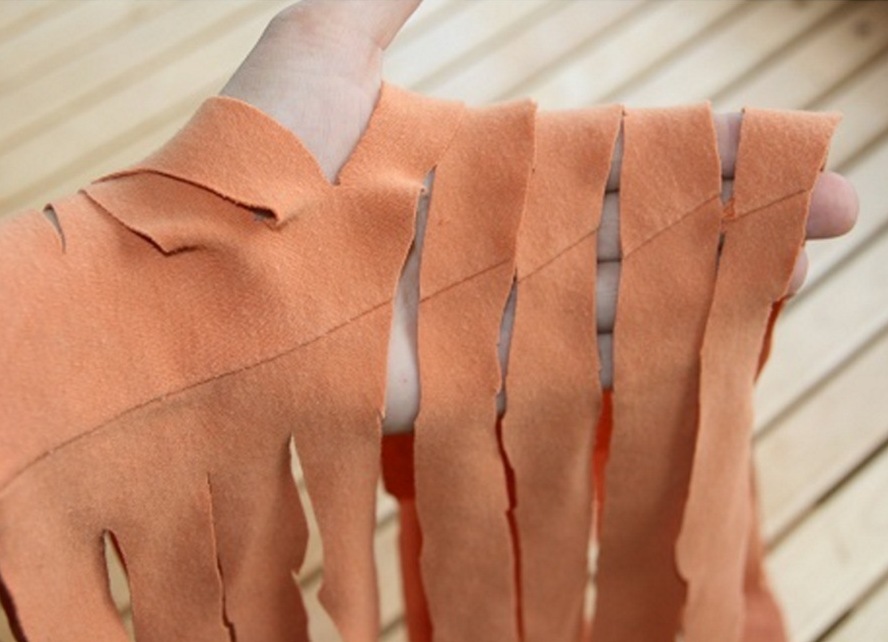
- In the palm of your hand, unfold the workpiece, cut the elements to the end. Get a long enough ribbon. You can "knead" even children's pantyhose. Remember the pattern: the thicker the base, the narrower the strip.
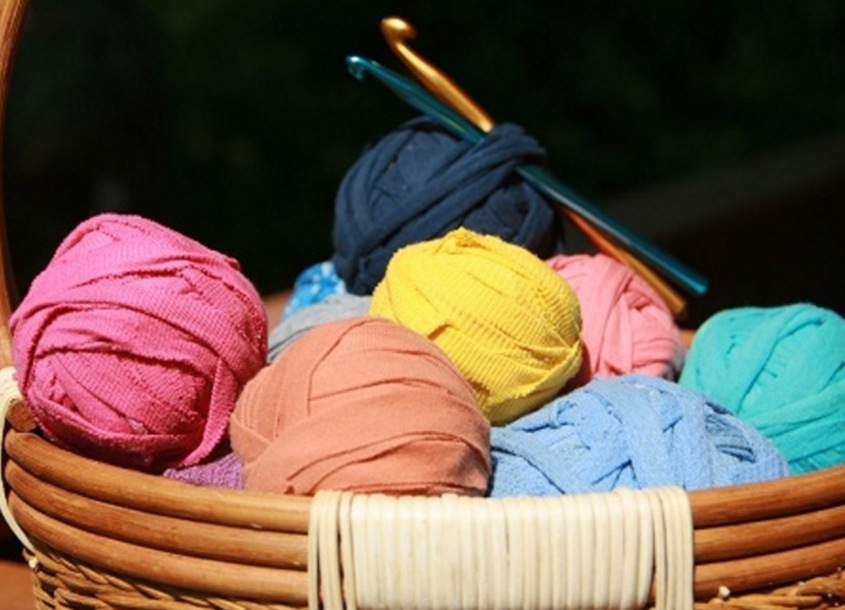
- The remains of the object are cut in a spiral, all the scraps are sewn and rolled into a tangle. We do the same with other things. So, you got some balls. With different in color individual balls, then it is much more convenient to work.
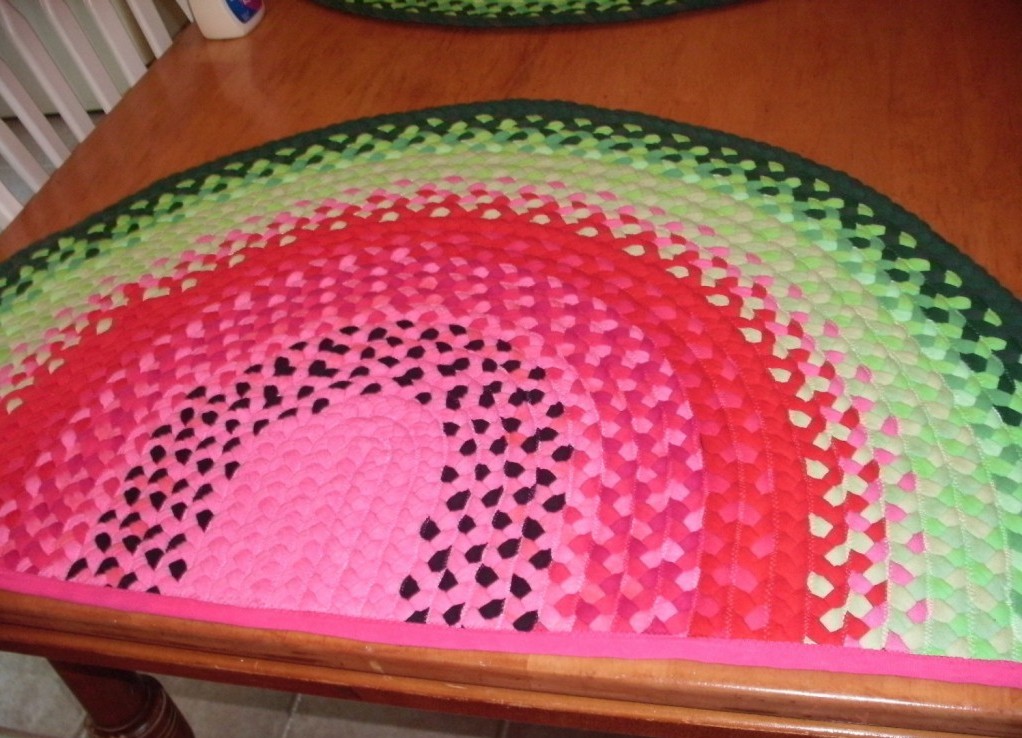
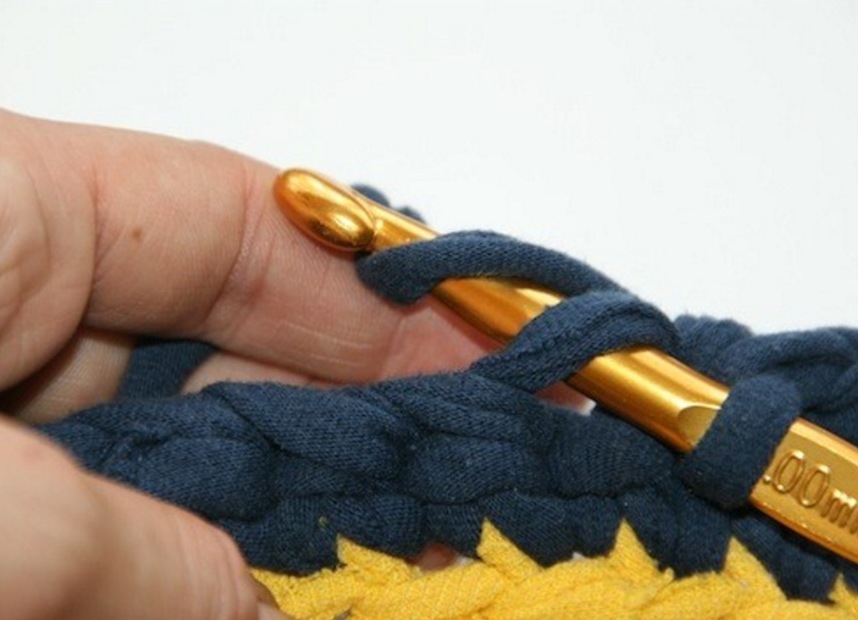
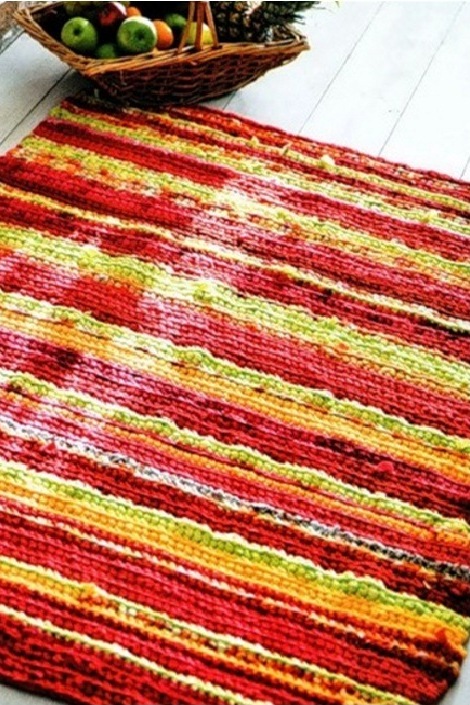
- In order to complete the manufacture of the carpet with your own hands, you will need a minimum of 7 hooks or larger and coiled strips of fabric. Before starting work, think over the arrangement of colors and the dimensions of the product. At the required width, air loops are recruited. The way of mating is the most simple - a column without a crochet. Rectangular shape - the simplest in performance. If you need a round carpet, then 5 loops are closed in a ring, knitting goes in a circle with the addition of loops.
| | |
| | |
| | |
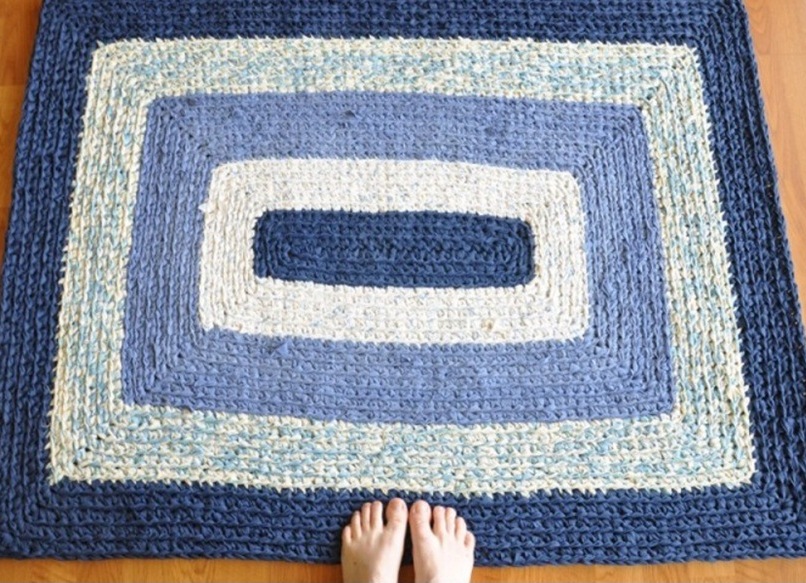
We get:
| | |
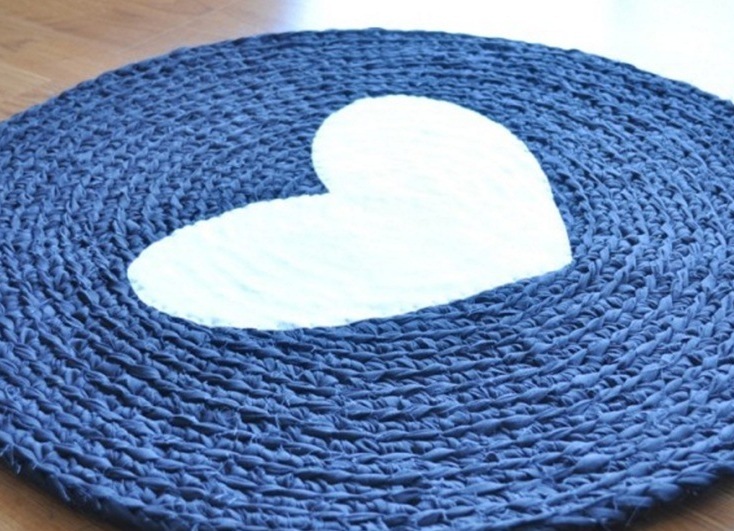
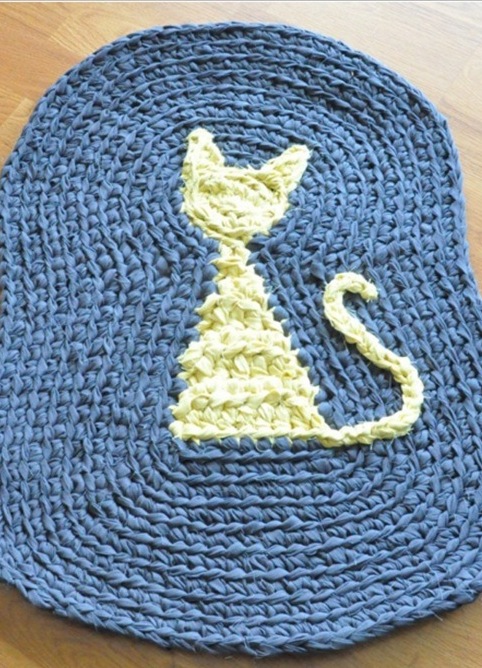
You can sew an applique onto the knitted workpiece.
| | |
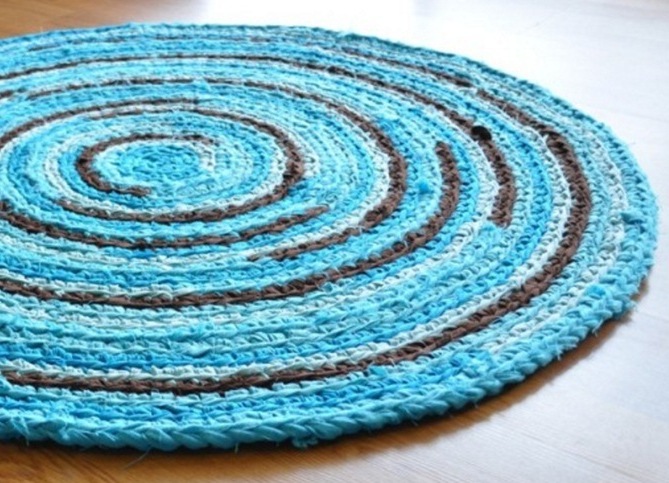
Using a different kind of binding, we obtain:
| | |
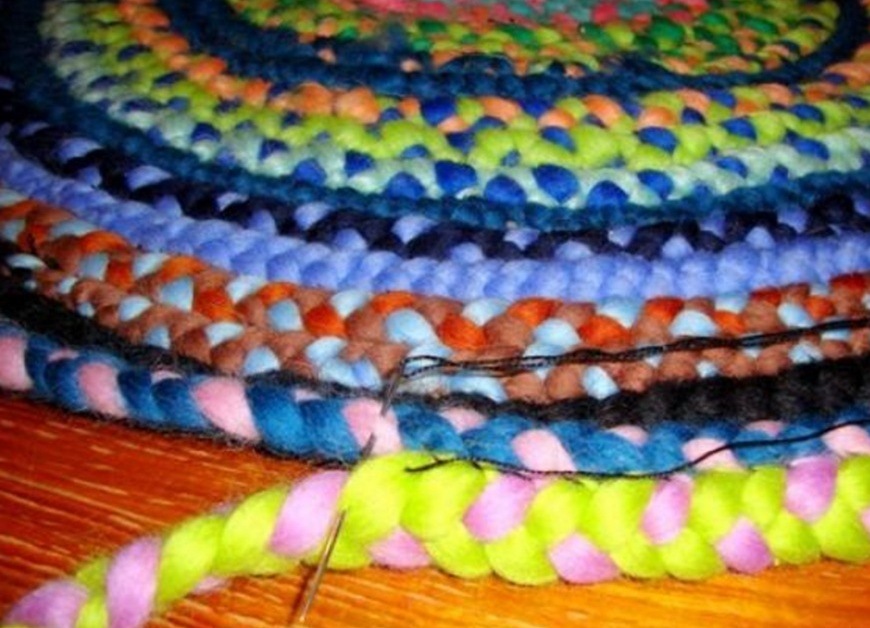
Fabric "braids" can be sewn with threads.
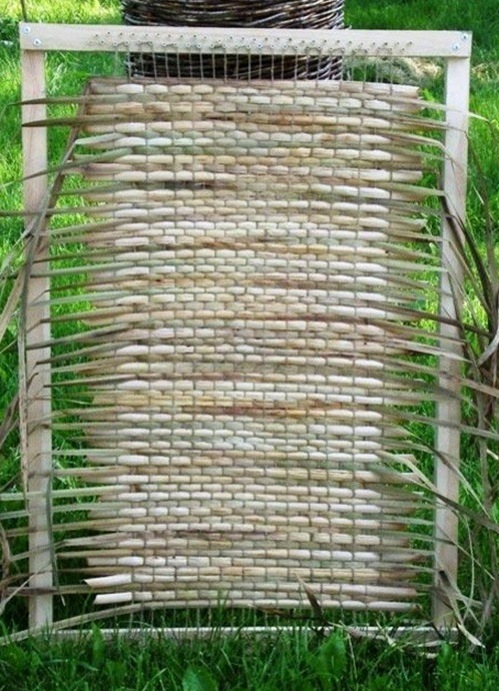
Carpets with own hands: a master class using a frame
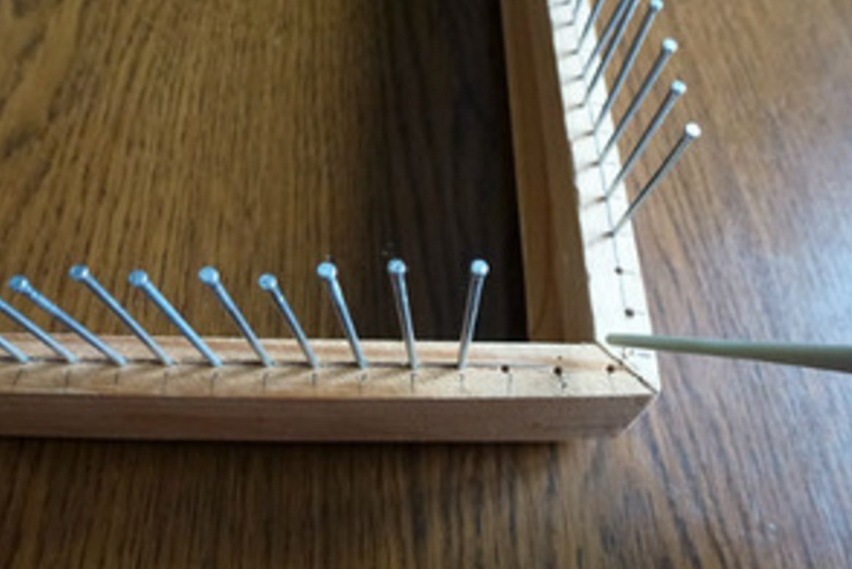
For weaving on a skeleton base you will need a frame for the photo, for example. The frame can be made independently from wooden beams. The size of the structure depends on the required carpet size.
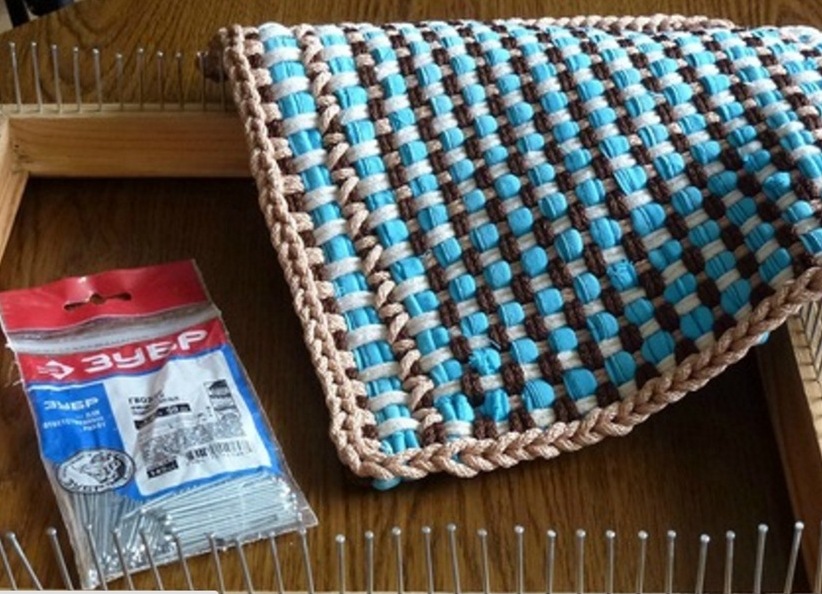
- On the long side of the frame small cloves are hammered at a distance of 2.5 cm from each other. They should have smooth hats.
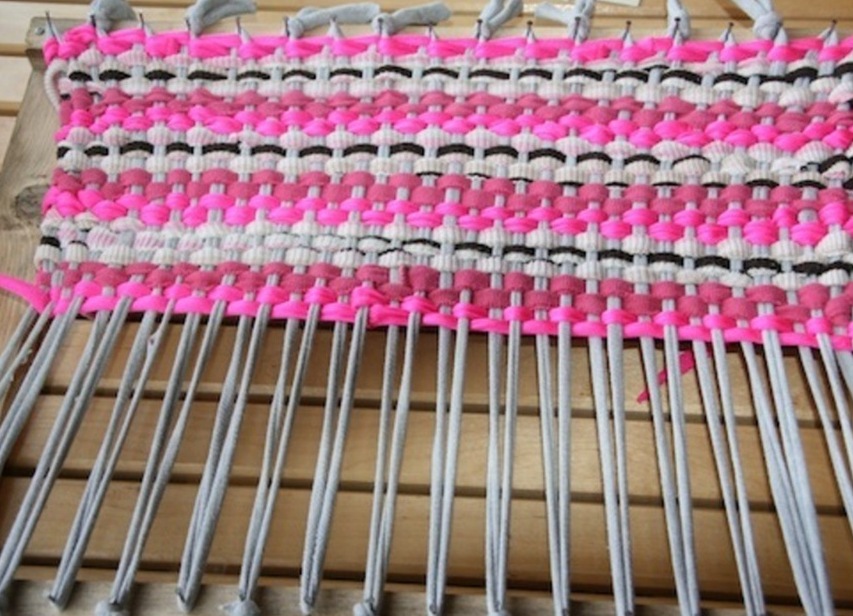
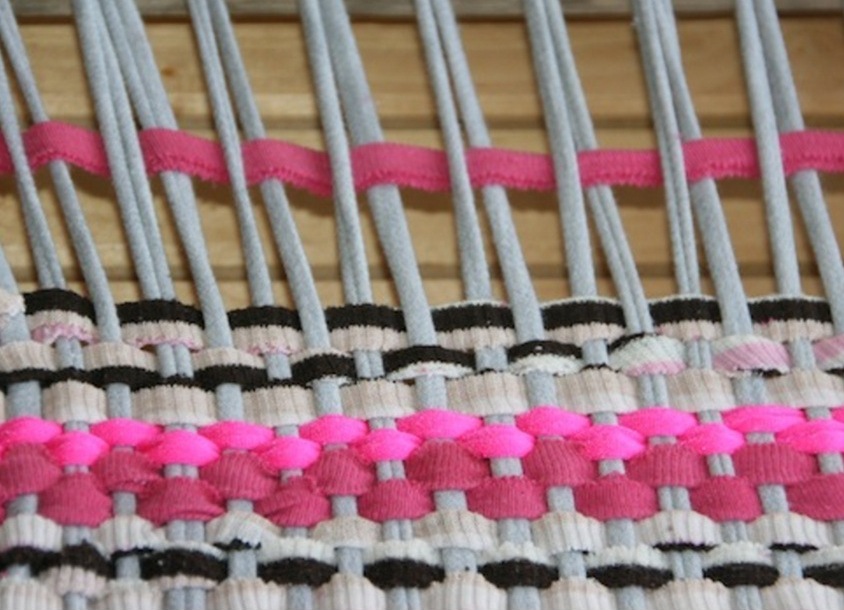
- The base is a pair of strips stretched in pairs, fixed on the nails. If you tighten the rows tightly, the row-base will not be visible. With free weaving it is visible. Starting from this nuance, the series can be a neutral background or vice versa to become a color accent.
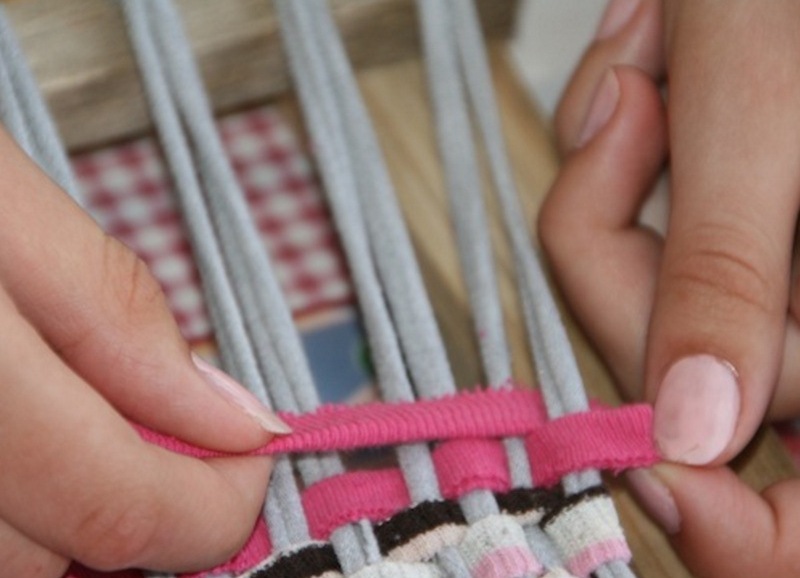
- Perpendicular to the main series is placed a strip, which will pass either above or below them. If the row is finished, the ends can be left in the free position or turn in the opposite direction and continue the weaving. Thus, you control the "drawing".
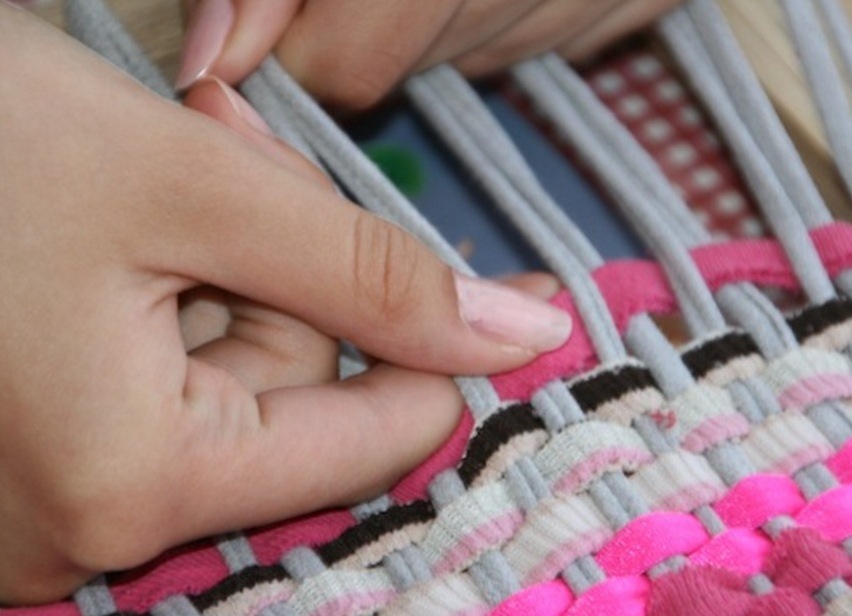
- If you need to change the thread, you need to cut off the end and tie it to the end of the next strip. Do you want fringe? Leave the tails without fixing with the next row. From time to time, tighten the ranks to the first. The mating will be denser.
| | | |
Weaving can consist of a fabric of different density and texture. For originality, trim the ends of the carpet with a decorative rope. We get:
Carpet on the floor of the cattails with their own hands is done on the same principle.
As a frame, you can use a building mesh. She is dressed in scraps of cloth. It turns out a spectacular floor covering.