Many parents tend to decorate the child's room especially, making the interior magical and as cozy as possible. It turns out that it is not necessary to look in the stores for original furniture and other furnishings, some of the things can be built by the materials themselves. For example, it's very easy to make an unusual chandelier in a nursery with your own hands out of thread. Undoubtedly, it will look much more interesting here than the majority of factory products made of glass and plastic.
How to make a chandelier in a nursery with your own hands?
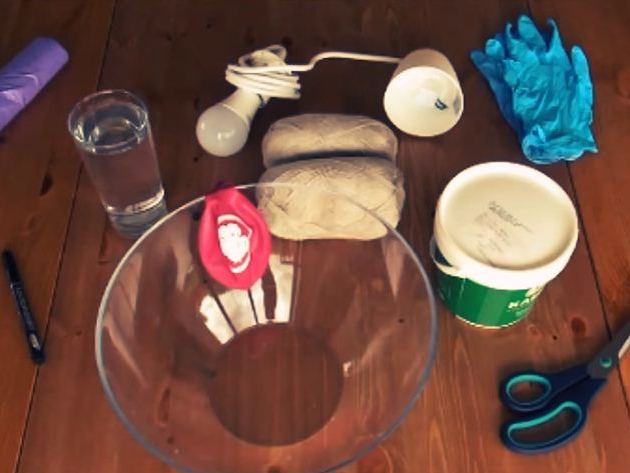
- Materials we need are very affordable and simple - a ball of threads, a can with PVA glue, a bowl, a glass of water, a balloon, a base for the wall lamp. The last thing you can buy in the store or use the details of the old lamp. In addition, you will need gloves, a plastic garbage bag, scissors and a marker.
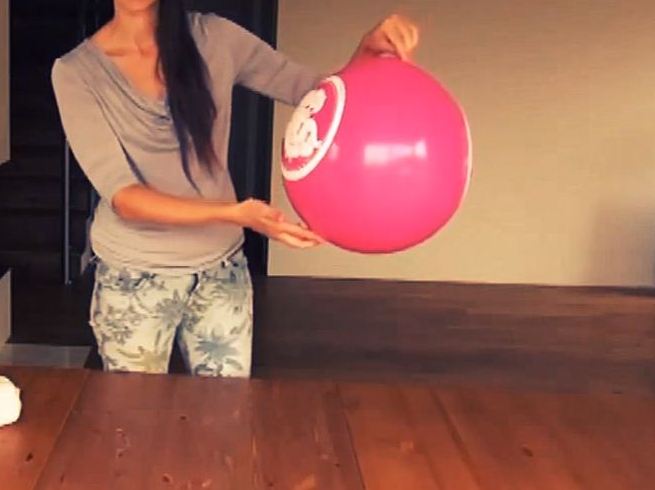
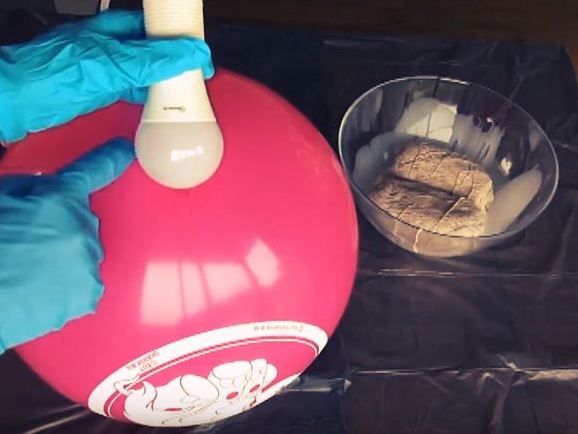
- Next, we inflate our ball, trying to get a sphere of a given size.
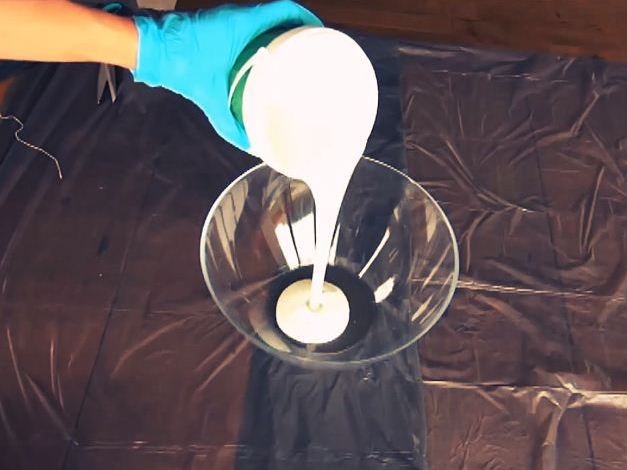
- Pour into the bowl of PVA.
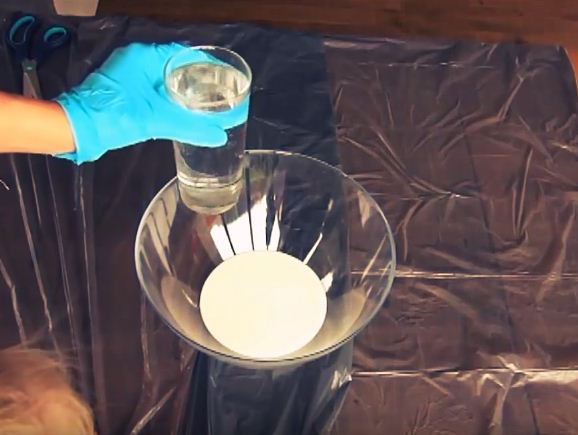
- Dilute the glue with water in a 1: 2 ratio.
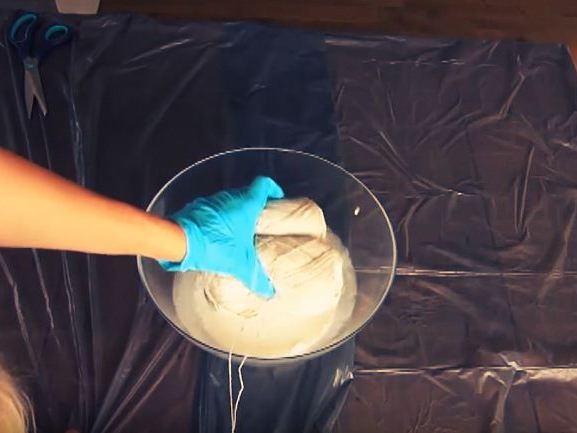
- We immerse the thread in the resulting solution.
- Homemade lampshade can not do without a hole under the lamp, so you should mark a place with a marker that should not be spread with glue.
- The tip of the thread is tied to the tail of the ball.
- Master class on how to make a chandelier in the nursery with their own hands, goes to the decisive stage. In an arbitrary order we wind the ball with threads soaked in PVA.
- Gradually we have an interesting semitransparent sphere that will serve as a lamp shade.
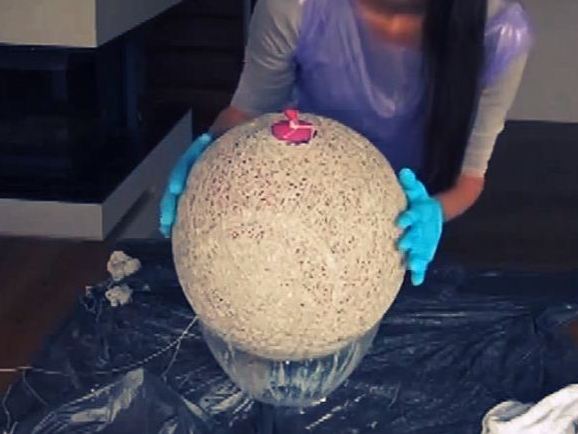
- All the threads are wound, we place the ball in a convenient place for drying.
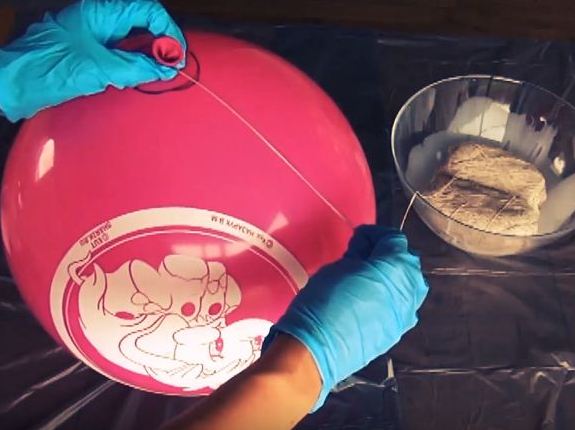
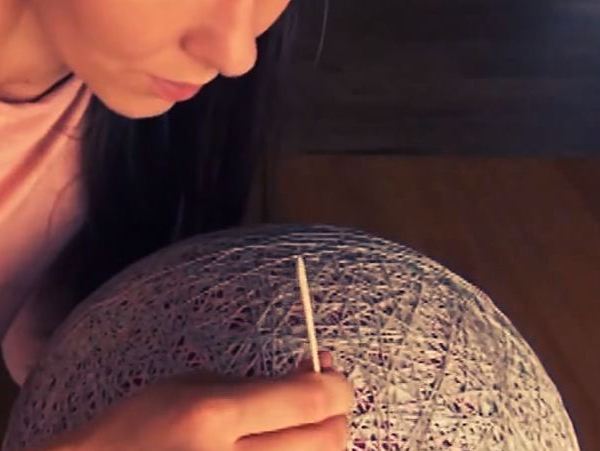
- After about a couple of days, the threads will dry and the product will become hard. We take the wand with a blunt tip and carefully try to separate the rubber shell from the lampshade in several places, passing it between the thread.
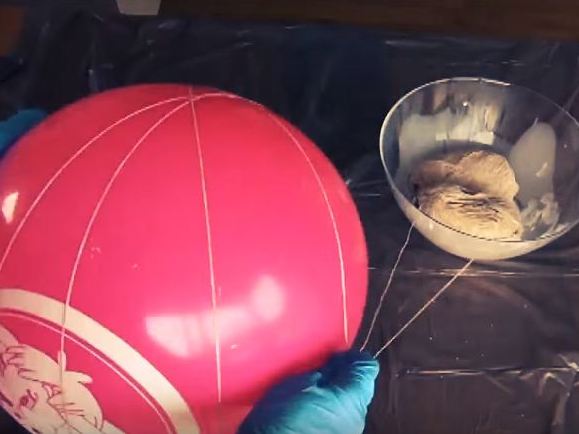
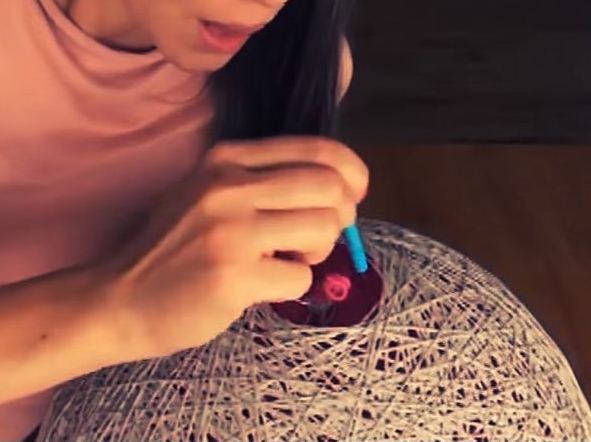
- With needles pierce the ball.
- We extract the remains of the ball from the lampshade.
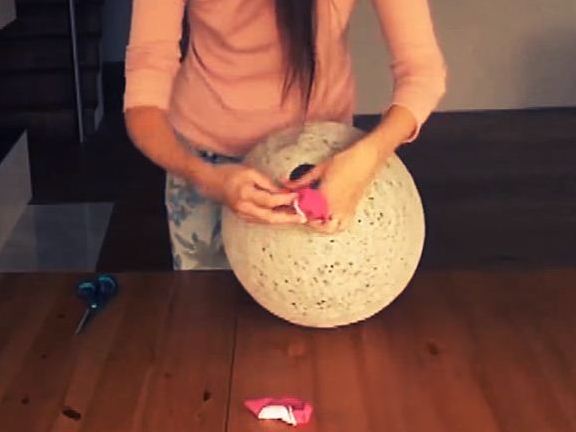
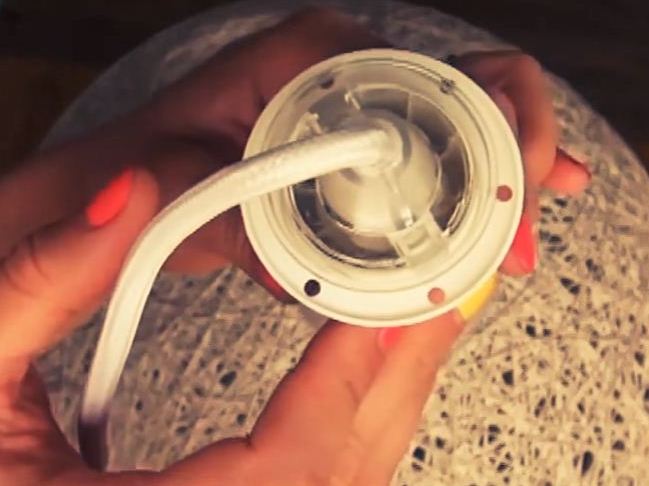
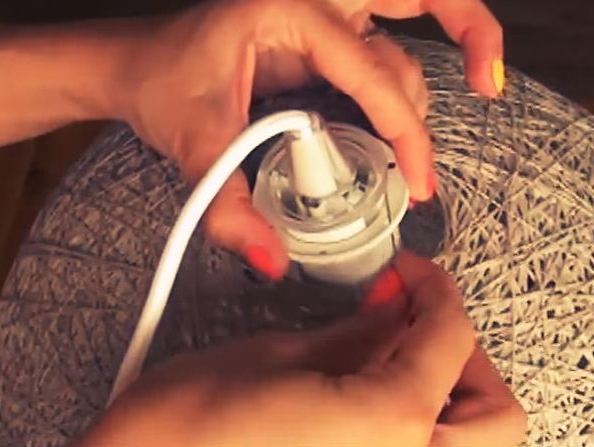
- The chandelier in the nursery with their own hands is almost ready, it remains to install the lamp.
- This part could be sewn to the lampshade or screwed with wire.
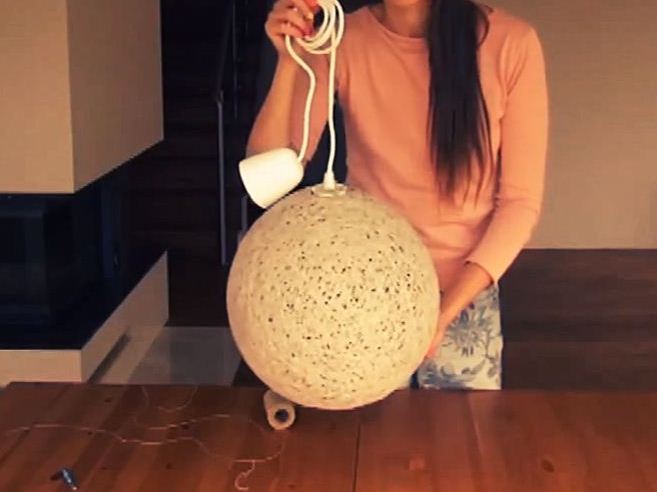
- The original lamp is ready, it remains to install it in the room on the ceiling.
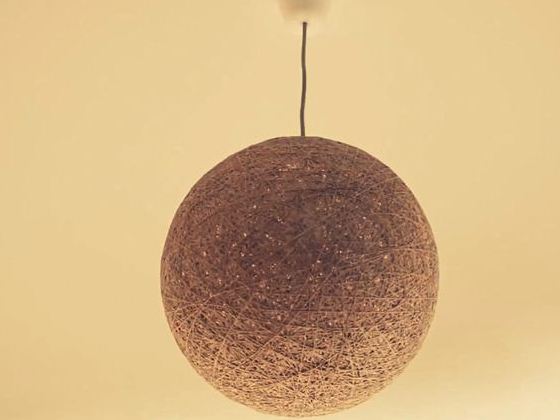
- We connect the chandelier that we made ourselves with, to electricity in the nursery, and we enjoy the results of labor.