Want to bring coziness to your home and do not know where to start? Then we advise you to refer to the Italian decoration technique called "decoupage". With its help you can quickly transform old furniture and give it a romantic vintage appearance.
If you are new to this business, it is better to start with small pieces of furniture, such as a chair or stool. Decoupage of a wooden chair is very simple because of the small area of the surface being treated, and the amount of material spent will be minimal.
Decoupage chairs with their own hands
Before you start, you need to decide on the style with which you want to work. For decoupage of the chair, the most suitable styles are provence and retro . They in themselves are very gentle, and in combination with a little aging and do play with new colors.
Perform decoupage in accordance with the following instructions:
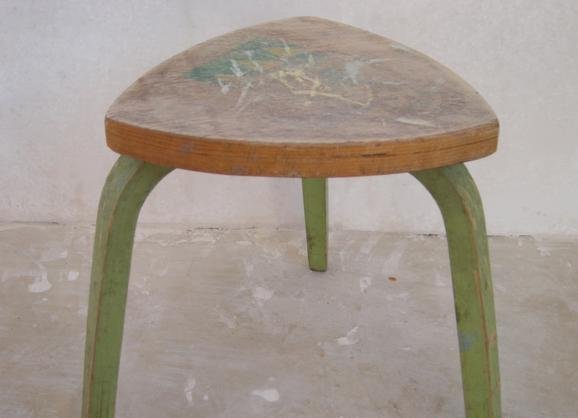
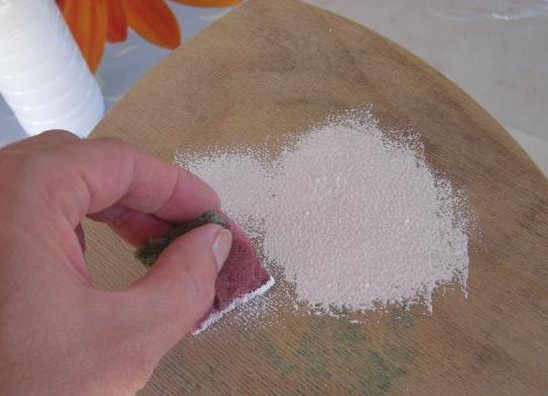
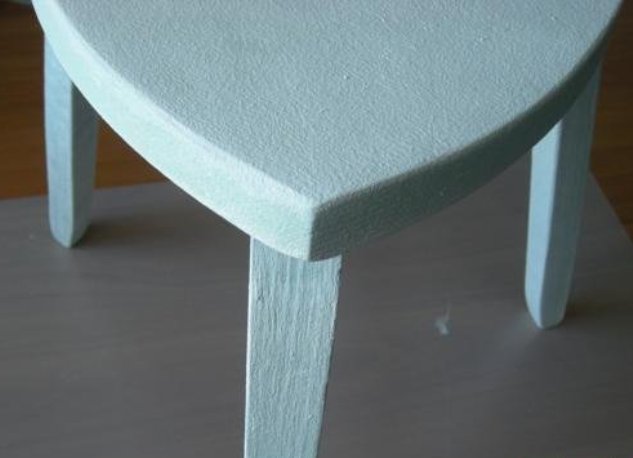
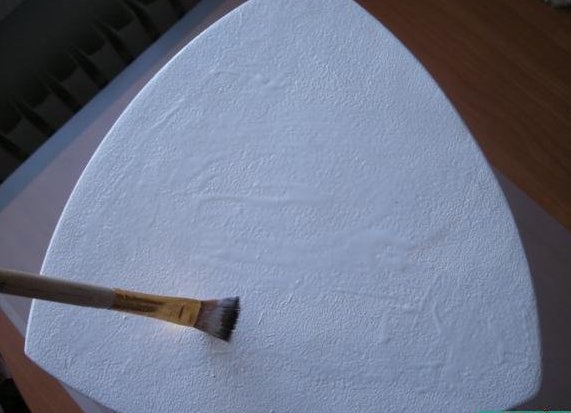
- Preparation . Scratch the stool with a small nazhdachkoy. After this, apply two coats of white water-based paint and walk through the sandpaper again. As a result, the stool should be smooth and uniform in color.
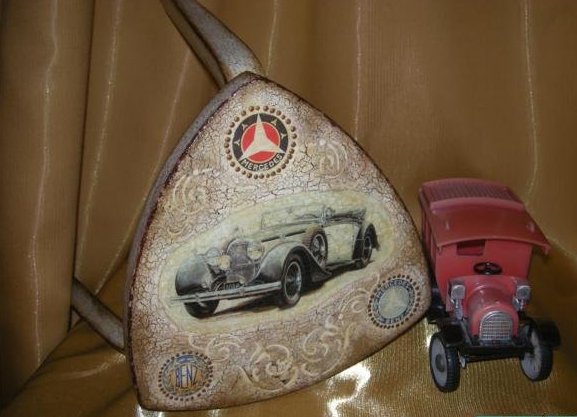
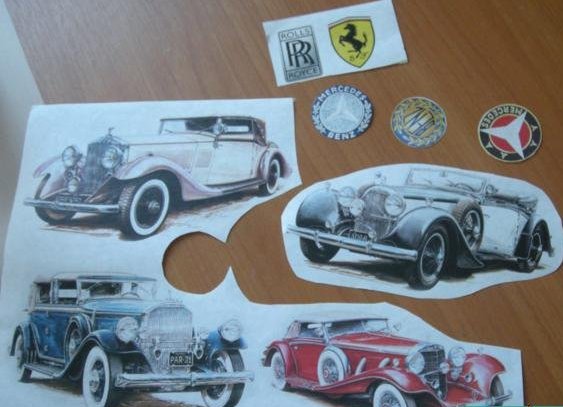
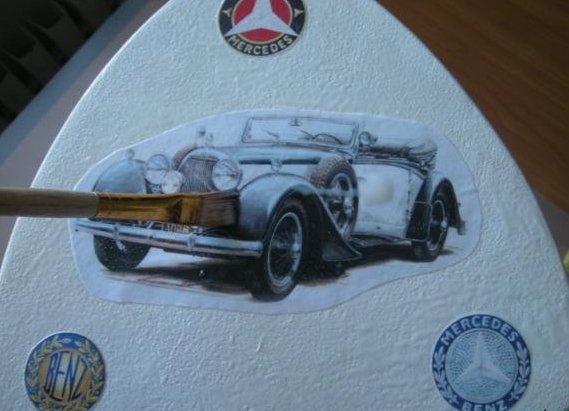
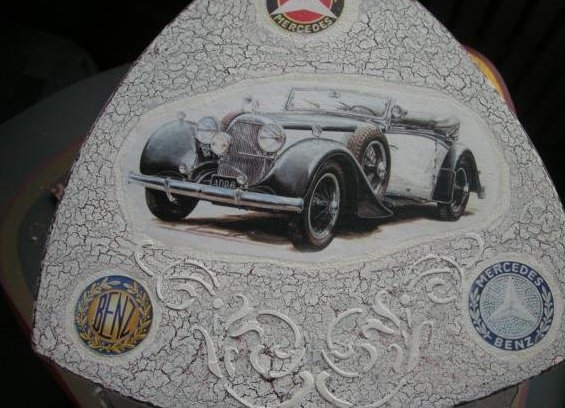
- Work with pictures . Take a decoupage map with the right images (in this case it's retro cars) and soak them in water for a couple of minutes. This will soften the paper and allow it to attach better to the wooden surface.
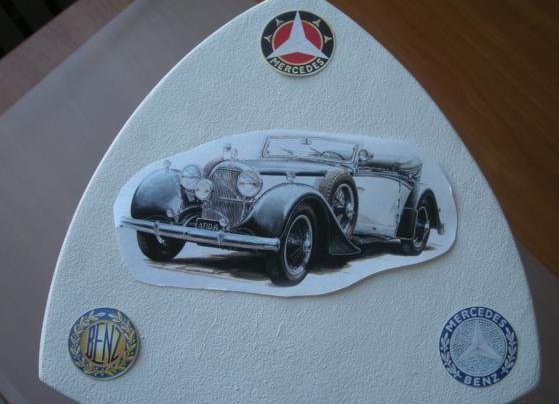
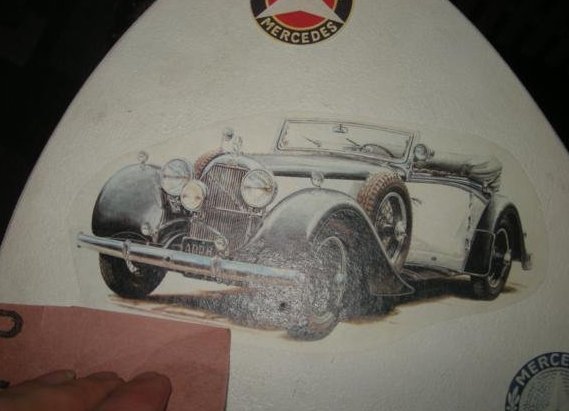
- Glue the motives . On the seat of the stool, apply glue PVA and lay the fragments in the desired order. On top of them distribute another layer of glue. After the PVA has dried, treat the edges of the motifs with sandpaper so that they smooth out.
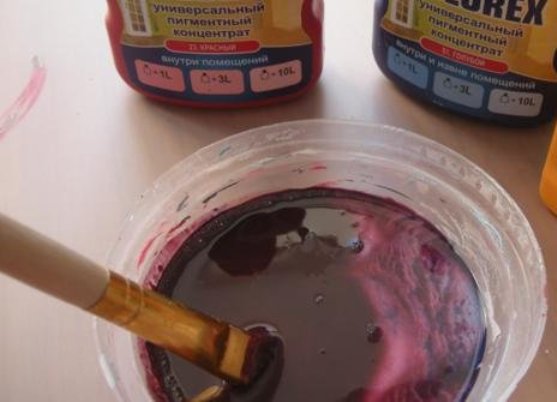
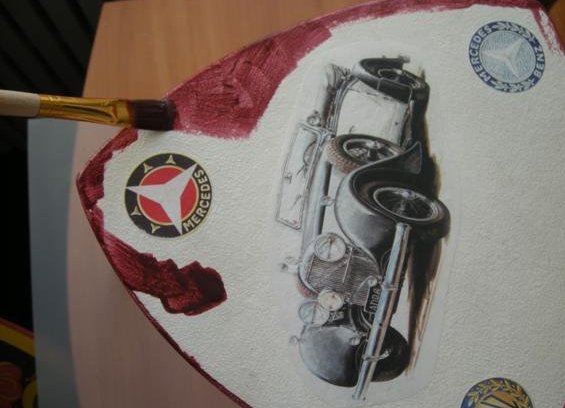
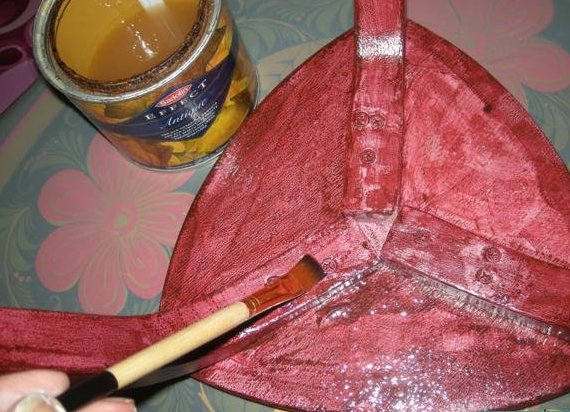
- Coloring . Mix the paint with an AQUALAK and carefully place it on a chair. In those places where it will be in contact with PVA, a network of cracks will appear, creating an aging effect. To strengthen the effect over the dried paint, one-step craqueline varnish should be applied.
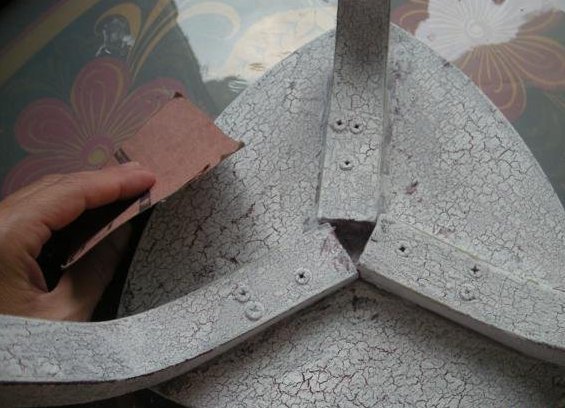
- Subsequent processing . Dry the dried paint with sandpaper. In this way, a slight stubbiness of the stool will be created.
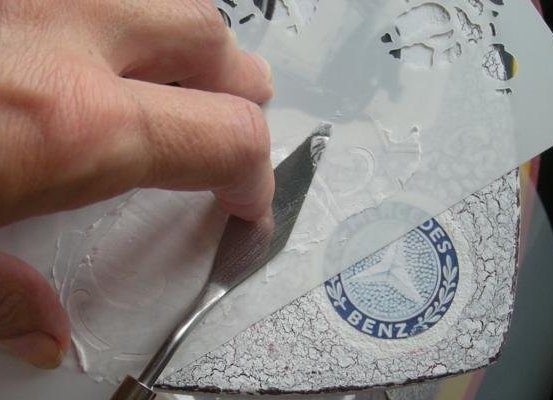
- Additional decor . Through the stencil, apply a thin layer of putty. After drying, treat the pattern with sandpaper.
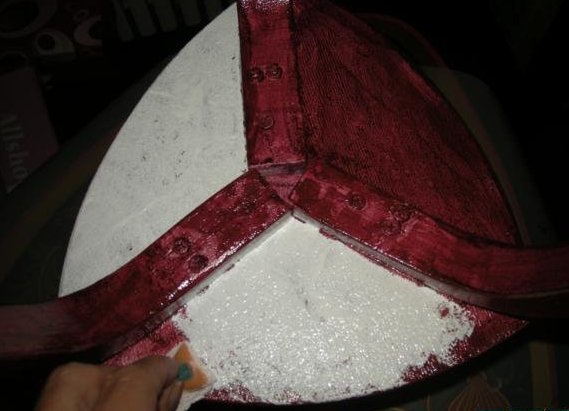
- Final touches . The stool fins and some places are aged with bituminous varnish. Open the entire chair with an aqueveloper 2-3 times with an intermediate drying of each layer.
When the varnish dries a little, apply a piece of white paint on the sponge. Do it quickly, do not miss one place twice.
Enjoy your work!