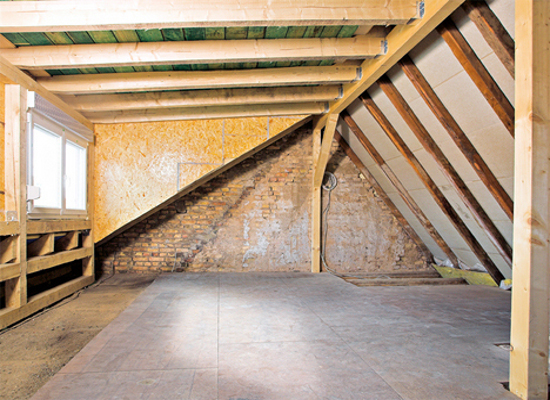
The attic floor can easily become another room or a study room, if you properly organize its decoration and insulate. Warming of the attic structure from the inside is not much different from working with a conventional roof, but some subtleties will be. As for the work itself, it is entirely realistic to go through all the stages of warming step by step.
Correct warming of the attic roof
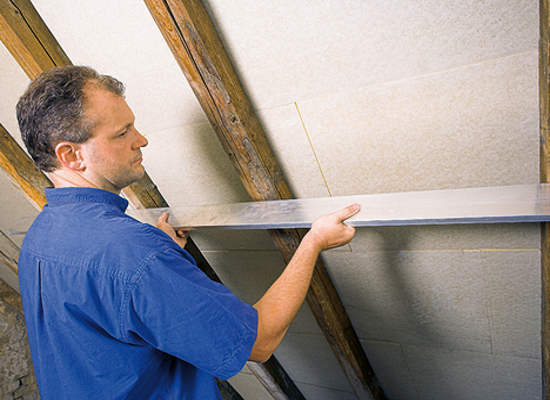
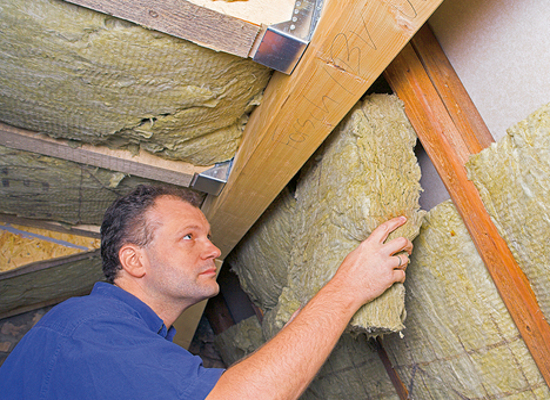
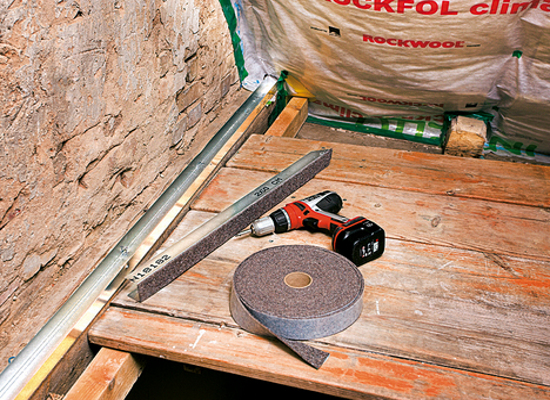
- The very first step in the insulation of a broken line (and any other) construction will be the inspection of the rafters of the attic roof. We take either the remains of the aluminum profile, or rule, and begin to apply it to the rafters. All of them must be in the same plane. How we do the check: the edges of the profile touch the outer rafters, and all those located between them must also be adjacent to the profile.
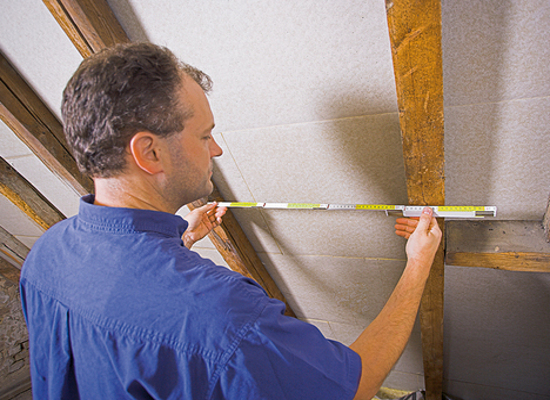
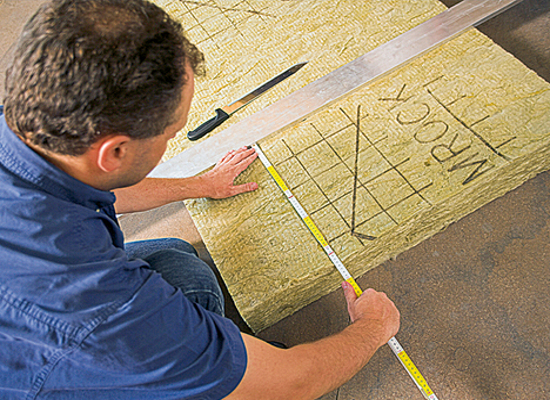
- To insulate the attic roof from the inside, we use a heater in the form of rolls. It is important that this insulation and rafters are in full contact, otherwise you will get bridges of cold, and the result of the work will not meet your expectations. So, in several places step by step we measure the distance between the rafters, after that we cut off the necessary piece of insulation.
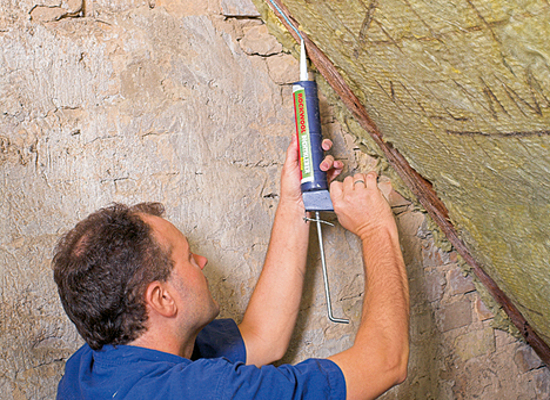
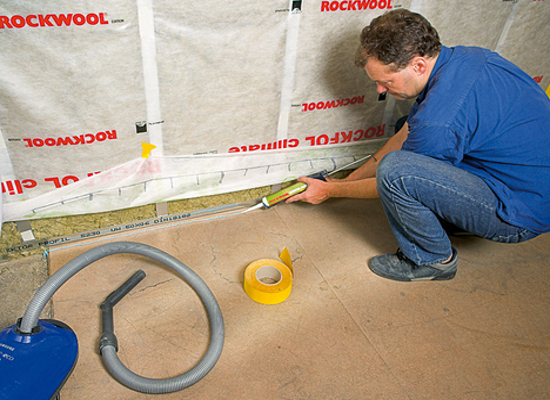
- In the technology of warming the attic roof everything is quite simple, the complexity will be different. Your task is to fit the heater in everything, even the most inaccessible places, in order to avoid heat loss. Between the outer rafters and the wall itself we go through the sealant.
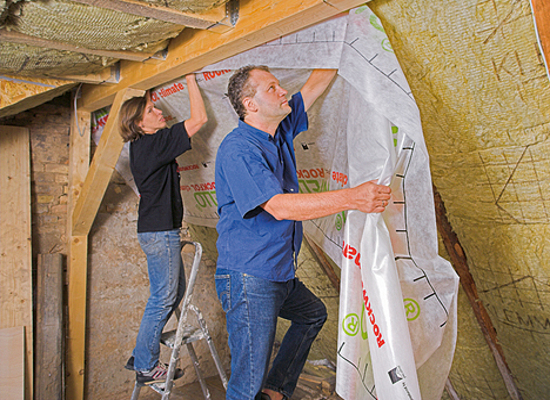
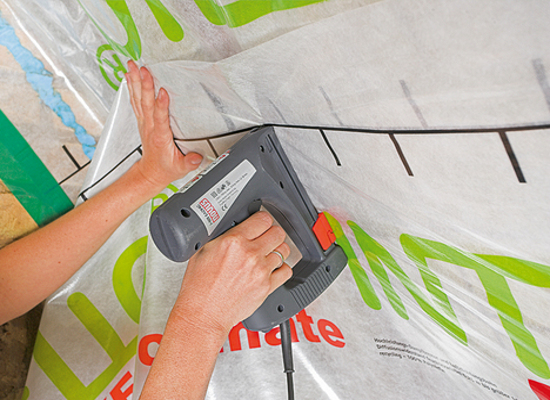
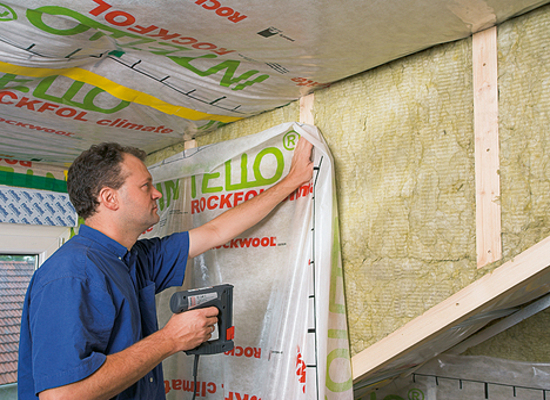
- At this stage, we laid the insulation material. Then follows the vapor barrier layer. We stretch the vapor barrier film as much as possible and start fixing it directly on the inside of the ramp.
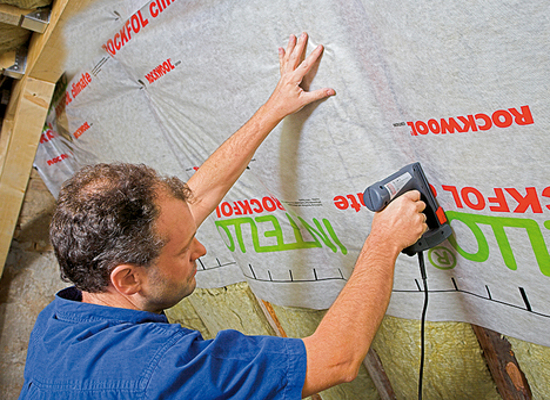
- Fixation is done with a construction stapler. Be sure to take an assistant, so that the film does not stretch and does not break from the piercing of the staples.
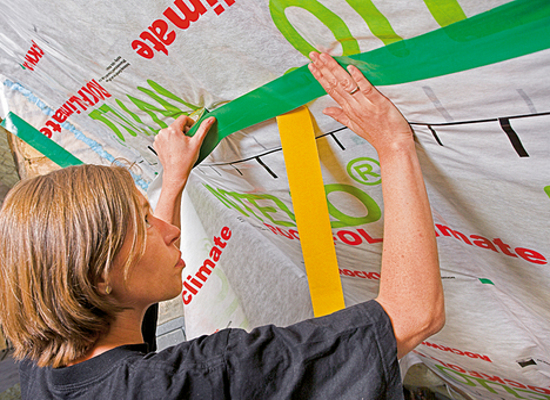
- According to the technology of roof attic insulation, each new cut of the film will be overlapped with the previous one. The size of the layering is not less than 10 cm. The work is simplified by the fact that the producer usually applies a special strip (something like markup) on the film and does not need to measure these centimeters every time.
- After the stapler, all the overlapping lines, we additionally go through a special adhesive tape. Do not even try to use cheap office scotch, as it will necessarily peel off after a while and the heater will remain completely open. As a result, you will have to open everything and make repairs.
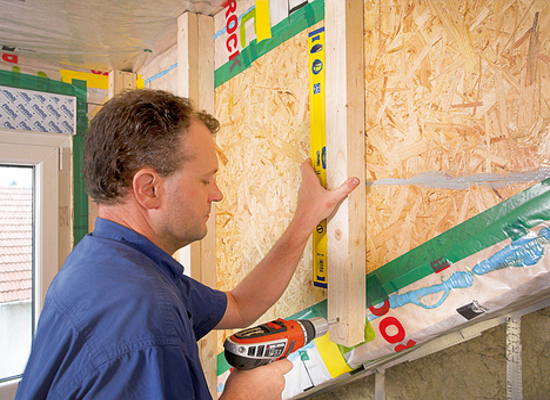
- Sometimes parts of the broken roof skylight are already trimmed from inside with OSB boards and before the insulation it will be necessary to fill the frame. We will do it and the timber, keep the step and make it equal to the width of the insulation. We fix our wooden frame with screws, and then we lay the heater and cover everything with a film.
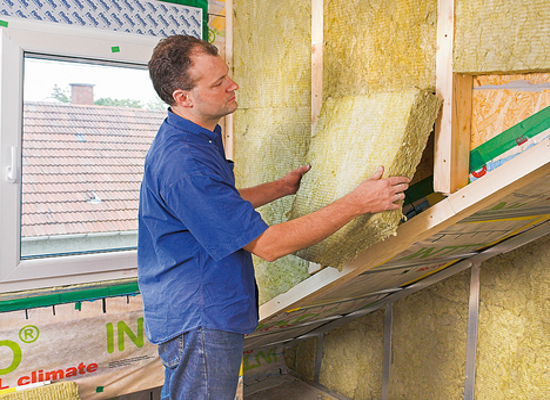
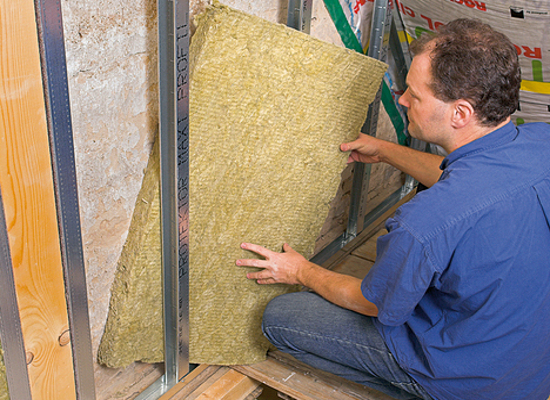
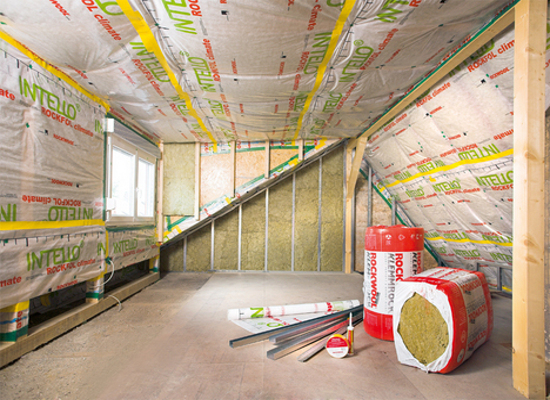
- And finally, the third stage - the insulation of the attic roof from the side of the end wall. Here we will fill the frame with a metal H-profile. This is the same profile used to work with plasterboard. But we will not fix our frame close to the wall. If the metal is in contact with the outer wall, the bridges of the cold can not be avoided, and at a short distance this will not happen.
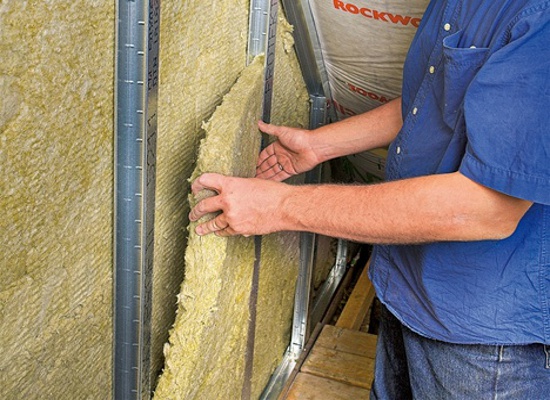
- We lay the first sheet of thermal insulation and press it with a profile. Next comes the second layer, which will be stacked between the posts.
- Then again follows the vapor barrier layer. But now we can not attach a film to a stapler, because it simply does not break metal. Therefore, beforehand, we carefully remove all the dust and building crumbs, and only then we first take the glue with the construction gun, and on the edge we go through once again with a special adhesive tape.
- And here is the result of the work. All the walls were different, but each is now comfortably insulated.
| | |
| | |
| | |
| | | |
| | |
| | |