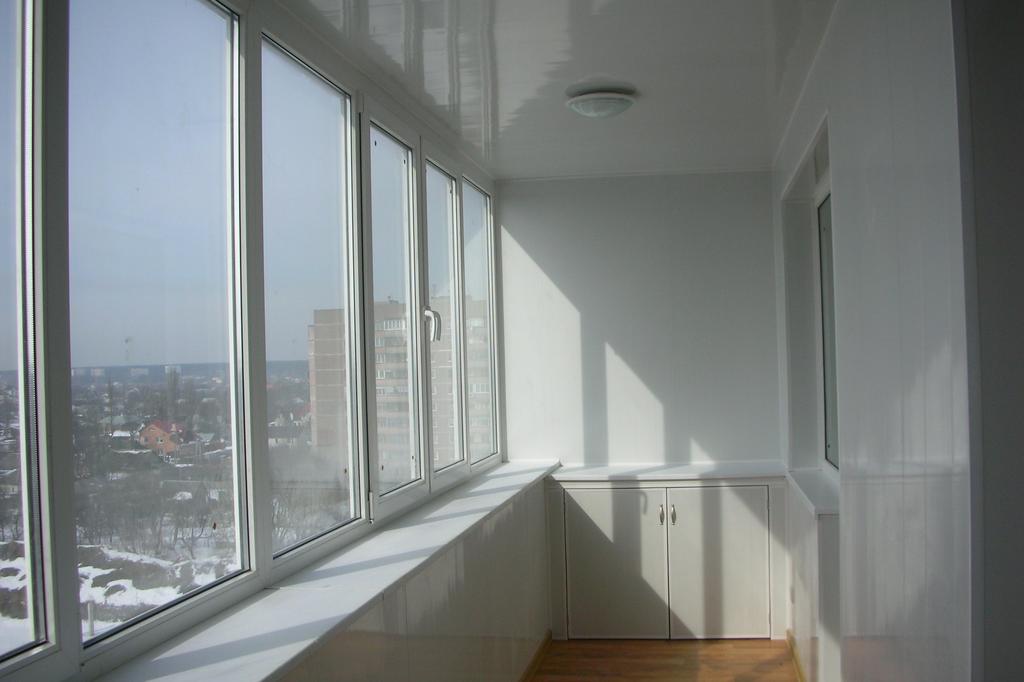
Imagine a cozy and fully protected from the wind and showers balcony without high-quality glazing impossible. It's easier to buy a ready-made double-glazed window or even to entrust a job to a qualified master, but many owners are trying to repair themselves, in order to save a bit of capital for other important purposes. We offer a small instruction for assembling a sliding modern window on a loggia or balcony.
How to self-glaze the balcony?
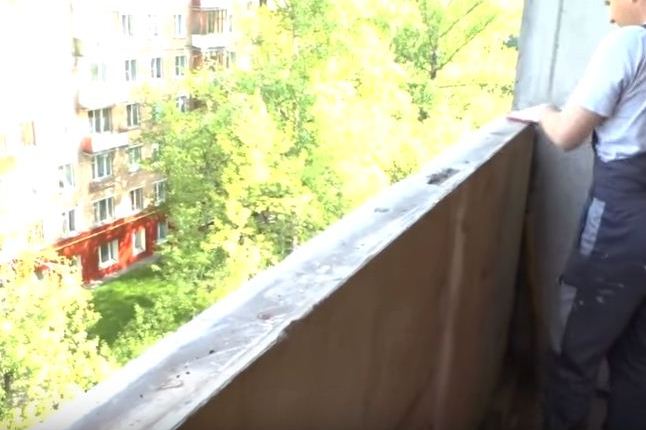
- Align the concrete parapet, clear the plane of dirt.
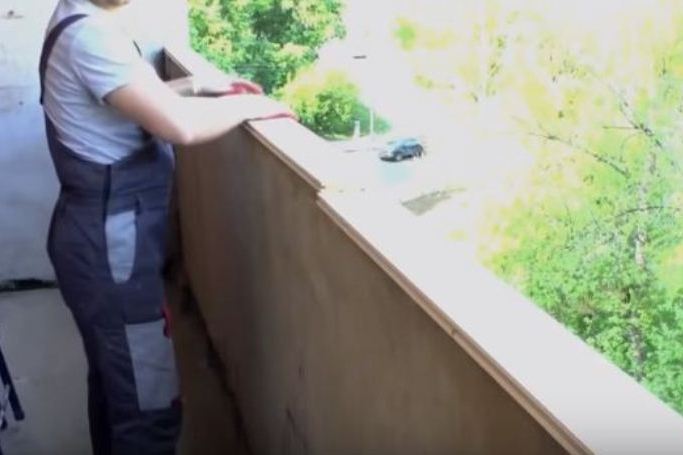
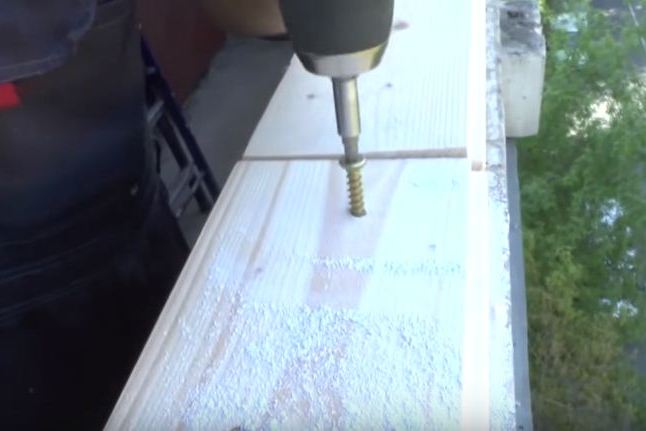
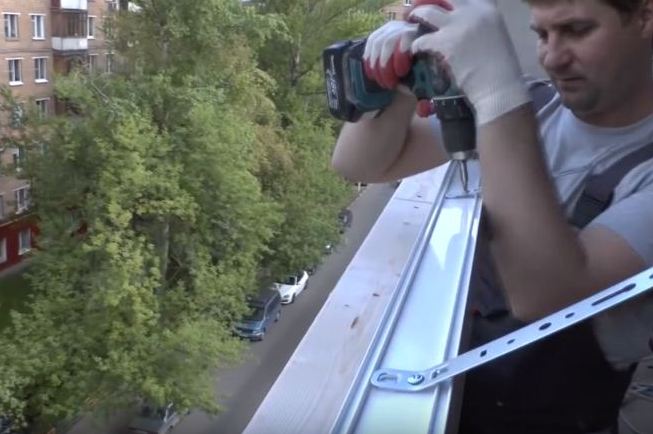
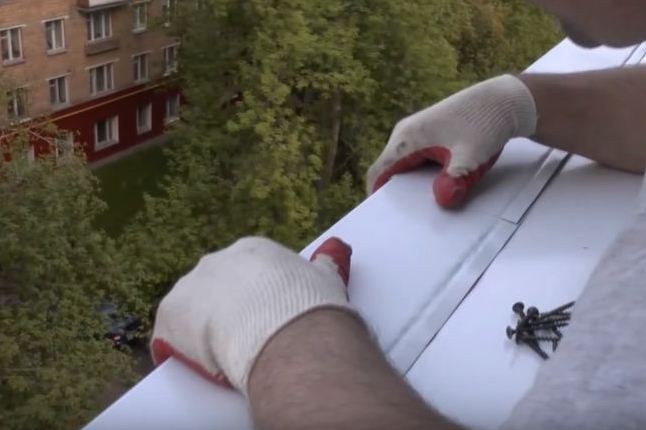
- From above we establish a strong and equal board.
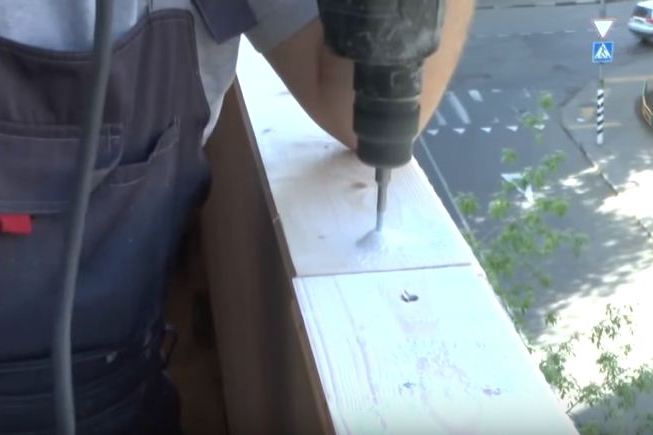
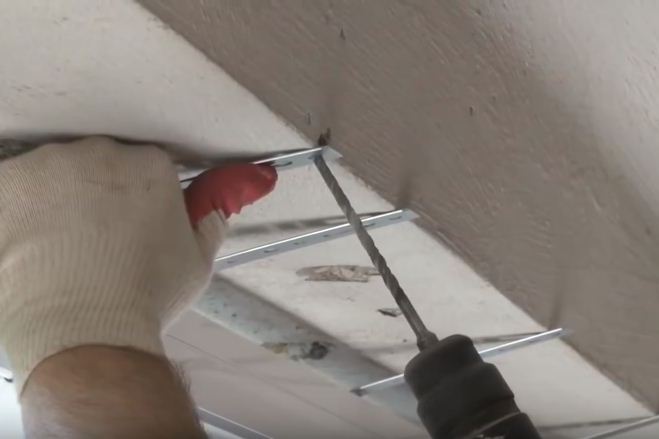
- To fix the rods we drill a through hole through the tree into the concrete parapet.
- We fix the board with nagels.
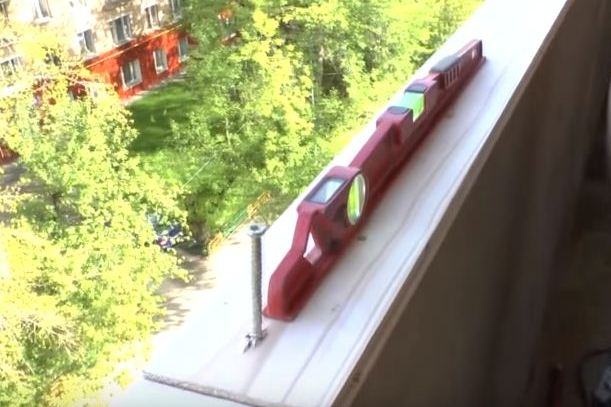
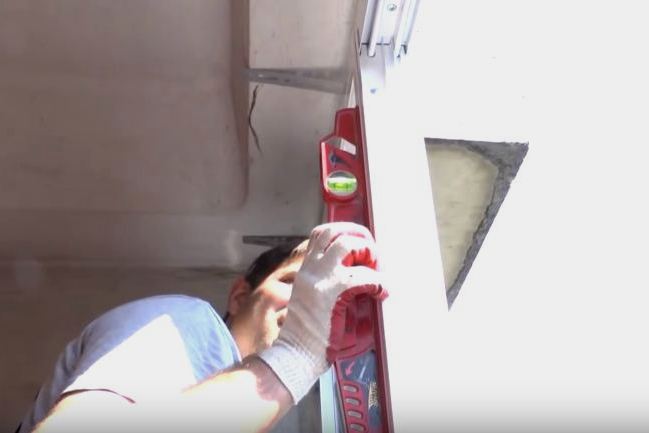
- The accuracy of the work is controlled by a quality level.
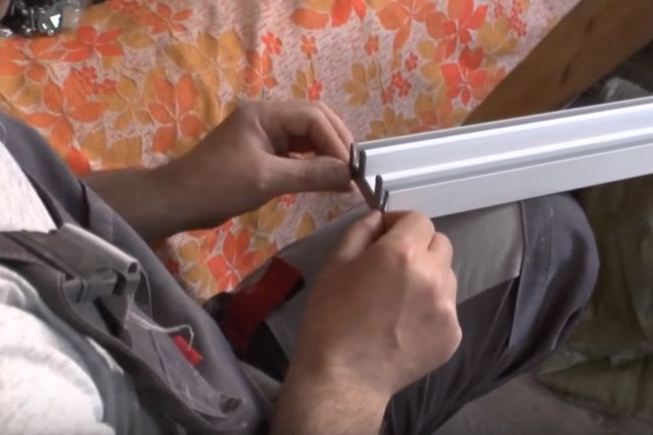
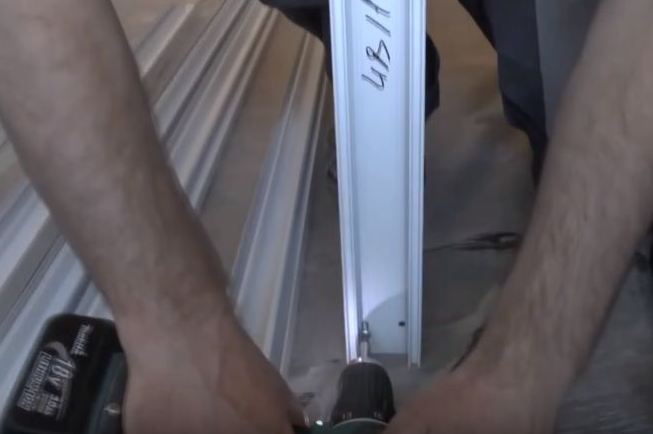
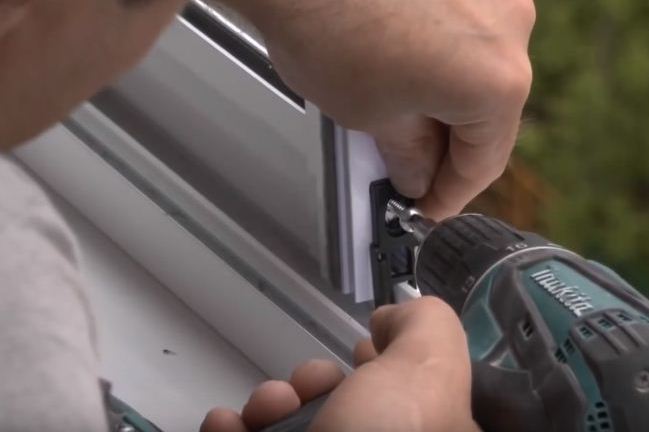
- We assemble the window frames from the aluminum profile. We fix the gasket on the sliding glazing guides.
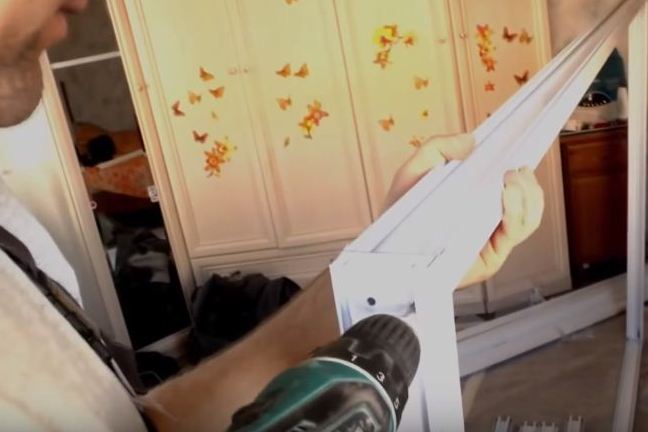
- From individual blanks we assemble the structure, fixing them firmly with self-tapping screws.
- At the junction point, it is necessary to screw at least two screws.
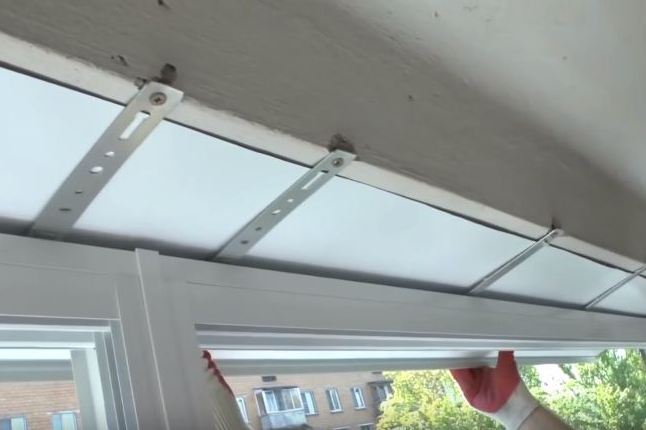
- After assembling the frame, fix the mounting plates to it.
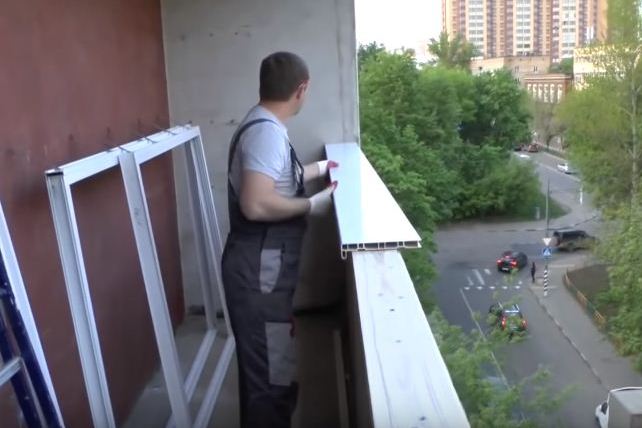
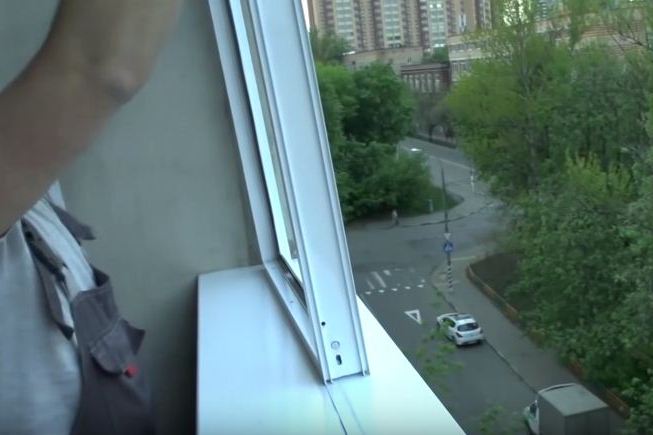
- On the parapet we install a plastic window sill.
- To the wooden beam it can be easily screwed with screws, adhering to a step of 20-30 cm.
- If you are concerned about how to properly and reliably glaze the balcony, protecting it from rain, you should not forget about the installation of such elements as peaks and ebbs. Metal casting is fixed with an overlap to the window sill.
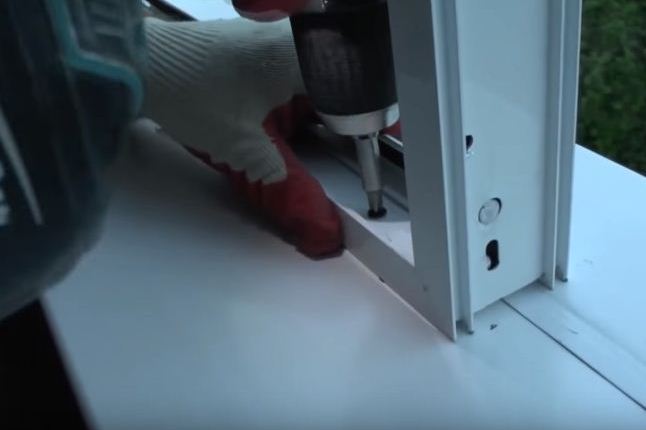
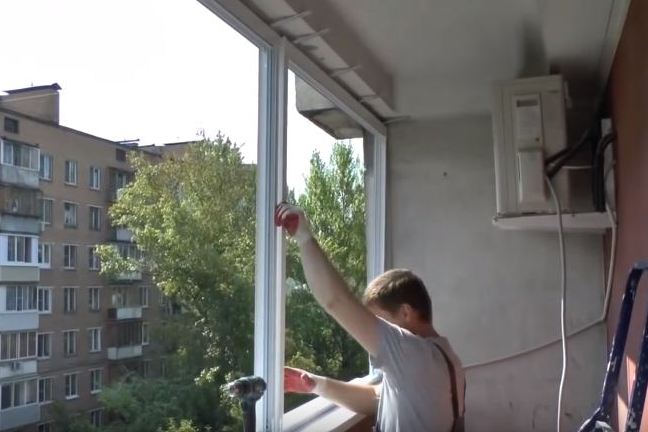
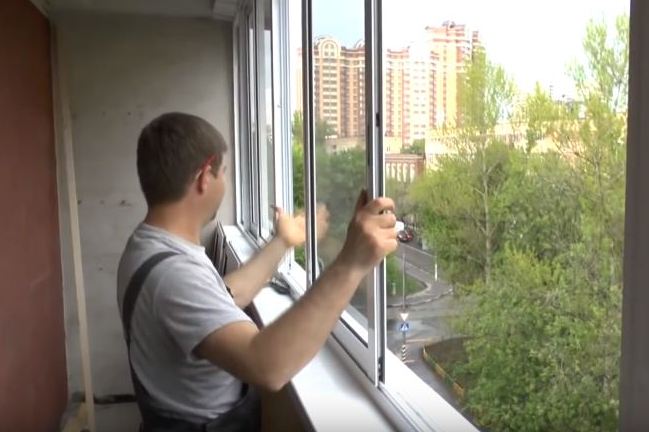
- You can proceed to install the assembled frame, which we put on top of the seat.
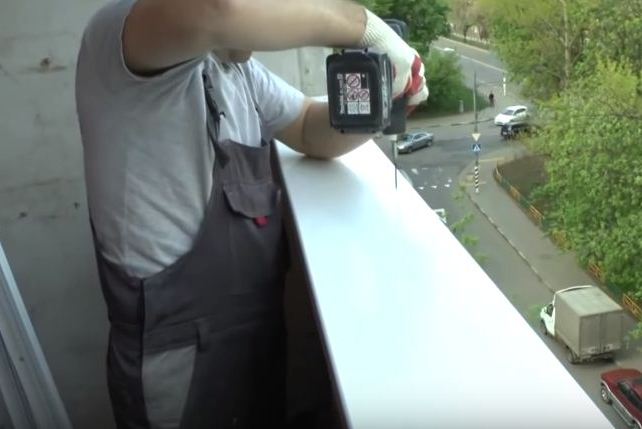
- To the parapet and the window sill we fix it with screws.
- If there are several frames, then they are fixed with screws together.
- We install the last frame.
- Fixing the frames among themselves produce, both in the upper and lower part of the window profile.
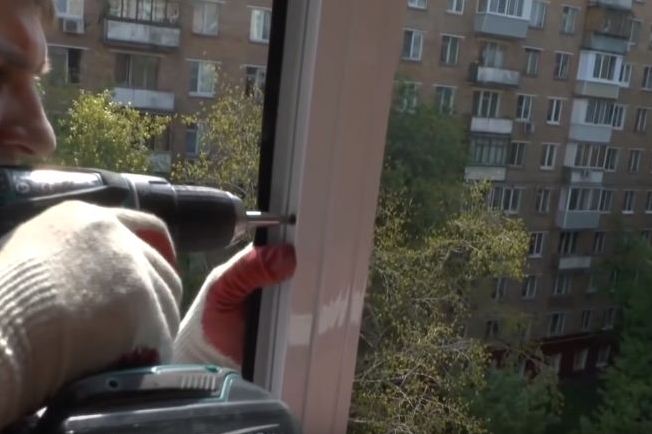
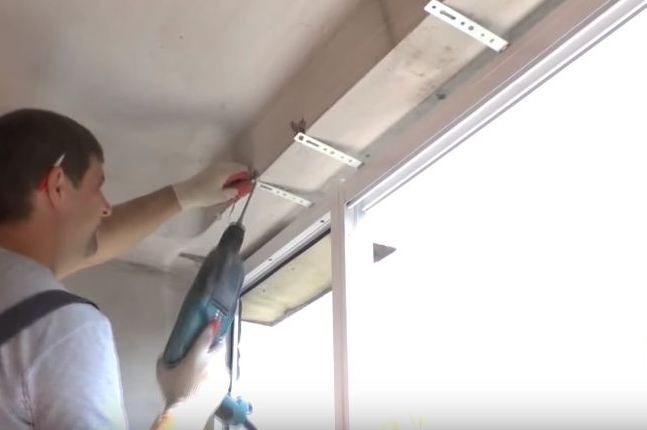
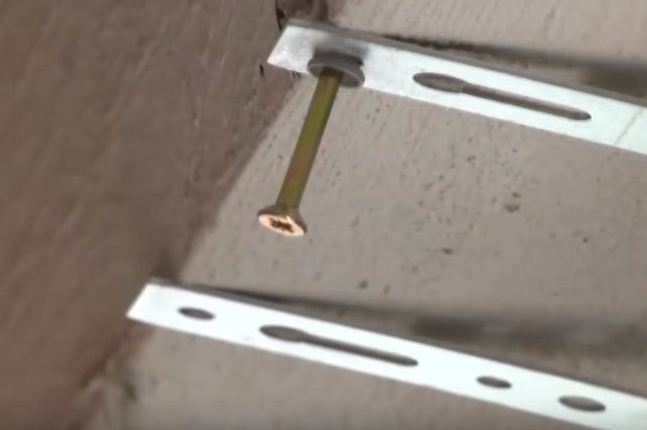
- We fix the frames at the top to the concrete slab.
- In this paper, it is best to use dowel-nails.
- In the case, as it is better to glaze the old balcony with your own hands, it is always necessary to check the vertical position of the structure with the help of a level.
- Similarly, we fix the other frames at the top.
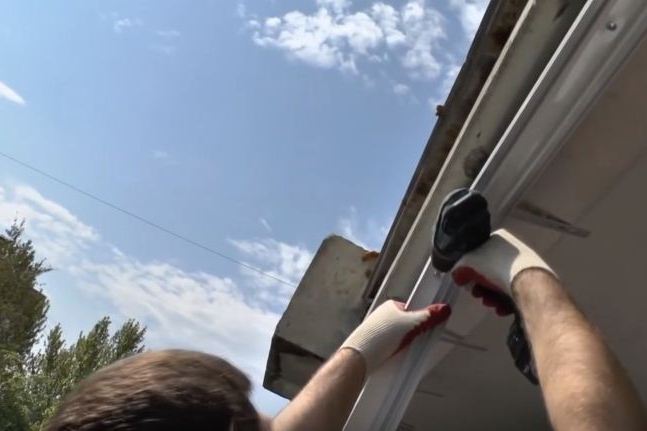
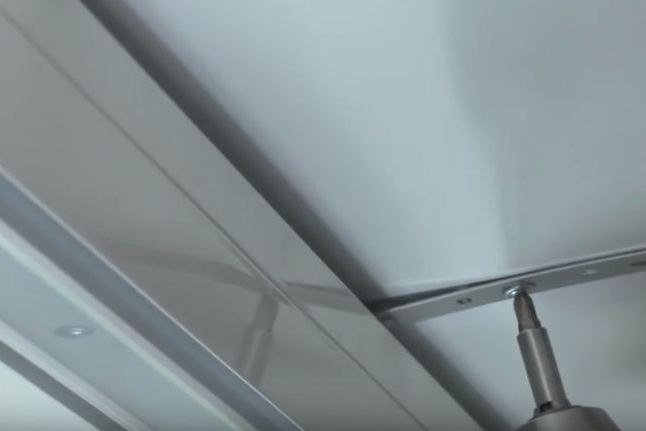
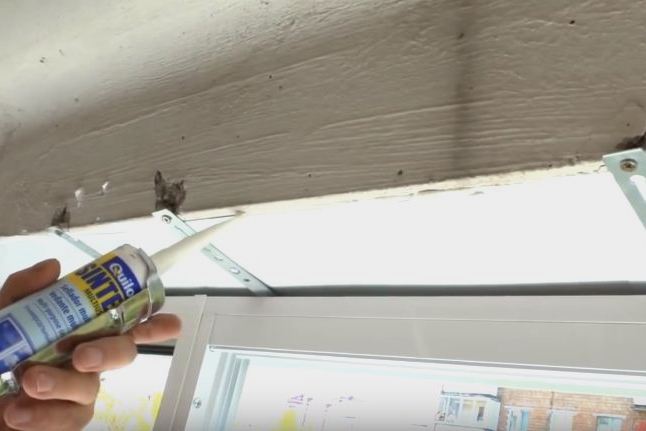
- Mount the visor, start the workpiece until it stops.
- The visor is fixed to the ceiling through the mounting plate.
- After installation, the joints between the visors and the wall should be sealed.
- We mount the window sashes.
- We fix the limiters.
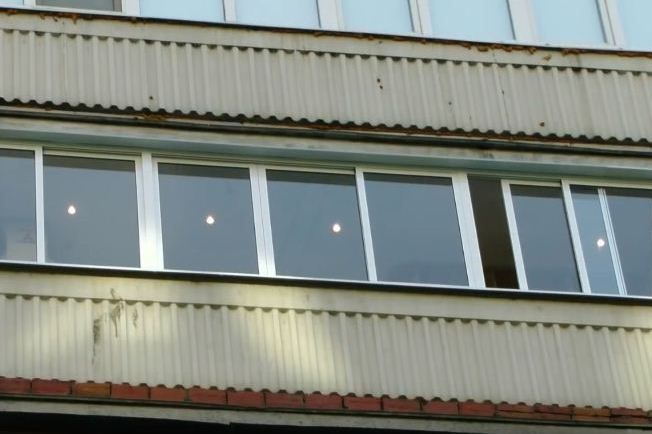
- Glazing with sliding windows of the balcony is completed. We hope that our instruction on how to beautifully and quickly glaze the balcony with your own hands, you will like and bring help in the work ahead.