If you want to decorate your site with cute paths or paths, it is better not to find a material better than a sidewalk tile. Unlike competitors such as asphalt or pavers, this cover is easier to mount. In case of damage, the affected part can be removed and replaced with a new one without much effort.
Thanks to this practicality, many people who are interested in updating their landscape quickly and economically are interested in how to correctly lay paving slabs in the country cottage or in the large courtyard of a private house . In addition, here your imagination has no boundaries.
There are several ways how to lay a paving slab. You can lay a pattern of diagonal, parallel or semicircular lines, combining segments of the most diverse shapes and sizes.
In our master class we will show you how to put figured paving tiles in the simplest way - even parallel rows. First of all, determine the amount of material required. Based on the measurements made, one track has an area of 8x1.5 = 12 sq.m, for its finishing it is necessary to purchase the same amount of tiles, plus 10-15% of the stock for possible pruning or marriage.
The thickness of the material is chosen based on the expected load. Since we ennoble the adjacent territory, and not the roadway, we choose plates with a thickness of 40 mm. It is very important that the surface on which the tiles will be laid is perfectly even. To do this, choose what it is better to put the paving slab. The most optimal option is a substrate of crushed stone, sand and cement-sand mixture. You can use just sand and gravel, then the laid path can be disassembled and moved to another place. Now, when we decided what it is better to lay the paving slab, we start to work.
First we will prepare the necessary materials:
- paving slabs 40 mm thick;
- curb height of 120 mm;
- crushed stone of fine fraction - 10 х 20;
- sand;
- cement;
- building level;
- rubber hammer;
- dense rope;
- putty knife;
- economic shovel.
How to lay a sidewalk tile - a master class
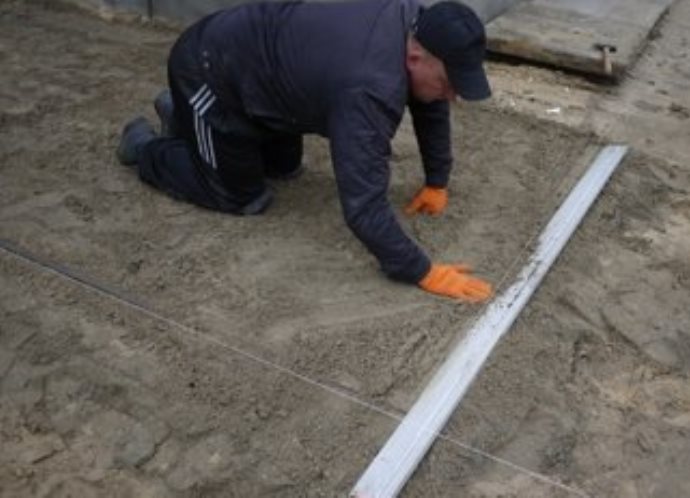
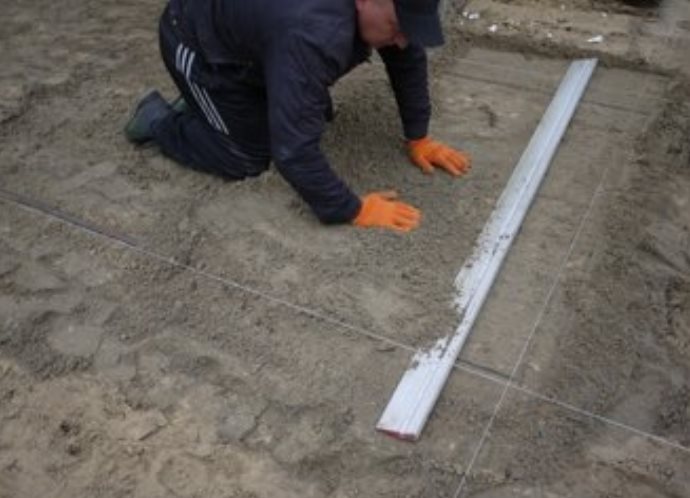
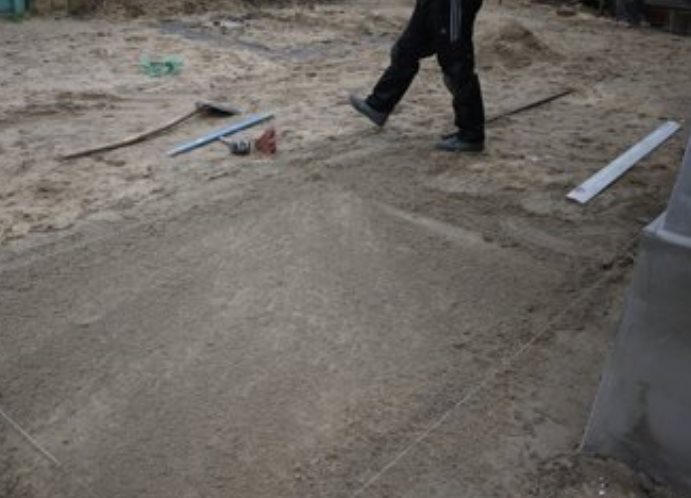
- In order for the track to be level, along the perimeter of the future laying, according to the markings, we set metal pegs and pull the rope evenly over them.
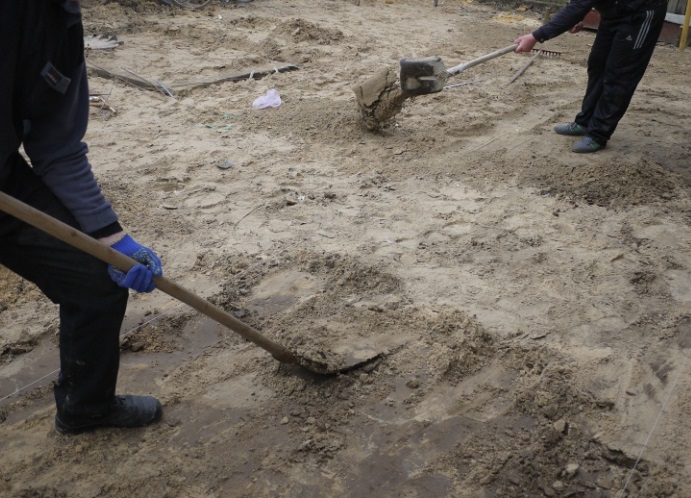
- Next, using a shovel, we make a notch for the future foundation, a depth of 15 cm.
- Fill the notch with a layer of crushed stone 10 cm thick.
- We fall asleep all with sand 5-7 mm thick.
- Before you put your own hands on the paving slab, make a dry mixture of sand and cement in a proportion of 3: 1, and evenly distribute it over the surface.
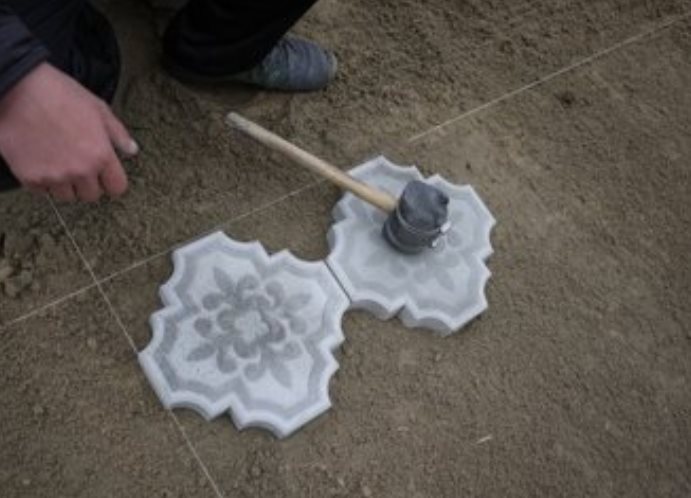
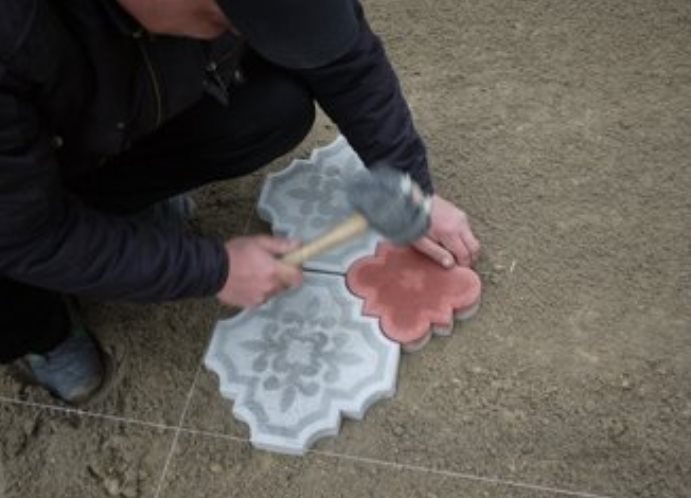
- Tiles in the first row along the edges are lubricated with cement mortar to protect against sprawl. To rainwater does not stagnate and could drain from the surface, the path is stolim at a small angle, on the order of 3-5 degrees, focusing on the tensioned thread.
- Hammering the tiles in the foundation to a small depth (at least half of its thickness). If it turns out crookedly, take out the tile, add a little sand and put it on a new one.
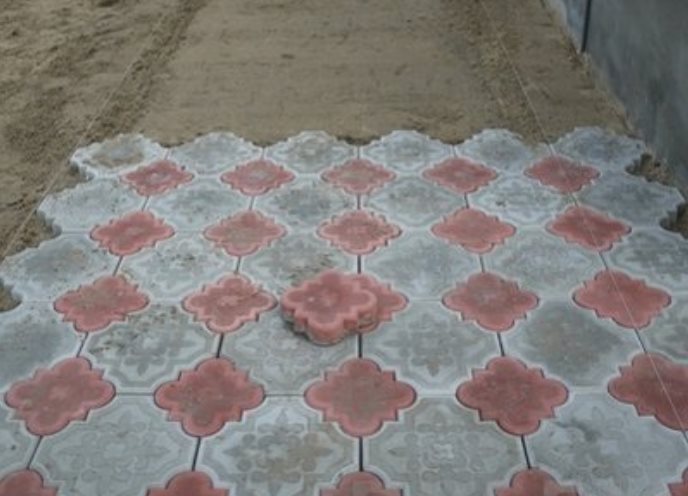
- The distance between the tiles is respected in the chapels of 3-4 mm, so that the rainwater through the gaps could go into the ground. It is important to make the first rows very smooth, the entire future laying depends on them.
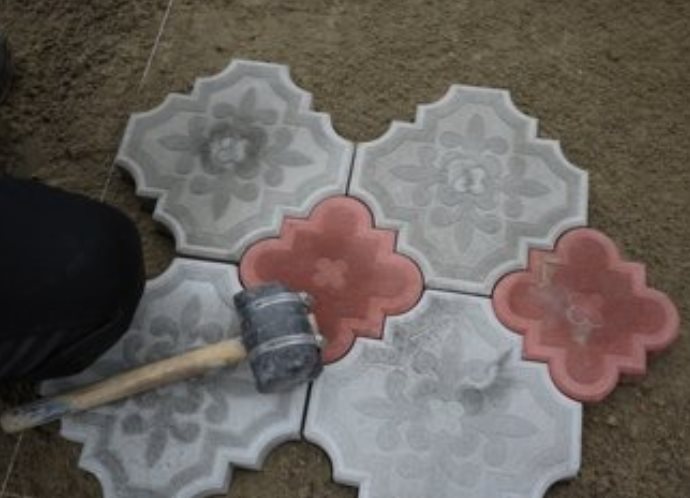
- Repeat the path once again with a hammer.
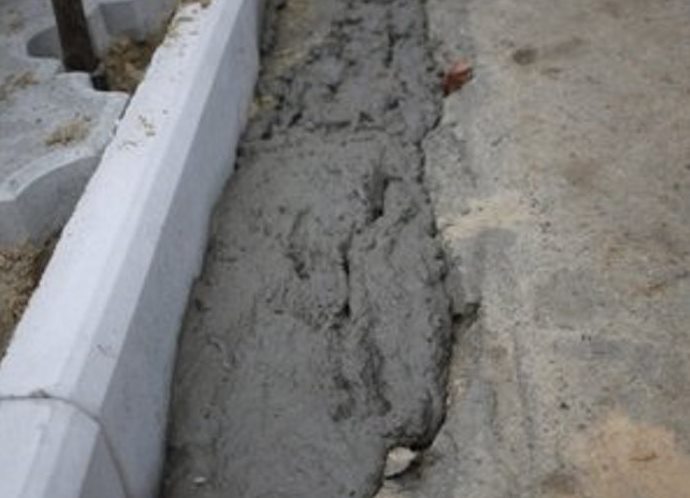
- After we have finished laying the paving slab, we establish curbs along the edges of the paving. They will keep the plates from sprawling. We firmly concret the curbs from both sides with cement mortar.
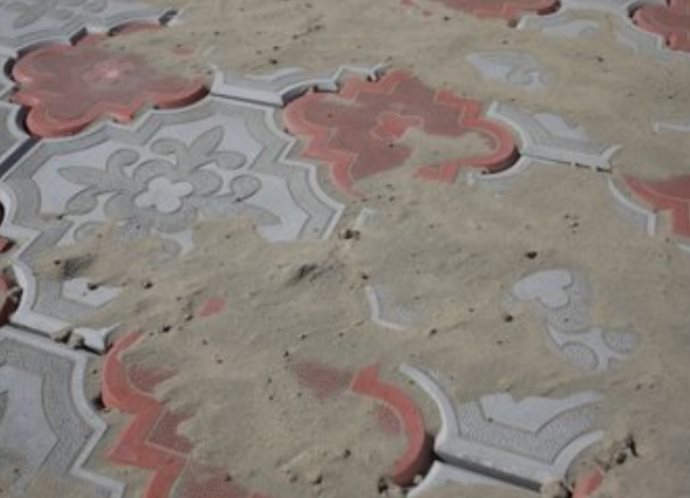
- Further, the tile is sprinkled with sand and left for 2 days, so that the seams are completely filled and compacted.
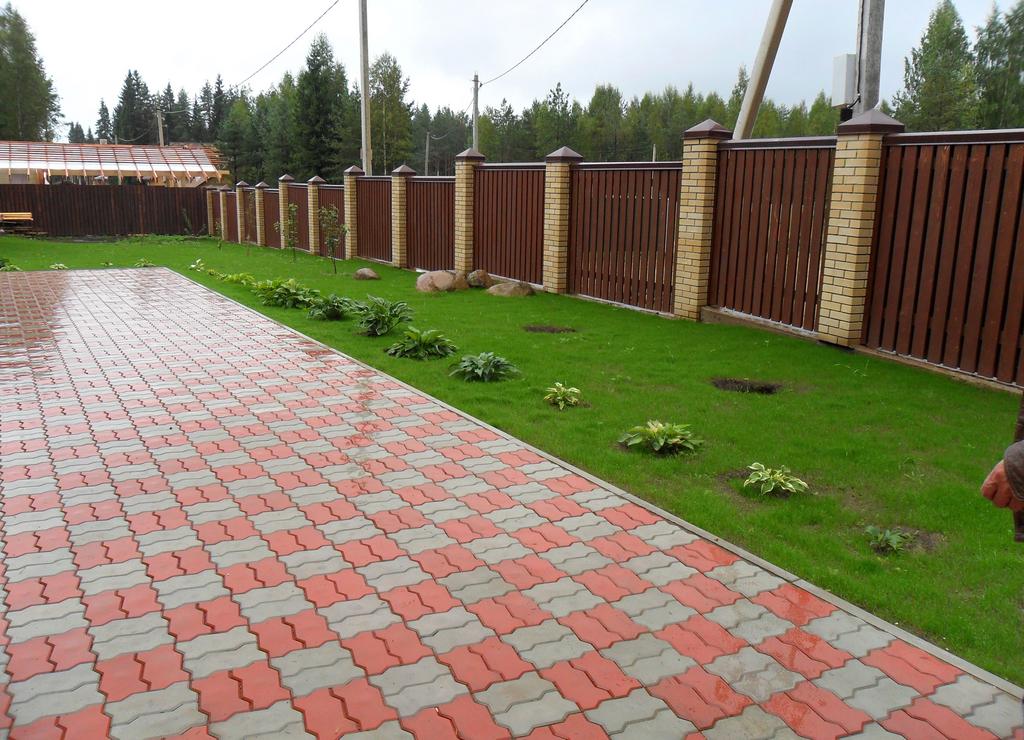
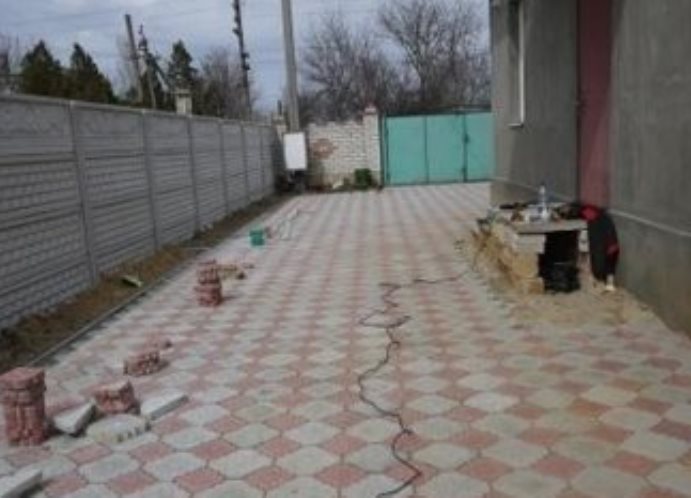
- That's what we got. As you can see, laying the paving slab is not so difficult.
| | | |