Loggia is better suited to turn it into one warm room than a standard balcony. It is somewhat larger in size and is part of the building. The floor will easily withstand small loads. Walls adjoin to warm rooms and heat losses are much less. How to insulate the ceiling on the loggia, so that even in the cold period feel comfortable here? We will try to help you a little. Let's give an example of similar repair works on the improvement of this small room.
How to insulate the loggia yourself?
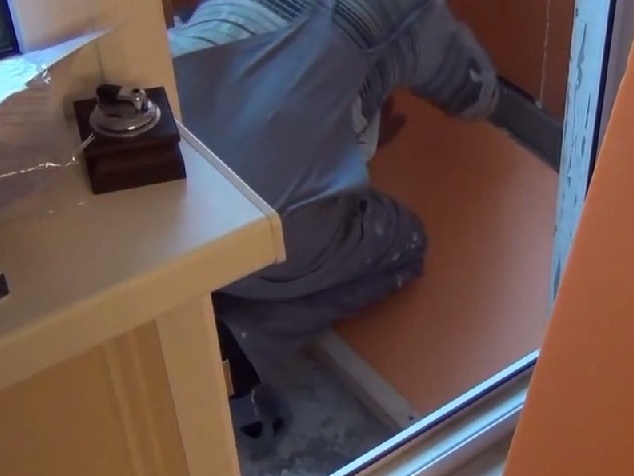
- First you need to clean the surface on the floor and walls, removing all unnecessary ledges. We use for this purpose a perforator with a shock nozzle.
- We fix foamed polystyrene on the walls.
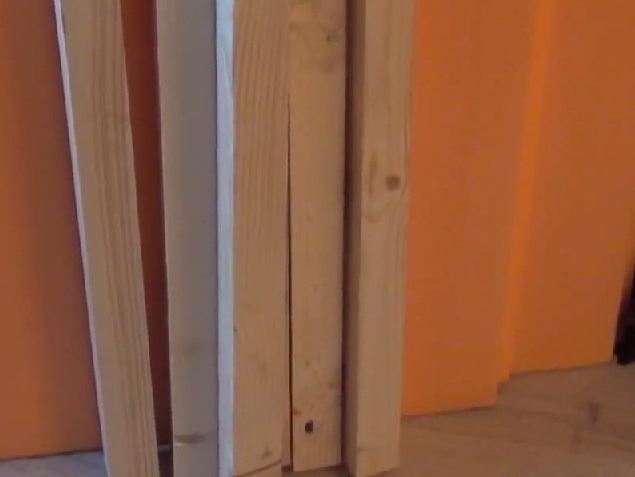
- Before the insulation of the floor we lay on it the logs that we make from the wooden bars. We cut them with the help of an electric jig saw or another tool you have.
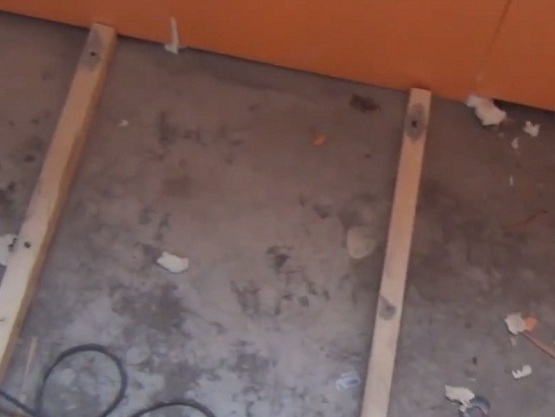
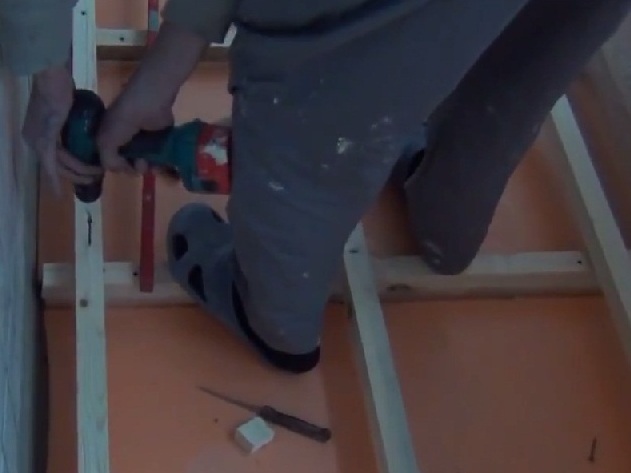
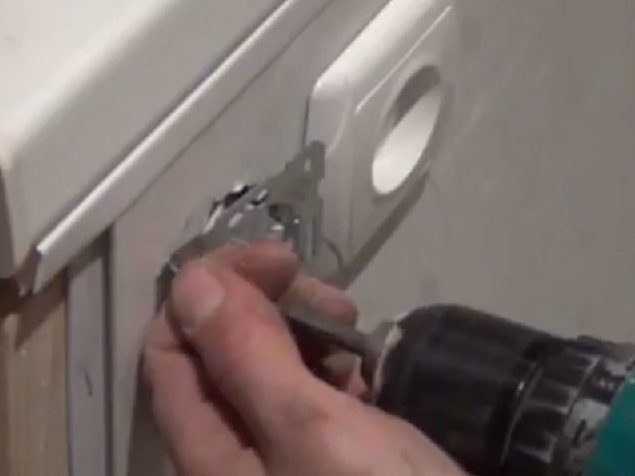
- With the help of a drill, we perform openings in the floor and blocks, fix the lags using dowels and screws.
- Thus, on the floor we set all the remaining bars. We distribute them on the floor surface evenly.
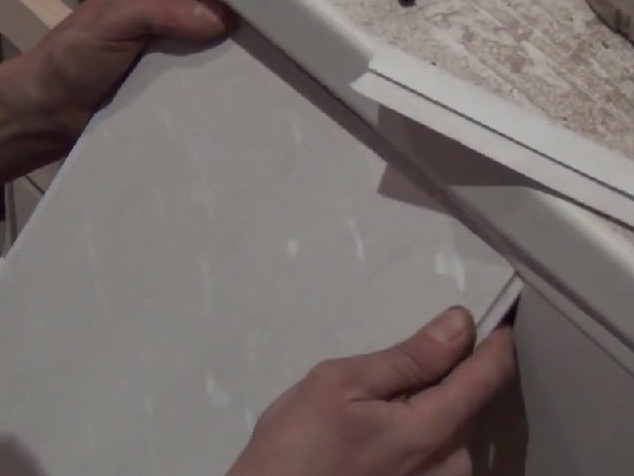
- What is better to insulate the loggia? Now there are a lot of special materials, but between the lags we are fixing foamed polystyrene. It may be necessary to cut the sheets a little to the width or shorten them. We mark them according to the distance between the lags. Polystyrene can be easily processed, you can use a simple clerical knife. We install it between the lags, the ceiling of the loggia, the parapet, thus warming all the cold surfaces. The wall on which the balcony block is located does not need to be insulated .
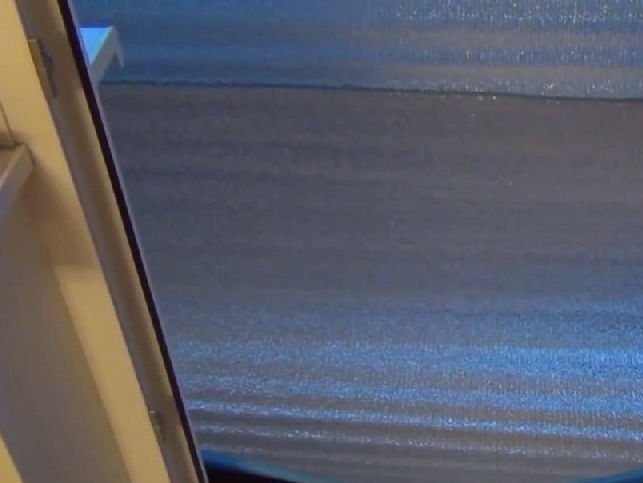
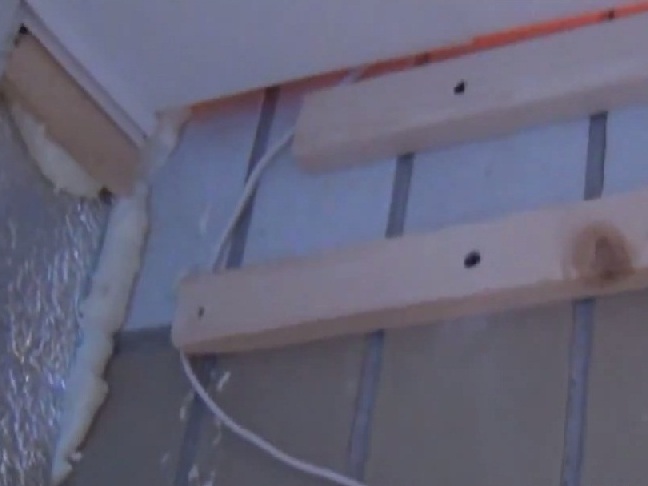
- Next, we attach the material with a foil coating. The foil must be turned inside the room. Many ask the question: "Than to warm the walls of the loggia from the inside, so that a special thermos is formed on the balcony?" It is the foil that reflects the warm rays coming from the apartment back to the loggia, creating the desired effect for us.
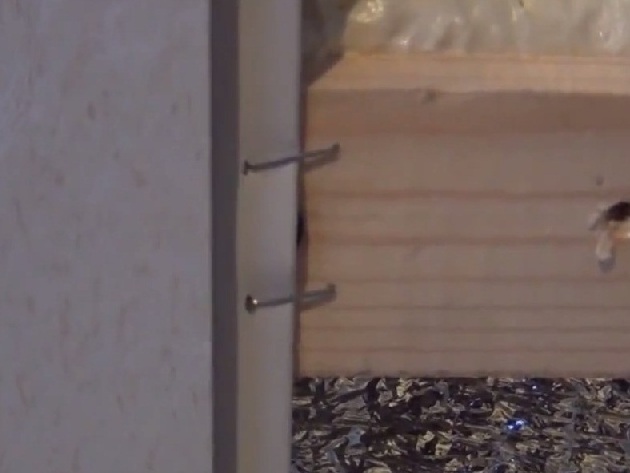
- It is not necessary to strengthen this insulation material. Even small nails are suitable for this. Finishing rails, which we will use later, reliably press this coating against the wall.
- We pass again to the floor. We already have short lags, now we set long lags. So we raise the level of sex.
- We put them strictly according to the level. Perhaps you initially floor was not even and you will have to put in some places stripes of different thicknesses to level the surface. First, we set the lag not tightly, we put the substrate of wood in the right size, and only then we fasten it completely.
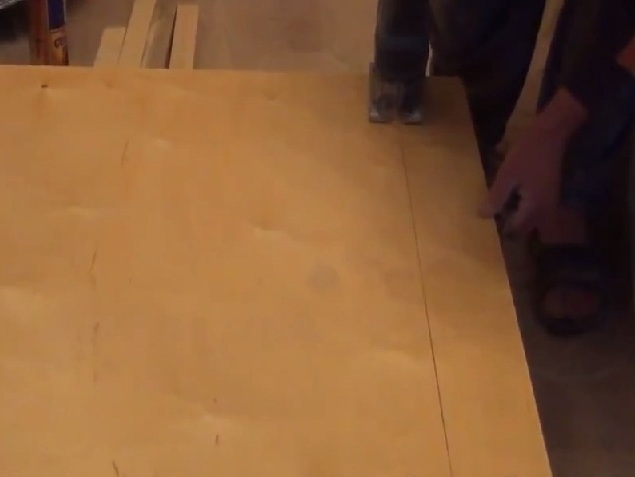
- We cut the plywood into billets that will match the size of our floor.
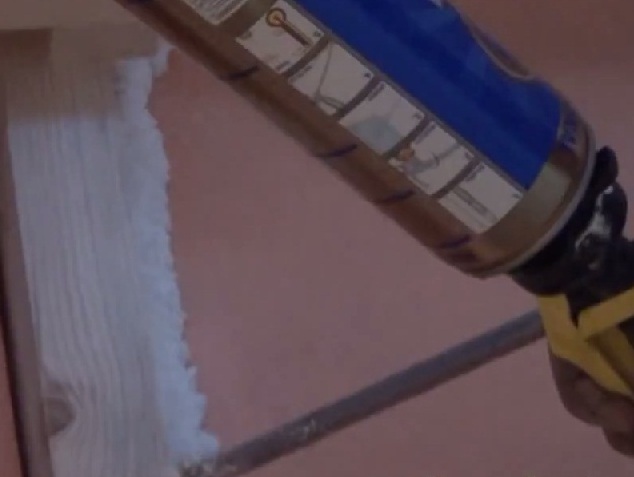
- We blow out all joints and crevices with mounting foam.
- We warm the loggia ourselves further, settling the foiled material over the lag. Do not forget that the mirror surface was turned inside the loggia.
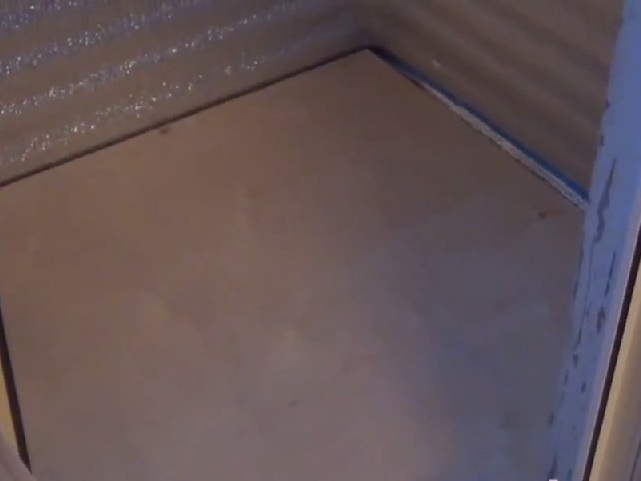
- On top of the heater we put sheets of plywood or chipboard. In this case, we are using previously harvested plywood. To the lags it is fixed with usual screws. It turns out an even rough floor.
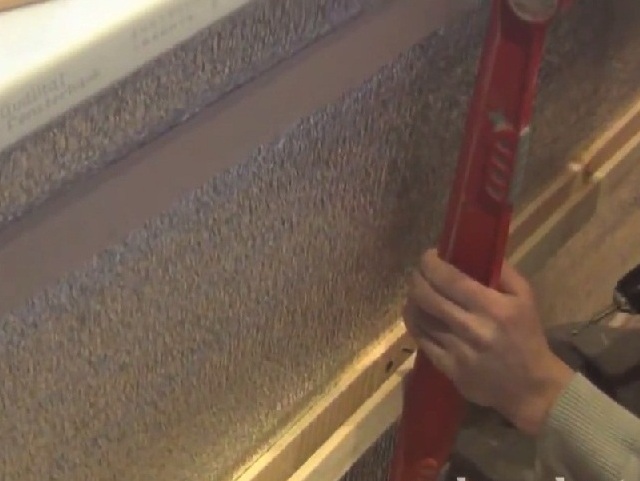
- Now you need to fix the racks for the frame on the walls. To the future surface was even, you will have to use the building level.
- Wall panels to the racks nailed with a stapler.
- We paste the wall panel into the starting profile, slide it into the groove of the previous panel, and nail it on the other side with a stapler.
- The wires are hidden inside the wall behind the panels.
- Outside we only output the socket and switches. On the ceiling we install spotlights.
- After finishing work with the walls and the regiment, we proceed to laying the laminate.
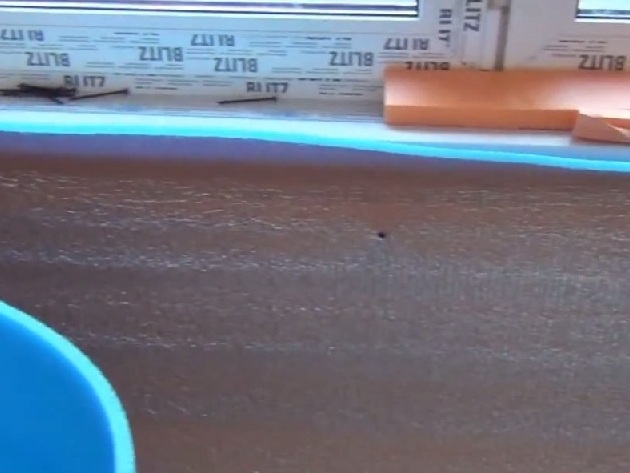
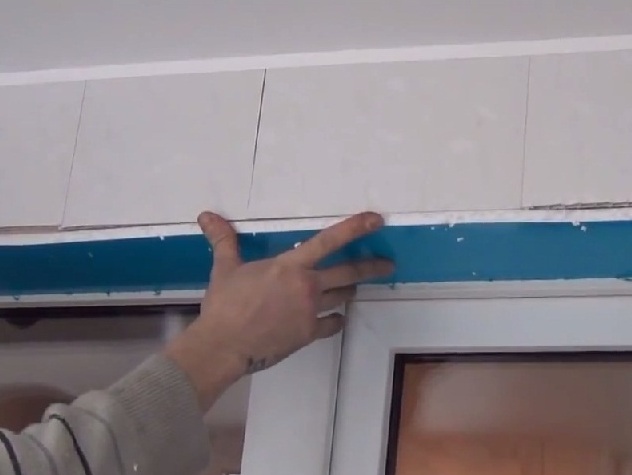
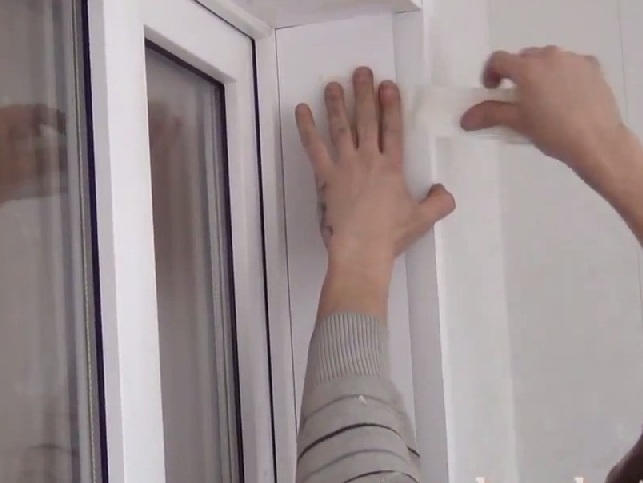
- On the windows set slopes. They are made of the same material as the windows - sandwich panels.
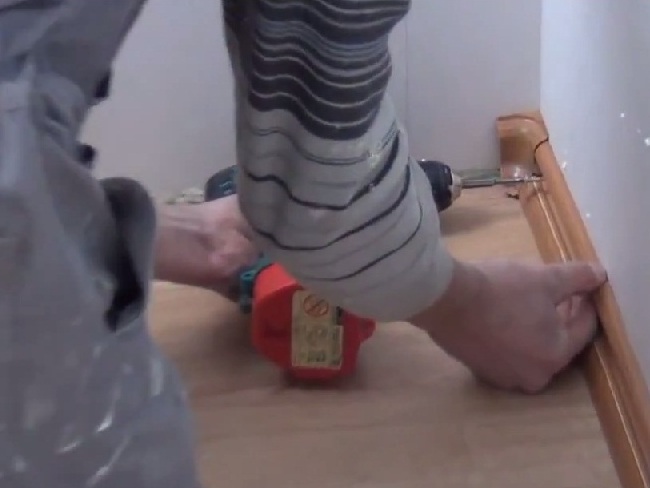
- We fix on the floor skirting. It is better to buy blanks with the cable channels made inside. In the inner cavity of such skirting boards are well concealed the heads of screws and wiring.
- Decorative corners close the place of docking panels with slopes.
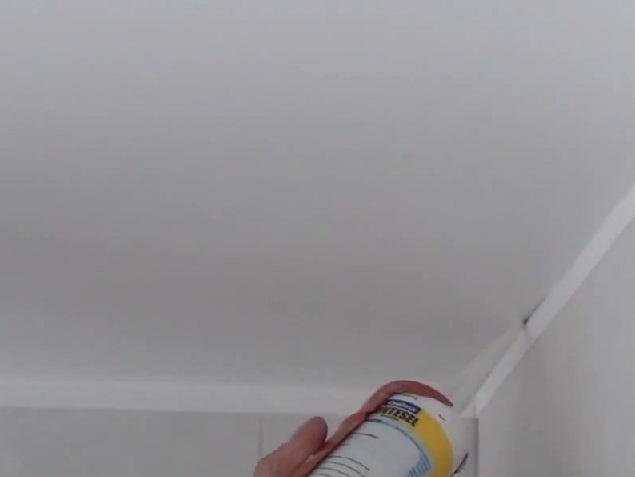
- Minor defects in the form of gaps between the panels can be hidden with a white silicone or liquid plastic. First, we apply the composition to the joints of the tubes.
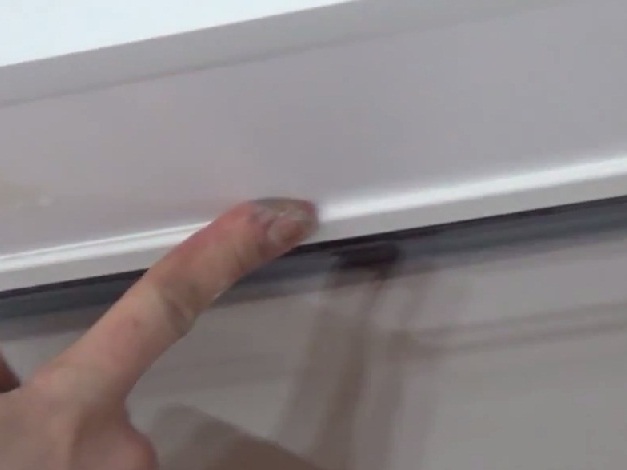
- Then gently level the silicone with your fingers, leveling the surface.
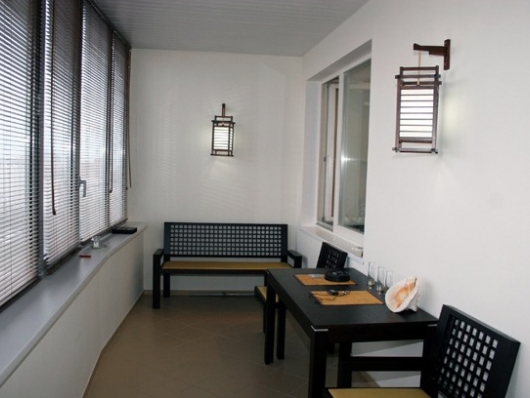
- After such processing our loggia acquires a completely residential and comfortable appearance. All the work on the insulation is completely finished.
You see that quite quickly the cold room turned into a small and cozy room. Now no one will have a question: is it necessary to insulate the loggia? Especially this option will help those families who have to huddle in a small apartment in which even a few extra square meters can at least slightly improve comfort.