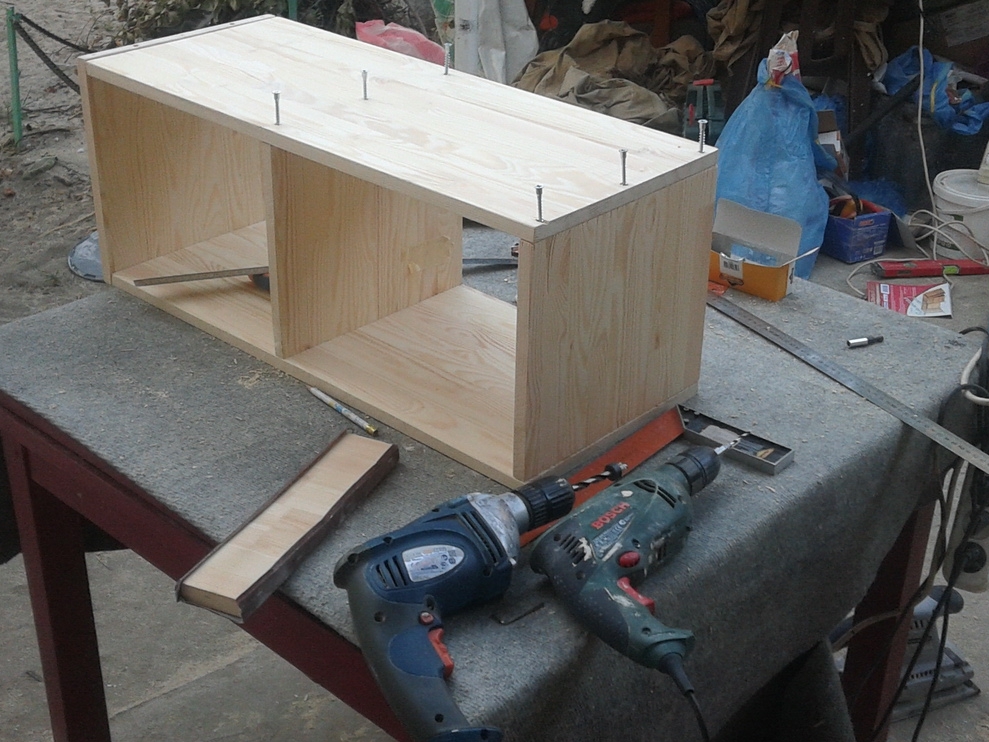
Modern factory furniture very often in quality, size or design does not meet our requirements. For example, you need a small locker on the balcony, but nothing suitable in the furniture salon. You can find a small factory where such things are made to order, but the cost of the product often exceeds all the permissible limits and the purchase becomes extremely unprofitable. Make a wardrobe in the hallway or another room with your own hands - this is a good way out for those people who have a small set of tools, are able to produce simple calculations and have a fantasy. This task is quite feasible at home and our master class is a vivid example.
How to make the closet yourself?
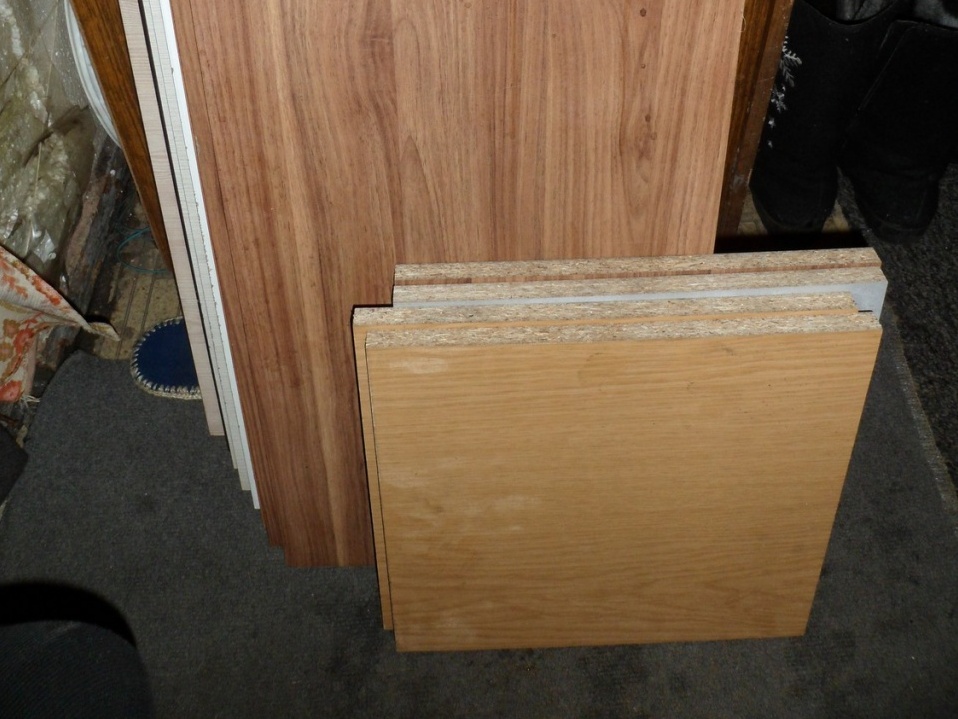
- Each owner in the pantry has several boards, pruning chipboard or plywood. If such "wealth" you do not have, then similar materials at a similar price you will happily give in any furniture workshop.
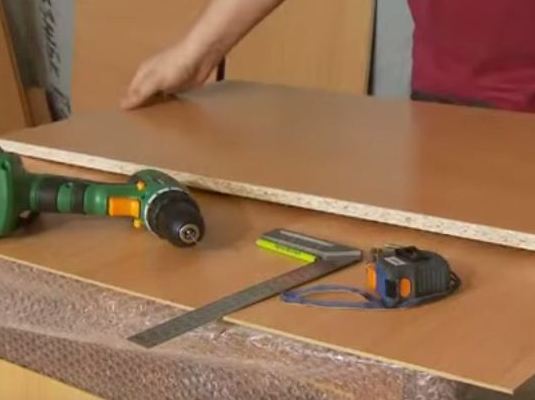
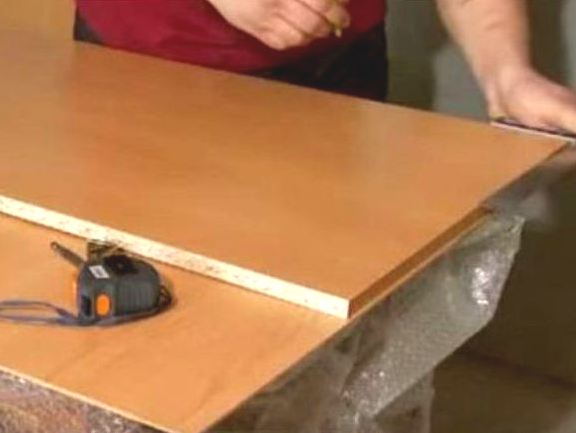
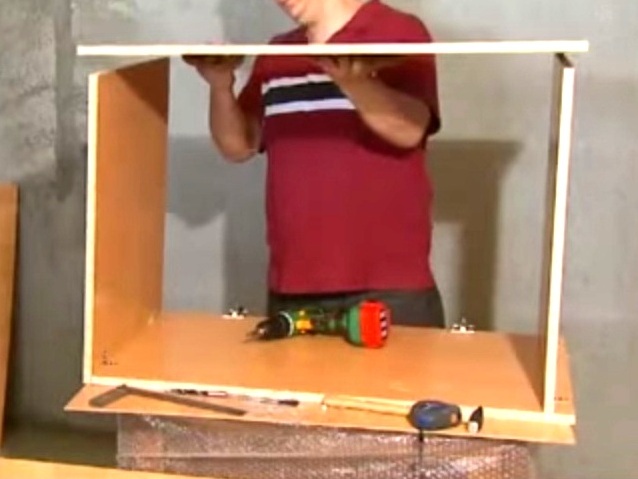
- On a sturdy, level and stable table we will produce marking and assembling. In addition, you will need a pencil, a square, a tape measure, a screwdriver, a jigsaw and a couple of simple tools.
- On the side wall we mark the places of fasteners.
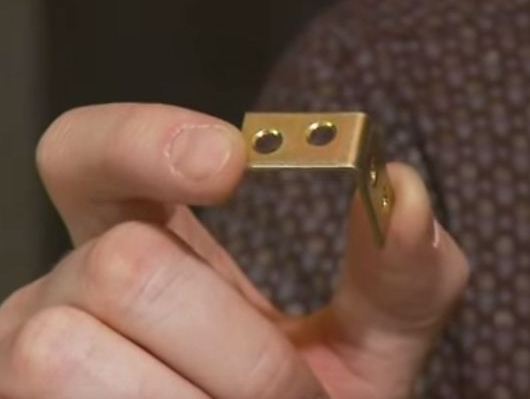
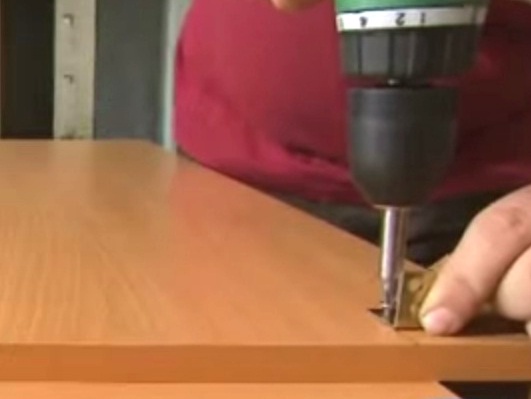
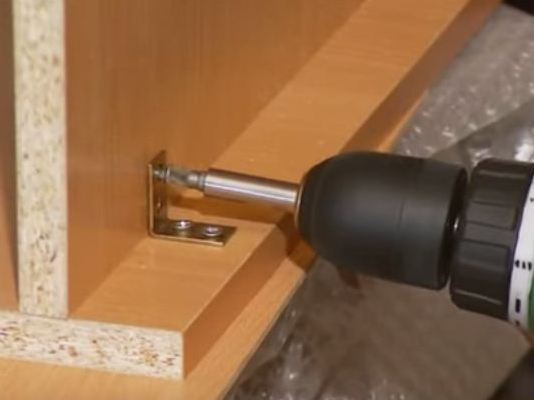
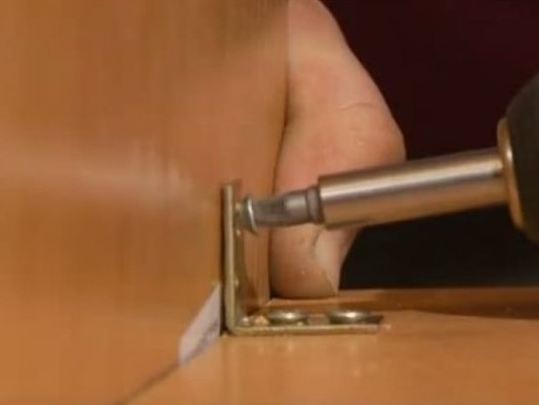
- For fixing it is better to use a metal corner. Its dimensions depend on the dimensions of the cabinet, the larger the product, the wider the angle.
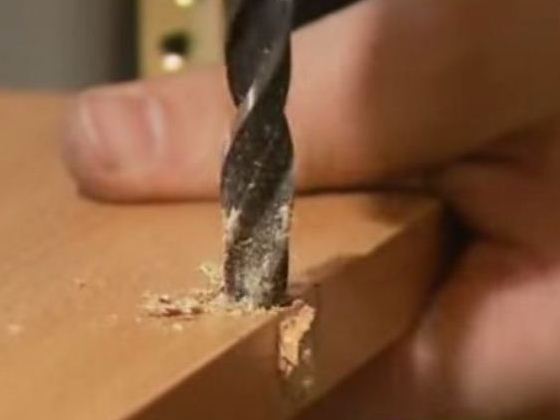
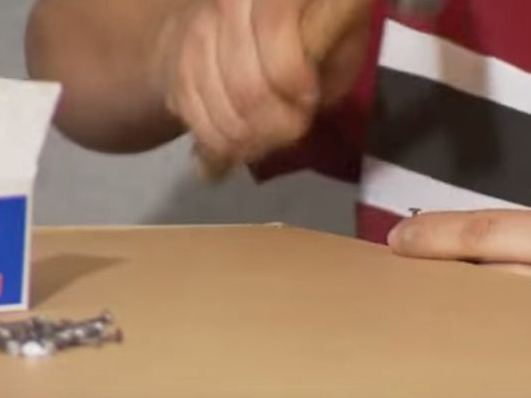
- Corner is installed on the self-tapping screws, having previously made a hole in the chipboard with a drill bit smaller.
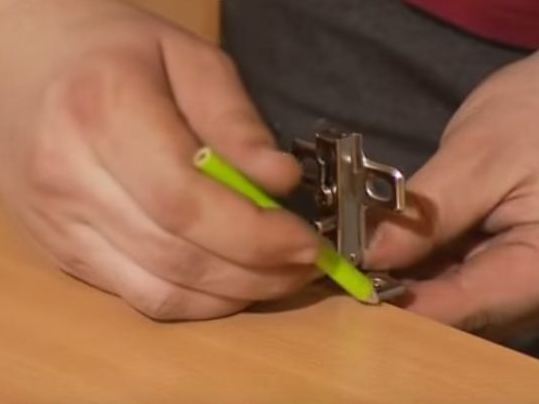
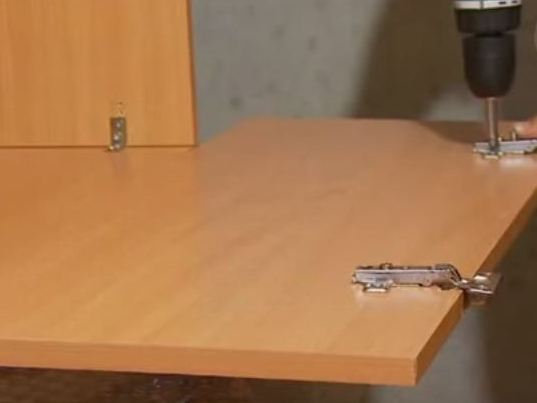
- Leaving 15 cm from the edge of the plate, mark the place for fastening the base of the loops.
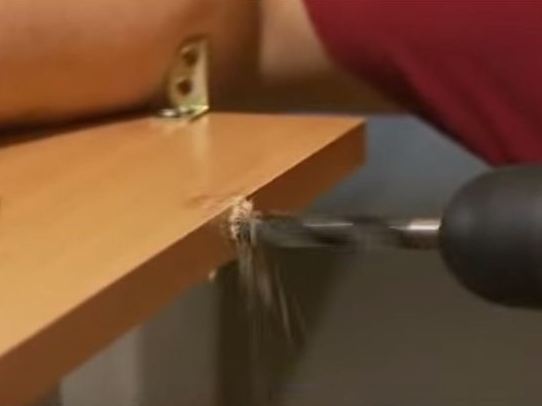
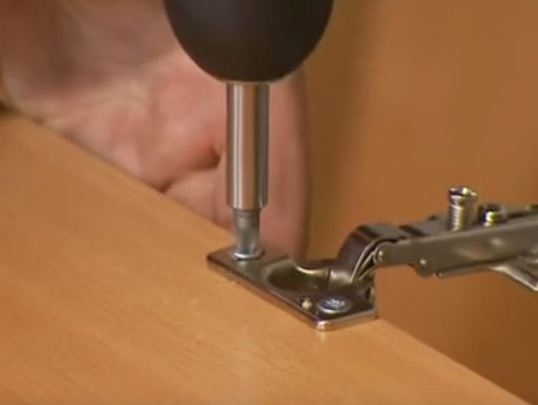
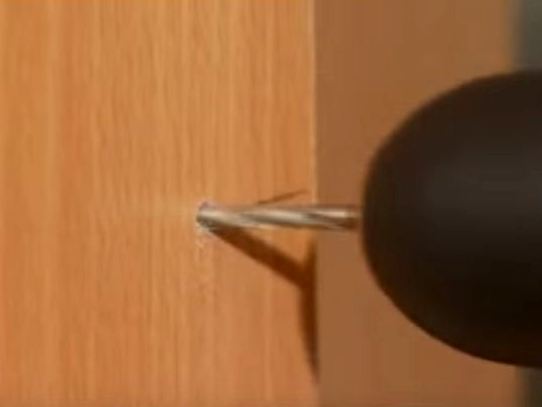
- In the case, how to make doors for the cabinet from the EAF with your own hands, there are some tricky tricks. For example, holes for loops are performed by a special method. First we make drilling from the end of the workpiece.
- Then drill a hole in the plane of the chipboard.
- We clean the groove and fasten the hinges.
- Bottom neatly screwed screws to side blanks.
- In the same way, we attach the lid of our product.
- The second side wall is placed from above, fixing the workpiece with the help of corners and screws.
- The back wall is traditionally made of fiberboard, nailing the cut sheet with small nails.
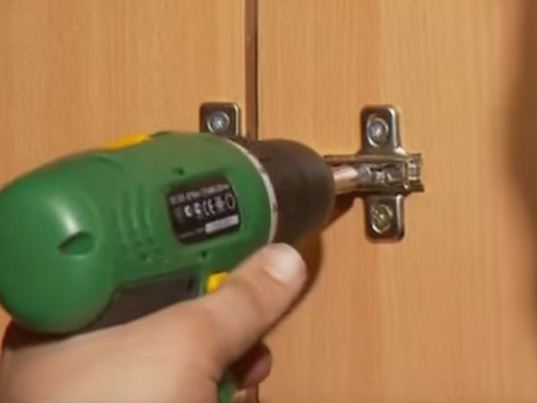
- On the doors we install details of metal hinges.
- We set the doors evenly, and fix the loops on the assembled frame.
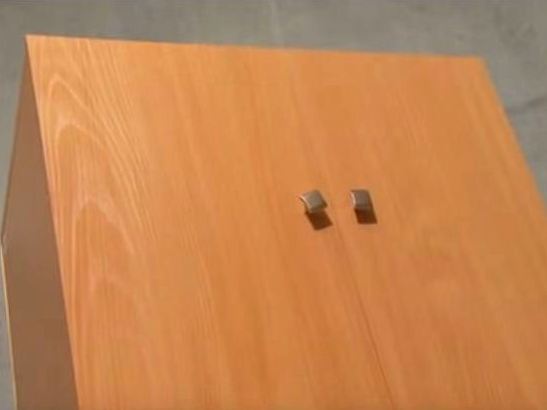
- We drill the holes for the handles.
- We screw the handles and we can confidently say that our wardrobe is ready for the balcony.
You see that for the production of simple furniture from chipboard is not required the presence of complex and bulky joinery equipment. Sawing this material can be done with a manual circular saw or even a jig saw. It is even better to calculate the dimensions of blanks and perform this operation in a workshop with good equipment. Accurate and high-quality cutting is inexpensive, and you do not need to manually perform the most difficult and crucial stage.
We hope that in the question of how to make a beautiful wardrobe with your own hands, everything is clear to you. The described operations are not difficult, and in many respects the quality of the assembly depends on the correct calculations. Thoroughly inspect the installation location of the future cabinet, calculate the optimal number of shelves, doors, make adjustments to the project, as long as it is possible. Then make good drawings, which can be done manually or with the help of good computer programs (Basis-furniture maker, Autocad or others). You immediately get the exact number of confirmation letters, pens, screws, guides, holders for shelves, the length of the edge. All this will help to save material and prevent possible errors.