A postcard is a reminder of the holiday and, of course, I want this reminder not to be left without attention. The best way to present an unusual postcard is to do it yourself, and if inside is hidden a secret, the success of your creation is simply guaranteed. And it does not matter if it's a postcard for a wedding, an anniversary or a New Year . In my master class I will show how to make a bulk card myself.
Three-dimensional postcard from a paper in the technique of scrapbooking by one's own hands
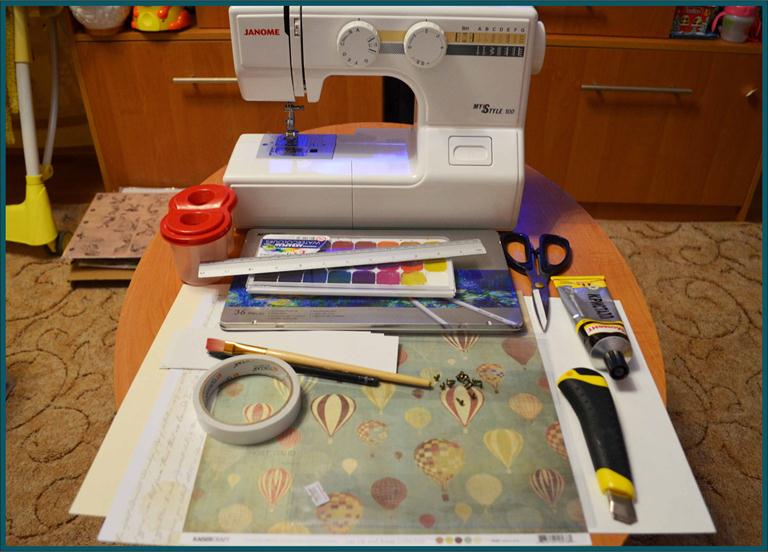
Tools and materials:
- sewing machine;
- cardboard color, cardboard white;
- watercolor paper;
- scrapbooking paper;
- colored pencils, paints, a simple pencil;
- adhesive, double-sided adhesive tape;
- Scissors, stationery knife, tassel, ruler;
- a tetrad cover;
- picture or inscription, brads, ribbon;
- inkpad.
Performance:
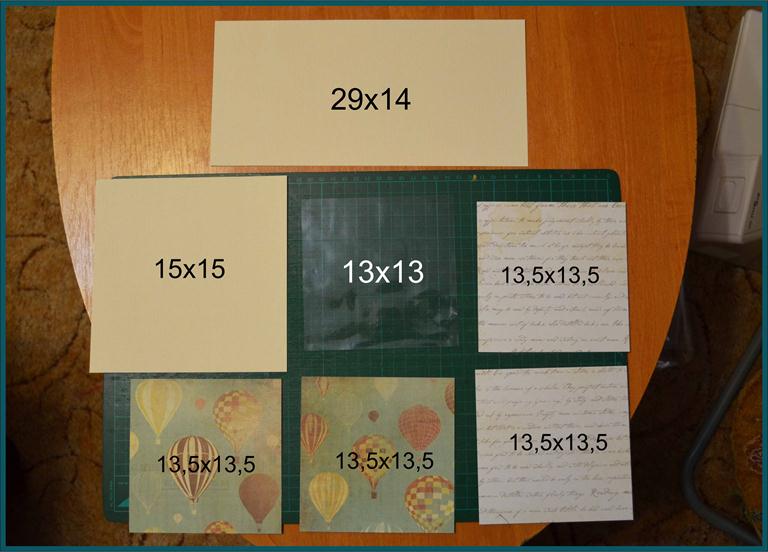
- To begin with, we cut paper, notebook paper and cardboard into parts of the right size.
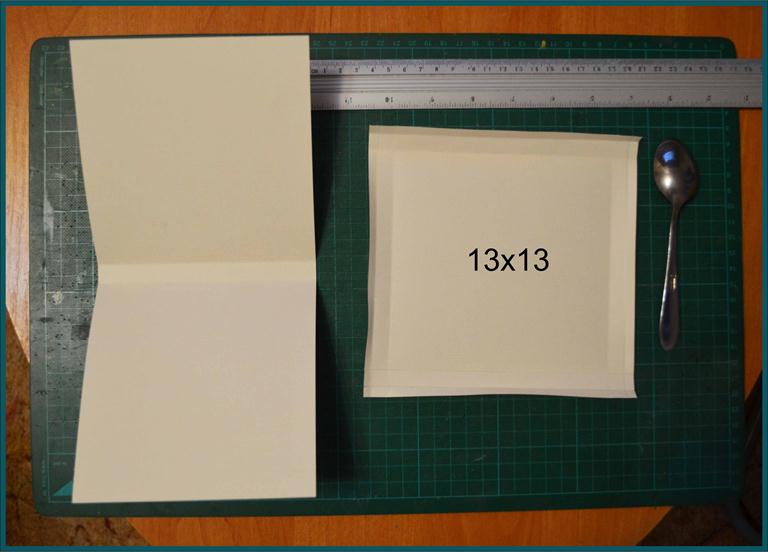
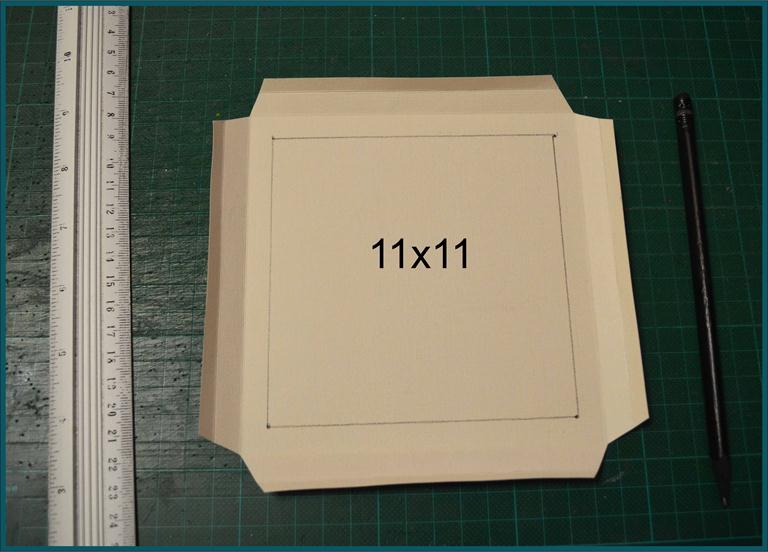
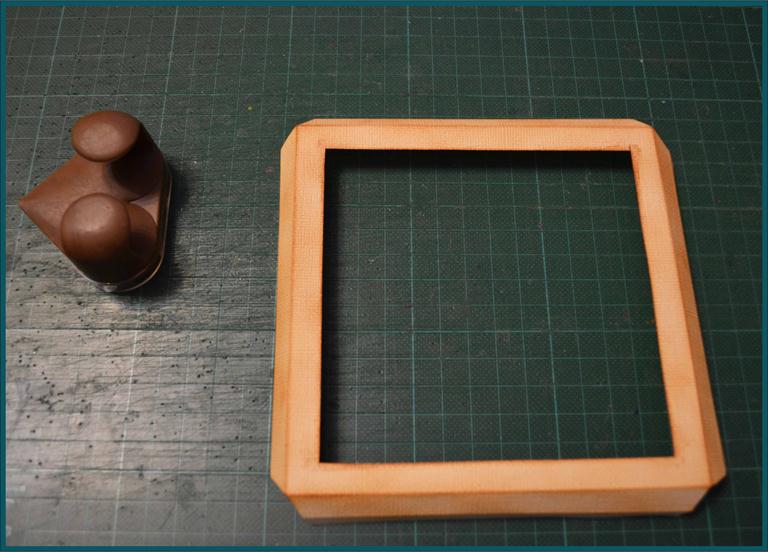
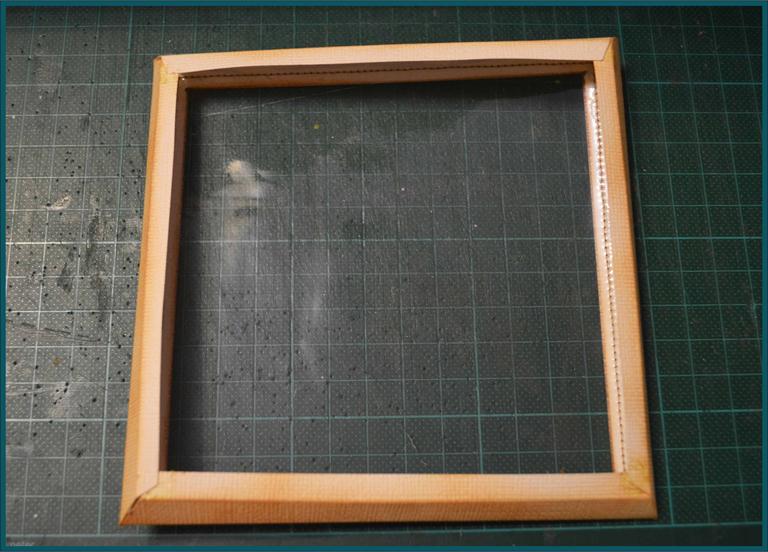
- We use the basis for the postcard and the box for the three-dimensional drawing.
- Should be a box 1 cm thick.
- On the wrong side we draw a square that will become a window.
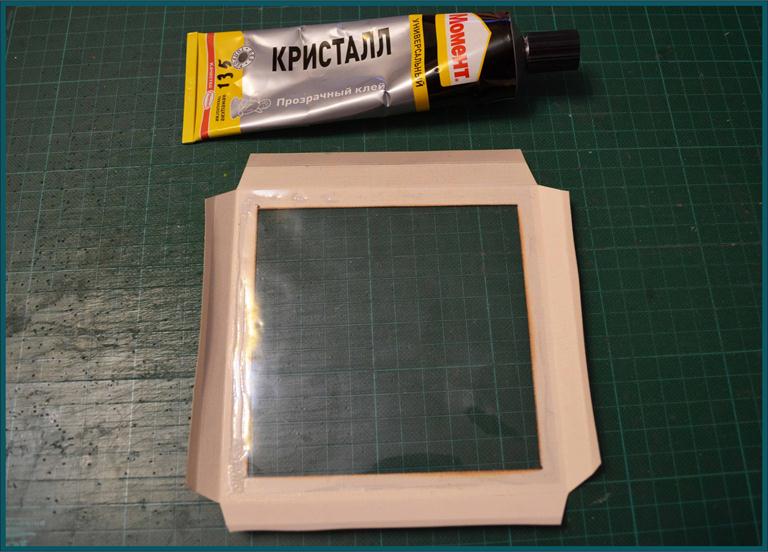
- And, if desired, we shade the box with the help of a stamp pad.
- A square cut from a notebook cover is glued to the box, closing the window.
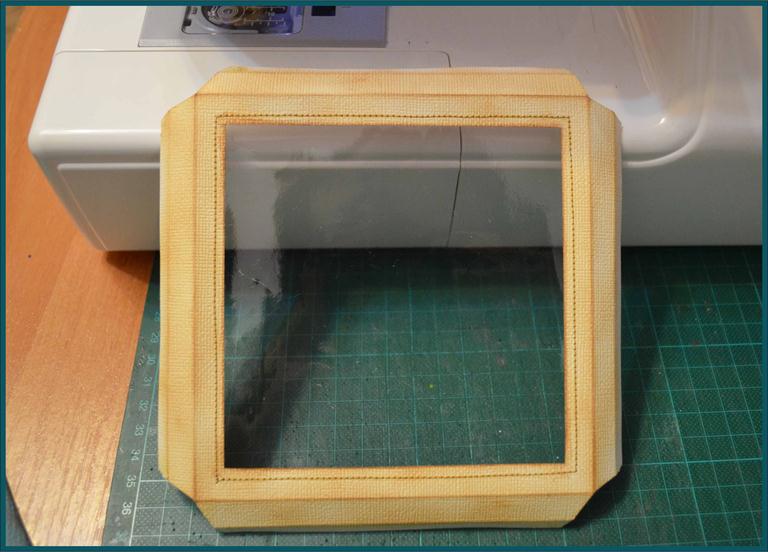
- And then we are stitching.
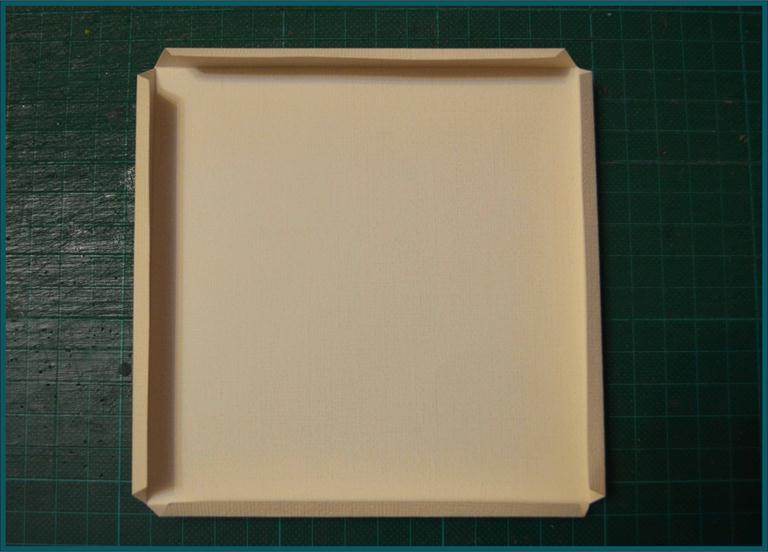
- The last point in the preparation of the box is to glue the corners, fixing the structure.
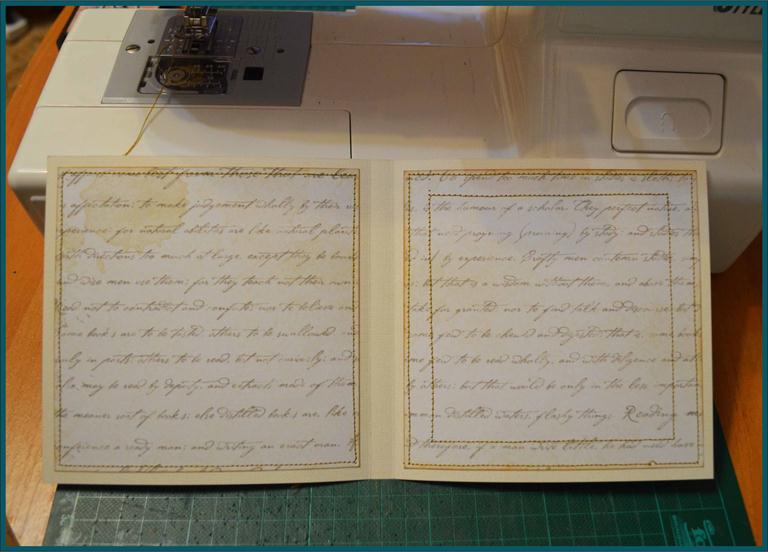
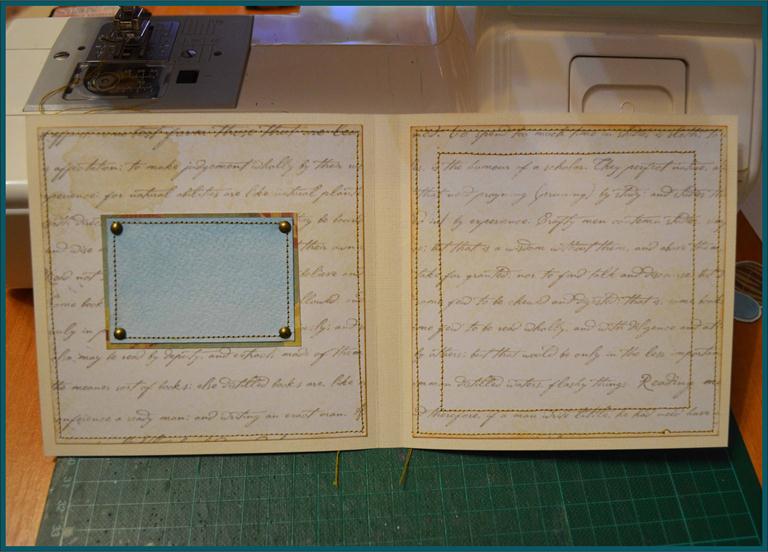
- Now we paste and sew the paper to the inside of the postcard. Because part of the paper will be closed by a box, I stitches twice.
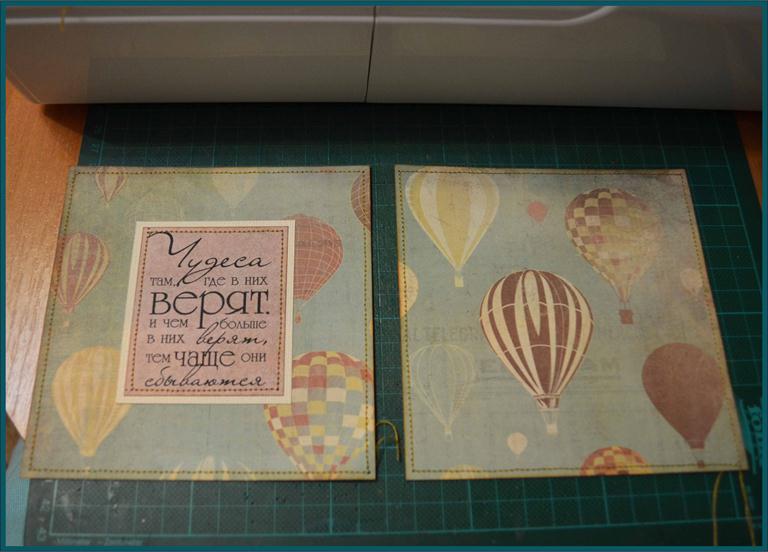
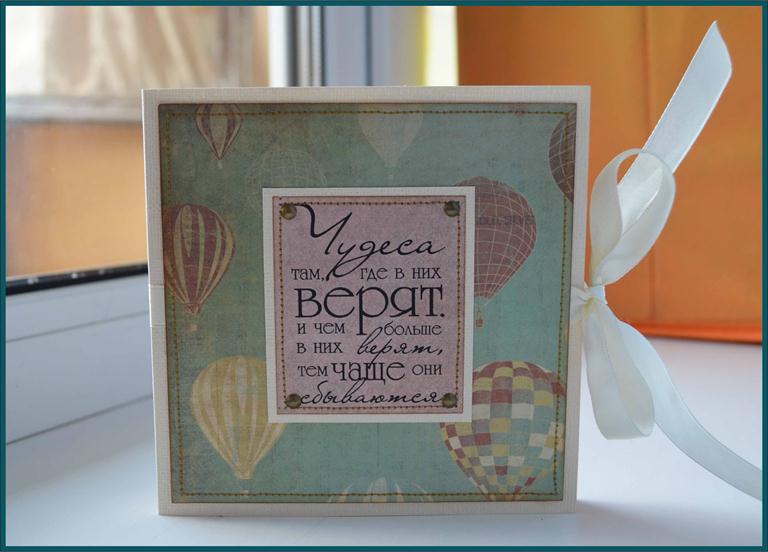
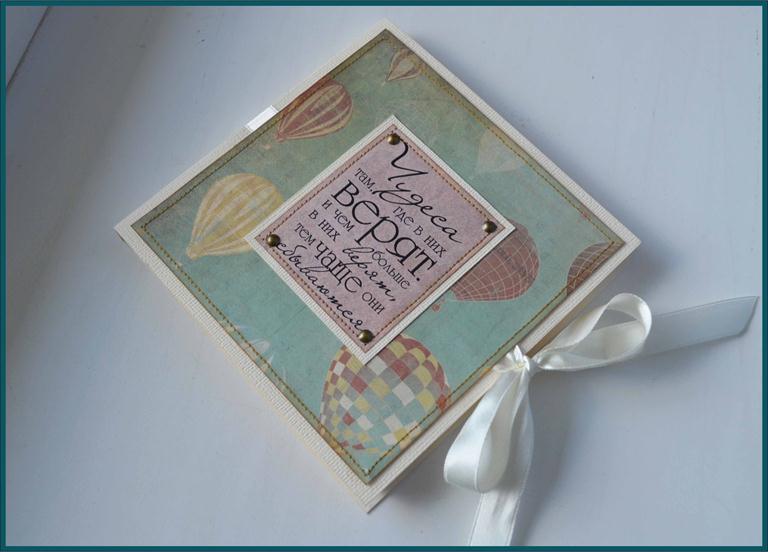
- Immediately prepare the external design - we will paste the inscription and sew it. Do not forget that the main secret is inside, so do not overload the cover.
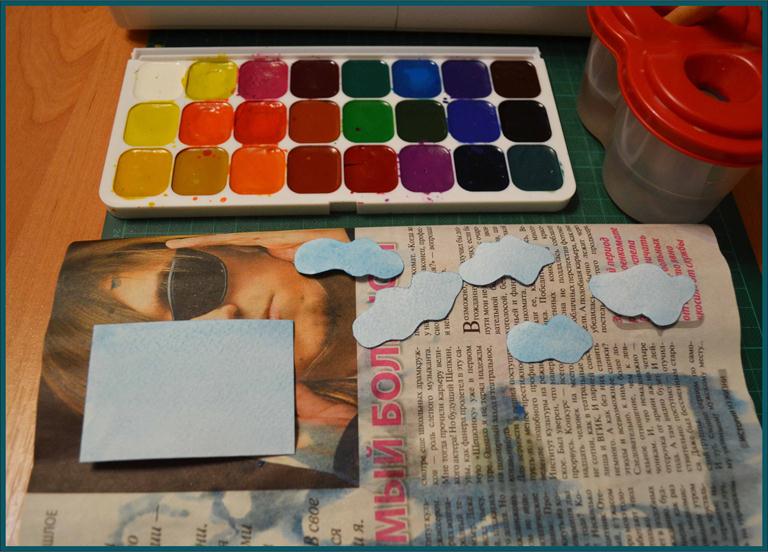
It is time to proceed to the design of the main detail - a three-dimensional decoration. This is done like this:
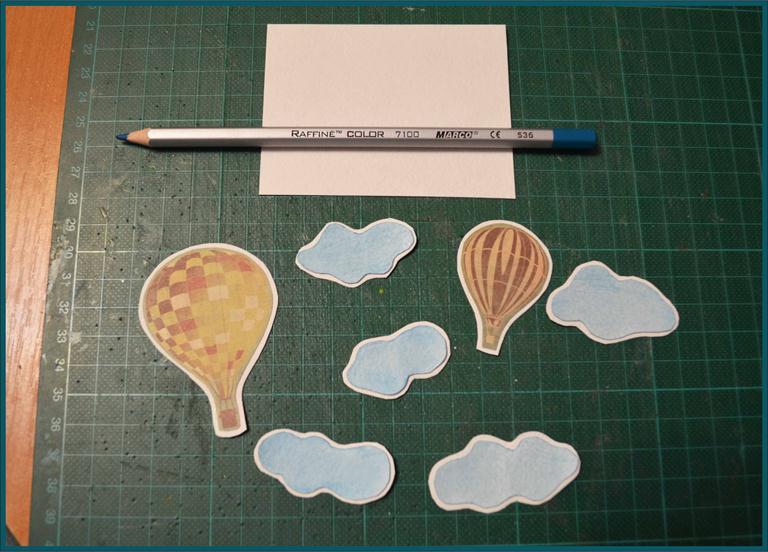
- We will cut out of the watercolor paper clouds and a rectangle, which will serve for the signature, and then paint with watercolor paints.
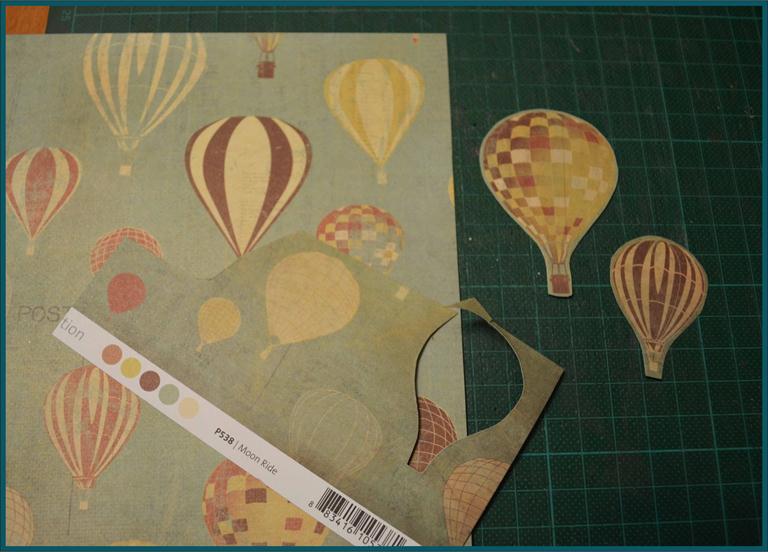
- And also cut out a couple of balloons - I used the same paper for this as on the cover.
- With the help of a color pencil, we shade the clouds and paste all the details on the watercolor cover, and then cut out again, leaving the white edge.
- We paste and we will sew a tablet for congratulations. You can add the braads.
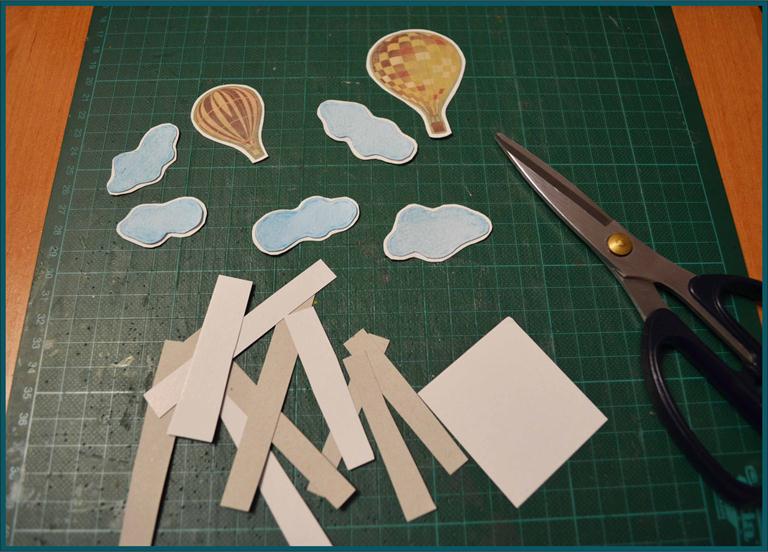
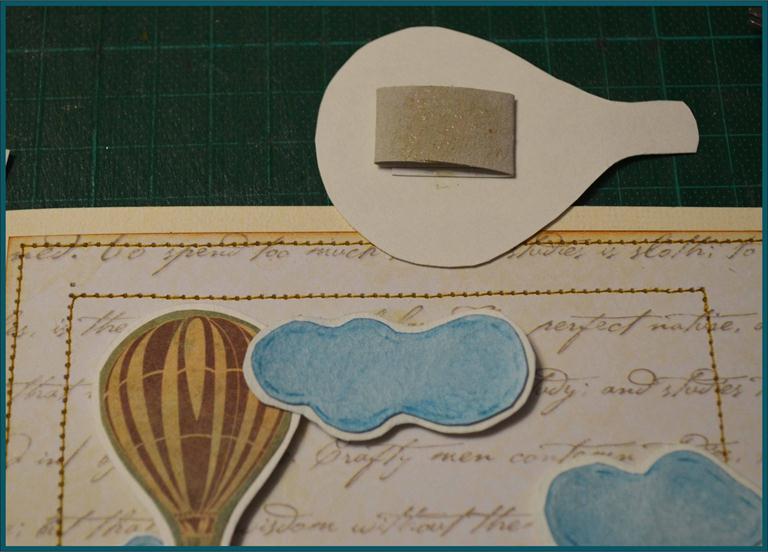
- From the cardboard, we cut the strips by the number of parts.
- We twist the strips into rings, press them lightly and stick them on the parts.
- And then we glue the decoration elements.
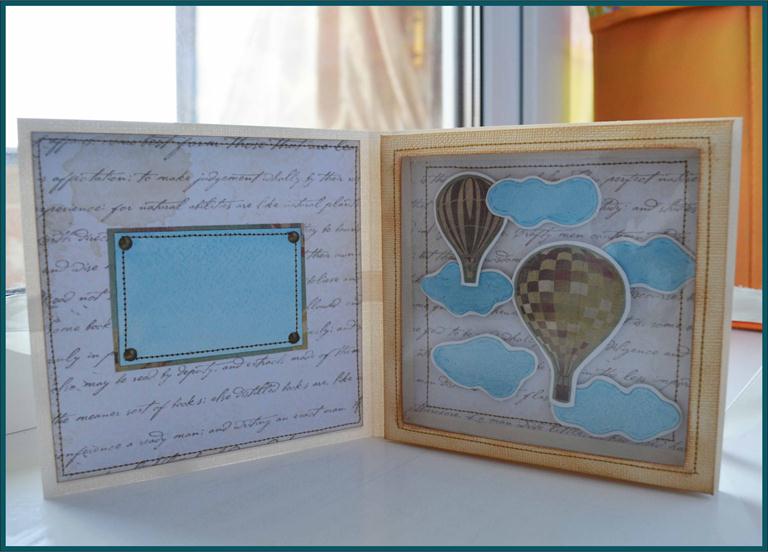
- The last point is fixing the box over the decoration and decorating the cover with ready-made paper squares.
The style of the postcard can be chosen either - a secret in the window is unlikely to leave anyone indifferent.
| | | |
The author of the master class is Maria Nikishova.