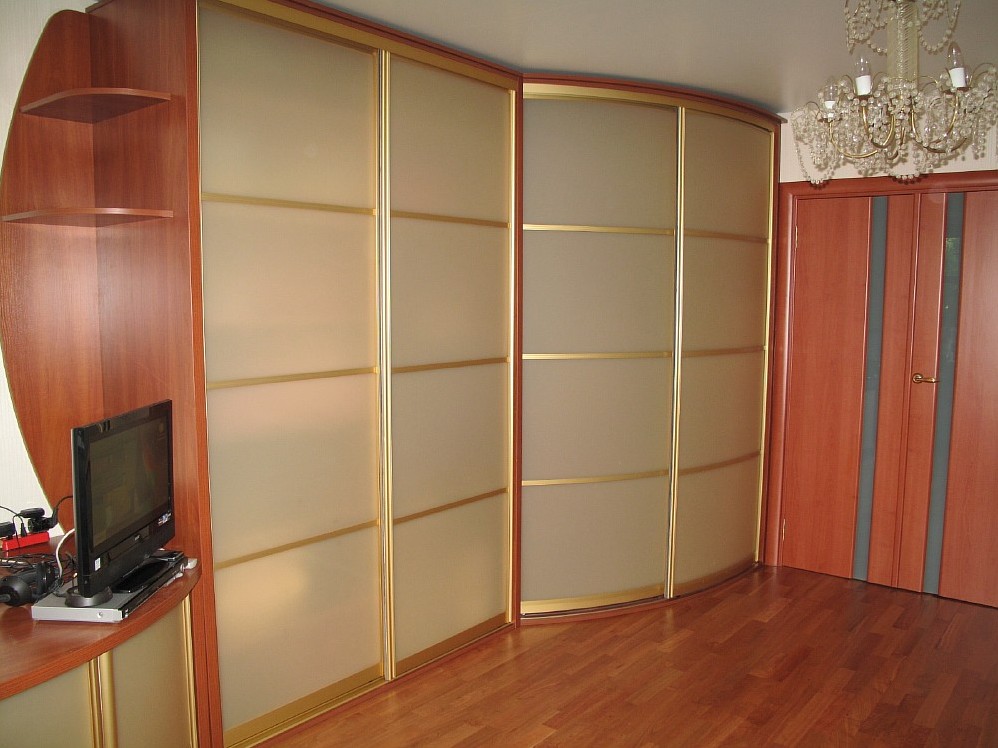
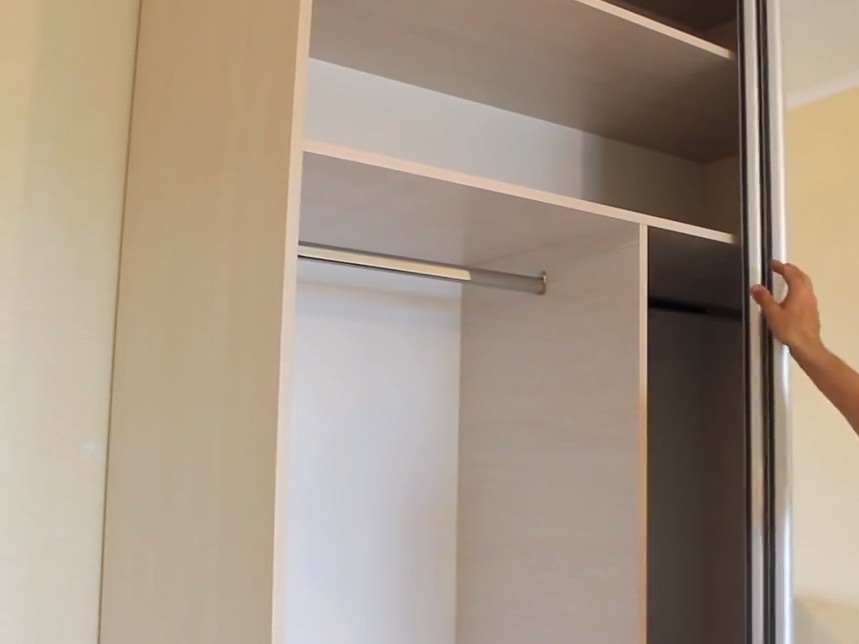
The cabinet of the compartment is very functional and necessary in the apartment with furniture. It will accommodate almost all your things that were previously scattered throughout the room. If you still decorate such a product with beautiful mirror doors, then it can become a source of pride for the owner. It turns out that for our craftsmen making a closet with our own hands is not a very difficult task.
How to assemble the closet itself?
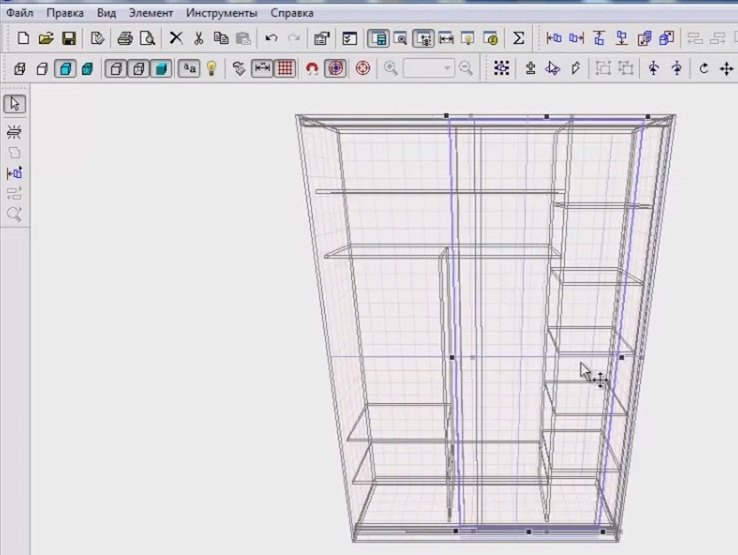
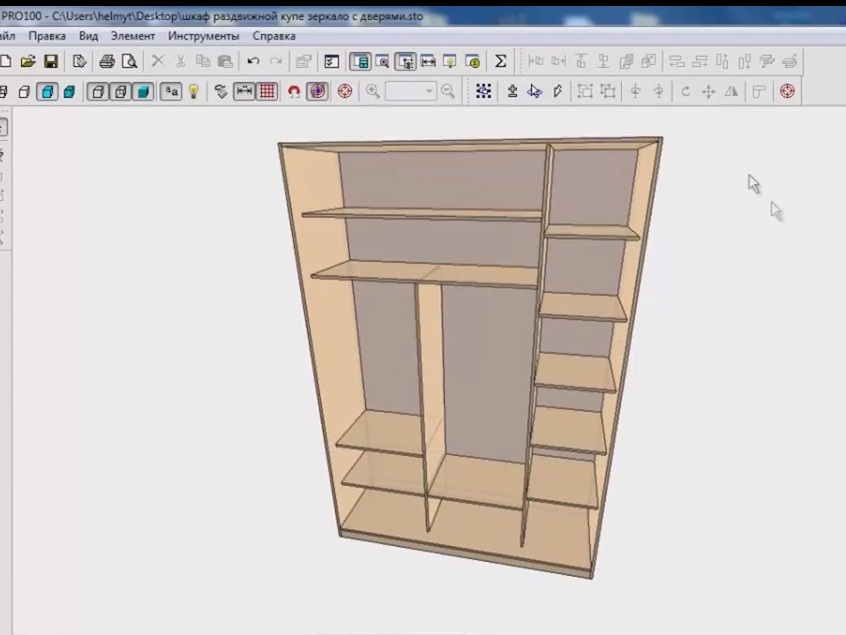
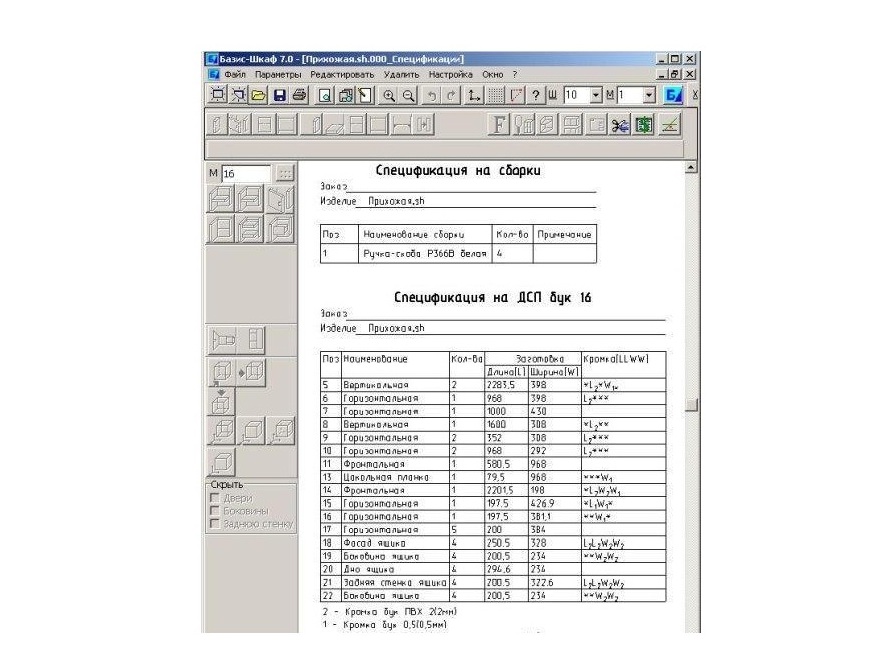
- The first thing we do is design. We build a virtual version of our closet, add shelves, doors. You can draw all the details in pencil in the old manner, but in our century there are special programs that facilitate calculations (Basis-Furniture, PRO100, pro2cut, cutting3). They make it possible to represent the final result much better.
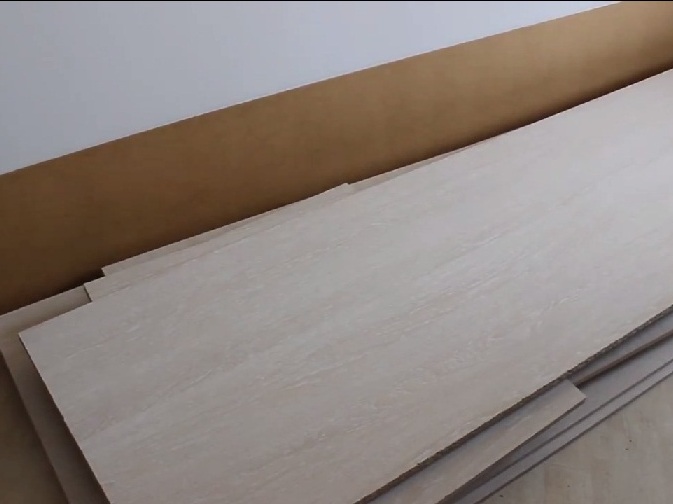
- Having received the specification, we can either order the necessary workpieces for the frame and shelves, or after purchasing the chipboard, cut them ourselves.
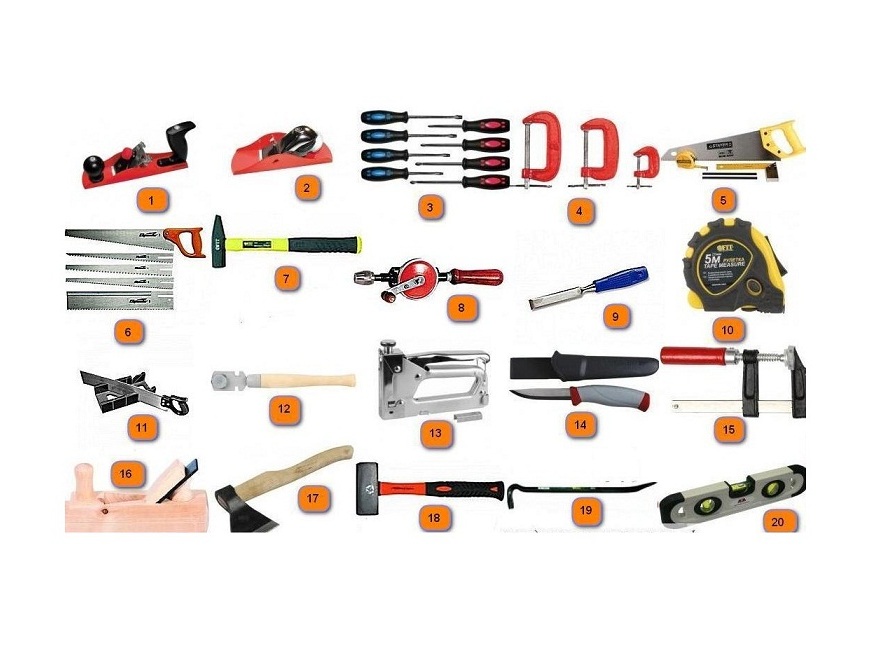
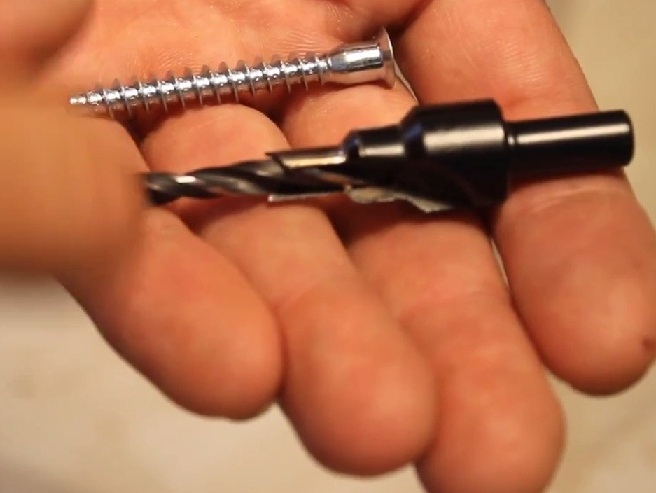
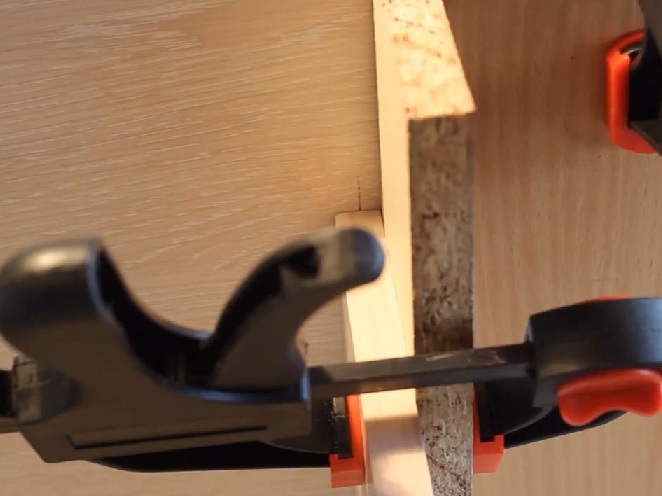
- You can assemble your wardrobe only if you have the necessary tools - a drill, a screwdriver, a clamp, a corner, a drill for confirmats, screws.
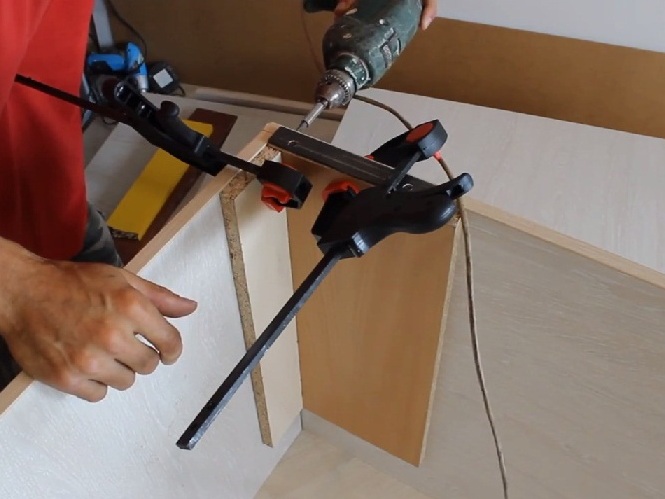
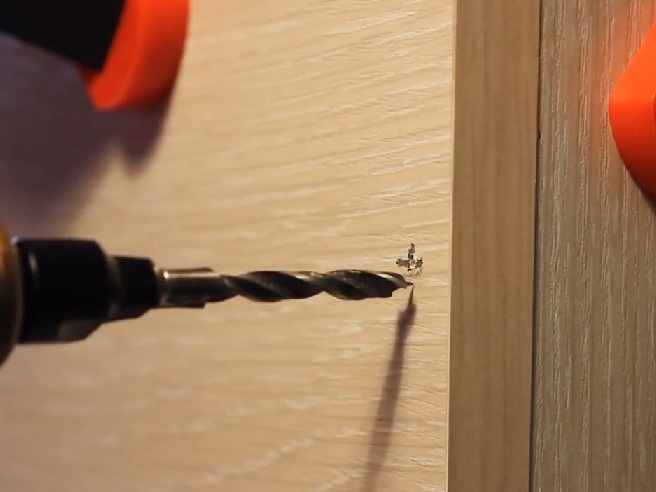
- We place the plates and make markings at the place where the screw holes are drilled (approximately 7 cm from the edge from above and below and not less than 9 mm from the edge of the plate).
- We use a special drill, which in one pass you can make an exact hole for the confirmation and simultaneously remove the chamfer.
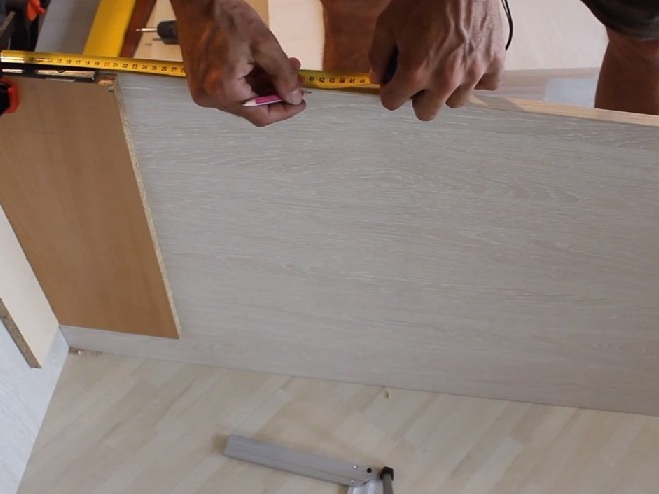
- Having fixed one corner, we mark according to the drawings the arrangement of the shelves.
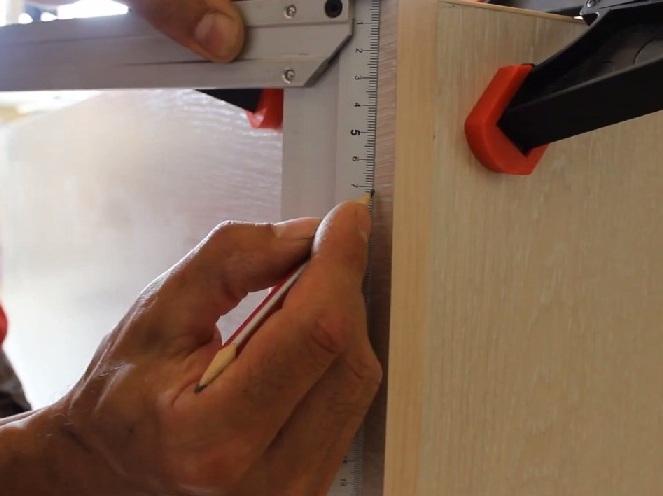
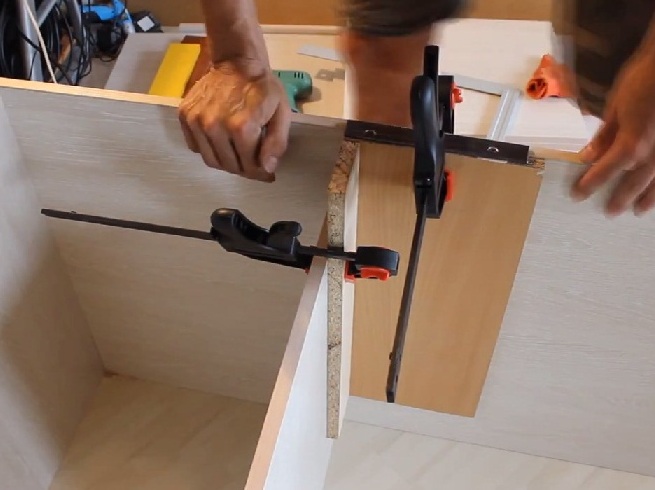
- Clamp the clamps of the shelf, putting everything strictly in the center of the marking, and only after that we drill holes.
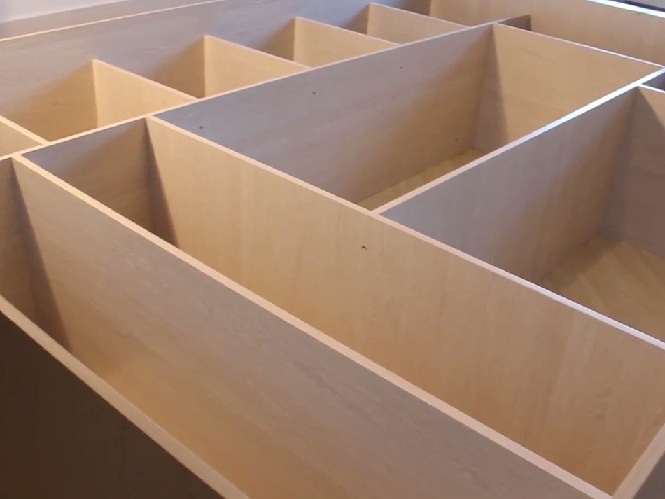
- Similarly, the other shelves are attached to the wall.
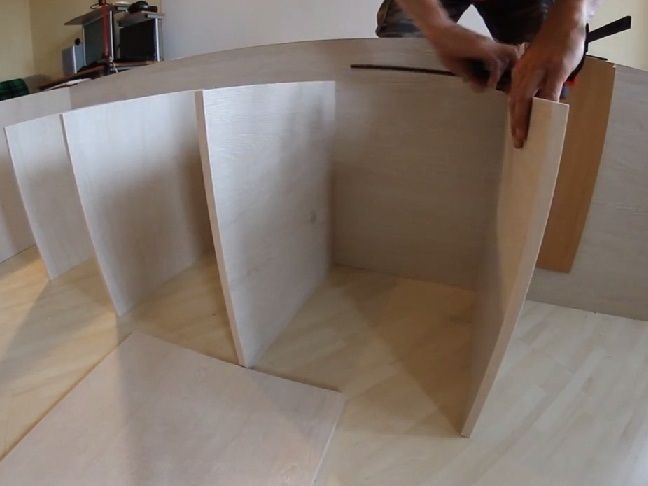
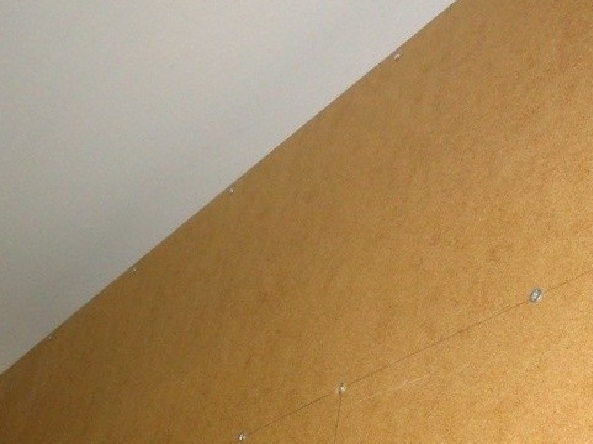
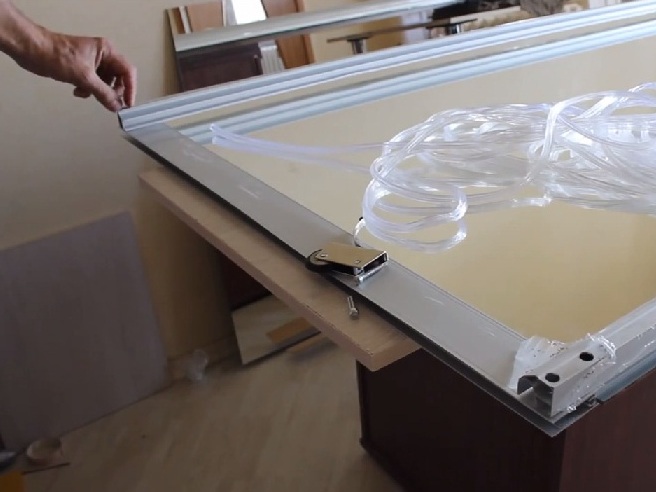
- We put the assembled frame vertically and nail the back wall from the fiberboard.
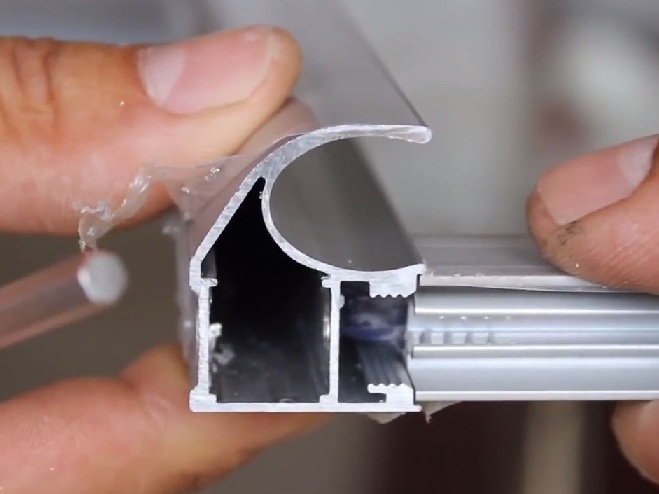
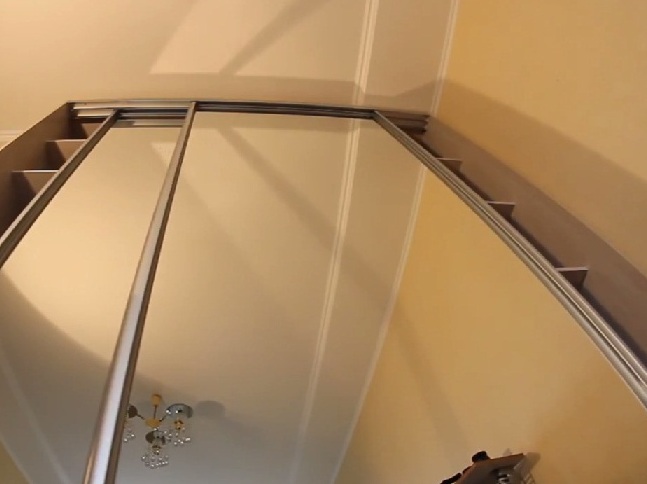
- Now, when we have the exact size of the opening, it is much easier to order the mechanism of the sliding doors. It consists of the following parts:
- the upper guide;
- lower guide;
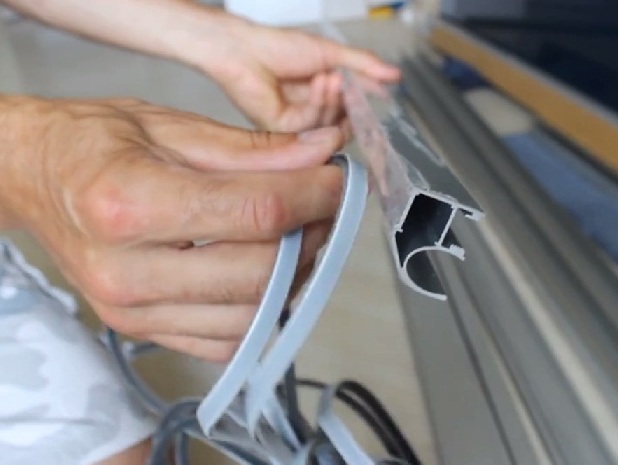
- upper and lower part of the door;
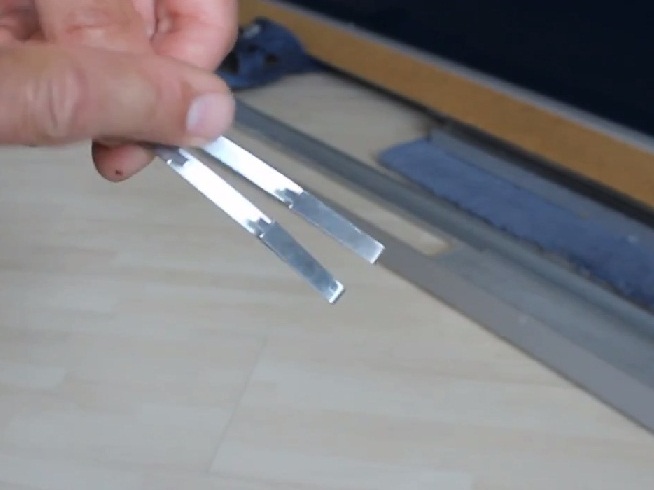
- vertical rack-pens;
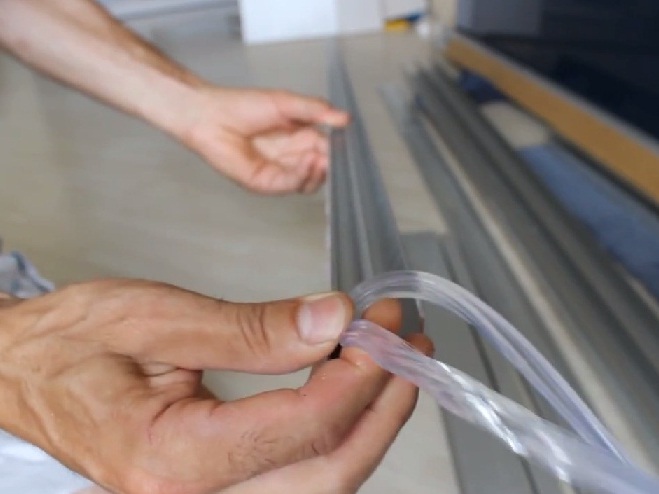
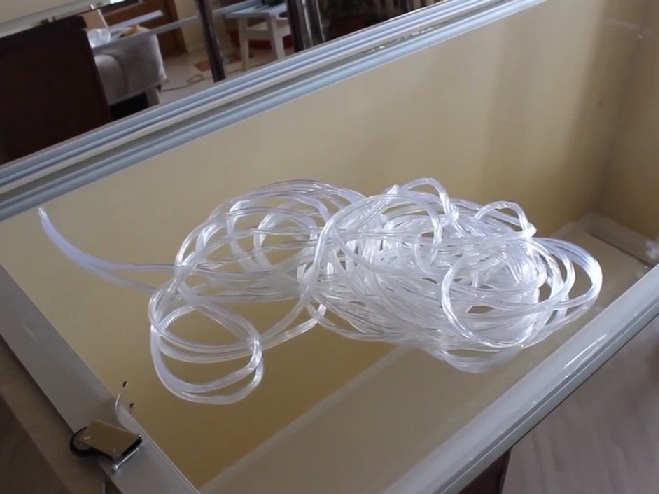
- Mirror seal;
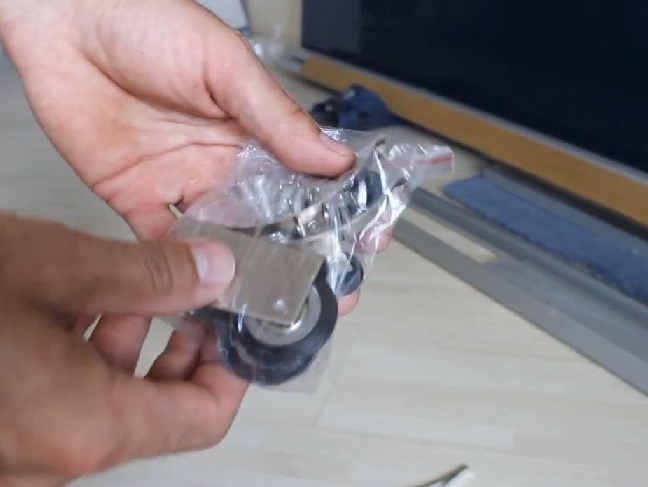
- a set of upper and lower rollers;
- brush on self-adhesive tape;
- clamps for the door.
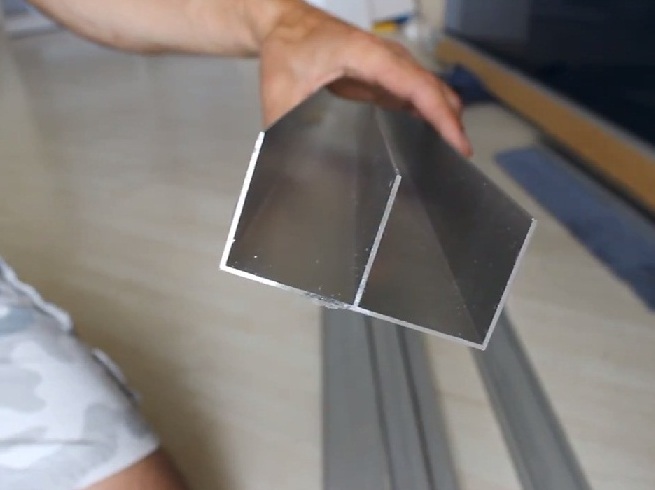
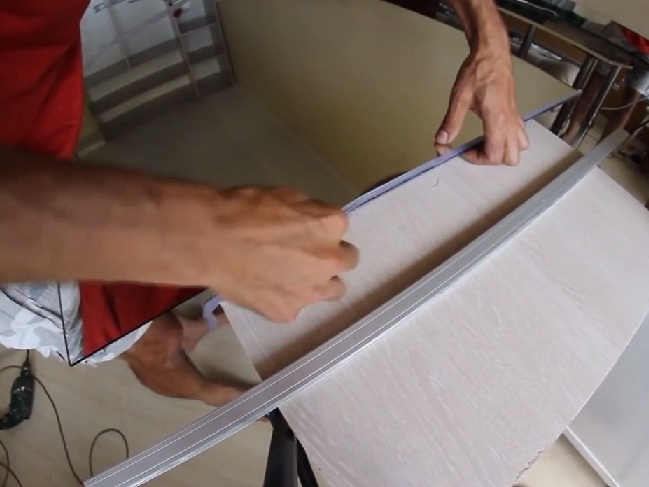
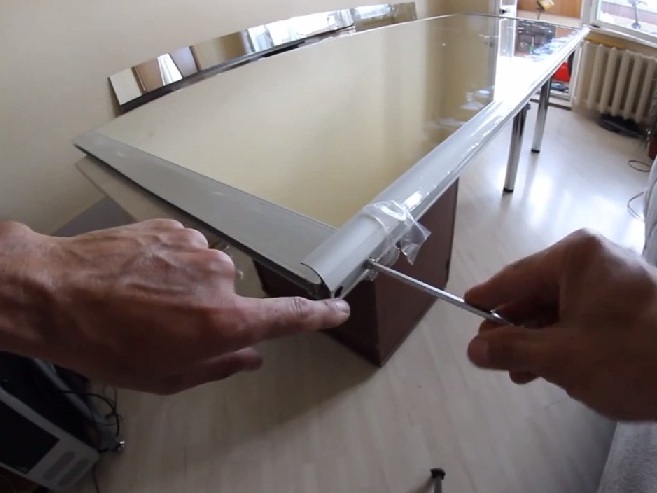
Assembling the door of the closet with your own hands
- This responsible work should be done on a level table. It is advisable to have access to all sides of the product.
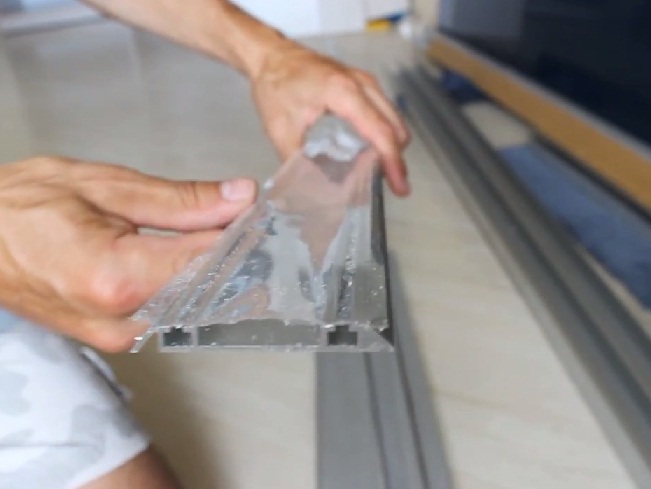
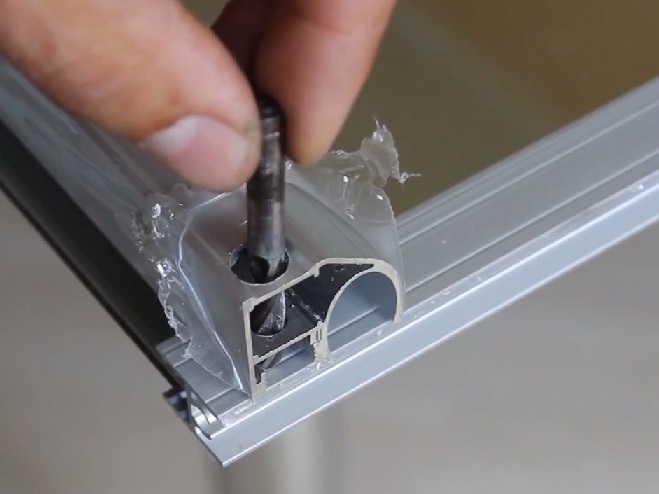
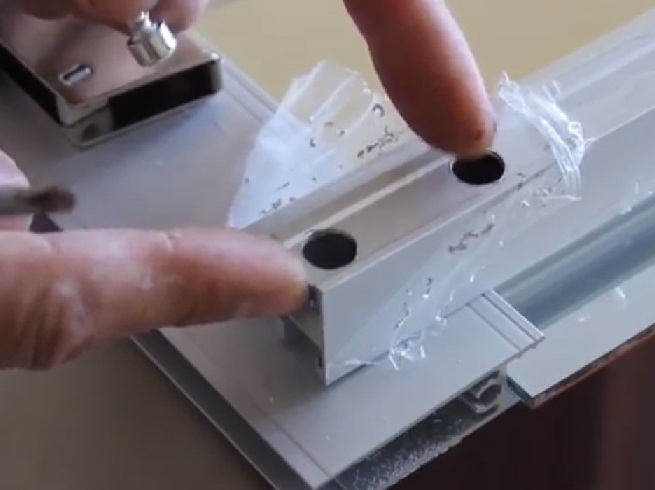
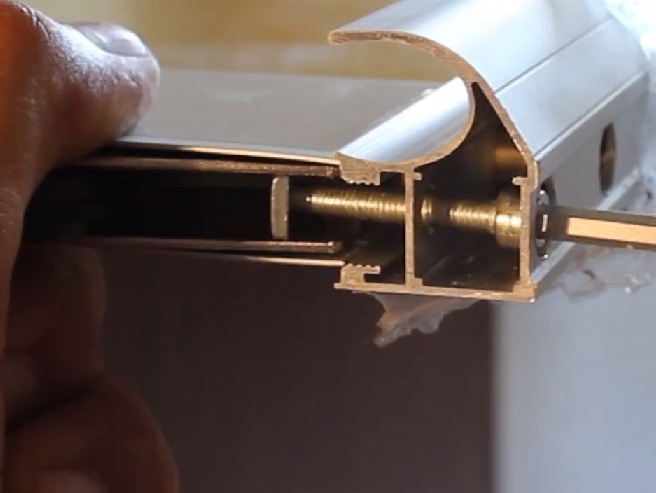
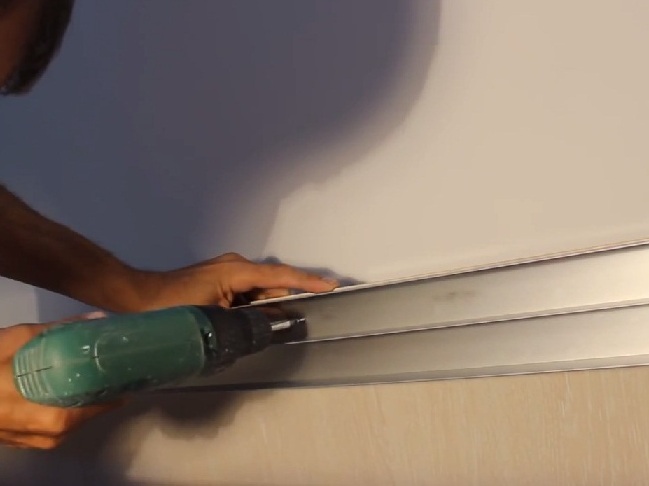
- On vertical rack-drills we drill holes with a diameter of 6, 5 mm and 10 mm. A thin drill goes through both bridges right through, and with a diameter of 10 mm only the upper jumper. In this part, the upper profile of the doors will be fastened.
- In the lower part of the profile, we perform similar operations by drilling two holes with a diameter of 6, 5 mm and 10 mm. The first hole is located from the edge by 7 mm, and the second by 43 mm. In the first, the fixing screw of the profile will be fastened, and the screw holding the roller will be inserted into the second one.
- On the other side of the door symmetrically drill the same holes.
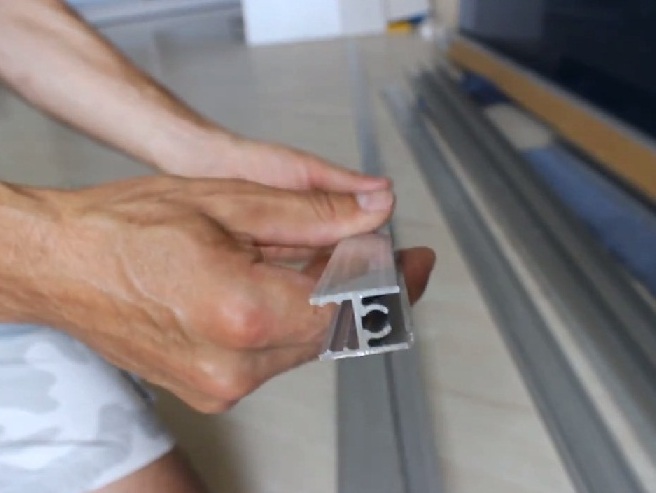
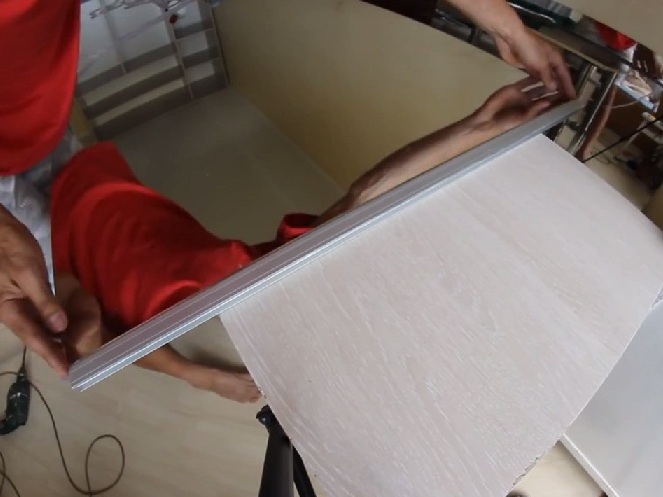
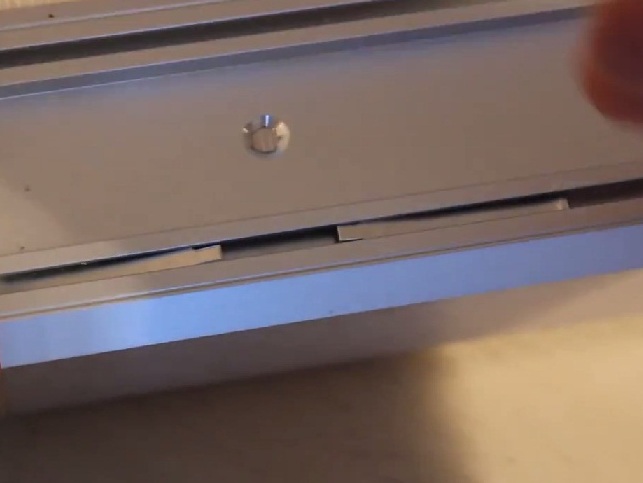
- The assembly process starts from the top. On the mirror, put on the seal and insert it into the profile.
- Then, in this way, we put the seal and profile on the vertical side of the mirror.
- The upper jumper should go straight into the groove of the vertical stand. After that, they can be fixed by inserting a screw into the holes previously made.
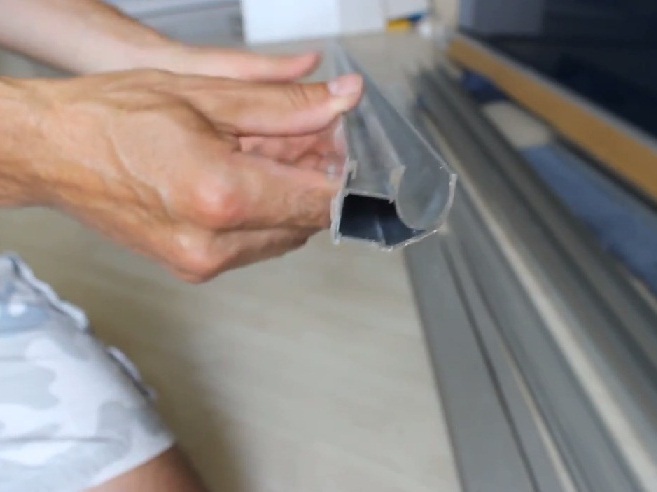
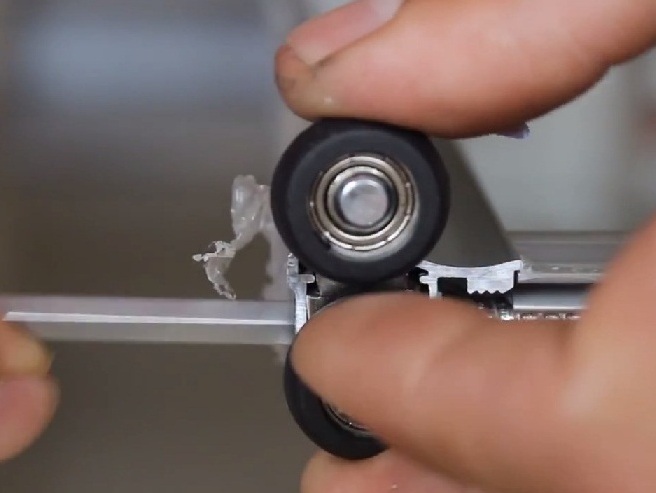
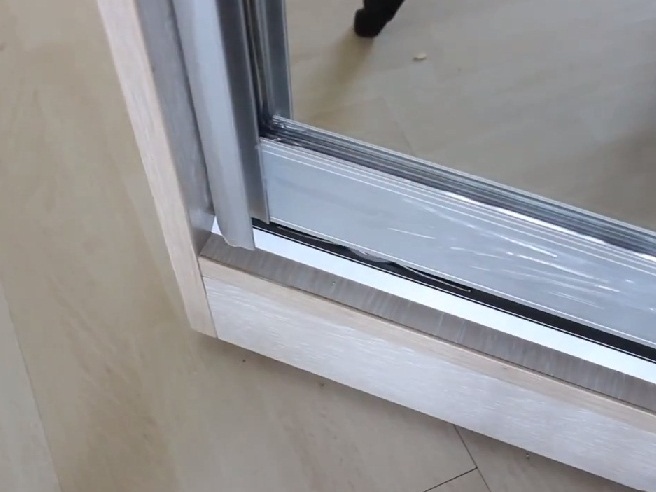
- First, do not screw the screw to the end. We insert the rollers and only then tighten the screw completely.
- Clamp the upper screw at the bottom of the door.
- We fill the lower roller into the groove, press the spring and tighten the fixing screw. The same screw adjusts the door itself. Depending on the tension of the screw, the roller either comes out or enters the inner groove.
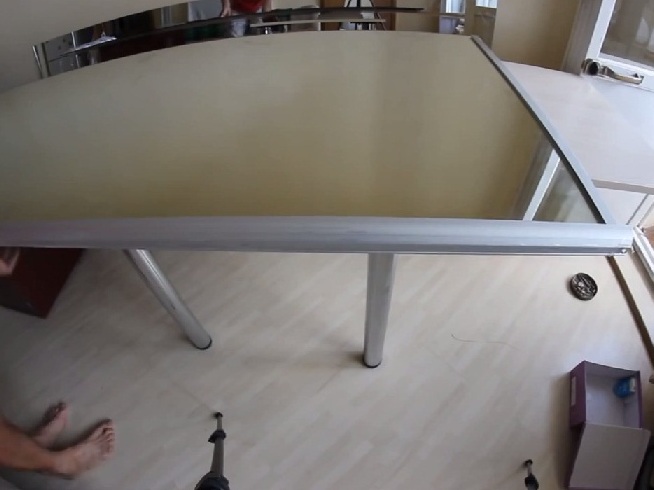
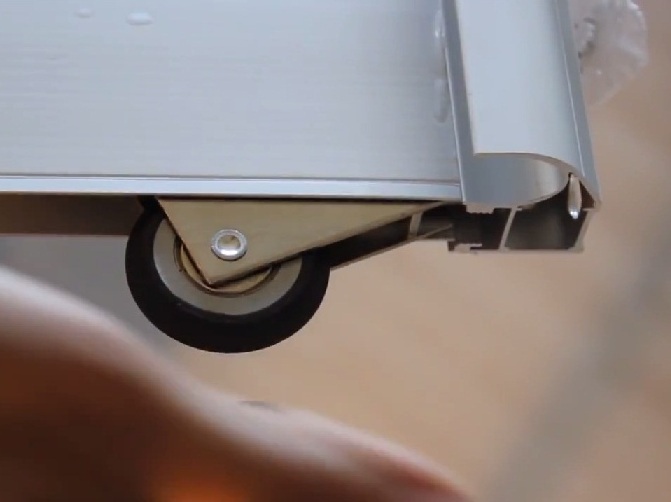
- We install the guides on the case of the cabinet-compartment.
- First, in the lower guide we put the lock springs, which hold the door at the extreme points.
- The lower guide is screwed after the door is leveled strictly.
- We put brushes, straps for the shoulders and check the work of the doors. On this instruction, how to make a closet yourself, ends. We wish all readers to try their luck and install the same comfortable and functional furniture in their own apartment.