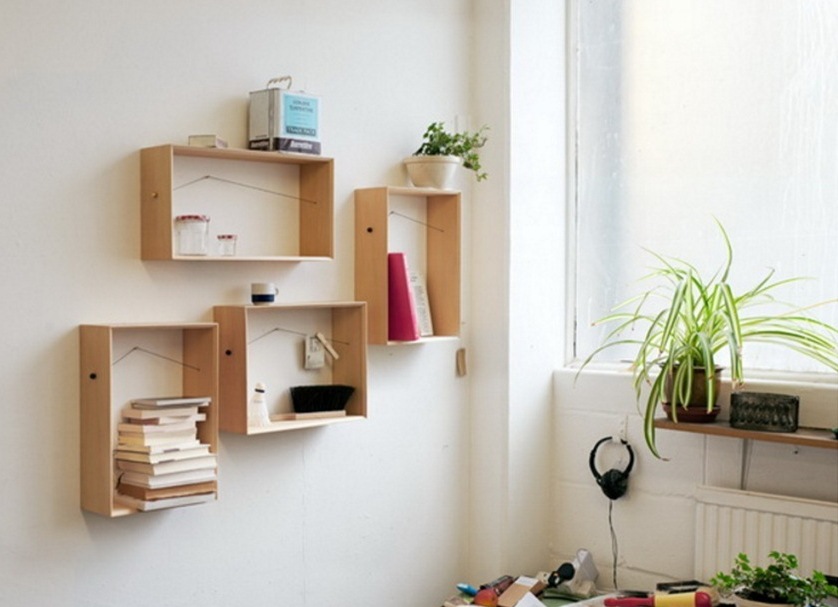
Wooden shelf can be not only a functional addition to the interior, but also a full-fledged decoration. Many models can be done by yourself!
Belts from belts
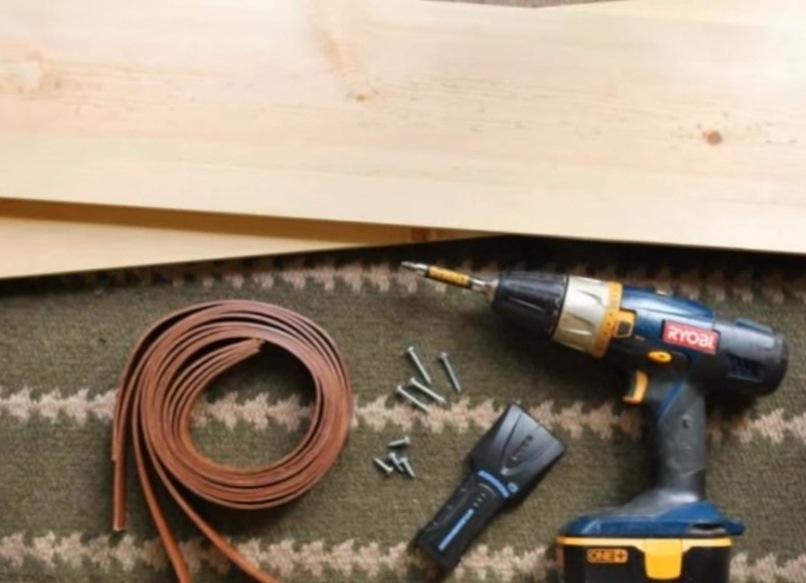
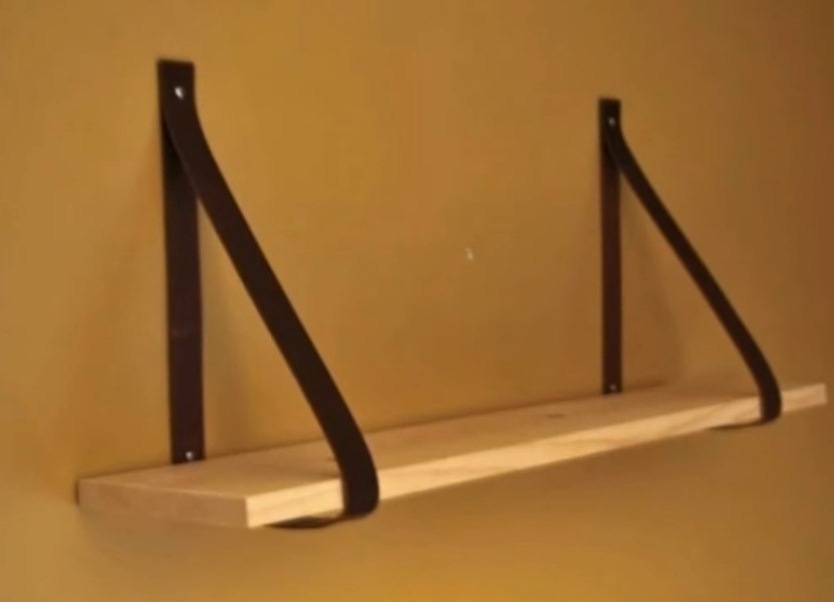
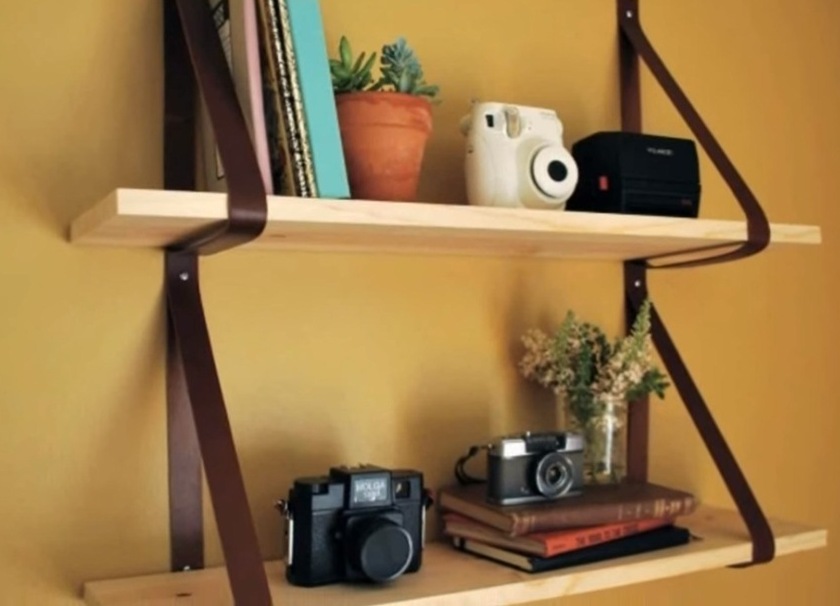
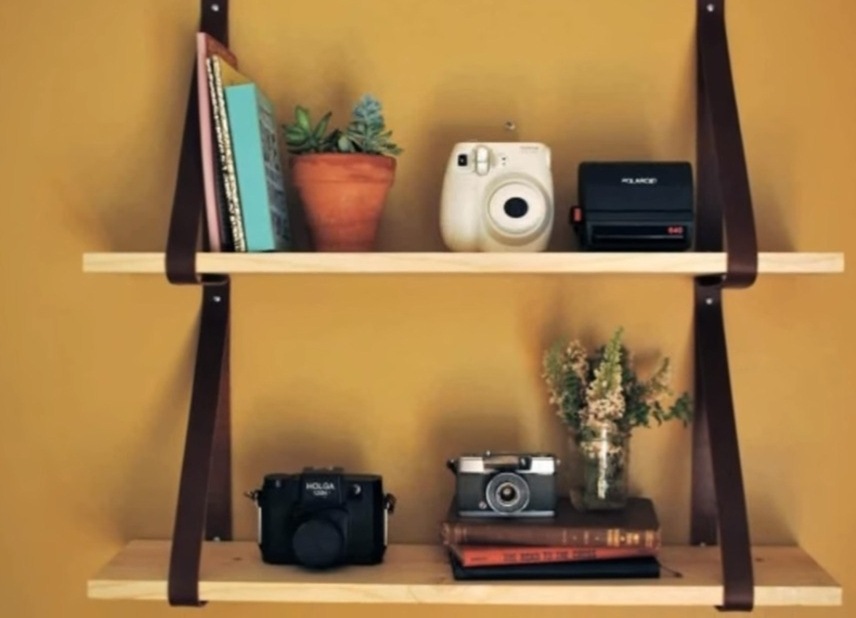
There is nothing easier than to make an original shelf of boards and belts. You need 2 boards (depending on the number of tiers), their optimal width is 20 cm, with the length determined by yourself. As fasteners, self-tapping screws with belts will be used: these can be old belts or tight strips of leather.
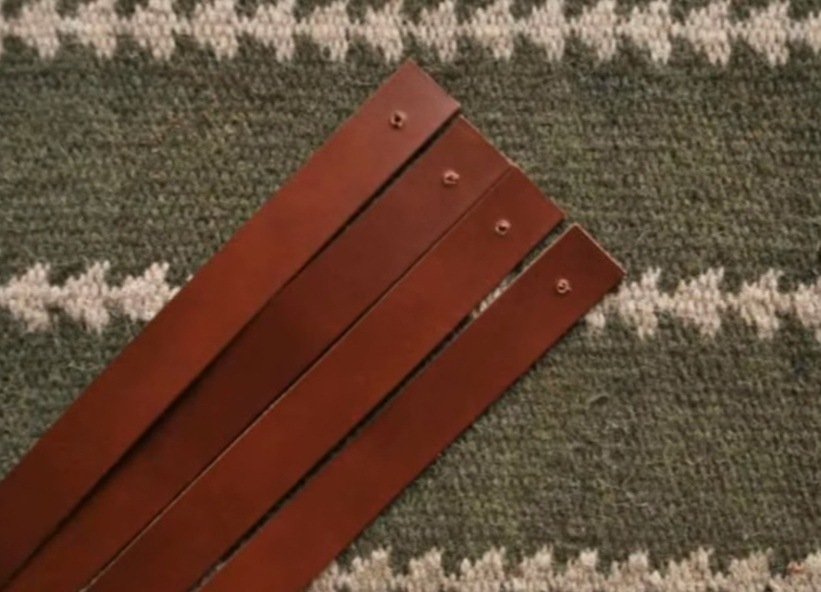
- If the cutting of the tree is ready, proceed to the measurements on the belts. One tier will need 2 pieces. In this case there will be 2 tiers, accordingly 4 belts are needed. All elements must be the same length.
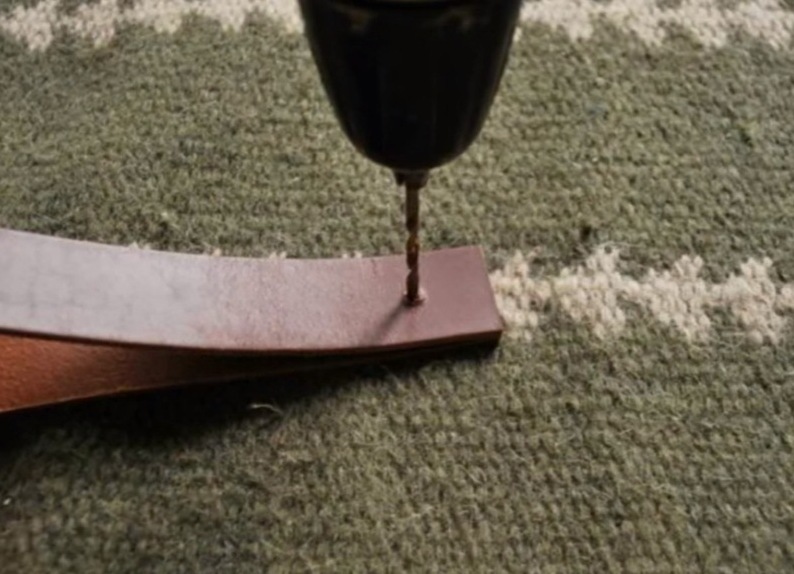
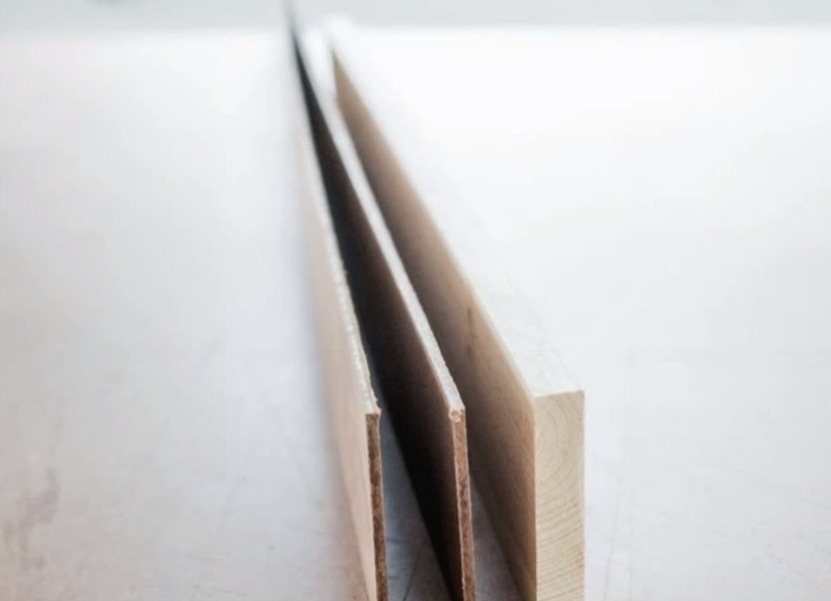
- At the ends with an awl or drill, make holes for the future fasteners. (Photo 3, 4)
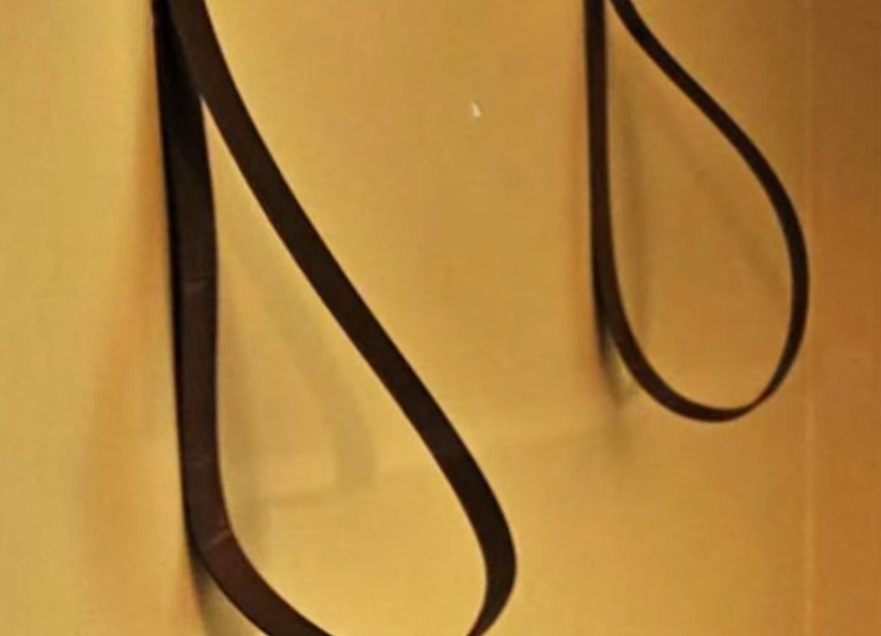
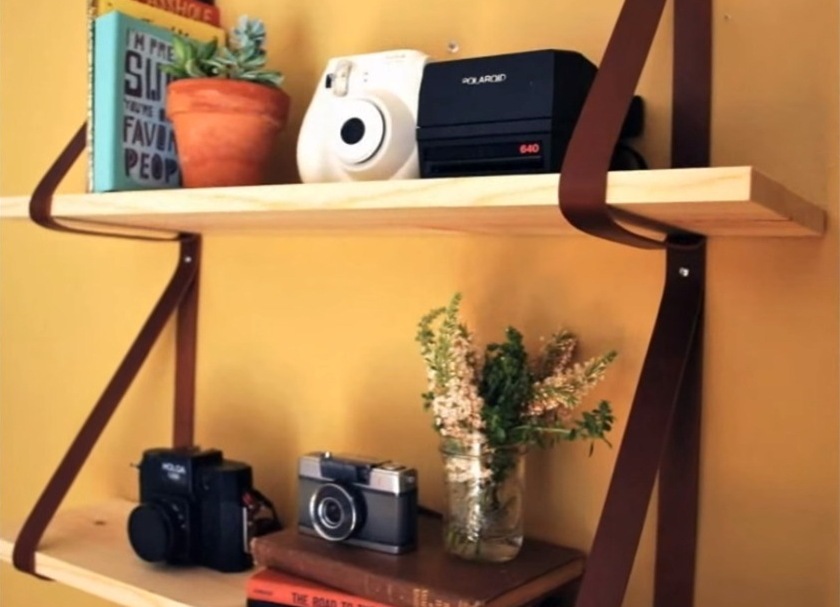
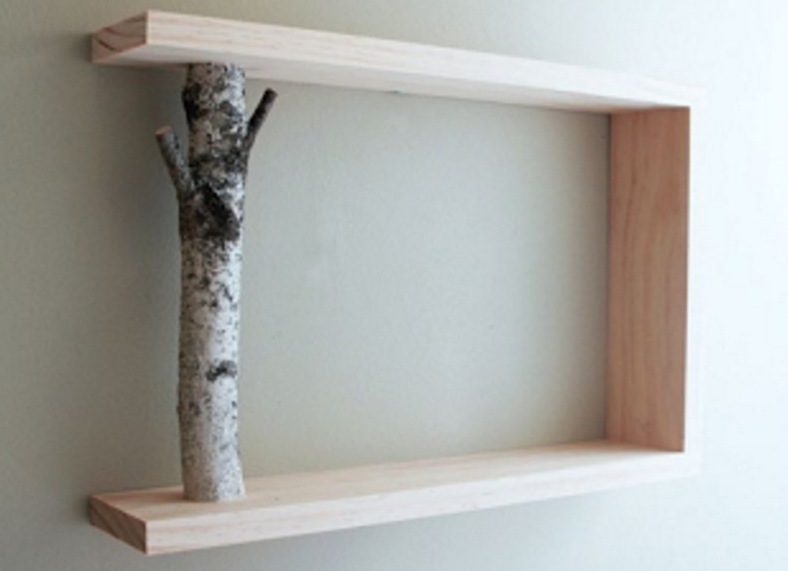
- Attach the workpieces to the wall in 4 places (on top and at the future base of the board on both sides) as follows. Insert the "board" into the board. Mount it with screws to the bundles is not worth it. A dense, though flexible base will be good to hold the shelf, the main thing at the ends is to leave the gaps. Do the same with the lower tier.
| | |
| | |
The shelf is ready.
| | |
| | |
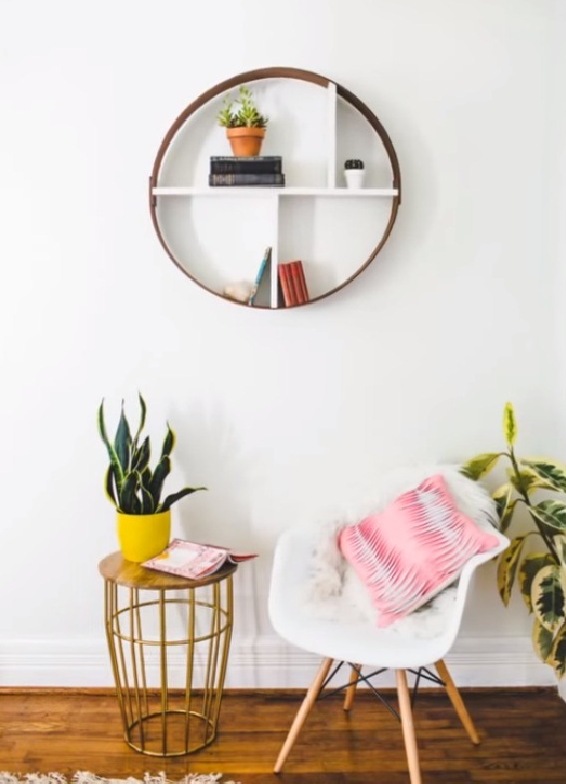
Round shelf from the board with your own hands
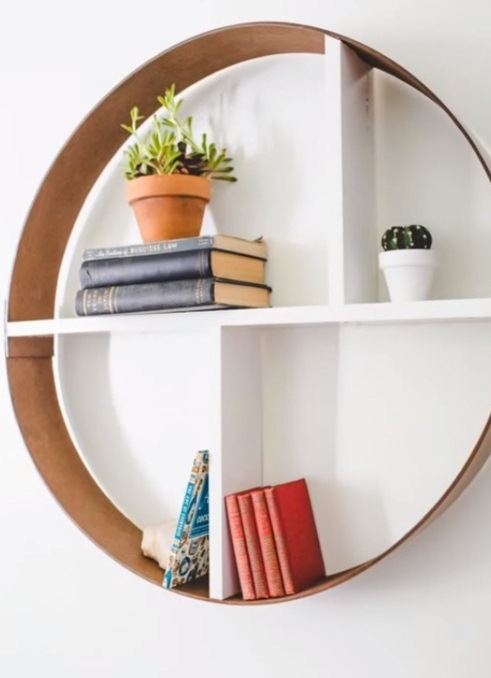
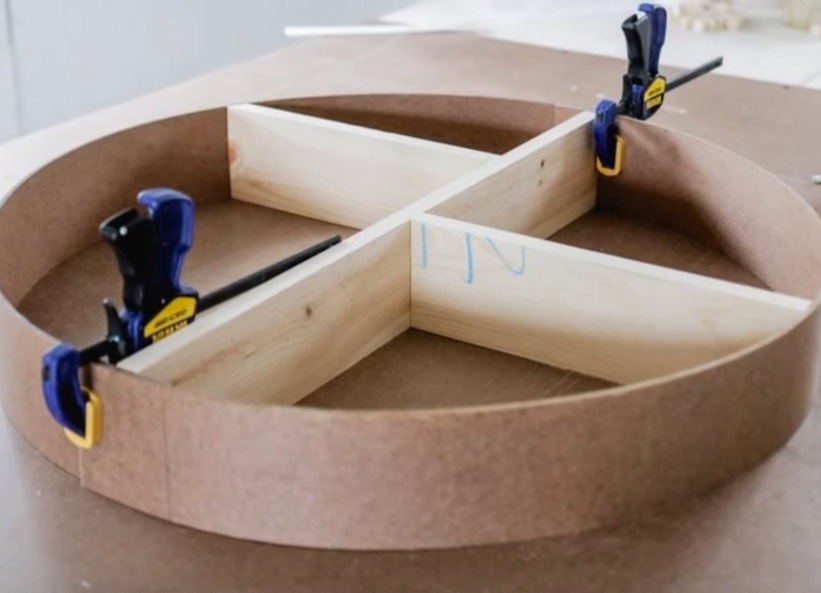
"Round off" the wall shelf - an interesting design. Look at this piece of furniture can as follows. To produce it, you will need a board, strips of chipboard with a width of 15-20 cm, screws, screws and staples for attaching the product to the wall.
- Decide on the radius of the hull. Calculate the length of the board and strips of chipboard. Make the markings and prepare the necessary lengths.
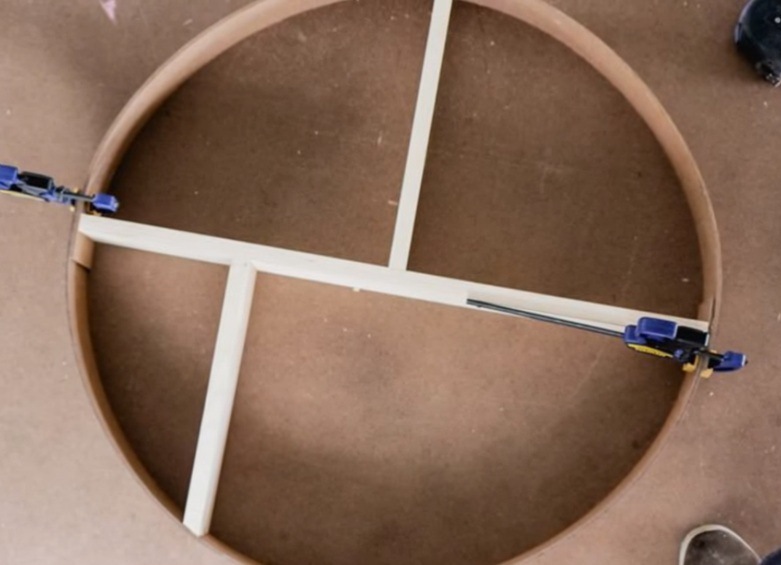
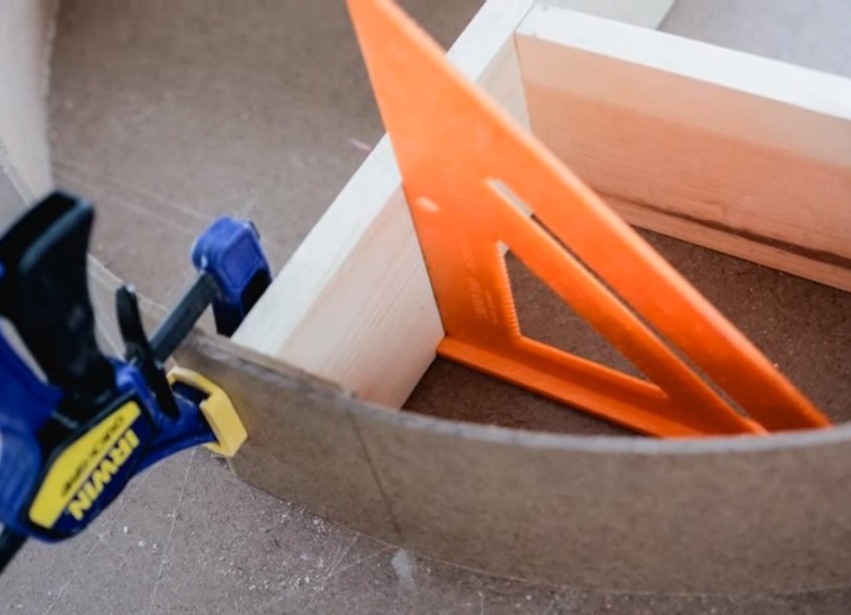
- The long part of the board will be equal to the diameter of the circle and will be located clearly in the center of the structure. The element, which is equal to the radius of the circle, is fastened from below clearly on the center of the long element, the short workpiece is fixed by screws in the upper part. Particleboard "hunted" in this way:
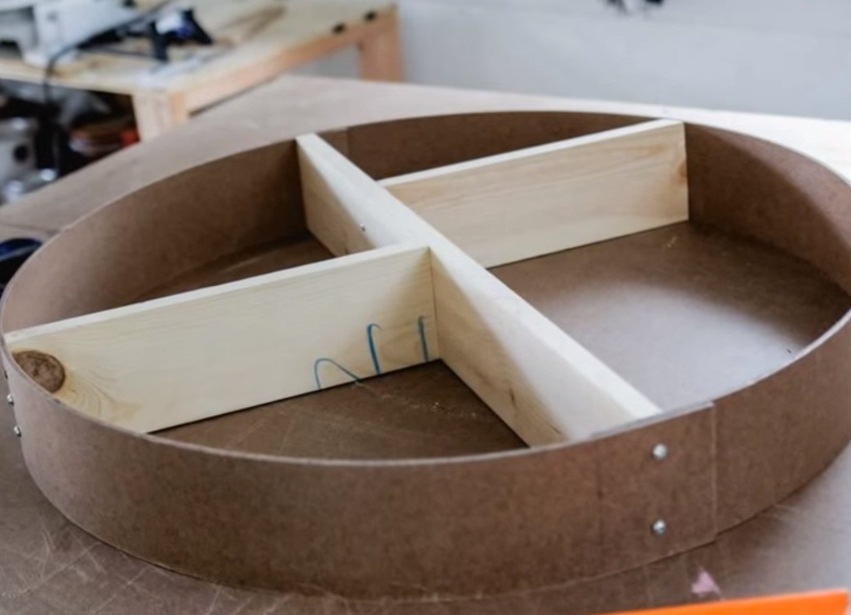
- The flexible component is fixed with screws to the board.
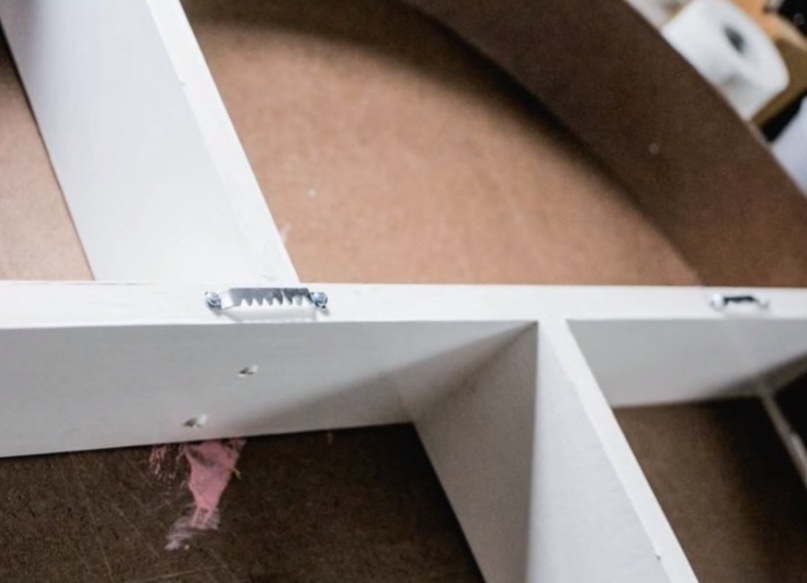
- The wood is painted, the brackets for fastening to the wall are screwed to the back.
| | |
| | | |
Effective and functional design of the wall is ready.
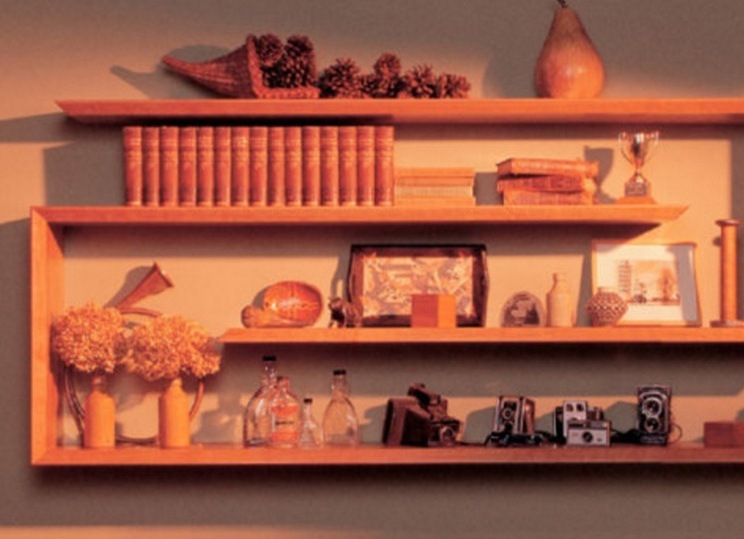
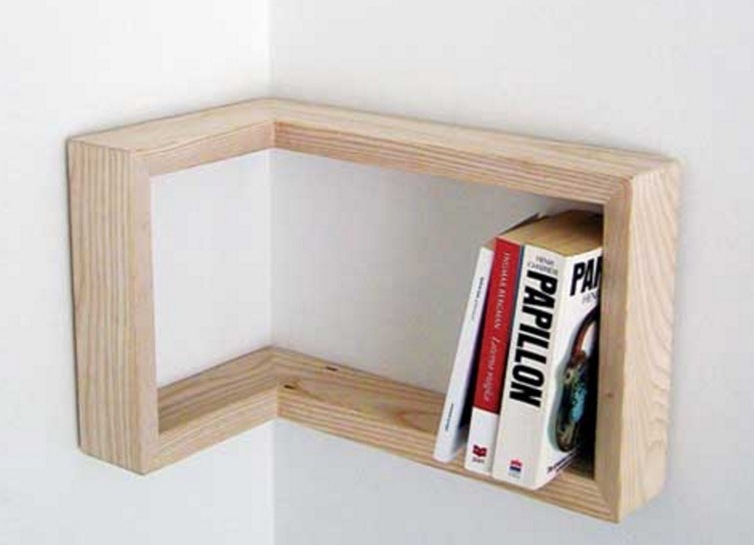
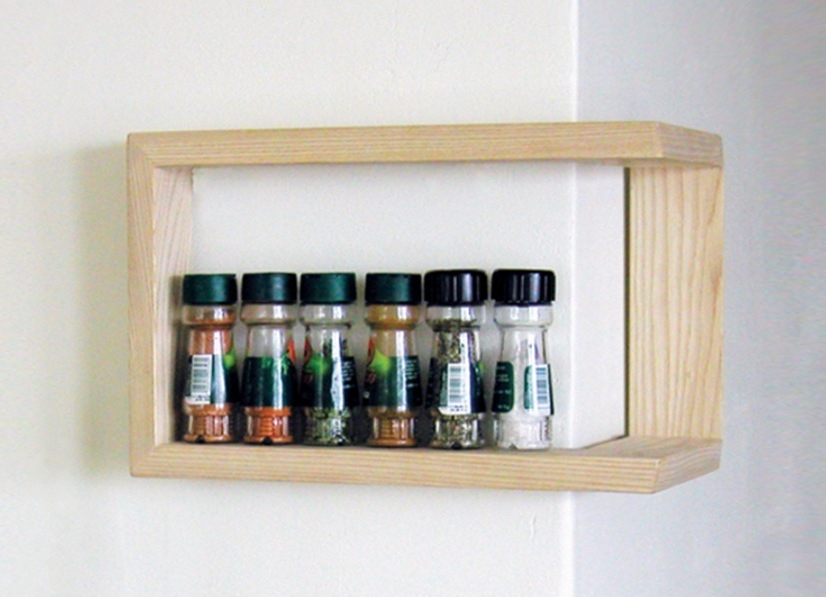
With the help of boards you can make other simple, but not less interesting shelves. For example:
| | | |
| | | |