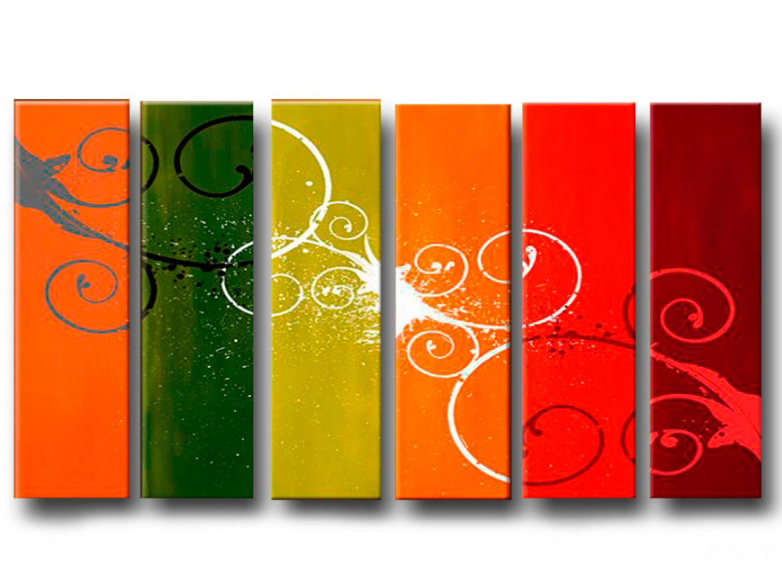
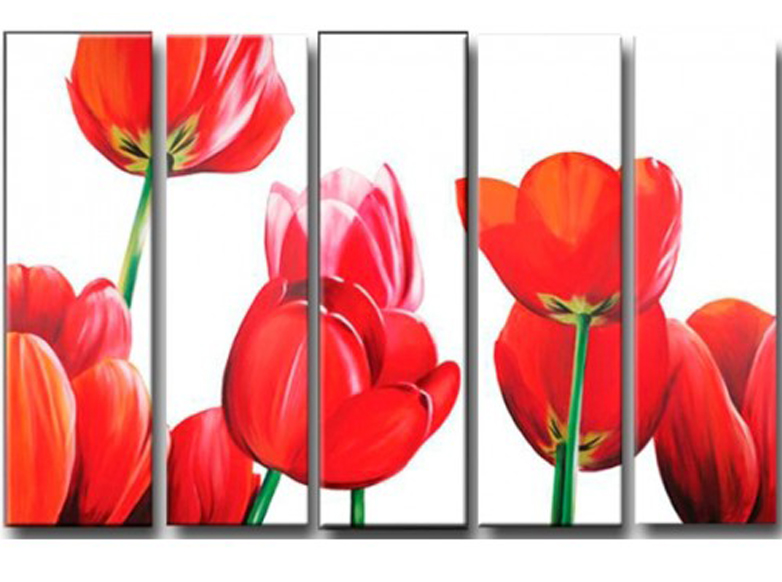
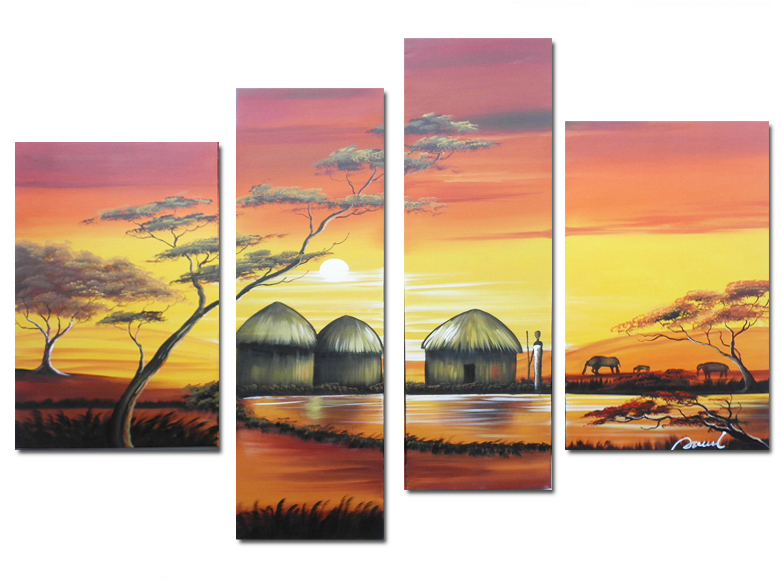
Great popularity, as a variant of interior decoration, have acquired modular paintings . They can consist of two parts - a diptych, three - a triptych, and more - a polyptych.
Of course, today they can be purchased in many stores, but will not it be more pleasant to make a modular picture with your own hands? That's why your attention is given a master class on creating such an element of decor. And for this you will need:
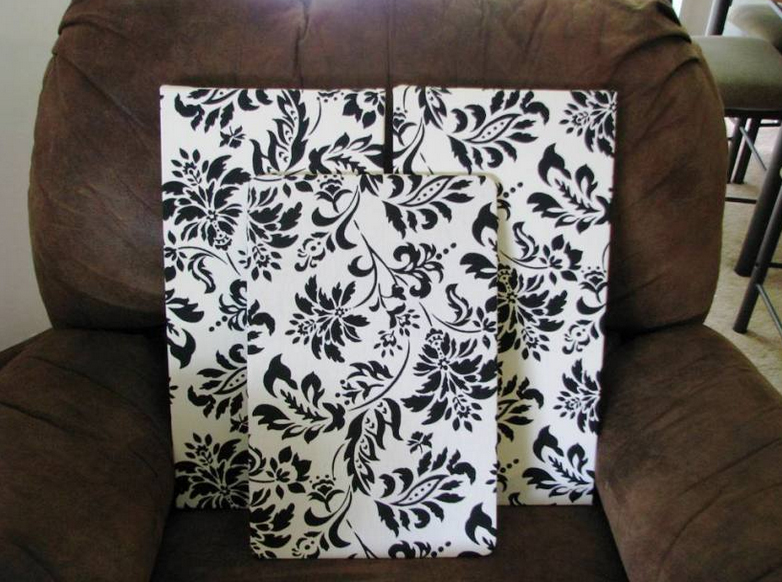
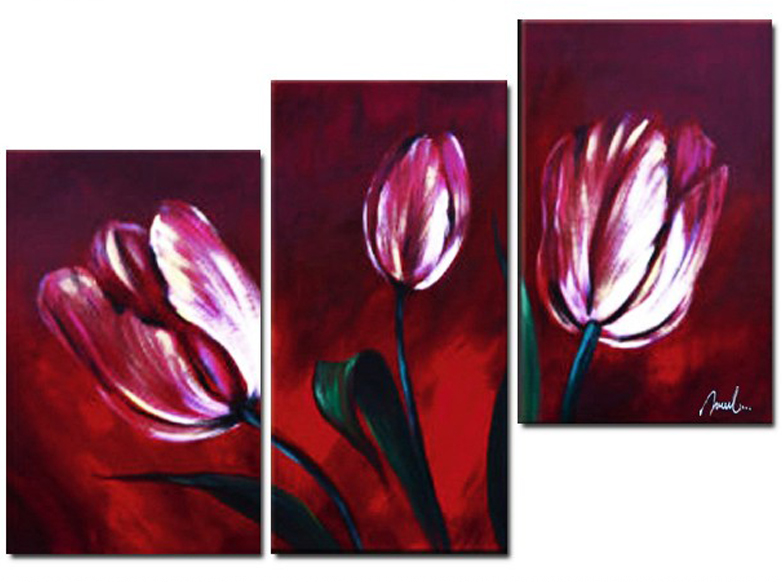
- Fabric with a beautiful pattern (choose a pattern so that it harmoniously combined with the style of the room, which will decorate the picture ). The pattern can be the same ornament, and maybe the plot. If you take as a basis the plot, then you will need to take measurements from the canvas, so that the divided parts are coordinated together on different parts of the modular picture.
- Basis 1 - wooden slats and pieces of plywood.
- Basis 2 - fiberboard or polystyrene foam (even foam with a ceiling tile).
- PVA glue.
- Scissors, hooks, furniture stapler, centimeter.
- Pencil or chalk (for markings on the fabric).
It's quite easy to make a modular picture with your own hands and therefore we will consider this process step by step:
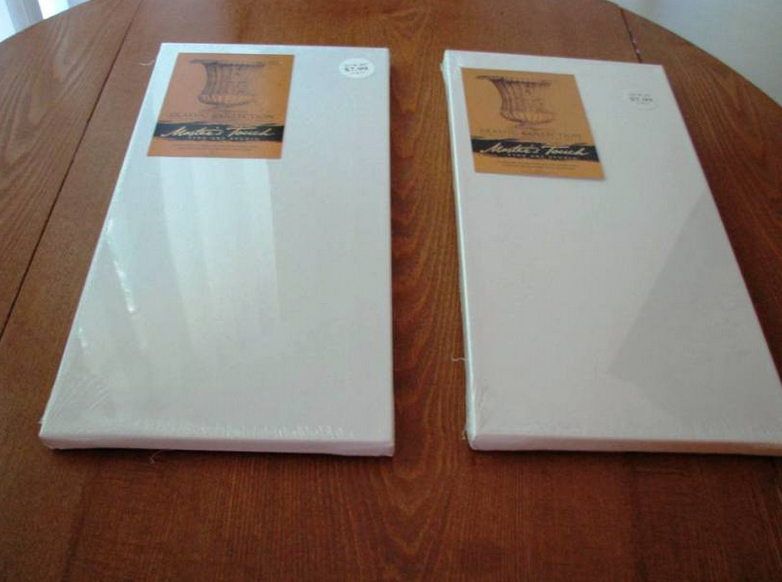
1. Finished base
It can be purchased in the store in the required quantity for your modular picture. They are sold with a fabric already stretched on the base. And then having studied in detail how to draw a modular picture yourself, you can use the ready-made framework. If you want to make a modular picture with your own hands, using the fabric or print you like, then you need to carefully remove the fabric from the stretchers.
2. Do the foundation yourself
And you can make your own base for a modular picture. The first option - the creation of stretchers using wooden racks. Here you will need to take the slats for stretchers of the same length in pairs, cut the ends and join them together using glue or a furniture stapler. In each corner from the wrong side you can fix pieces of plywood in the form of triangles, so you strengthen the frame for your picture. For a greater density on the stretcher, as an additional base, you can pull the fabric, also securing it with a furniture stapler.
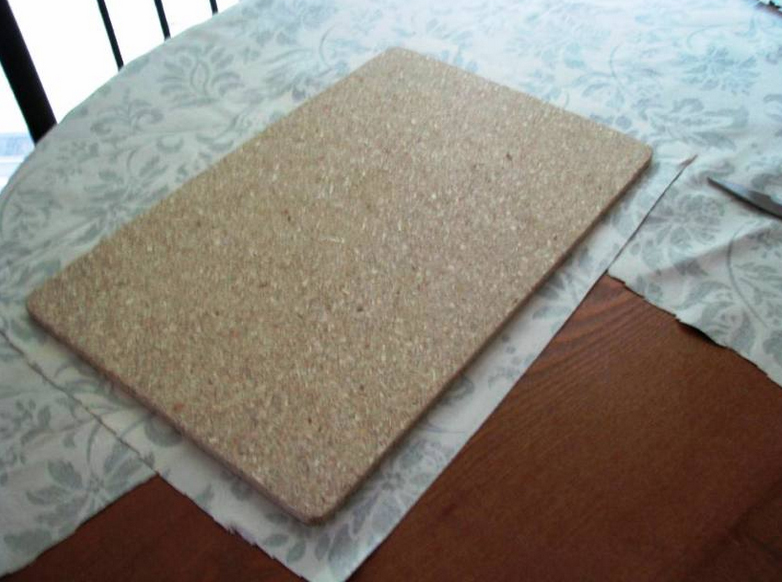
The second option is that you can take a whole base - a piece of fiberboard or polystyrene, but then do not forget to process the edges. This is the simplest version of the basics, if you decide to make a modular picture with your own hands, and spend a minimum amount of time on this. Of course, making modular paintings with your own hands in any case will cost a certain amount of effort and time, but this option is especially recommended for female masters, because there is less work with tools.
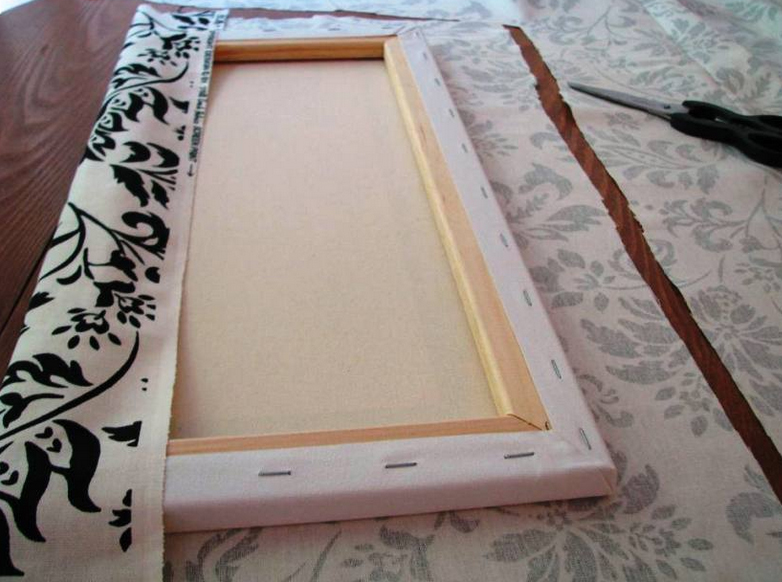
3. Fixing the cloth
Further, we cut out and fix the sheet itself on the stretchers. Be sure to measure the size of the canvas on the base, taking into account the place for fixing on the back of the image with the help of furniture staples.
Distribute the web evenly, stretch it to avoid crumpling and wrinkling. Special attention and accuracy will require corners. First, fasten the long opposite sides, then short.
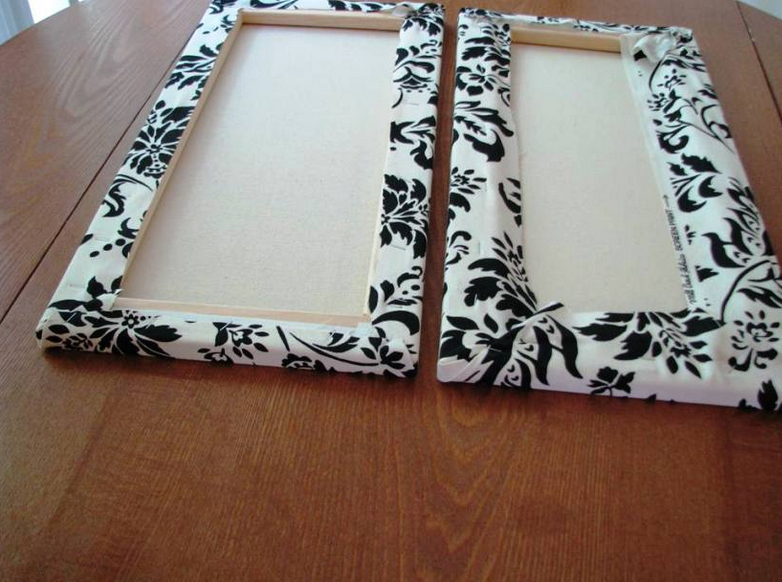
4. Decorate the interior!
As a result, you get an excellent decor element for your room. Now you can fantasize with placing the pictures relative to each other. Making your own modular paintings yourself can also bring you income if you achieve a certain level of skill.
If you are interested in how to draw a modular picture, then everything is simple. Everyone who did not miss drawing lessons at school will be able to do it themselves. Your final result does not need to be a work of art of the highest class - you can find pictures of patterns or colors and redraw them by distributing to the modules of your picture.
At the same time, remember that the arrangement of parts among themselves can depend on how you draw a modular picture. For example, the elements may not be located horizontally, but diagonally or even vertically or the middle part may be higher than the rest. The combination of the pattern will determine the location of the modular picture. An even easier option is to secure already printed images.