Despite the huge selection of modern decorative finishing materials for walls, the popularity of wallpaper has not diminished. Firstly, this is one of the most affordable options for interior design, and secondly - the easiest.
However, you can not glue the wallpaper on unprepared walls, although many still doubt whether it is necessary to produce a shpaklevku walls for wallpaper. And this is the biggest mistake. After all, during the finishing finish, all the irregularities, bumps and cracks make themselves felt. And, as a rule, wallpaper can either lie crooked, or get unstuck after a while.
To produce the putty qualitatively, it is better to seek help from specialists. However, if you want to save money and practice yourself in the construction business, you can try to do it yourself.
The technology of puttying the walls under the wallpaper with your own hands is quite simple and does not differ from the typical finish of the walls before painting. Initially, a layer of starting putty (of coarse powder) 3-5 mm thick is applied, which allows filling all shells, large cracks, microcracks and irregularities. Then on the prepared surface the finishing putty (from a fine grinding powder) is applied with a layer thickness of 1.5-2 mm. It makes the surface perfectly smooth.
In our master class, we will show in more detail how to make shpaklevku walls for wallpaper with their own hands, as well as figure out what mixtures should be given preference.
What kind of putty is better to putty the walls under the wallpaper?
The assortment of such materials is very large. You can use gypsum, cement, polymer mixes, differing in the level of moisture resistance, shrinkage and price. Therefore, it is rather difficult to choose which shpaklevkoi to level the walls better. According to experts, the putty should be well ground, do not roll down, do not dry out quickly and have a viscous structure.
Also choosing which shpaklevkoy better to putty the walls for wallpaper, you need to take into account the features of the room. If the room is in order with humidity, a plaster mixture will do. If you decide to paste wallpaper in the bathroom or in the kitchen, it is worth using a material based on polymer or cement.
So, let's get to work. To putty the walls under the wallpaper with our own hands, we need:
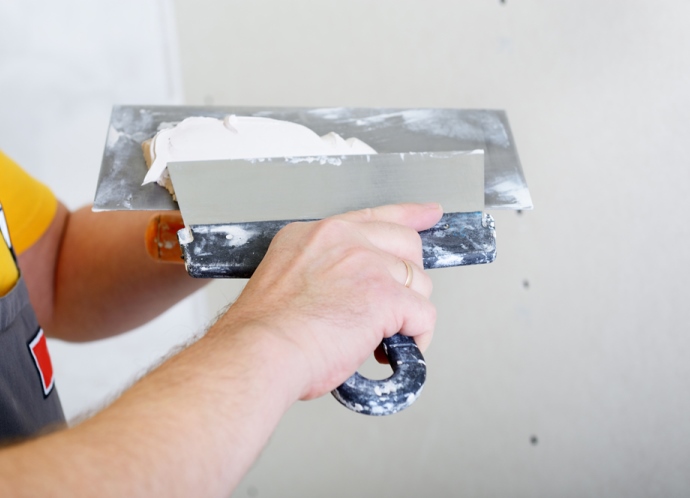
- finished starting and finishing putty;
- primer;
- a set of smooth spatulas from 50 to 500 mm;
- corner spatula;
- roller with paint bath;
- building level;
- electric grinding machine.
We make shpaklevku walls for wallpaper by own hands
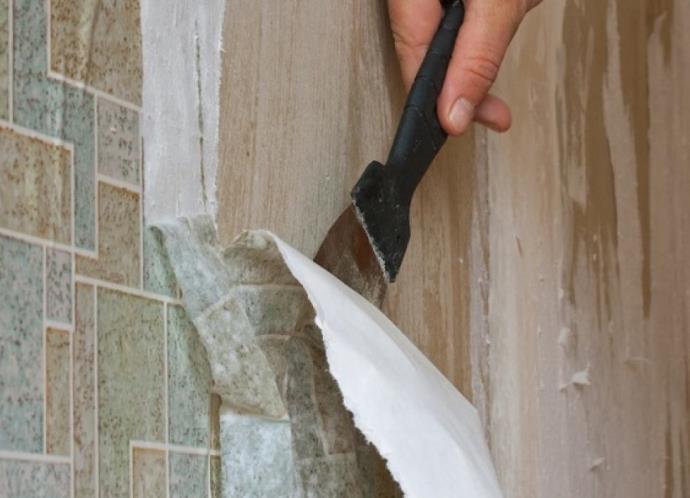
- Thoroughly clean the walls of the old finish. For convenience, we moistened the old wallpaper with water using a roller.
- If there are protrusions on the wall, they can easily be knocked down with a spatula.
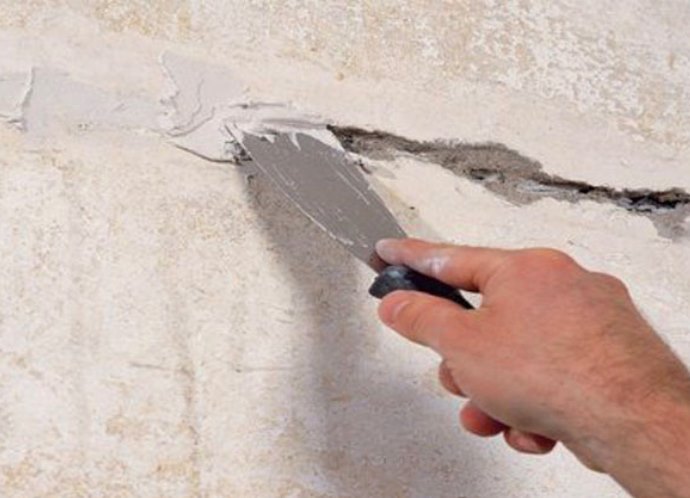
- Cracks are carefully covered with starting putty and allowed to dry.
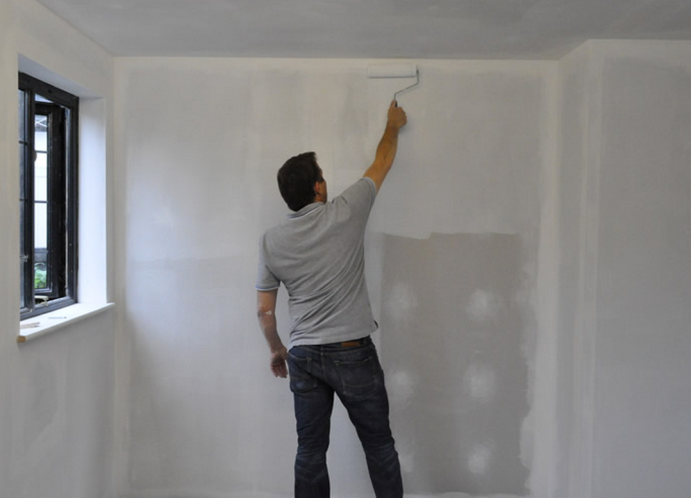
- Then use a roller to apply a primer to the walls and leave it to dry again.
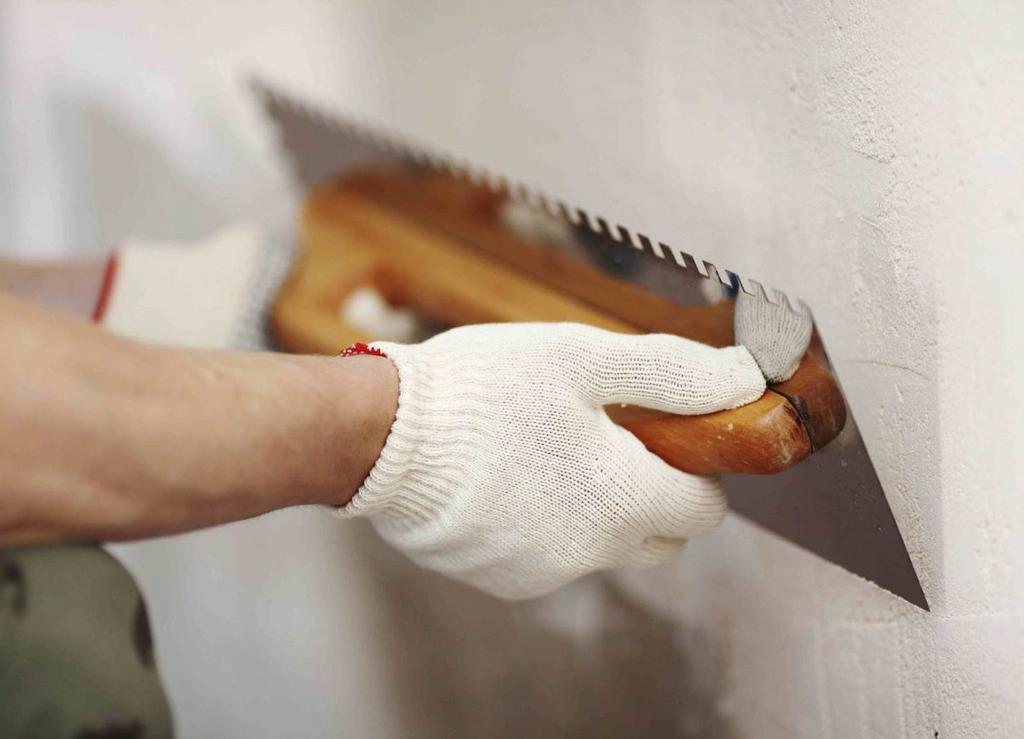
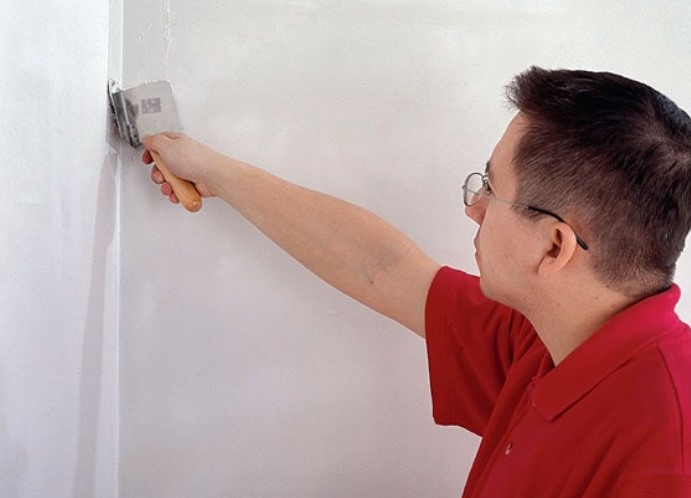
- Now go directly to the filling of the walls under the wallpaper with your hands. Using a small spatula, we put the starting putty on a wide spatula and apply it to the walls with smooth movements, overlapping with small stripes starting from the corner of the room. In order not to leave marks on the wall from the metal corners of the instrument, hold the spatula at an angle of 45 °.
- After processing a small section of the wall, check the level of the level of the applied layer and move on.
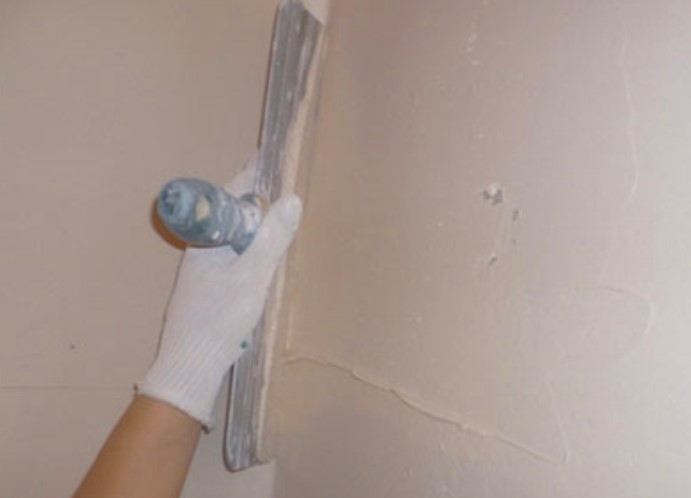
- Angles are leveled with a special corner spatula.
- Having completed the application of the starting puttying, we grind the walls of the special machine with circular motions, moving counter-clockwise.
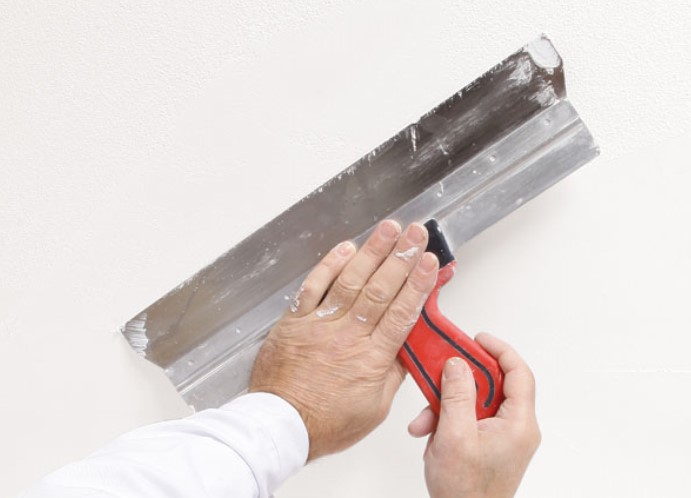
- After drying the starting layer in the same way, we apply the first layer of the finishing putty and let it dry out.
- Then we apply the second layer, carefully leveling the corners.
- When the wall has dried, the same way, we grind the surface with a grinder.
- On this our wall plastering under the wallpaper with our own hands is completed. You can once again apply a primer and proceed to the decorative finish.
| | |