Parents who are interested in the creative development of their child can not underestimate the importance of modeling, because this fascinating process stimulates the development of aesthetic taste, imagination, and also trains fine motor skills and, as a consequence, has a beneficial effect on the child's thinking. In addition, it will be useful to tackle modeling and moving, easily excitable children, since this process has a beneficial effect on the state of the nervous system as a whole.
But it's easy to say, more difficult to implement. Most often, parents are limited to buying plasticine and handing it to the child and the consequences of such experiments are not impressive - a sticky mass of incomprehensible color and greasy spots on the floor and furniture. But such an outcome does not indicate that the child has not yet matured to work with this material, but that it is better to start modeling with adults.
In order to create the child the necessary motivation, you can choose crafts that will match his interests. So, boys are more often attracted to the subjects of transport, technology, war, so a great choice for a young amateur modeling from plasticine will be a tank.
We offer you a step-by-step instruction on how to mold a tank from plasticine. With this task will cope kid of 2.5 years.
We need:
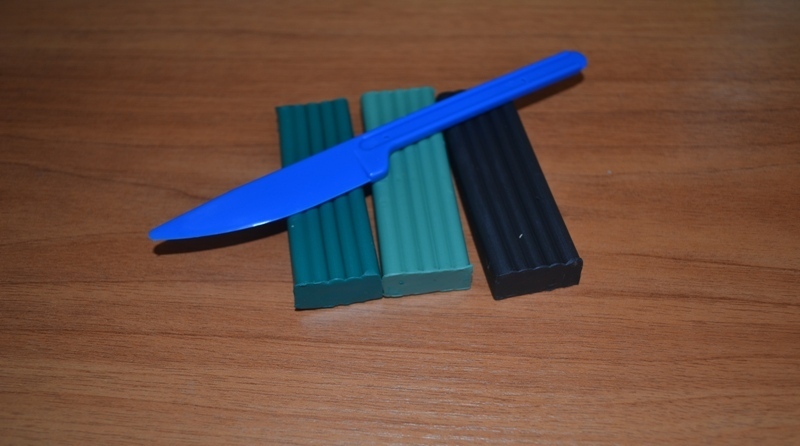
- plasticine of different colors. The color of the hull of the tank is not principled, let the child choose the one that is most to his liking - blue, green, khaki, gray. Also we need black and red clay;
- plastic knife.
Crafting
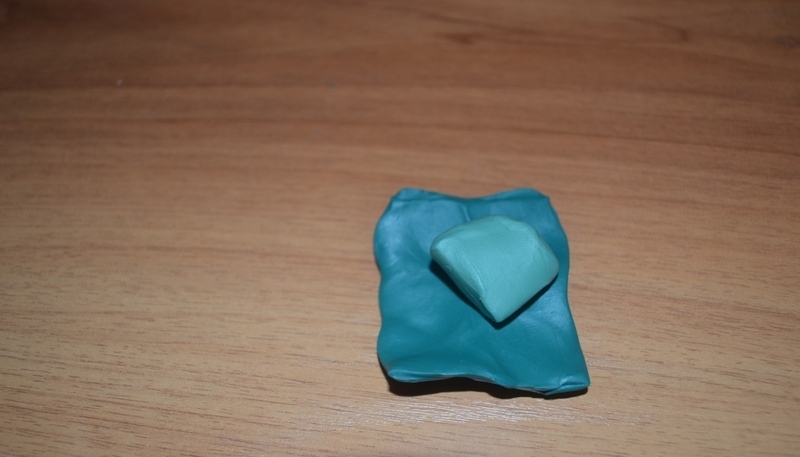
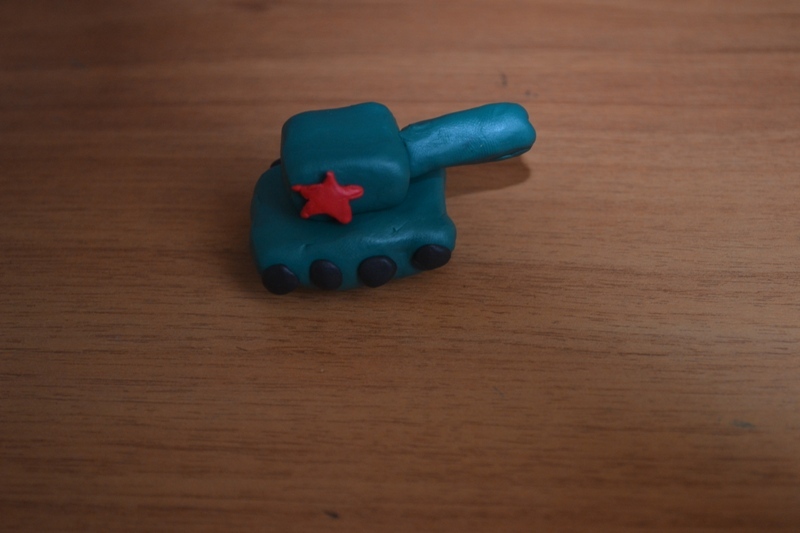
- We make parallelepipeds from plasticine - one more for the tank shell, another smaller one - for the swivel tower.
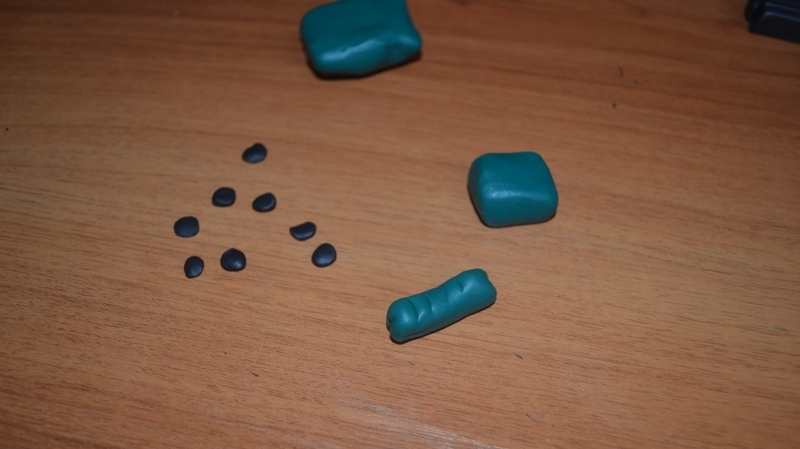
- From the main color plasticine, we roll a small sausage - this will be our gun. From black plasticine we make 8 black balls, which deform into platelets - these will be the tracks of the tank.
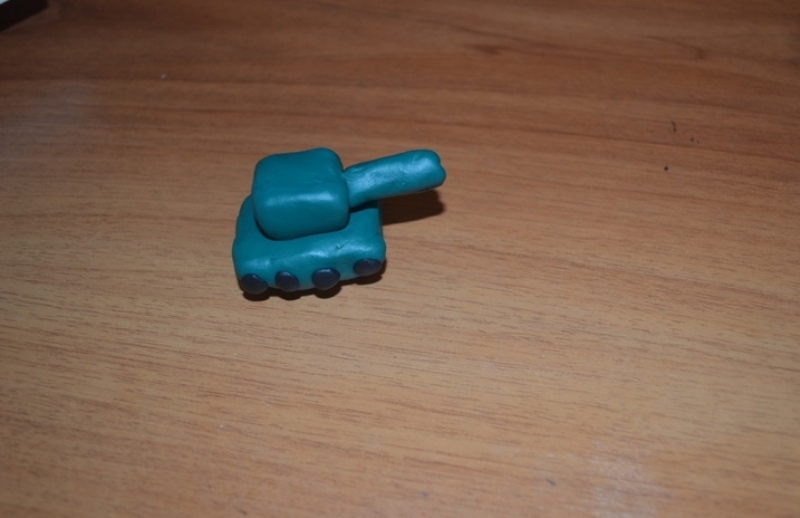
- We fasten the parts together - on the body we mount the tower, on the tower - the cannon, on the sides of the case we make wheels - 4 on each side.
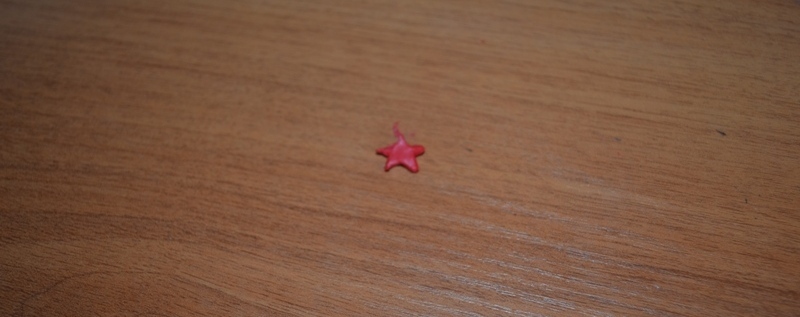
- From the red plasticine we make an asterisk and attach it to the body.
- The tank is ready.
An older child will be interested in modeling crafts made of plasticine more complicated, more detailed tanks. Before you begin to sculpt a plasticine tank, you should become more familiar with its device, study models, drawings and pictures. We offer one more master class, which describes how to mold a tank of plasticine.
- We knead plasticine until it becomes soft and flexible enough.
- We sculpt the hull of the tank. When forming the shape, it should be taken into account that its length should be about one and a half times the width. In order for the angles to turn out to be pronounced, and the faces should be pressed evenly to a solid surface, for example, to a table.
- With a plastic knife, cut the bottom corners of the rectangle in order to simulate the tracks. The upper corners should also be rounded.
- We make a turning tower. In size, it should be about three times shorter and half as thick as the shell. It is necessary to roll a ball of plasticine and
press it to the table in such a way that the upper part of the cylinder is somewhat lower. - Fix the body and the tower together with a piece of strong wire, bending the ends parallel to the surface of the table.
- Roll a long and thin cylinder - a cannon. Fasten it to the end of the wire pulled out of the tower.
- Roll two small cylinders of the same size and fasten them on the side of the rotating turret - these will be hatches.
- With a toothpick or backbone work out the small parts of the tank - the crenellations of the caterpillars, hatches, periscopes for observation, embrasures. Focus on photographs and drawings for a more accurate picture of the details.